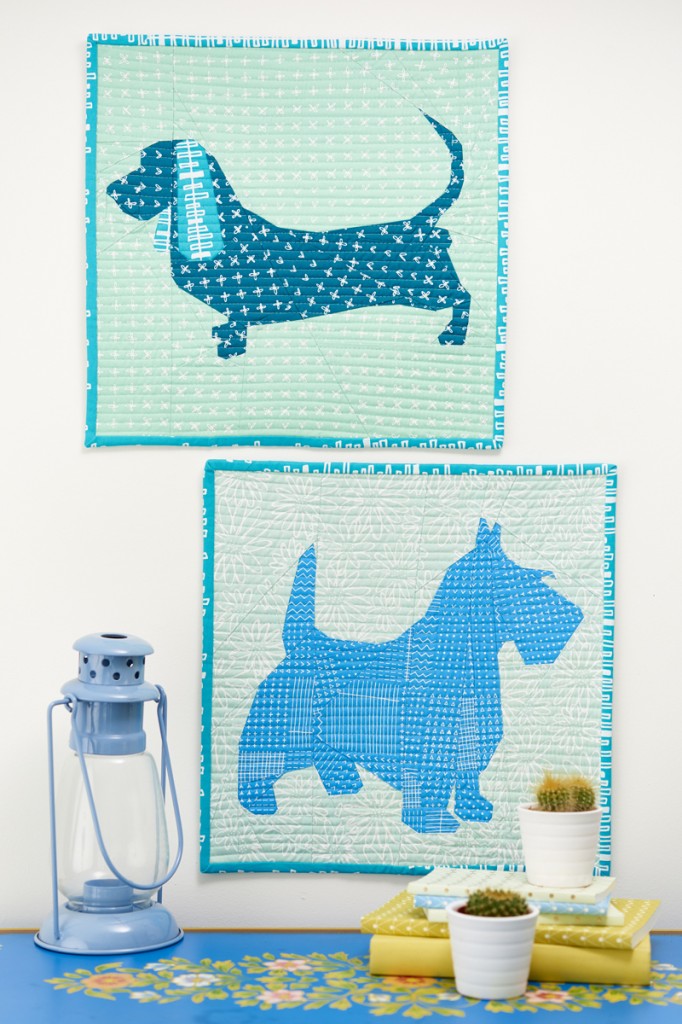
Foundation Paper Piecing is a very accurate method of patchwork, which is especially useful for piecing unusual or awkward shapes and achieving crisp, clean lines in your patchwork.
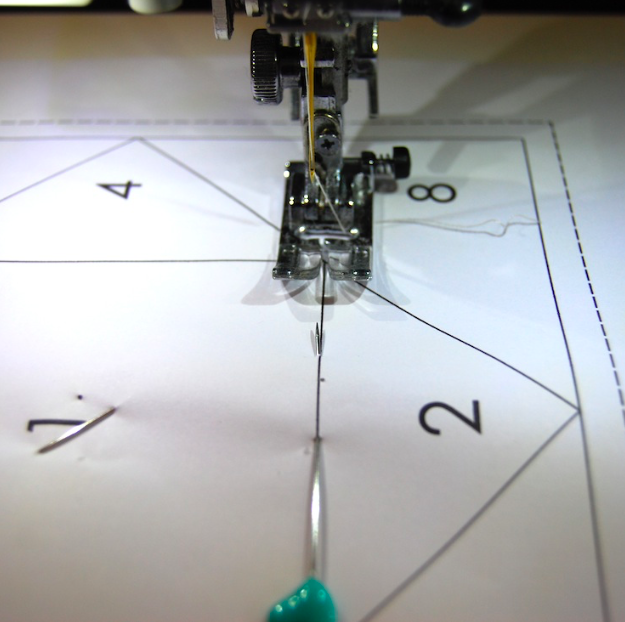
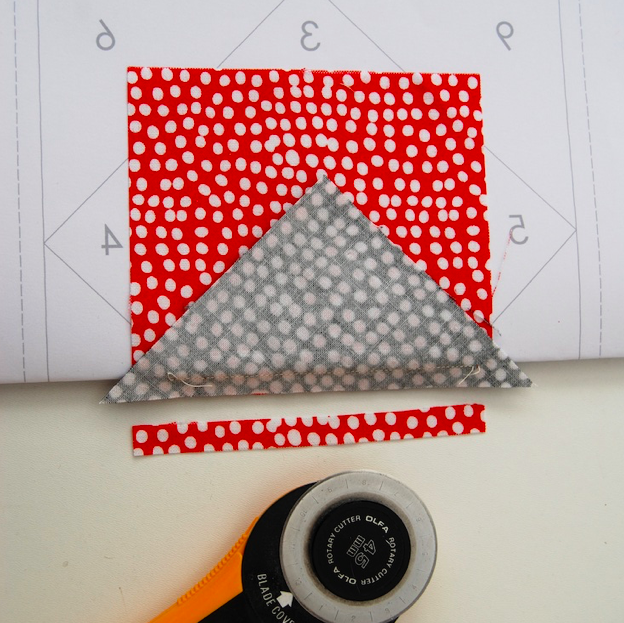
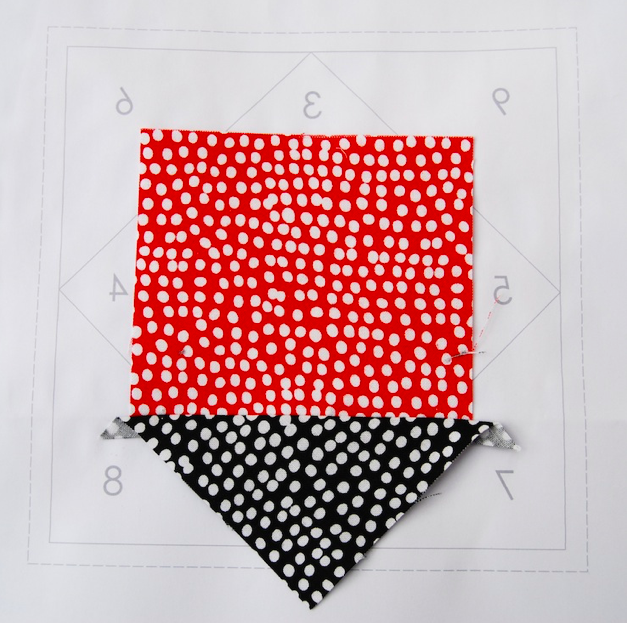
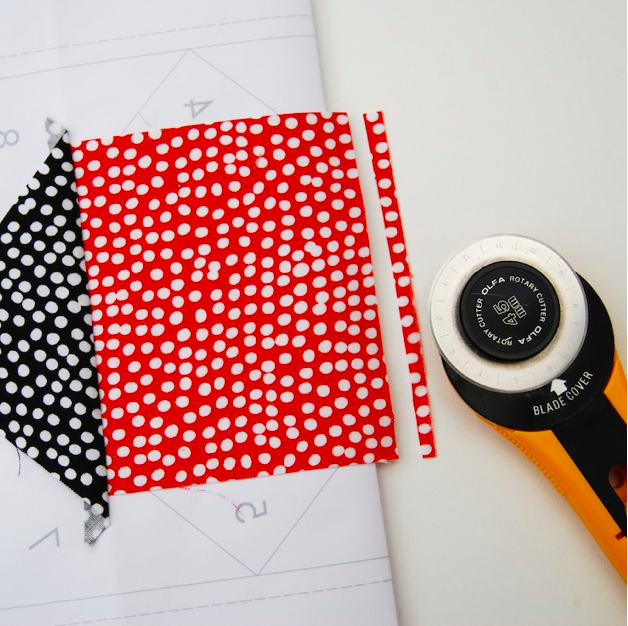
You use a foundation paper piecing template to build up your shape, piece by piece, sewing through the back of the paper piecing template, following the order shown on the template.
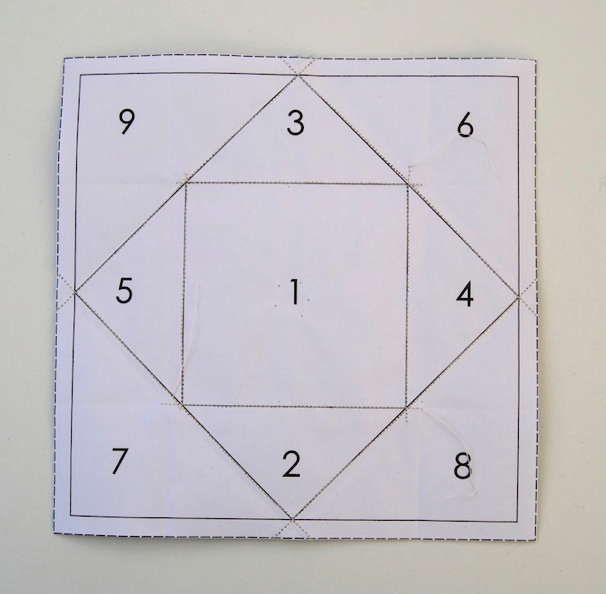
This means that the finished block will be a mirror image of the printed template. You need to know the order to follow to build up the foundation paper pieced block – templates will normally have numbers on them showing the order. So the first piece is numbered 1, the second piece is numbered 2 etc.
You can see just how it is done with our foundation paper piecing video or our step by step tutorial by Lynne Goldsworthy.
Foundation paper piecing video
We've filmed this foundation paper piecing video to show the technique in action. If you prefer a written foundation paper piecing tutorial, we have that for you below!
Foundation paper piecing project
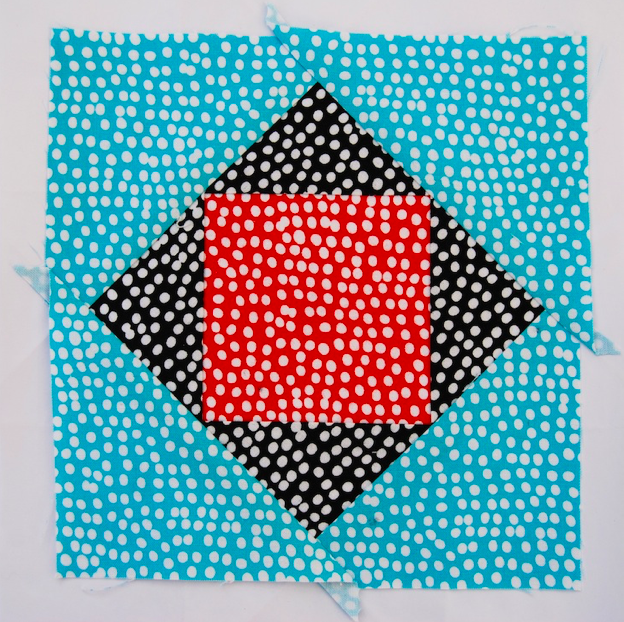
Lynne Goldsworthy has put together this patchwork tutorial to show you how to foundation paper piece a 6in square Economy Block to get you started with this fabulous technique!
Learn how it's done in our complete beginner's guide, or if you'd like to start gentle with paper piecing, you can always head over to our free hexagon templates to try a spot of soothing English paper piecing too.
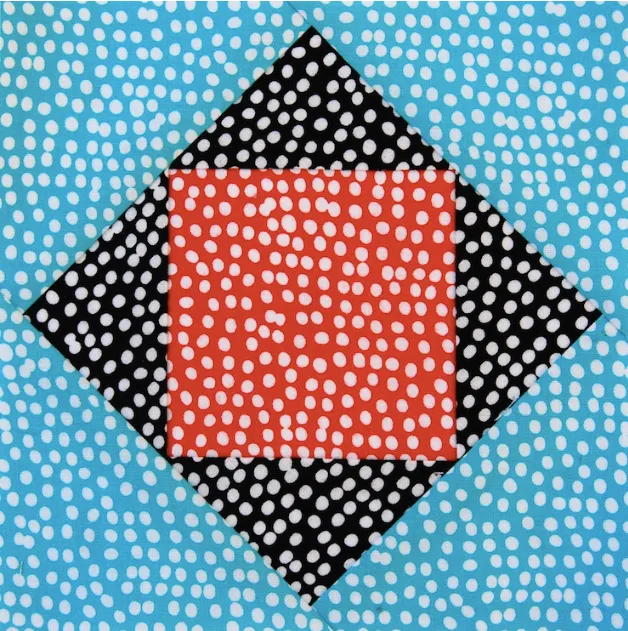
Foundation paper piecing materials
- Download our Free foundation paper piecing template to get Lynne's Economy Quilt Block Pattern to practise with. Trace, print or photocopy this onto regular printer paper or foundation paper
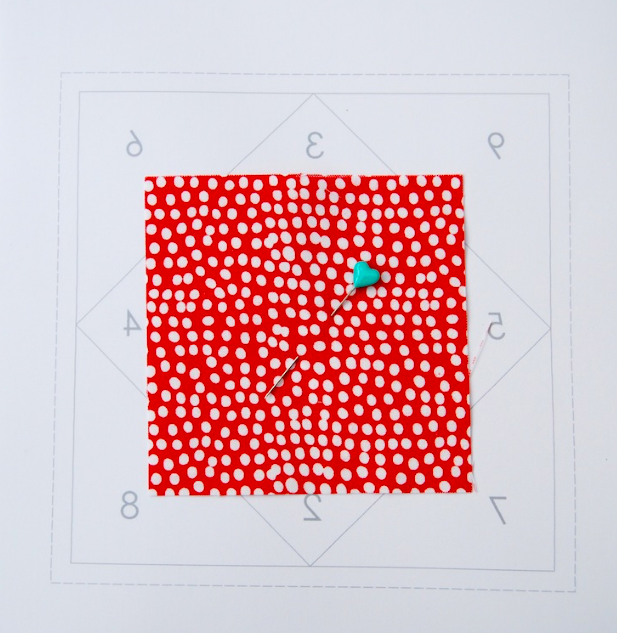
- Fabric for the centre of the block, one 4in square
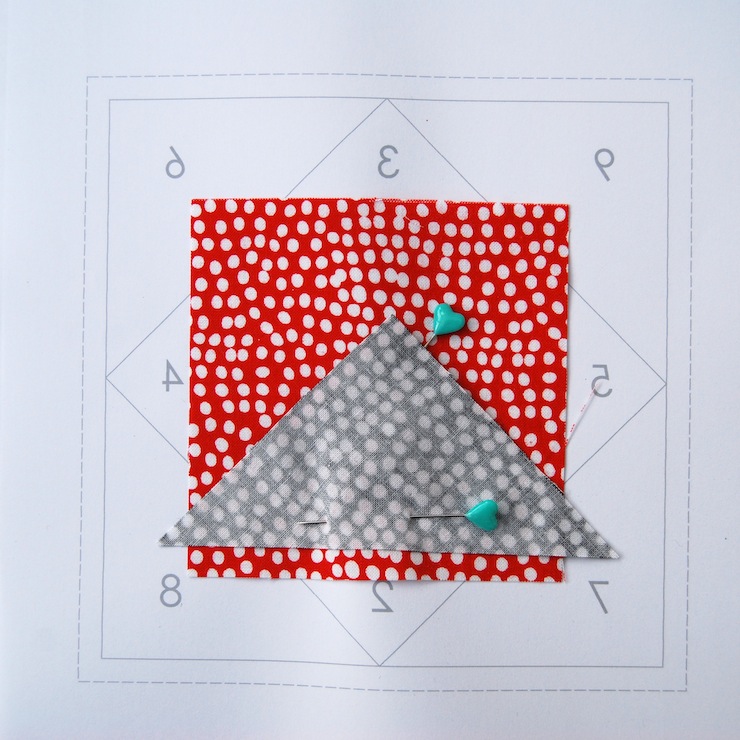
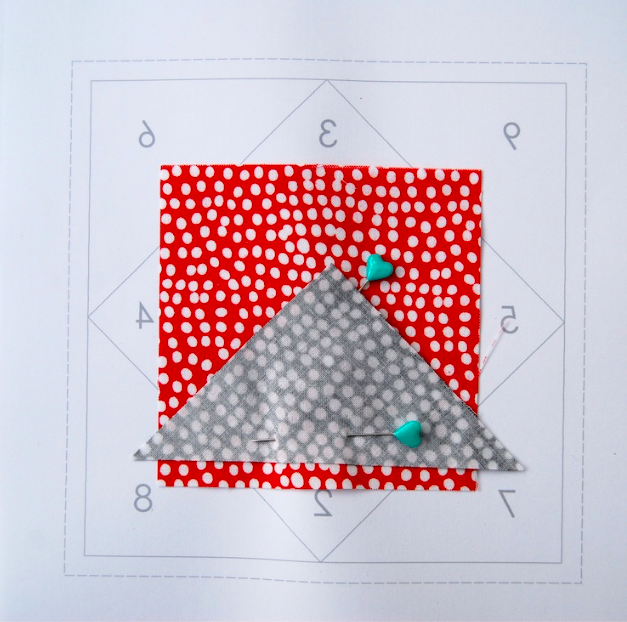
- Fabric for the first round of triangles, two 3.5in squares cut in half on the diagonal
- Fabric for the second round of triangles, two 4.5in squares cut in half on the diagonal
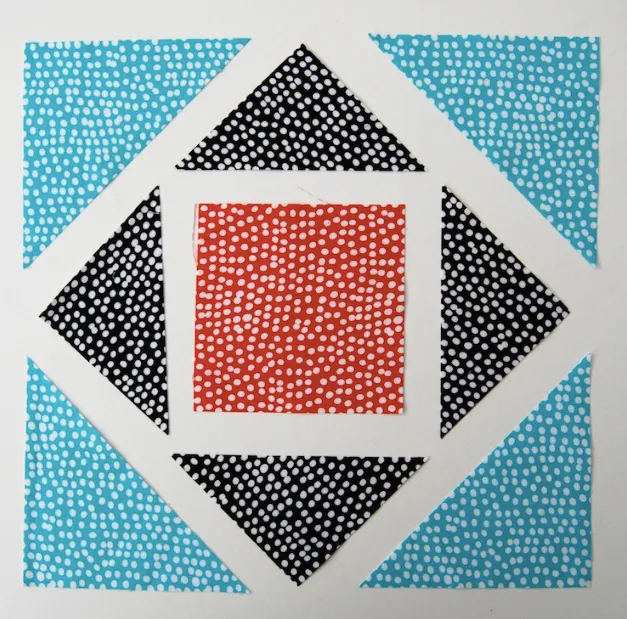
Before you begin
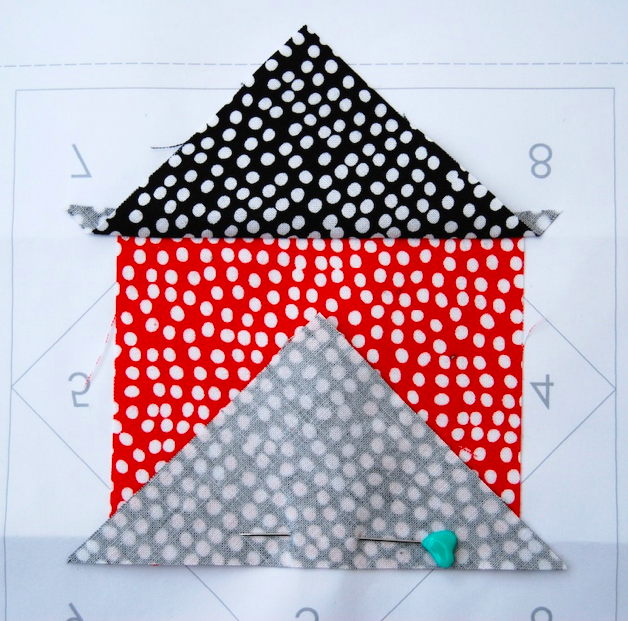
- When foundation paper piecing, the fabric is sewn to the back of the template, which means that the finished block will be a mirror image of the printed template. It is important to know this, especially when piecing non-symmetrical patterns such as letters or numbers.
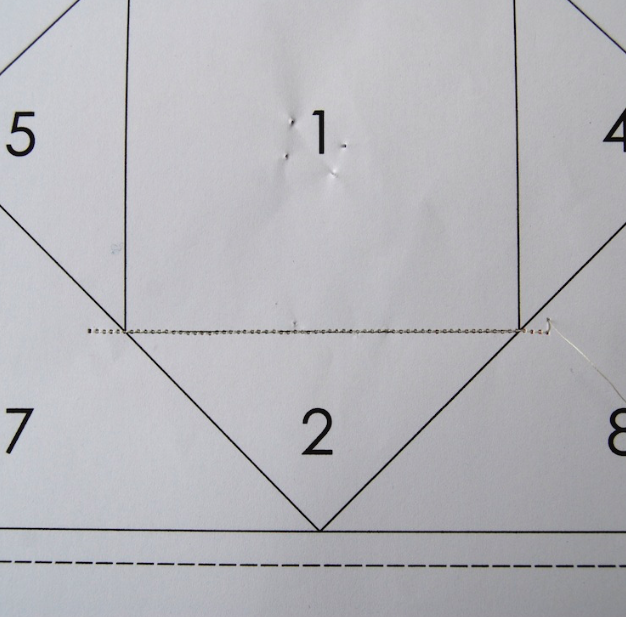
- Seams are sewn along the printed lines on the template and the fabric is added to the block in the order shown by the numbering on the template. So the first piece is numbered 1, the second piece is numbered 2 etc. The outer line on the template includes the final seam allowance.
- Shorten your stitch length to about 1.5 when sewing the seams for foundation paper piecing.
- You can pre-cut your fabric pieces when foundation piecing, or cut them as you go along – it’s up to you. Since there are several repeated and regular shapes in this block, we are pre-cutting.
- When cutting your fabric pieces for foundation paper piecing, add 1in to the block rather than 0.5in as in regular piecing, to add a margin of error.
