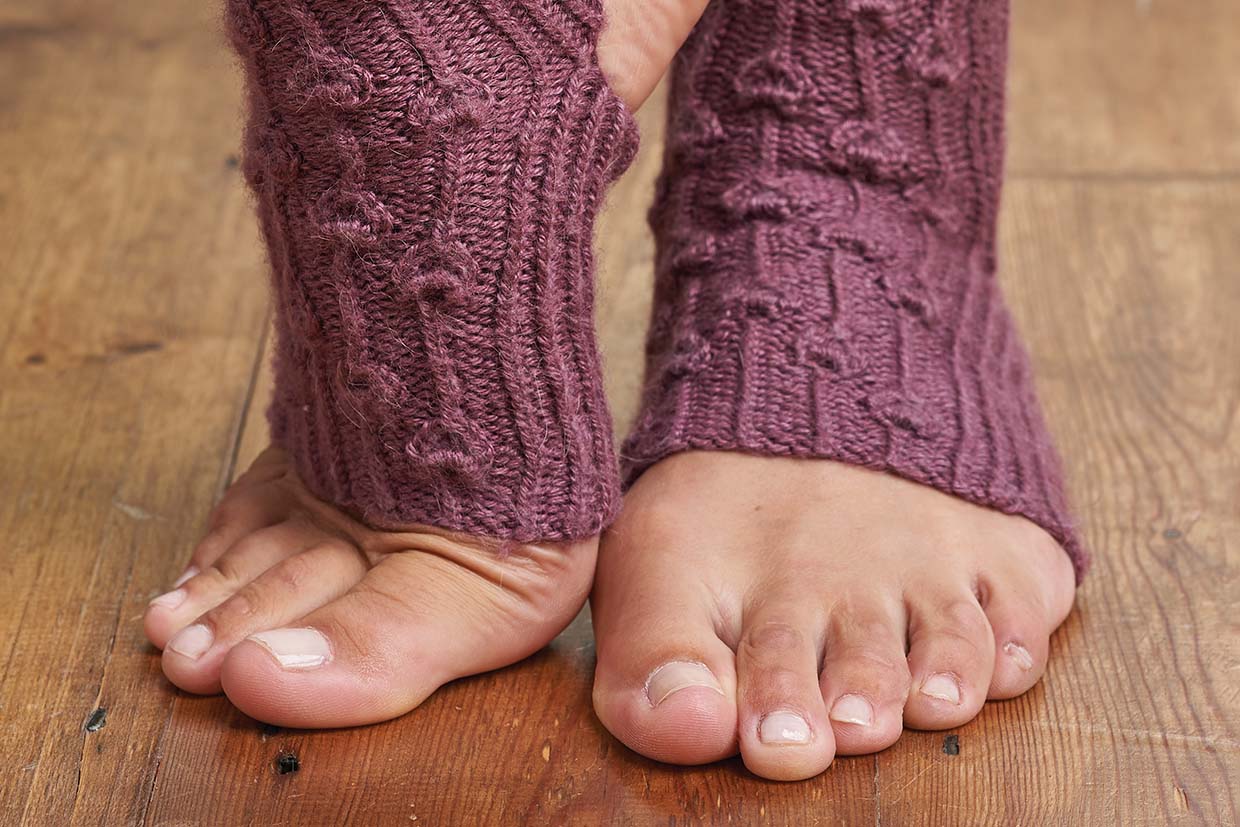
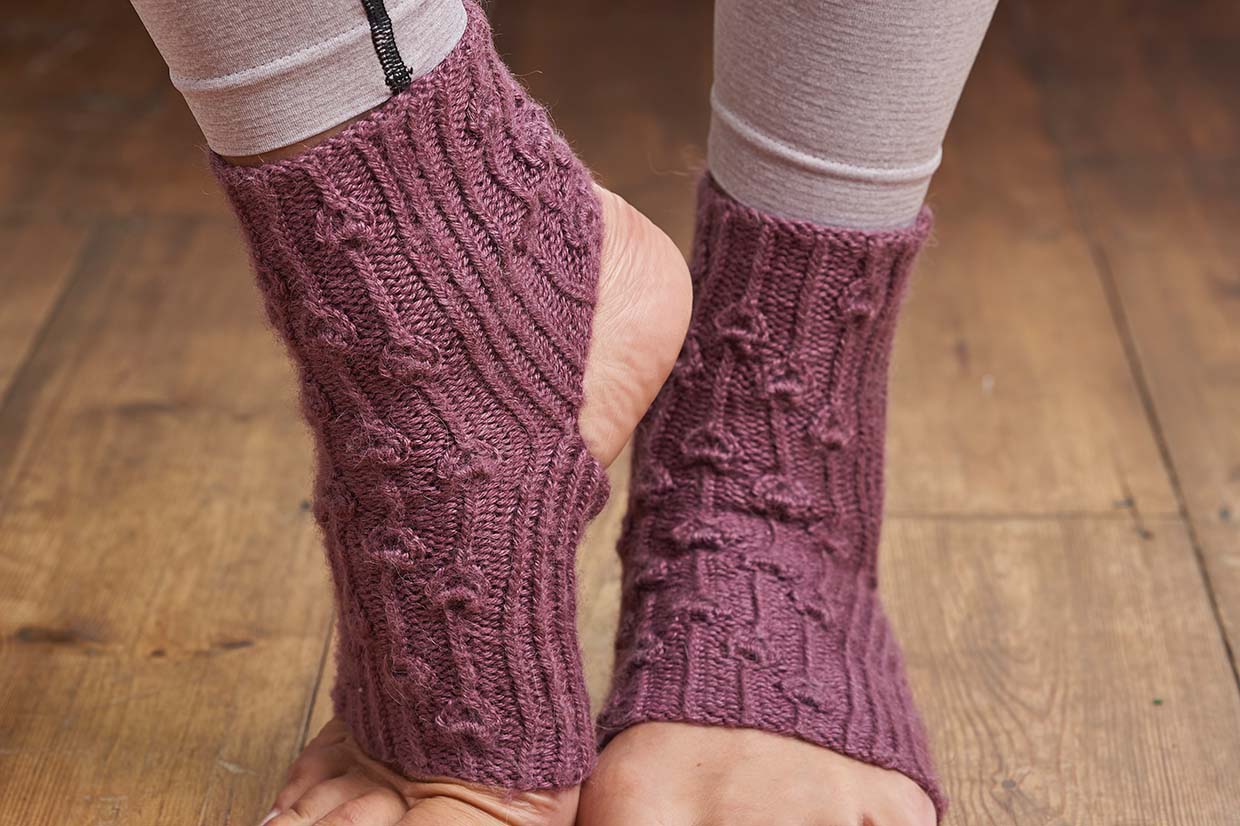
Start by learning the Bell Stitch pattern
Step 1
Depending on your abilities, you may want to practise the stitch pattern used on these yoga socks before you cast on the real thing. We’ll be referring back to this section later in the pattern, so give it a read now and make sure you’re familiar with all the techniques.
The pattern uses knit (K) and purl (P) stitches, with some of the knit stitches worked through the back loop (tbl). You’ll also decrease using the slip slip knit (ssk), knit 2 together (k2tog) and slip 1 stitch, knit 2 stitches together, pass slipped stitch over (sk2po) methods.
Check out Gathered’s how to decrease in knitting guide for tutorials on working the ssk and k2tog stitches.
The Bell Stitch pattern is worked over 17 stitches.
Round 1 P2, (P1, K1, P1, K1, P1) all in next st, (P2, K1 tbl) 3 times, P2, (P1, K1, P1, K1, P1) all in next st, P2. [25 sts]
Rounds 2 and 3 P2, K5, (P2, K1 tbl) 3 times, P2, K5, P2.
Round 4 P2, ssk, K1, k2tog, (P2, K1 tbl) 3 times, P2, ssk, K1, k2tog, P2. [21 sts]
Round 5 P2, K3, (P2, K1 tbl) 3 times, P2, K3, P2.
Round 6 P2, sk2po, (P2, K1 tbl) 3 times, P2, sk2po, P2. [17 sts]
Round 7 P2, *K1 tbl, P2, (P1, K1, P1, K1, P1) all in next st, P2; rep from * once more, K1 tbl, P2. [25 sts]
Rounds 8 and 9 P2, (K1 tbl, P2, K5, P2) twice, K1 tbl, P2.
Round 10 P2, (K1 tbl, P2, ssk, K1, k2tog, P2) twice, K1 tbl, P2. [21 sts]
Round 11 P2, (K1 tbl, P2, K3, P2) twice, K1 tbl, P2.
Round 12 P2, (K1 tbl, P2, sk2po, P2) twice, K1 tbl, P2. [17 sts]
Round 13 P2, (K1 tbl, P2) twice, (P1, K1, P1, K1, P1) all in next st, (P2, K1 tbl) twice, P2. [21 sts]
Rounds 14 and 15 P2, (K1 tbl, P2) twice, K5, (P2, K1 tbl) twice, P2.
Round 16 P2, (K1 tbl, P2) twice, ssk, K1, k2tog, (P2, K1 tbl) twice, P2. [19 sts]
Round 17 P2, (K1 tbl, P2) twice, K3, (P2, K1 tbl) twice, P2.
Round 18 P2, (K1 tbl, P2) twice, sk2po, (P2, K1 tbl) twice, P2. [17 sts]
These 18 rounds form the pattern and are repeated.

Cast on the yoga sock pattern and work the ribbing
Step 1
This pattern starts at the toe end, so the first task is to cast on the required number of stitches and begin working the ribbing. We recommend using a long tail cast-on because it’s nice and stretchy and will make it easier to put your socks on.
Cast on 48 sts using 3.25mm DPNs and long tail cast-on method. Do not join. Turn.
Step 2
Next round *(P1, K1 tbl) twice, (P2, K1 tbl) 5 times, P2, K1 tbl, P1, K1 tbl; rep from * once more.
Join to work in the round, taking care not to twist your stitches.
Place marker (PM) to mark the beginning of the round.
The last round sets the rib stitch pattern. Work another 5 rounds of rib.
Work the Bell Stitch pattern on the foot of your yoga sock
Step 1
Now comes the fun bit – working the Bell Stitch pattern you learned earlier and watching this beautiful design come to life! Get some stitch markers ready so you can mark where the top of the foot meets the sole.
Next round (P1, K1 tbl) twice, work Round 1 of Bell Stitch pattern, (K1 tbl, P1) 3 times, K1 tbl, PM for sole, P17, PM for sole, K1 tbl, P1, K1 tbl.
Last round sets Bell Stitch pattern on instep and reverse stocking stitch on sole.
Work another 17 rounds to complete the pattern once, then work a further 12 rounds.
Shape the heel of the yoga sock
Step 1
Next you’ll move onto the heel, first working the heel ribbing and then the opening. The heel opening is made by casting off a set of stitches, then casting on new ones.
Next round Work in pattern to marker, slm, (P2, K1 tbl) 5 times, P2, slm, work in pattern to end.
Rep last round another 5 times, working the second half of the final round a little loosely in preparation for casting off.
Step 2
There are a lot of instructions for this next round, because it’s where you’ll create the heel opening, so read it through before you start and take it slowly! You’ll need to know how to move the yarn forward (yfwd), slip a stitch (sl) and move the yarn back (yb) to create a wrapped stitch.
Next round Work in pattern to 3 sts before marker, yfwd, sl1 purlwise, yb, starting with the wrapped st cast off 23 sts by passing each st over the next without knitting it and removing markers as you go, turn, using yarn left at beg of cast-off, cast on 24 sts using knit cast-on method, turn, sl next st on LH needle to RH needle and pass last cast-on st over it, then sl st back to LH needle making sure to replace beg of round marker.
Next round Work 21 sts in pattern, (K1 tbl, P1) 3 times, K1 tbl, (P2, K1 tbl) 5 times, P2, K1 tbl, P1, K1 tbl.
Rep last round another 4 times. You should have completed Round 6 of Bell Stitch patt.
Go shopping for sock yarn
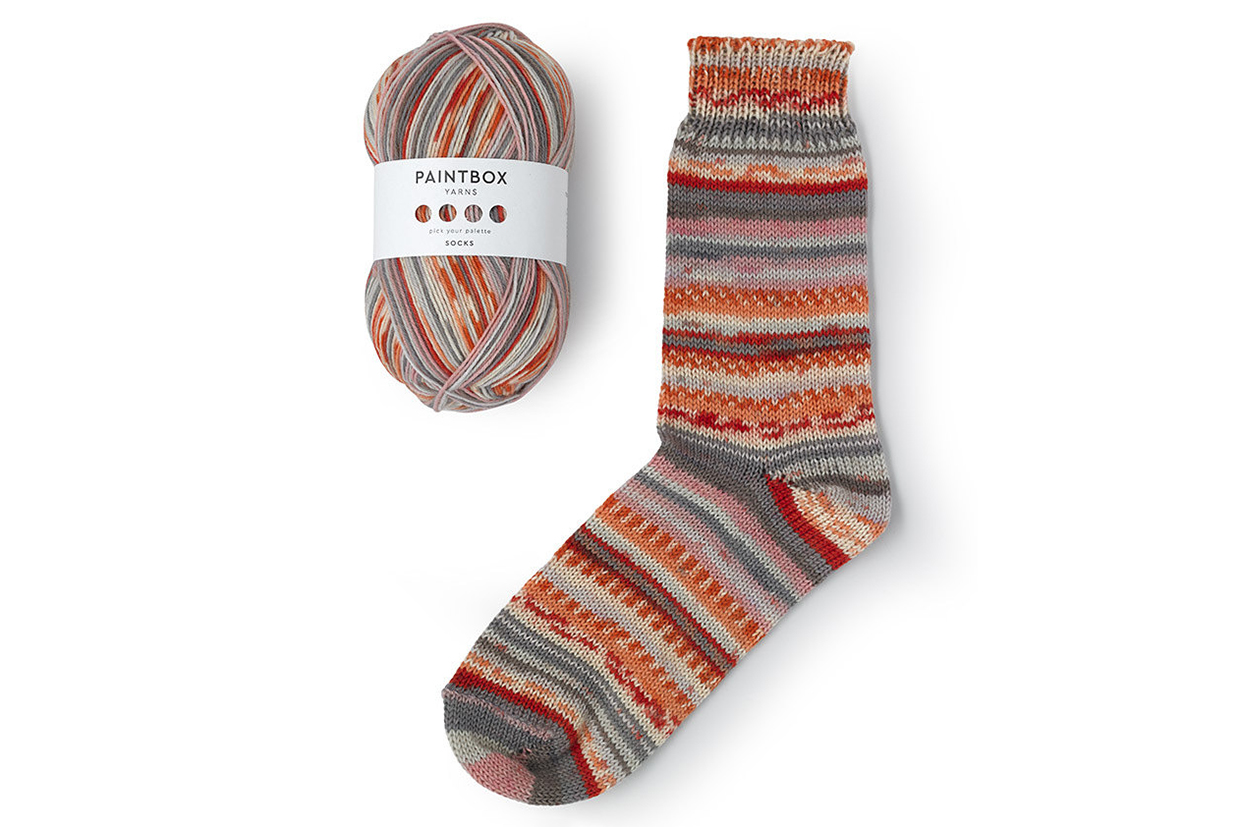
Treat yourself (and your feet!) with Gathered’s pick of the best sock yarns.
Work the yoga sock's leg and cuff
Step 1
You're nearly there! Continue working the Bell Stitch pattern on the front and back of the leg until the sock is the length you want, then move onto the ribbed cuff.
Next round *(P1, K1 tbl) twice, work Round 7 of Bell Stitch patt once, K1 tbl, P1, K1 tbl; rep from * once more.
The last round sets the Bell Stitch pattern on the front and back of the leg.
Work as set until the leg measures 1.5cm less than the desired length, ending after a Round 6, 12 or 18 of the Bell Stitch pattern.
Step 2
Next round *(P1, K1 tbl) twice, (P2, K1 tbl) 5 times, P2, K1 tbl, P1, K1 tbl; rep from * once more.
The last round sets the rib stitch pattern. Work another 5 rounds of rib.
Casting off and finishing your yoga sock
Step 1
To finish this yoga sock pattern you need to cast off using the sewn cast-off or another stretchy method. Here's how to work the sewn cast off:
Cut yarn leaving a length about 3 times the circumference of the sock and thread it onto tapestry needle.
Step 2
*Insert tapestry needle into first 2 sts on the LH needle purlwise and pull through, reinsert the needle into first st on the LH needle knitwise, pull through and slip the st off the LH needle; rep from * to last st.
Step 3
Insert the needle into rem 1 st purlwise, then into the front of first cast-off st, and back through the rem st knitwise and sl the final st off the LH needle. This method creates a cast-off that has a similar appearance to the long tail cast-on and is nice and stretchy.
Need help? See our how to cast off knitting tutorial for a step-by-step illustrated guide to this technique.
Now sew in your loose ends. Rewind up to the top of the pattern and repeat for the other sock! Block your finished socks carefully, following Gathered's how to block knitting projects guide and any yarn care instructions on the ball band.


