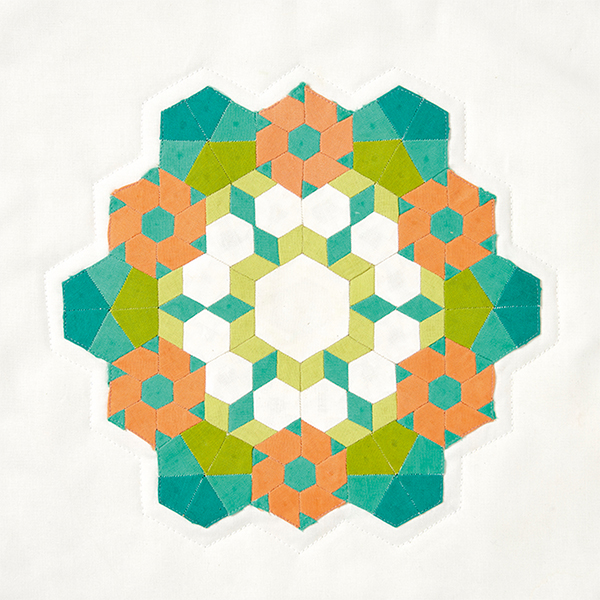
We’ll show you how to plan and piece kaleidoscope EPP designs, with free quilters templates to get you started, then test your new skills with a cogs-inspired mini-quilt. Scroll down and let's begin...
Get started: Planning your design
1. Sketch it out
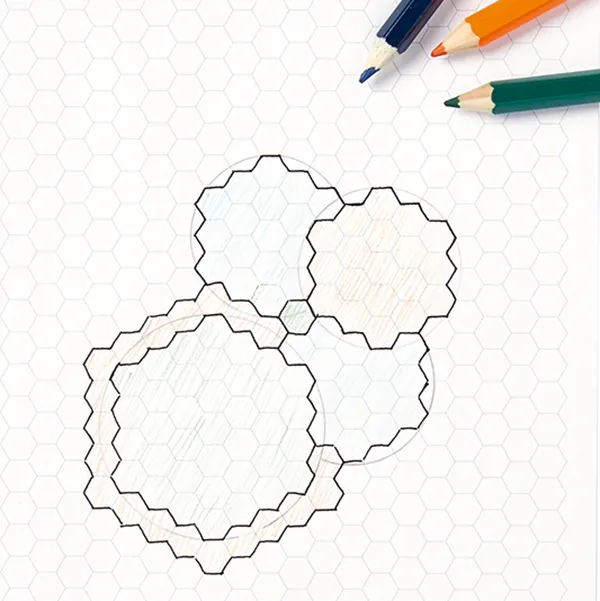
Print off some hexagon and triangle graph paper to get started drafting your ideas (you can find printable hexagon graph paper here and there are many others available online too). If you’re looking to design an entire pieced quilt top, start by drawing some interlocking circles and arcs over the hexagon graph paper in pencil. Then outline the hexagons for each section with a dark marker. In our example below, we're making cog-wheel sections.
2. Get creative with hexies
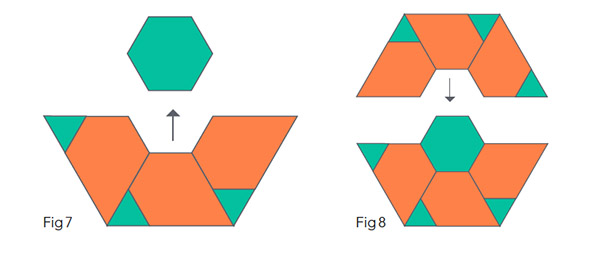
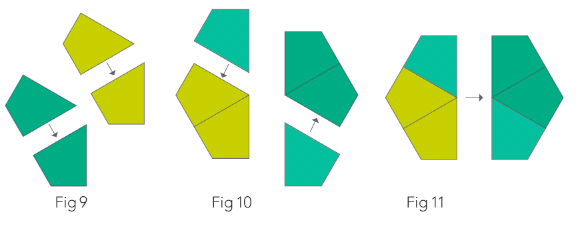
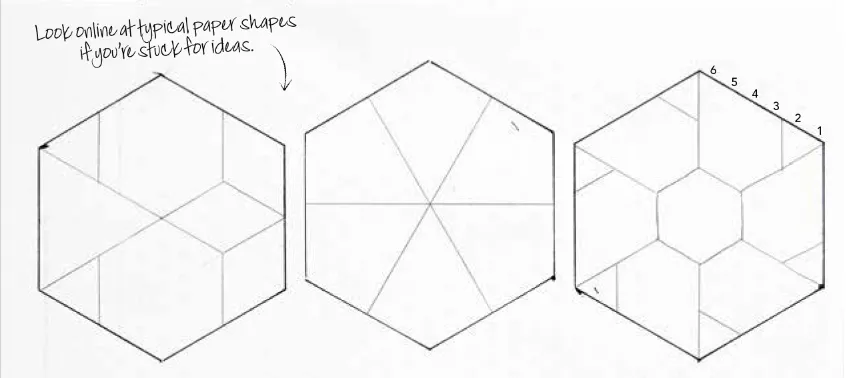
Now think about how to piece together the larger shapes in your design – in this example, we've used triangle graph paper to design the hexagons for our cog-wheel sections. Outline several hexagon shapes of the same size, then start drawing segments within the hexagons using the triangle lines. The triangle paper helps you keep things the same size. So if you want to make a hexagon with 1in sides, measure the number the triangles within 1in on your paper. Then draw a line along any of the graph paper lines using the same number and it will always be 1in.
3 Cut, stick, play
Once you have some hexagon designs you like, make some copies and cut them out. Move them around on your table to try different combinations. You can use coloured pencils to try out different colours too. Keep in mind how you will combine your hexagons to create the shapes you came up with in Step 1 (though you can always revise this if you find a design you like more!). Once you’re happy, take a photo, or tape on paper for reference.
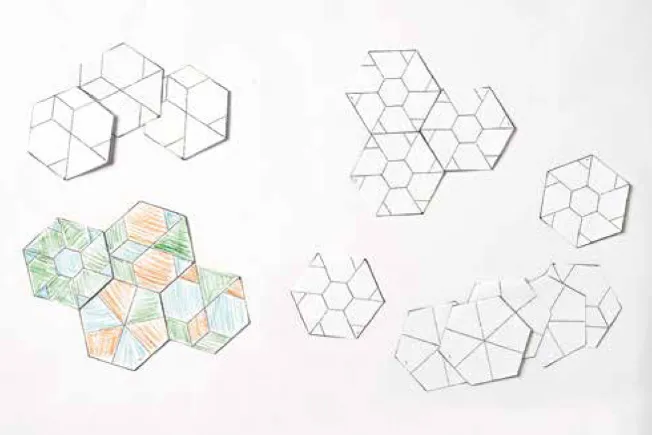
4. Now it’s time to make your paper pieces!
If you have any standard size shapes, you can order these from a shop. But it’s easy to make your own for any shape. Make a key tracing out each individual piece on triangle paper. Make a template to the exact size out of plastic or thick card. Then use your template to trace out the paper pieces you’ll need. You can use printer paper or thin card as you prefer. When you cut these pieces out, you’ll want to cut just inside the line to get the correct size.
Top tips for planning your EPP design
- The more seams you have within a pieced hexagon, the more likely it is to come out slightly larger than other hexagons with fewer seams. Don’t worry if this happens! Simply ease the pieces together as you sew. When you remove the paper pieces, the fabric will shift so it lays nice and flat.
- If you want to make your design larger or smaller, simply enlarge the paper pieces on a scanner, making sure they are all enlarged by the same amount.
- Glue basting is great for when you have very tiny pieces to incorporate.
- If you’re not sure whether two pieces will fit together, simply measure the sides where they will join to make sure they are the same.
- Mix in some plain hexagons with your pieced ones – it’ll give you a bit of a rest and break up the intricate piecing.
How to make a mini kaleidoscope quilt
Not sure if you’re not quite ready to make your own full-scale kaleidoscope quilt by hand? yet? Test your skills with our mini quilt tutorial…
You will need
- Solid fabrics in six colours, each one fat eigth
- Background fabric: 28in square
- Batting 32in square
- Backing fabric 32in square
- Binding fabric ¼ yard
Notes
- Seam allowances are ¼in, unless otherwise noted.
- Download our free English Paper Piecing quilters' templates here
- Press shapes after basting, and both before and after removing papers.
- Pay careful attention to colour placement of fabrics when stitching.
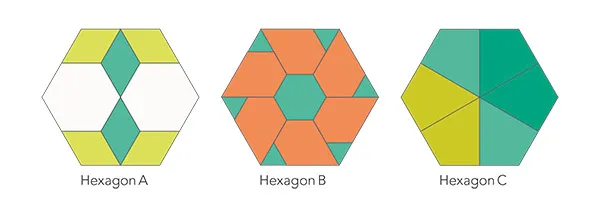
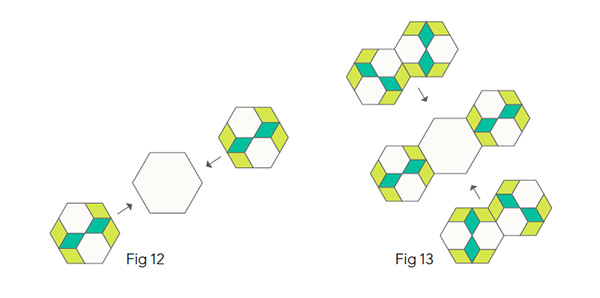
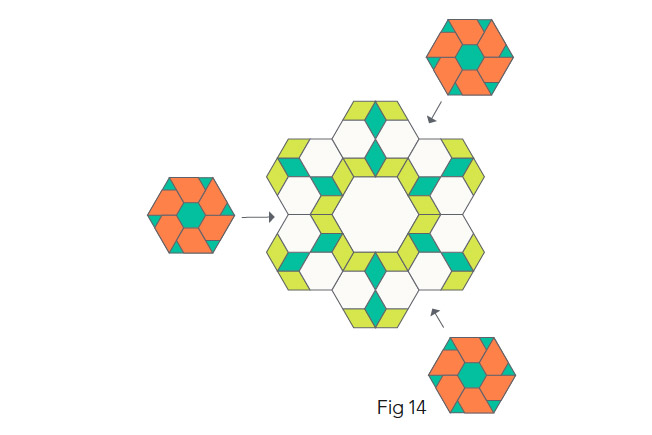
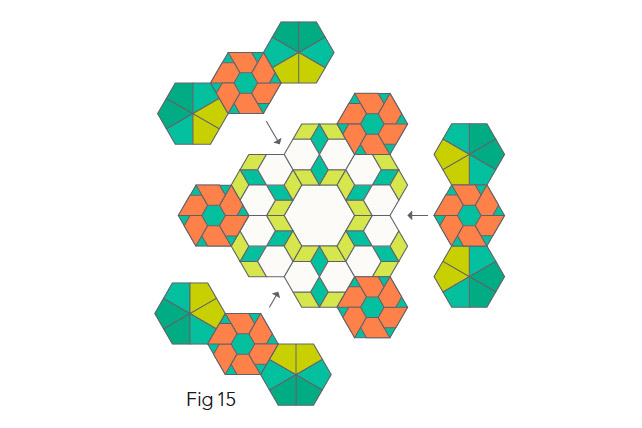
- We've based this quilt design on 3 different hexagon designs - A, B and C
