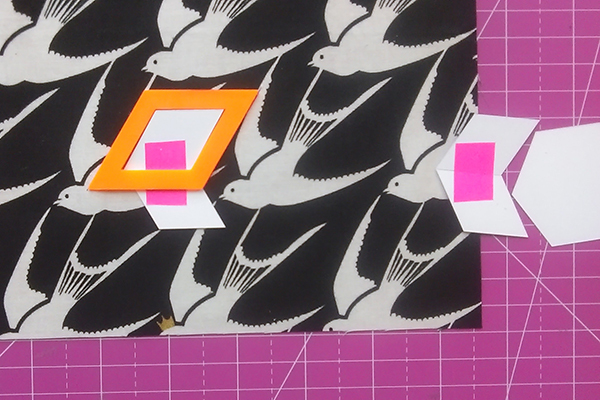
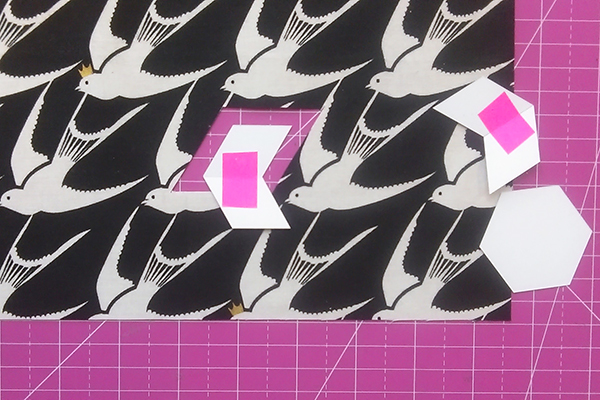
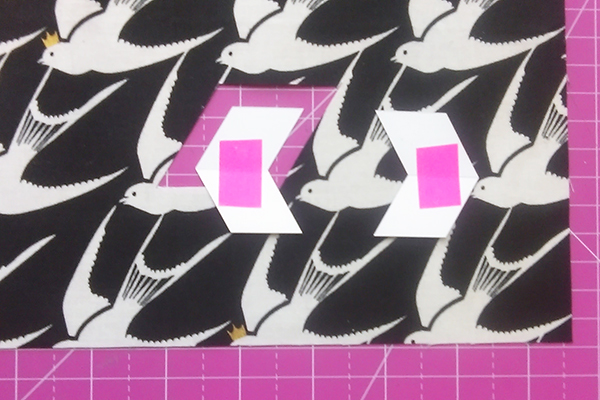
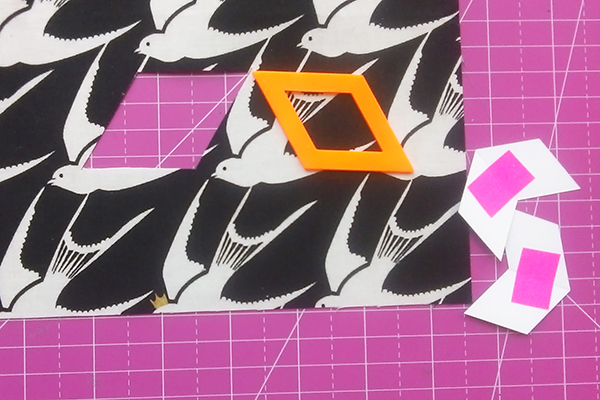
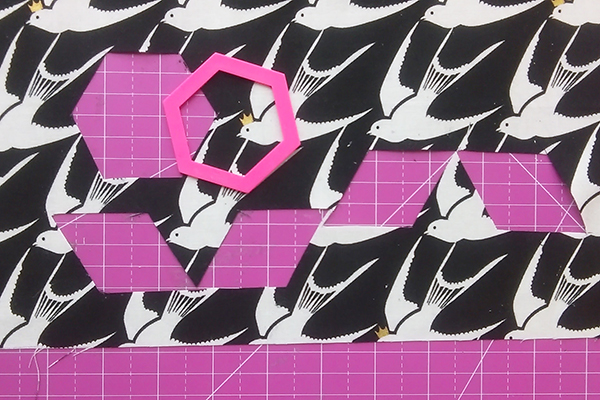
When we first created this post we were fresh from working on a book of fussy cutting projects for one of our past issues that came with some free fussy cutting templates. Putting the book together was possibly the most fun we've had in at LP&Q headquarters – and we've caught the bug so much so that we've spent many a happy evening planning, trimming and basting our own fussy-cut units.
You can achieve the coolest of kaleidoscope effects in this way. We'll talk you through how it's done with our free Guide to How to do Fussy Cutting, below.
Notes
- Use a ¼in seam allowance throughout.
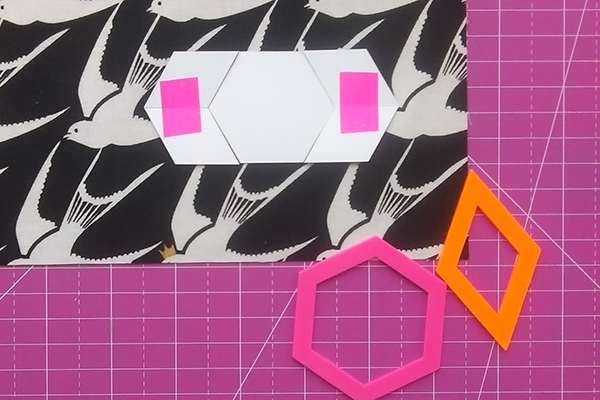
- The acrylic templates we use in this tutorial were free with the print edition of Love Patchwork & Quilting magazine issue 38 but you can still try this technique with our free fussy cutting templates here.
- Press all fabrics well before cutting (a little starch also helps to give crisp edges).
How to create fussy cutting effects from a single repeat print
Select part of a print
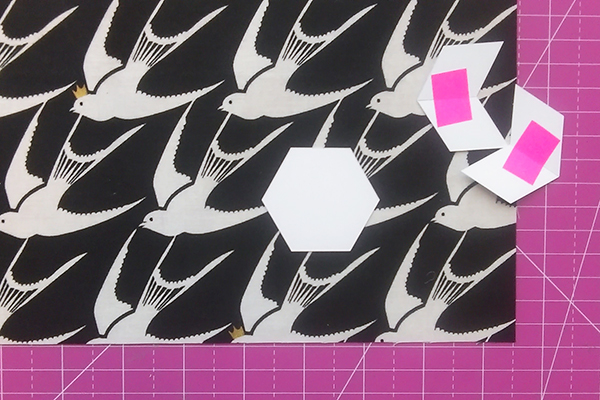
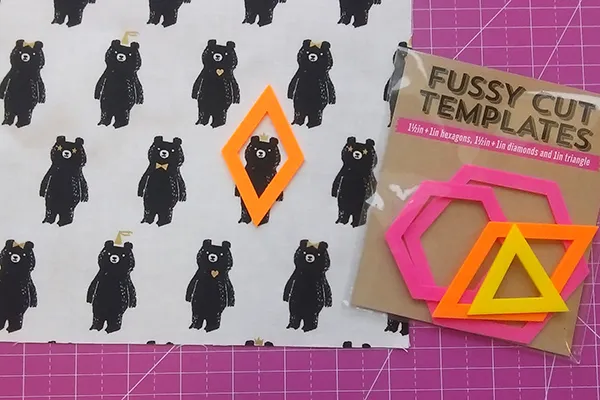
When fussy cutting, you need to look at the print as a whole and consider what you want to emphasise – use the window in the template to select the element you want to cut.
Think big - consider the whole picture
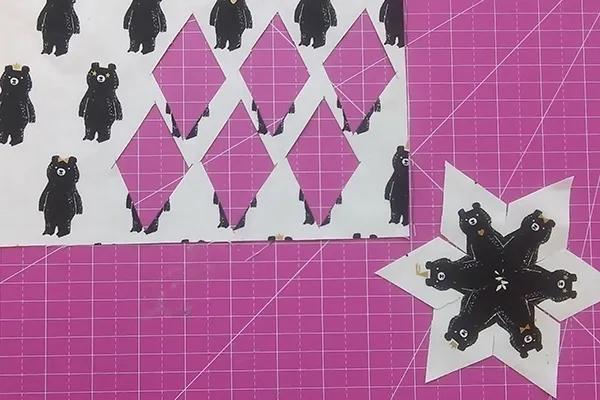
Here we’re cutting six-point diamonds from the Bear Hug print. We have chosen to highlight the bear’s head and shoulders when cutting. If you’re fussy cutting for a larger design, it’s important to consider the colour palette used in your motif – make sure it allows you some flexibility when selecting fabrics for the other fussy-cut elements.
Get cutting
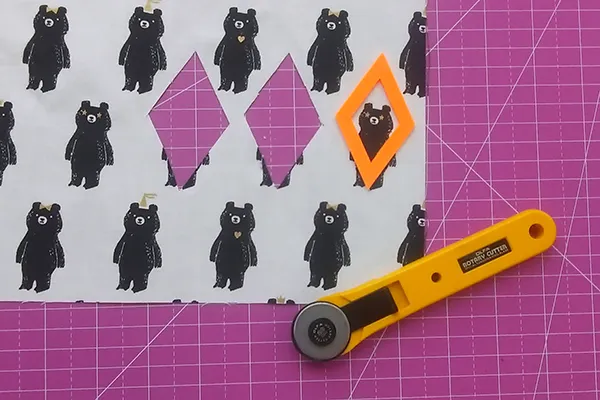
Use your template to cut identical elements of the print. We think that a small 28mm rotary cutter is ideal for a template of this size.
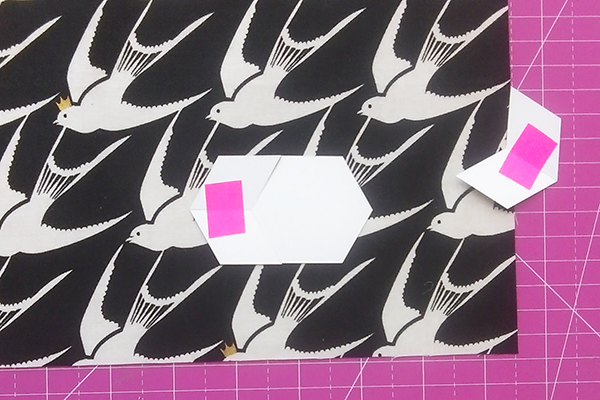
Play around with placements
Cutting different sections of the design gives a very different finish – play around with different placements until you achieve the desired effect. Here we've created a happy star-shaped gathering of playful bears.
