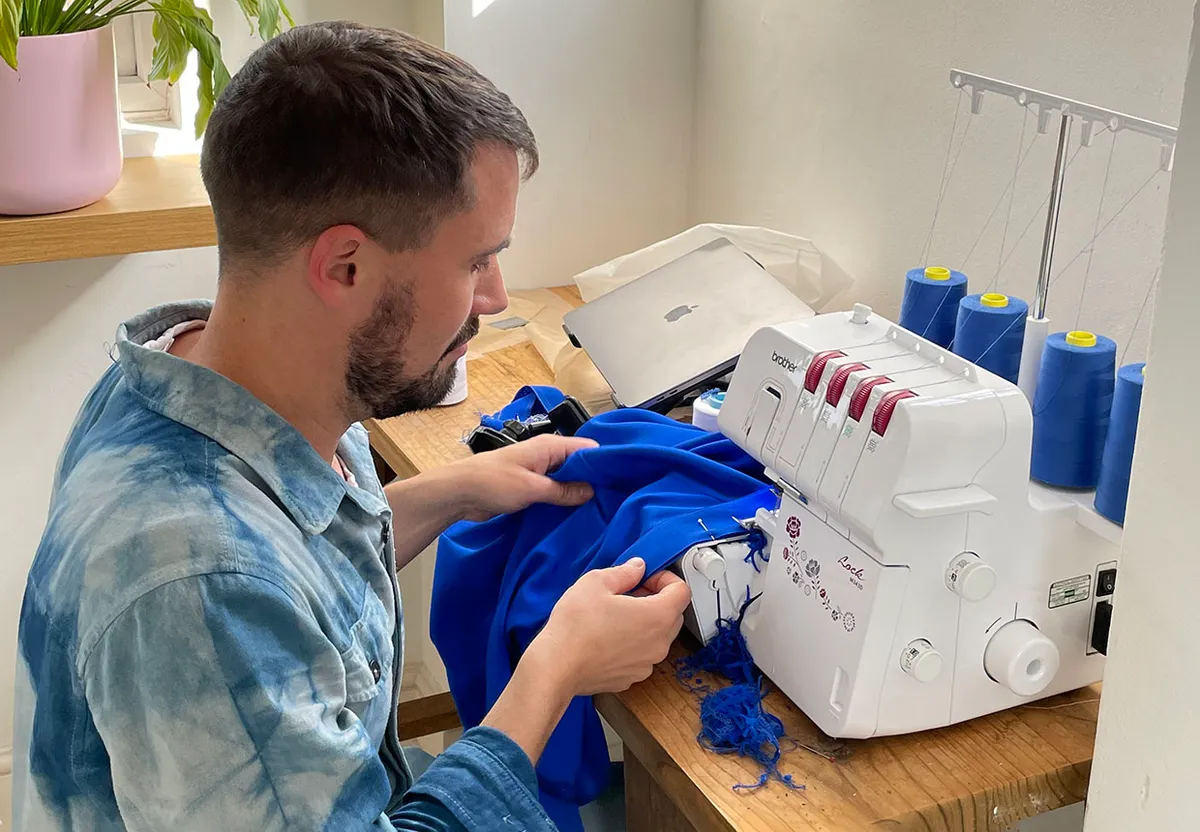
Many people think I hadn’t touched a sewing machine before I appeared on the Great British Sewing Bee in 2021, but that’s not entirely true. I work as a textile artist in the film industry, so I’ve been around sewing machines for a long time. I got interested in learning to sew and tried a few patterns, such as a gardening shirt for my partner Keith. That shirt was actually one of the pieces that made me realise I loved sewing – and that I should follow my friends’ advice and apply for the Bee.
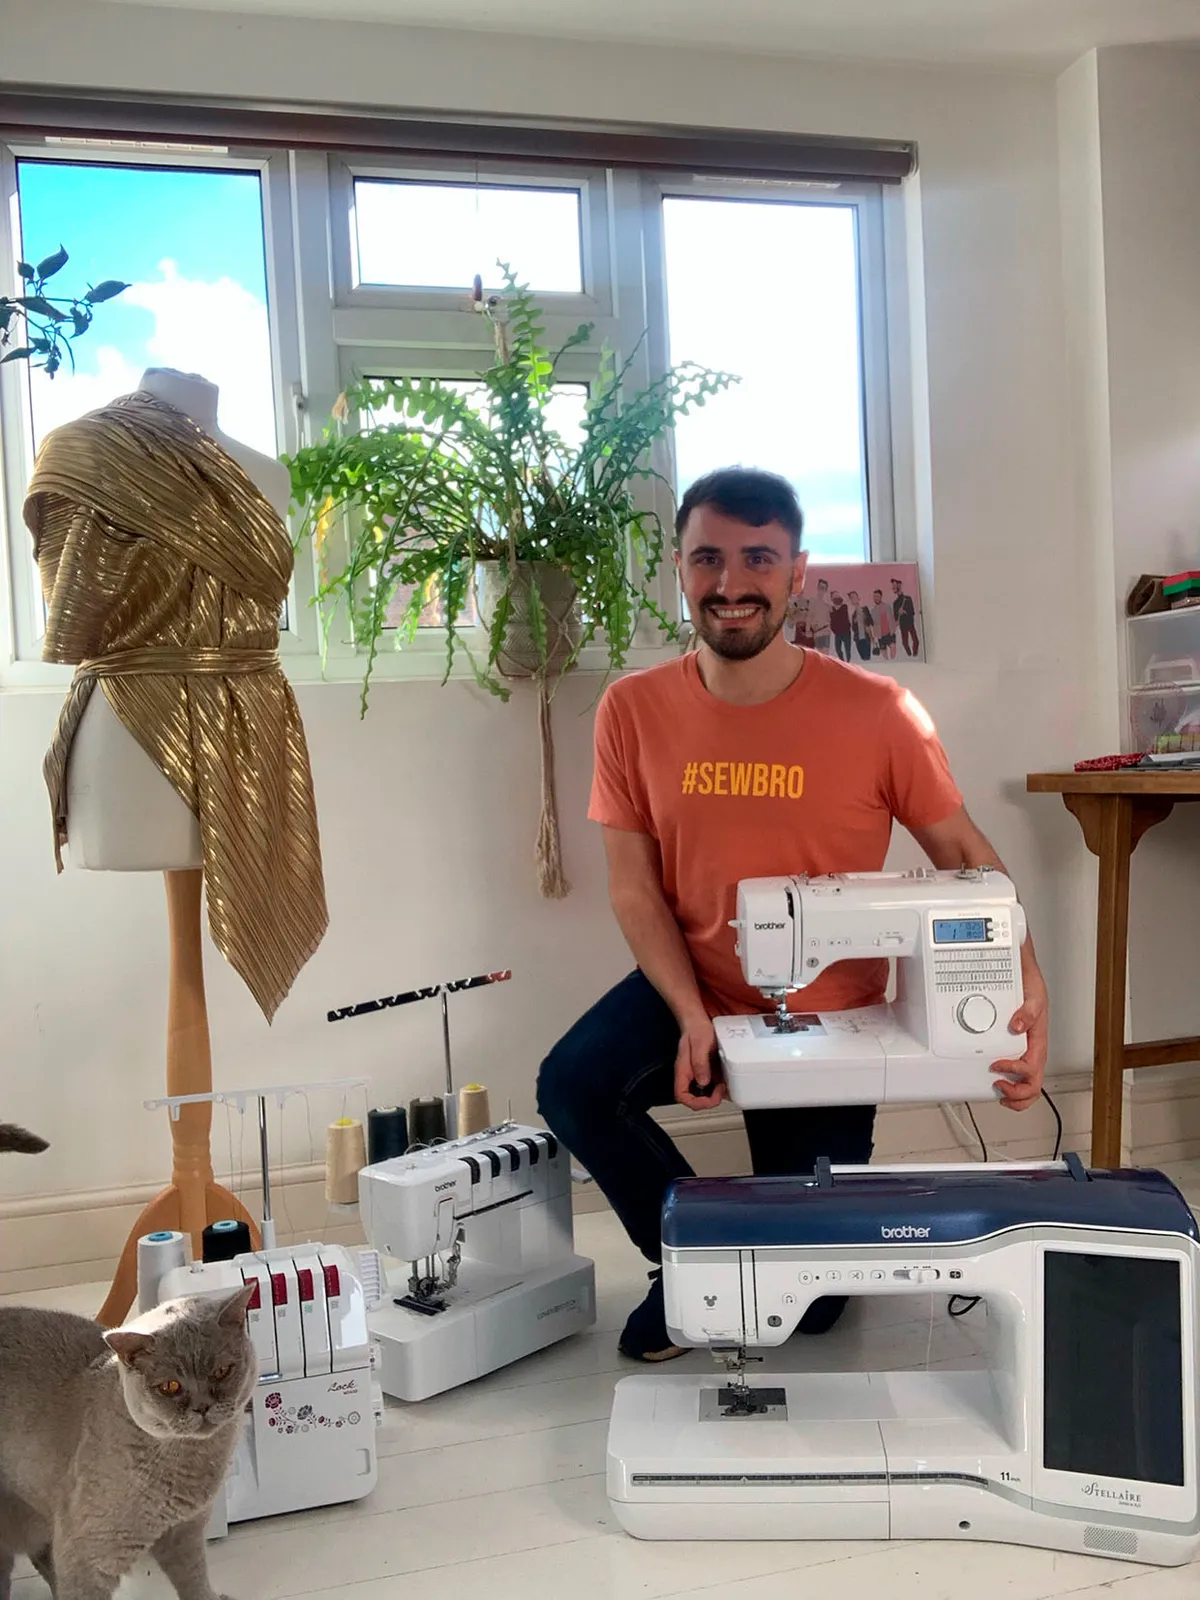
And I’m so glad I did! I learned so much and I met so many amazing people. I discovered my passion for upcycling and different ways to approach textiles. I’ve also, very luckily, become Brother’s ambassador and get to play about with all their new sewing machines.
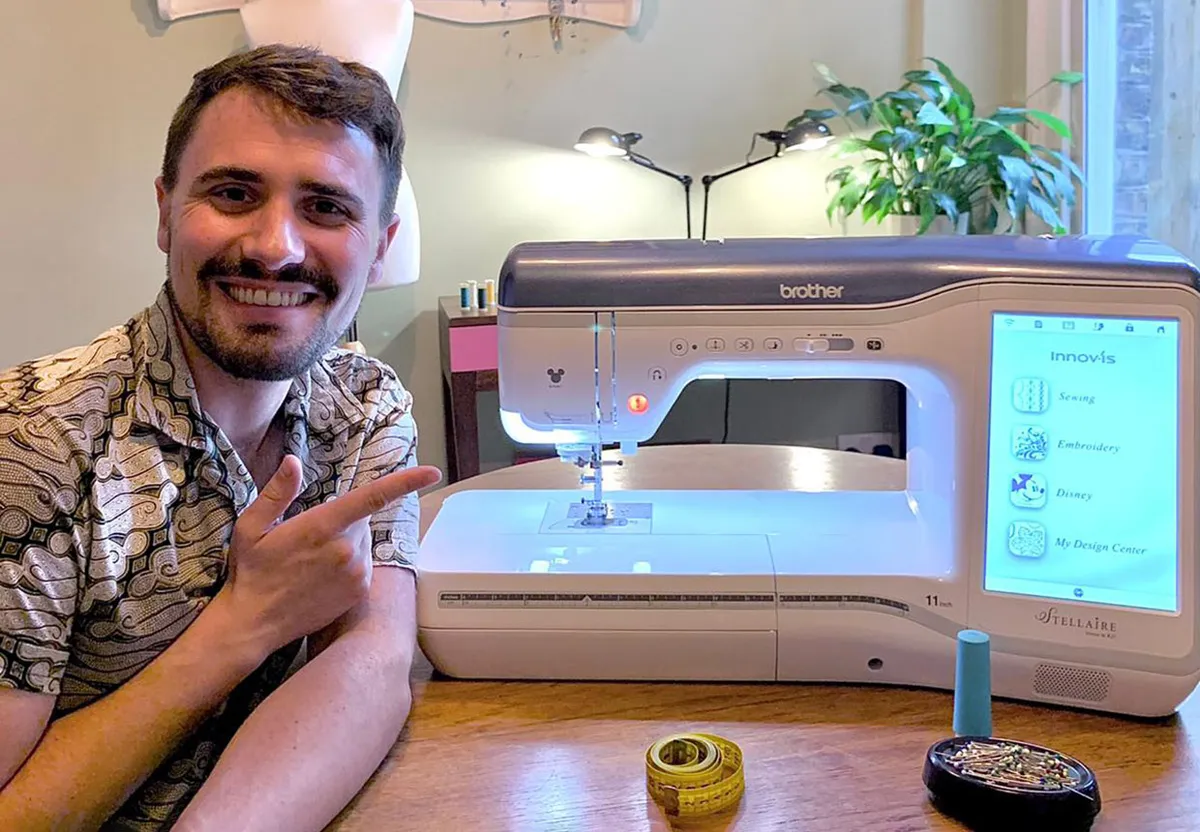
This year I designed an embroidered outfit for their Innov-is F580 shoot and I got to star in it! I’ve also been lucky enough to be gifted a Brother Stellaire XJ1 sewing and embroidery machine. It’s been so fun designing my own decorative stitches and using embroidery to embellish my makes.
Since appearing on the Sewing Bee, I’ve been getting a lot of requests for sewing tips on social media and from people I know, so I thought it would be nice to share them here too!
Read on for some of my favourite tailoring tips and tricks to transform your sewing.

10 tailoring tips to boost your sewing skills
1. Don’t be scared of sewing patterns!
When I first started sewing, patterns seemed daunting. I’d suggest starting out with a simple pattern (like a vest) first, and make sure you’re using an easier material like cotton.
Read all the instructions before you do any sewing! Try sewing the same thing a few times to master the pattern and learn how to understand pattern markings.
If you don’t like having to resize patterns to fit your frame, there are now online pattern companies such as Fayma, who will send you bespoke sized patterns (carry on reading to the bottom of the piece for a discount code!).
2. Take care with tricky fabrics
First of all, check if you have the right needle and thread. If the fabric is slippery, sandwich it between tissue paper. I’d also recommend using a walking foot for slippery fabrics and for sewing multiple layers at once.
If you’re sewing with silk, make sure you use specialist silk pins – don’t ruin your material for the sake of a few quid! Never pin leather, as you can’t get the holes out, use clips instead.
And always test, test, test, on a scrap bit of the same fabric before sewing your main pieces.
3. Save your scraps
Scraps are part of and parcel of sewing. However, fabric production uses a lot of water, materials and energy, so we shouldn’t be throwing them away. I love to make one-of-a-kind fabrics by sewing my scraps together.
Use a quilting guide on your sewing foot to help you sew all the seams straight. To make sure the patchwork fabric you’ve made lies flat, press open all the seams at the back of the fabric.
If the fabrics you’re working with are very thin, you may want to stabilise the fabric you’ve made from them – you can use an iron-on stabiliser or even back with another piece of fabric for this.
4. Don’t get heavy
Working with woollens and other bulky fabrics can be hard work. Start off by making a toile in a cheaper fabric. Heavy fabrics are expensive, you don’t want to ruin them by cutting the pattern pieces wrong or sewing darts in the wrong place.
A walking foot helps with sewing multiple layers, such as when you’re making a lined coat. Lining is essential for things like wool, which can be scratchy.
Use a stronger/thick needle and you might need a thicker thread. Test your tension and stitch type before you start.
5. Darts are your friend
People often ask me if they can skip sewing darts and the answer is no! Darts help a garment fit to your body shape. If you’re working with a pattern, you may need to change the darts to fit you (as patterns are a standard shape, unless you use an online bespoke pattern service). This is why it can be very beneficial to make a toile.
You may also need to change the dart length/width or add more towards the very end stages of making your garment. Darts should always be ironed towards the centre of your garment and if they’re over 5cm you’ll need to cut off the excess fabric (once you’re happy with them!).

6. Get colourful
Got a specific colour for a project in your head, but can’t find a fabric that lives up to it? Dye it yourself! As you know, I work in film and TV and part of my job involves dyeing fabrics in an exact shade, which can be challenging.
The good news is that it’s really easy to dye your own fabrics at home! You can use pre-made chemical dyes, but my favourite way is by using food and garden scraps.
Check out my Instagram for more inspiration, or keep your eye on the Brother blog where I’ll be writing an article about how to use avocados to dye fabric a beautiful shade of pink!
7. Stay strong
Making sure you build strength and structure into garment construction is extremely important. At certain stages of making your project/garment you will need to add interfacing to provide support to the fabric. For example, interfacing can support a collar so it stays where it should and doesn’t fold in on itself.
Some patterns ask for interfacing in other parts – for example, on a placket or where the zip sits. Don’t skip this part.
There are different weights of interfacing and they all do different things, so check that you’re using the right one for the job. A very stiff interfacing would look out of place in a floaty chiffon shirt, for example.
8. Cutting correctly
We’ve all heard that we should “measure twice, cut once”, but there are some other important things you need to get right when cutting fabric. Firstly, always pre-wash the fabric if you can or the garment will distort the first time you wash it!
Iron your fabric before cutting, as any large creases will play havoc with your measurements. Use steam if you can and go slowly. If you don’t have a clear, large table, you can cut your fabric on a hard uncarpeted floor like I do.
Pattern weights are brilliant for keeping your pattern and your fabric still. You don’t need fancy weights – tins from the cupboard work well (wipe them first!).
Make sure you follow your pattern cutting instructions. Do you need to cut on the grain or selvedge? Make sure everything you cut with is sharp.
9. Find support online
Apart from telling you “practice makes perfect” (which is always true) a great tip is to get online. There’s such a strong sewing community online that you can always find the answer to a question. And probably a blog post, video and TikTok dedicated to that one little question too!
This is especially good for learning really intricate parts of sewing, for example: how to sew a perfect mitred corner or how to sew a welt pocket. I always watch the video a few times first, then play it as I’m sewing too – pausing it at key points for me to catch up.
10. Have fun!
Whatever, wherever and however you sew, the most important thing is to have fun while you’re doing it! Feel your creativity and passion surge through you. It’s ok to make mistakes, it’s how we learn.
We all have to start off being not the best. But it’s great to look back on things you’ve made in the past and see how far you’ve come. Be proud, be confident and most of all, sew your own way.
I hope you found these tips useful. If you’d like more inspiration, you can follow me on Instagram @raph_sew_and_so. You can also check out the Brother Creative Blog, which has lots of free projects, tutorials and articles written by me!
Put Raph’s tailoring tips into practice
If you’d like some sewing patterns to get you started, head over to Fayma.com. If you use discount code BROTHER25, you’ll get 50% off your first bespoke sized sewing pattern, and 25% off your second (so no fiddling to fit the pattern to your measurements!).
Anyone buying a Brother Innov-is A50 in the UK until 31/12/22 will also get three free Fayma sewing patterns when they register their machine online.

Start making your own clothes today
Now that you’ve learnt Raph’s sewing tips, you’re ready to start making your own garments! If you’ve never made your own clothes before, it’s a good idea to begin with a simple project like this easy crop top pattern.

