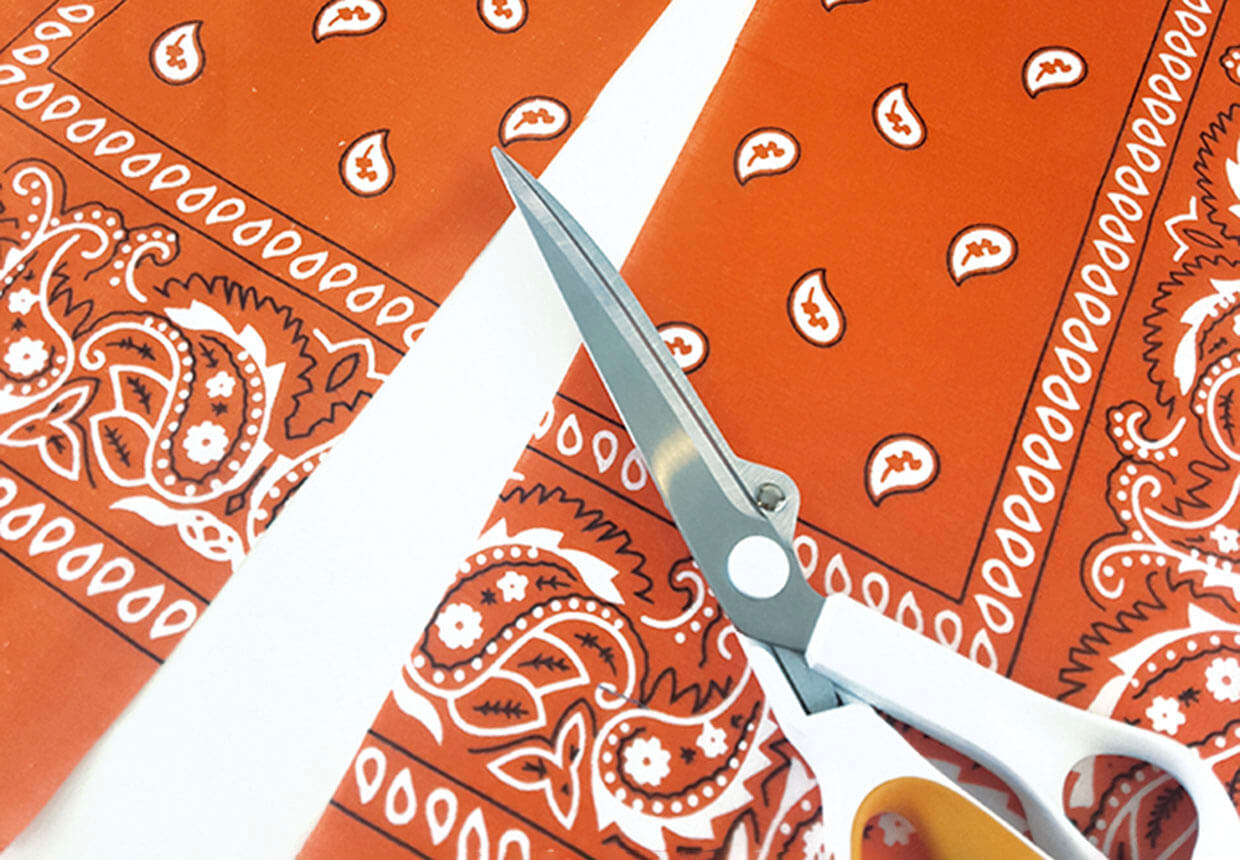
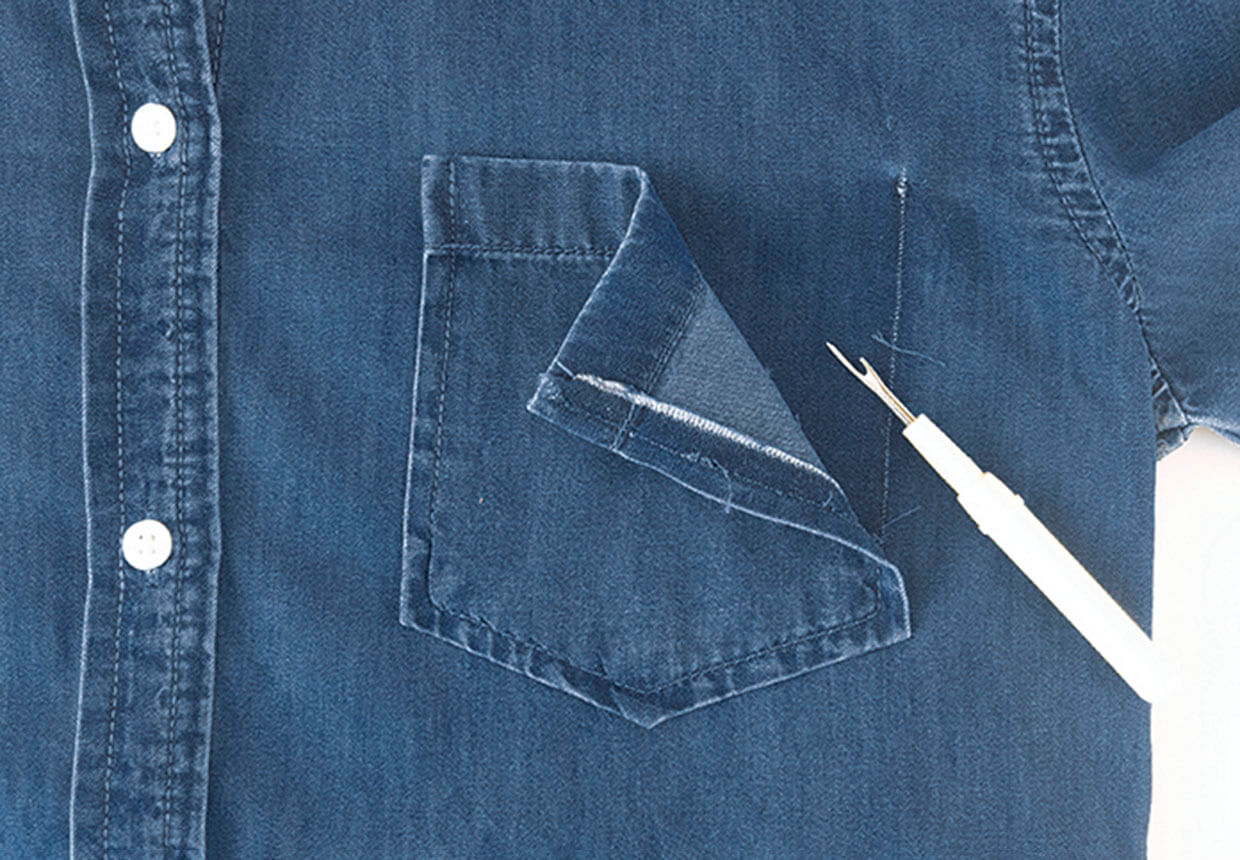
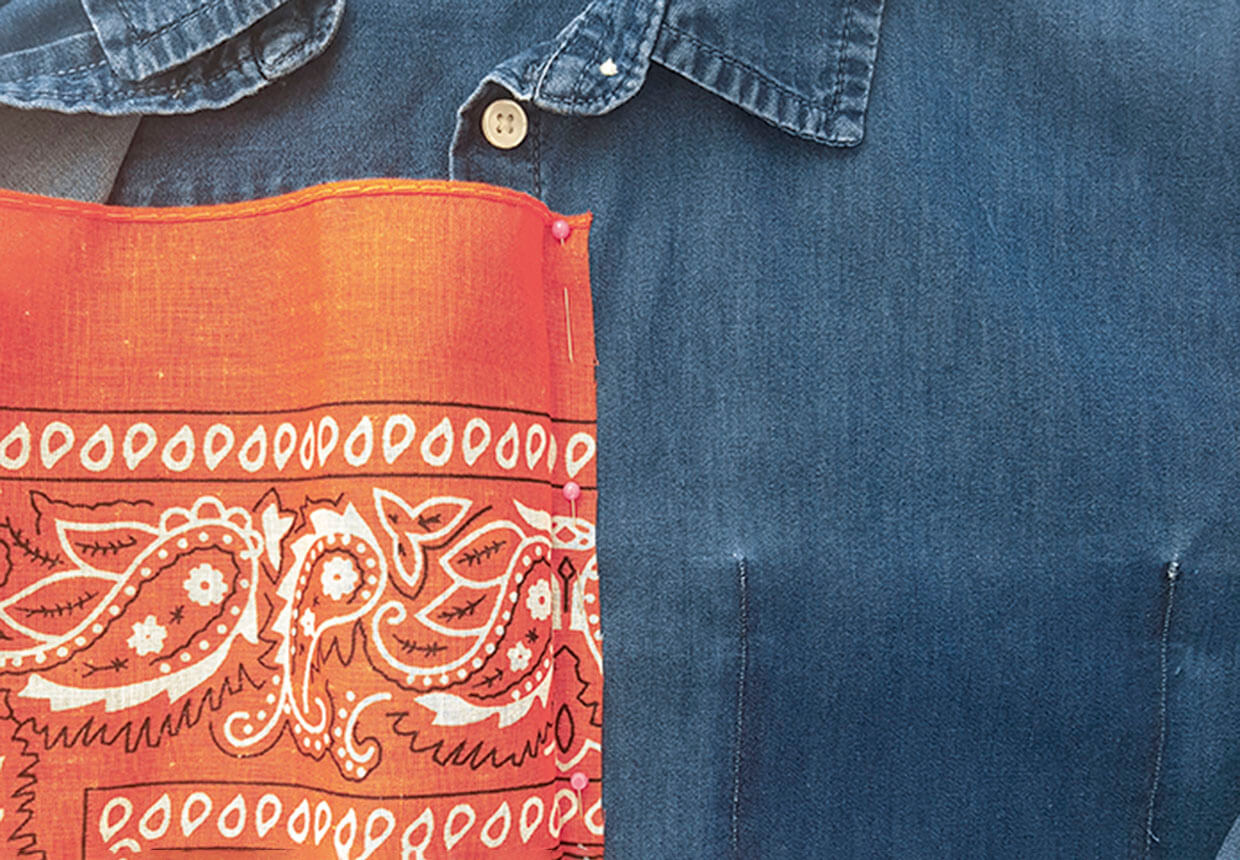
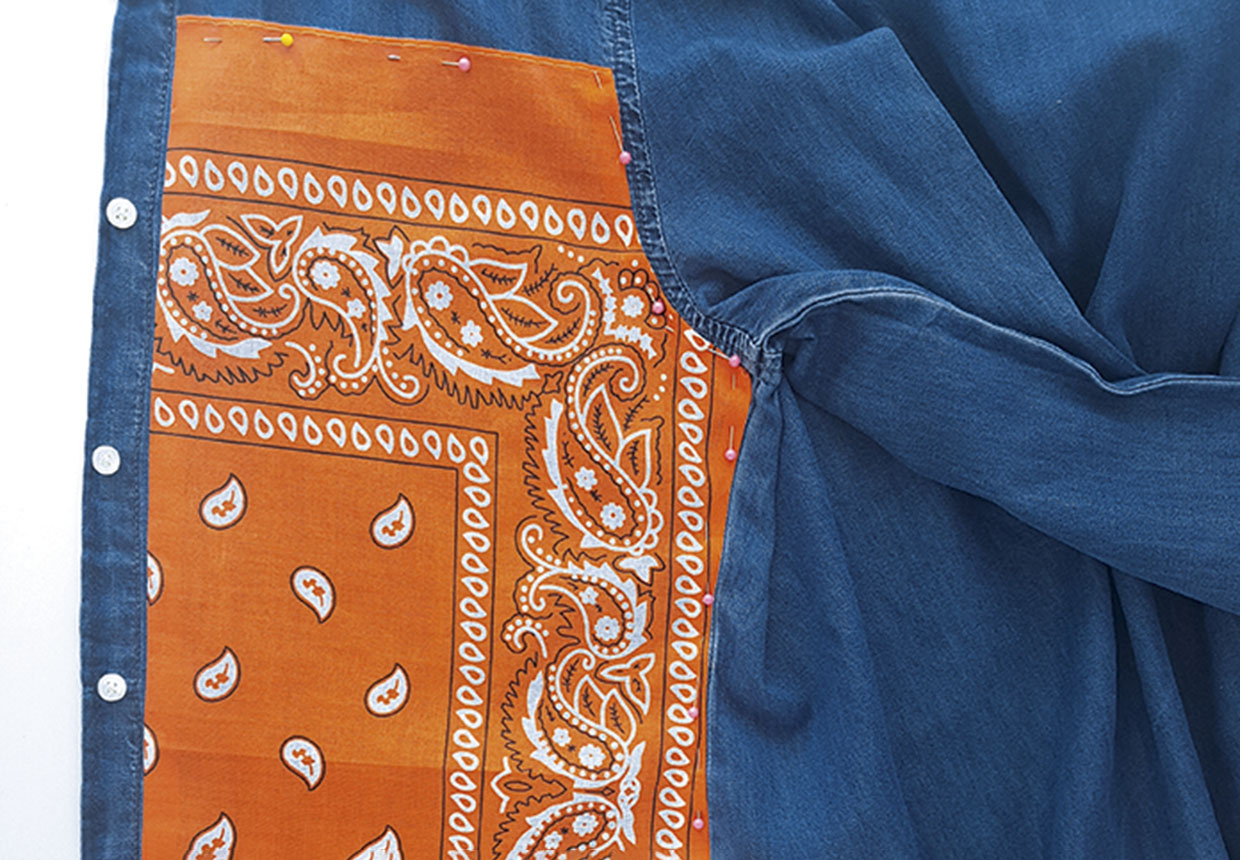
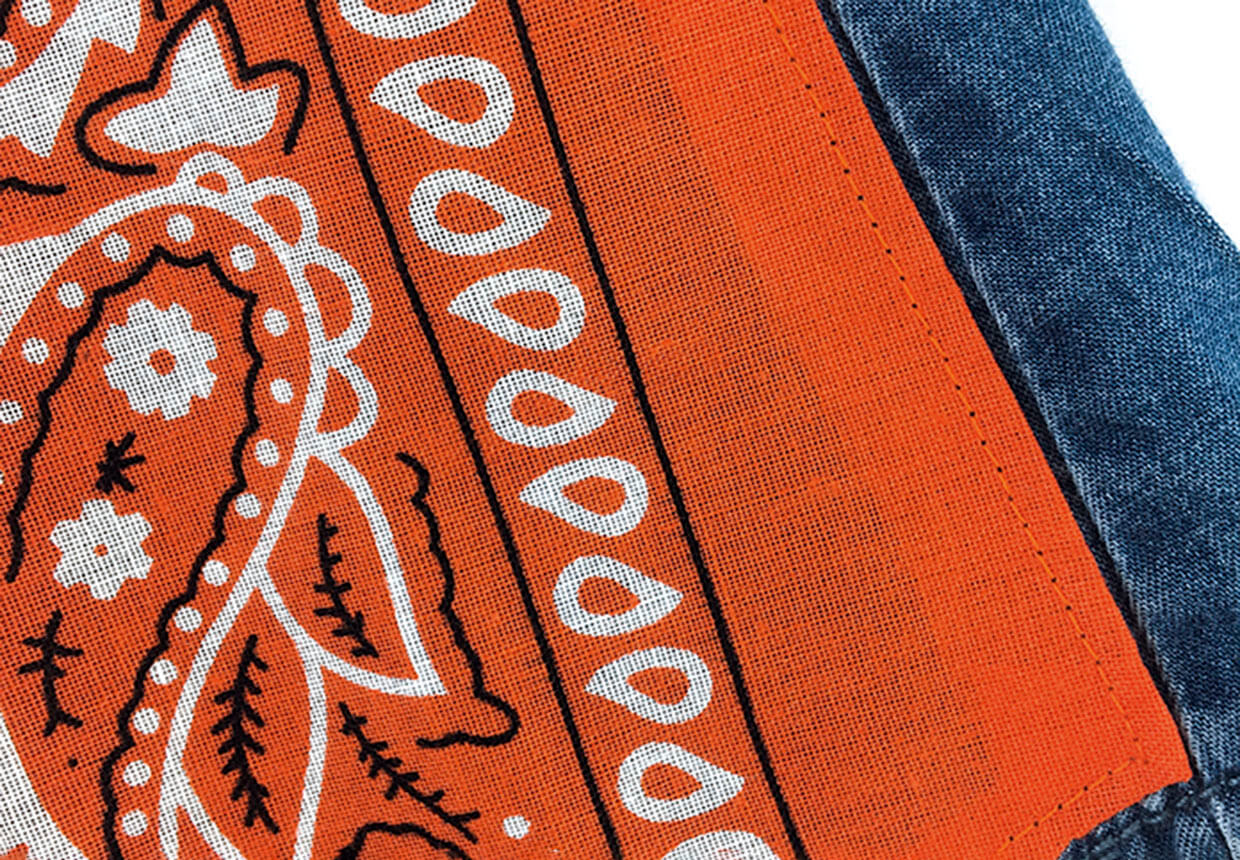
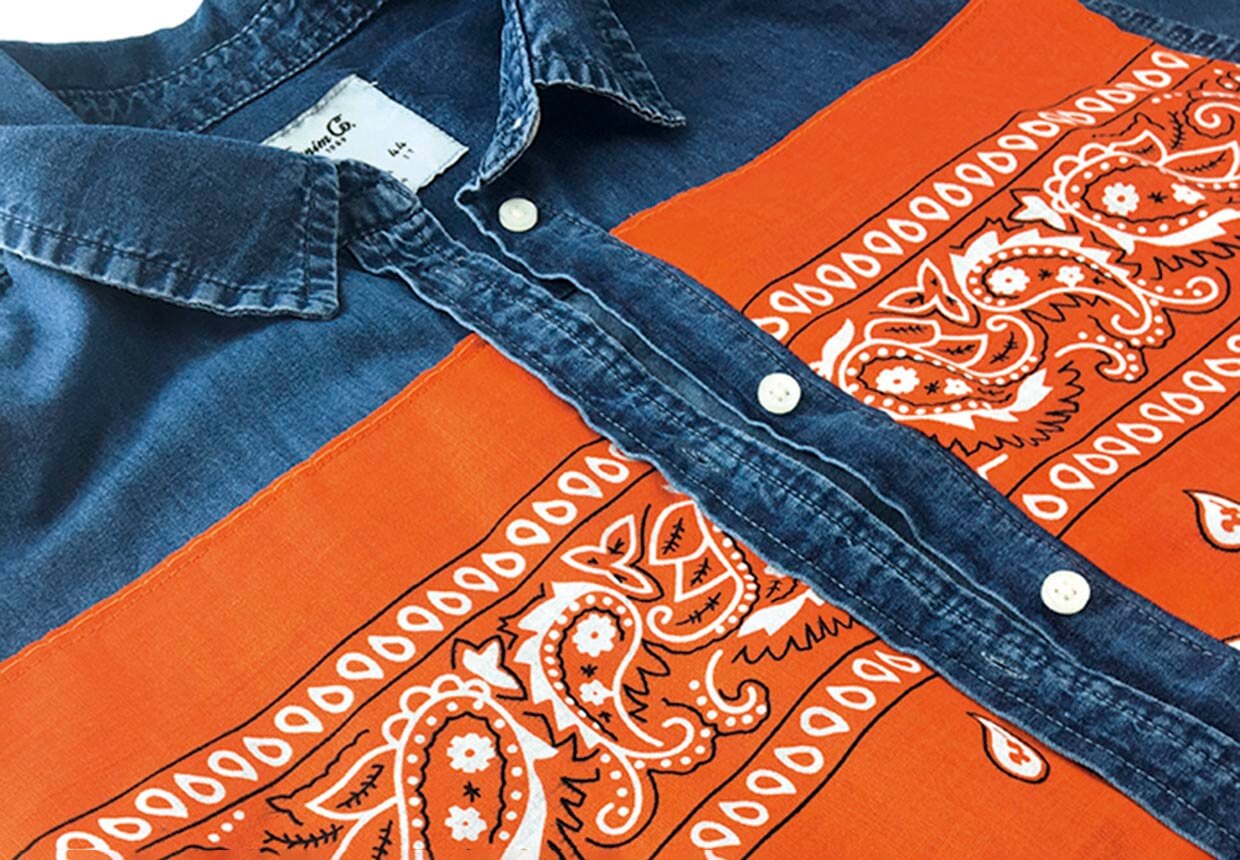
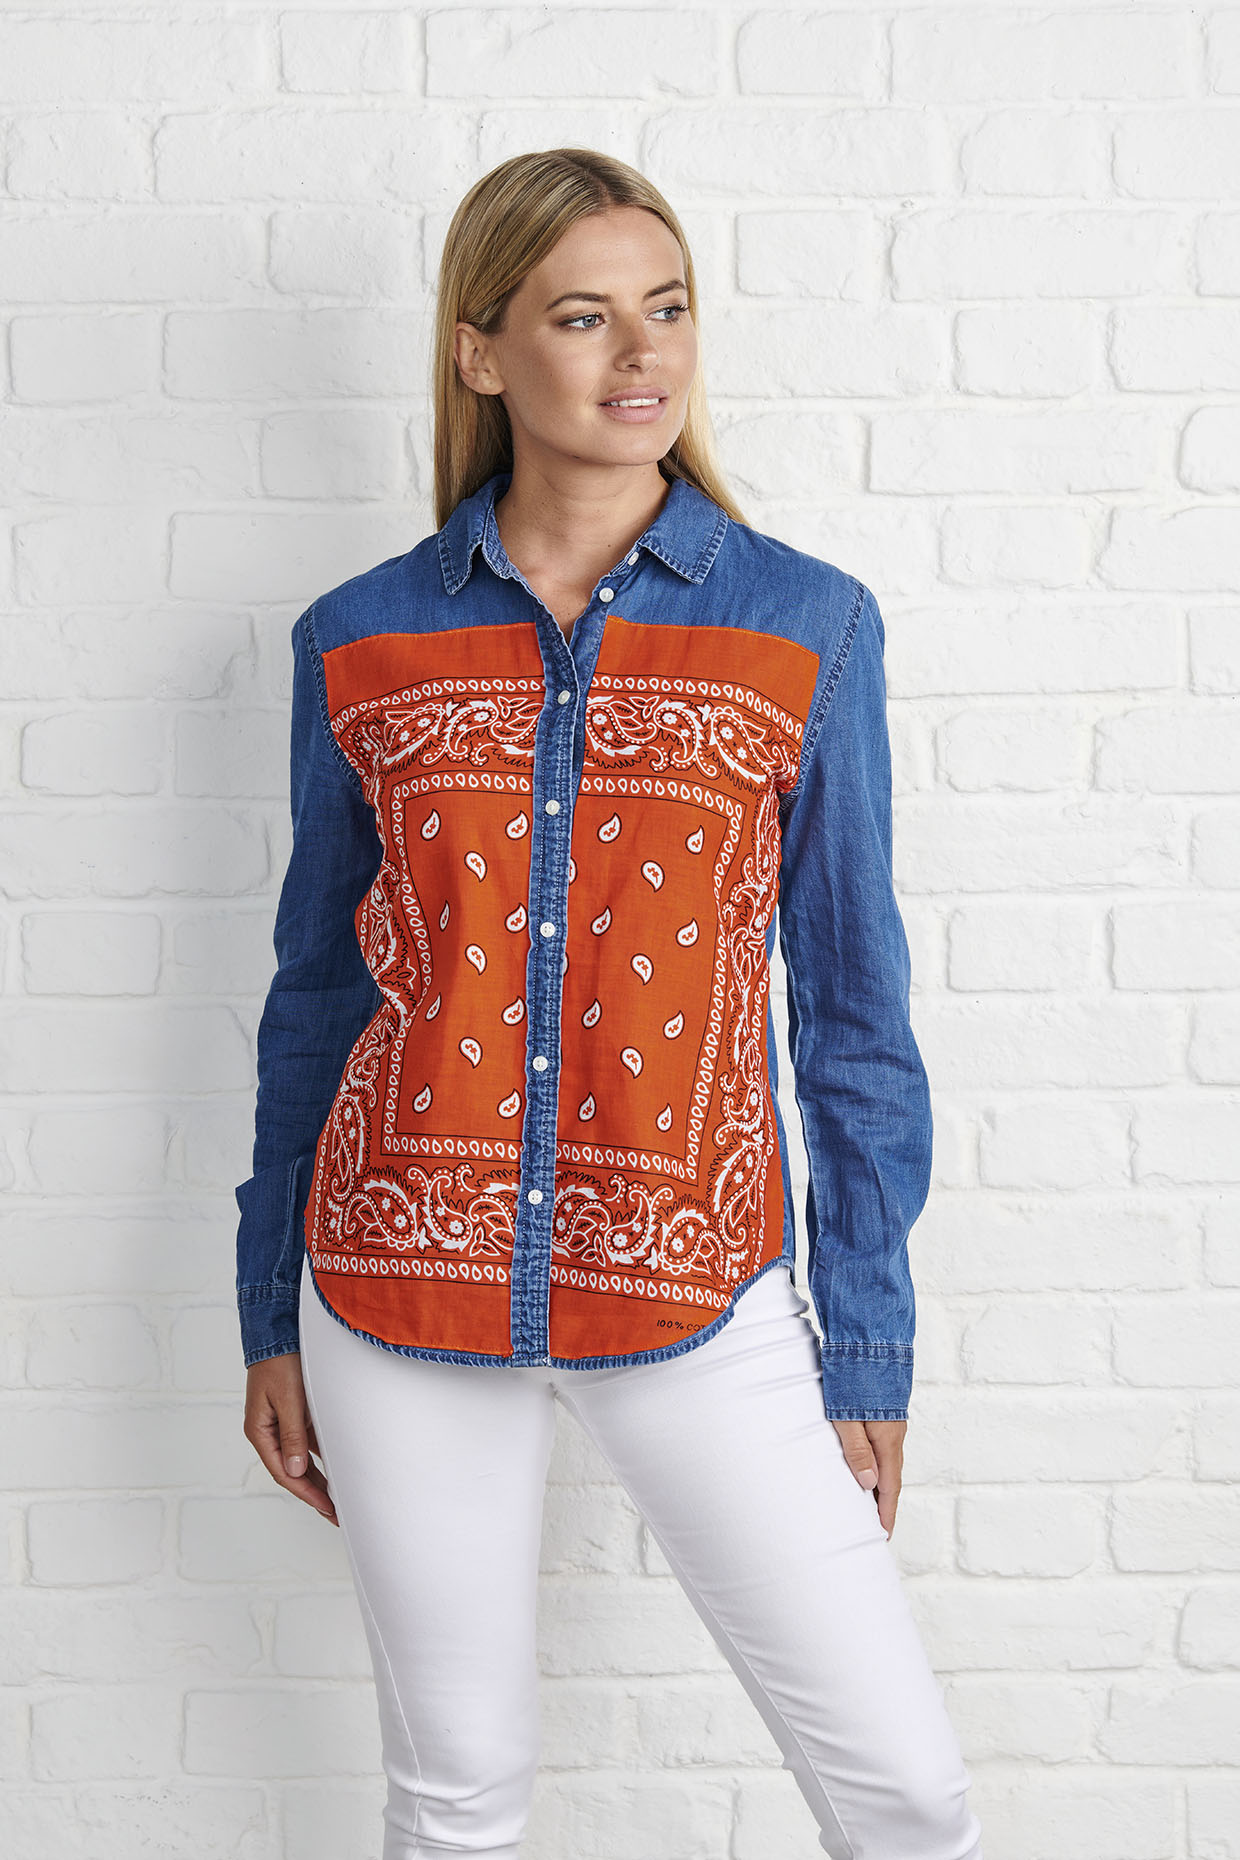
We've been inspired by series 8 of the Great British Sewing Bee to make our own denim shirt transformation project! This clever shirt upcycling project by Debbie Wainhouse is a brilliant way to give an old shirt a fresh new look. All you need is a denim shirt, a bandana and some basic sewing kit.
This is a really great way to upcycle an old shirt that you might otherwise throw away. If there are any tears or damage on the front of the shirt, it can be easily hidden away underneath the bandana. We love the feel of this upcycled shirt. It's easy to imagine it being worn by a country music star such as Dolly Parton!
There are plenty of ways to adapt this project to suit your style or your needs. Debbie has put together seven top tips for you to try:
- Add a simple patch pocket to the shirt front. You may be able to use excess fabric from the original garment.
- Use a different scarf for this simple upcycle, there are lots of patterned scarves that could be altered in this way, a floral or checked scarf would make an interesting alternative!
- Use a lightweight shirt for summer. Adapt for winter by using a heavierweight shirt such as heavier denim or cord.
- Apply this method to any garment with a placket, this would be a great hack for a denim shirt dress!
- Remove the buttons and add new contrasting or matching ones. Just make sure that the new buttons are the right size for the original buttonholes before you attach them. You can save the buttons removed for a future upcyling project!
- Use this upcycle to avoid throwing away shirts with a hole or stain. If the flaw will still be visible cover with an appliqué patch.
- Try hacking an old school uniform shirt or dress into a new summer top for your child – the ultimate money saver!
This project first appeared in Simply Sewing Magazine. Simply Sewing is a practical magazine for people who sew or want to learn. It's packed with beautiful projects to sew and expert workshops to boost your sewing skills.
Looking for more environmentally friendly craft projects? Have a go at visible mending, explore our upcycling clothes ideas or take a look at our recycled craft ideas.
If you're new to sewing, you might find it useful to check out some of our beginner's guides before you begin. Take a look at our sewing for beginners and how to use a sewing machine guides to help you get started. You can also stock up on craft supplies with our best sewing machines for beginners and sewing kits for beginners guides.
Read on to try our shirt upcycling project…
