Cutting out
Step 1
Draw a 47cm (18½in) circle on the paper for the template.
Step 2
From Fabric A cut:
- Cushion front: circle using the template.
Step 3
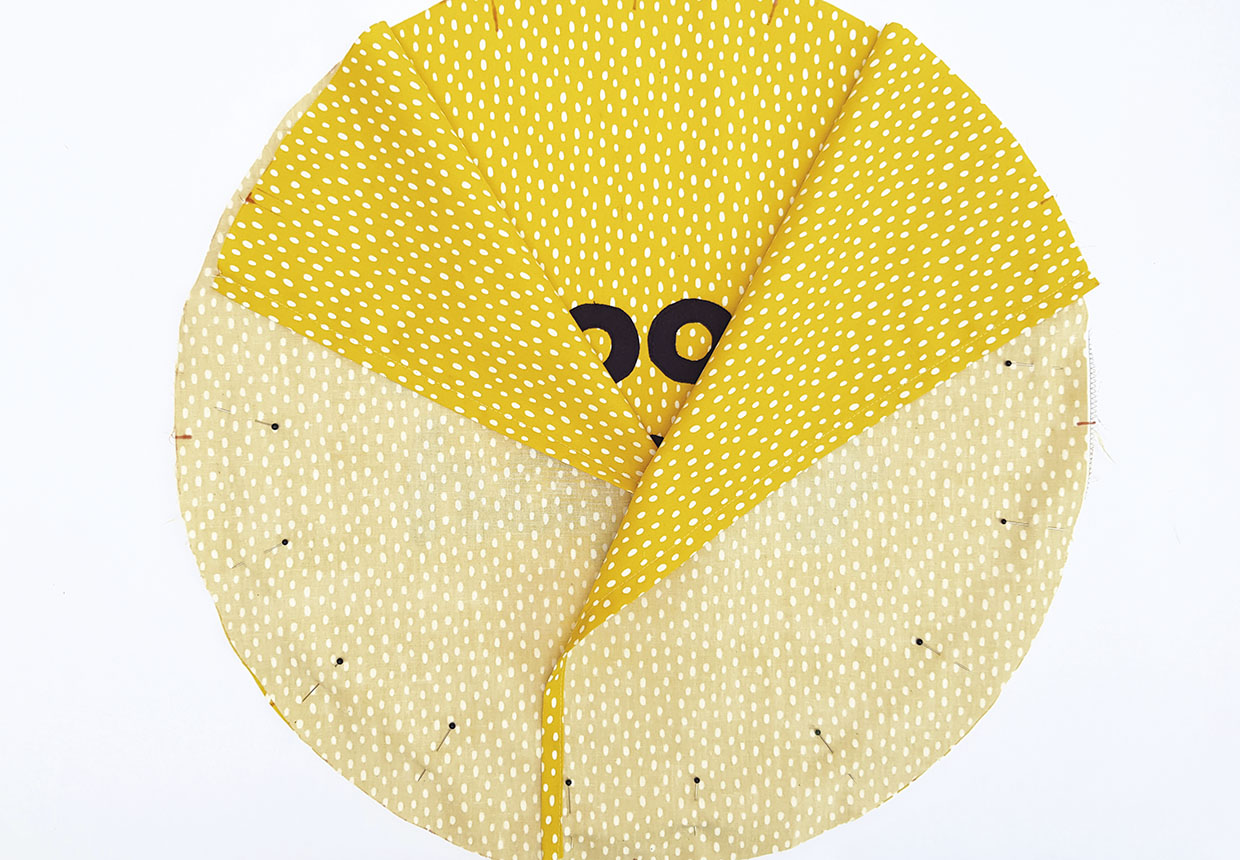
Fold the circle template in half to find the middle point, then open out and fold back 6cm (23⁄8in) away from the middle point. Cut along this line to create a template for the envelope back. Using the larger part of the circle cut out: Envelope back:two pieces, making sure that if your fabric is directional that the fabric overlaps correctly when sewn together.
Step 4
Create a mirror image of the appliqué template. Place the Bondaweb onto the mirror image and draw around the letters.
Step 5
Iron Bondaweb onto the wrong side (WS) of Fabric B. Cut out the text, ensuring you place the letter templates on the right side (RS) of the fabric so they will read in the correct direction.
Adding the applique
Step 1
Transfer the text outline onto the RS of the cushion front using the erasable pen.
Step 2
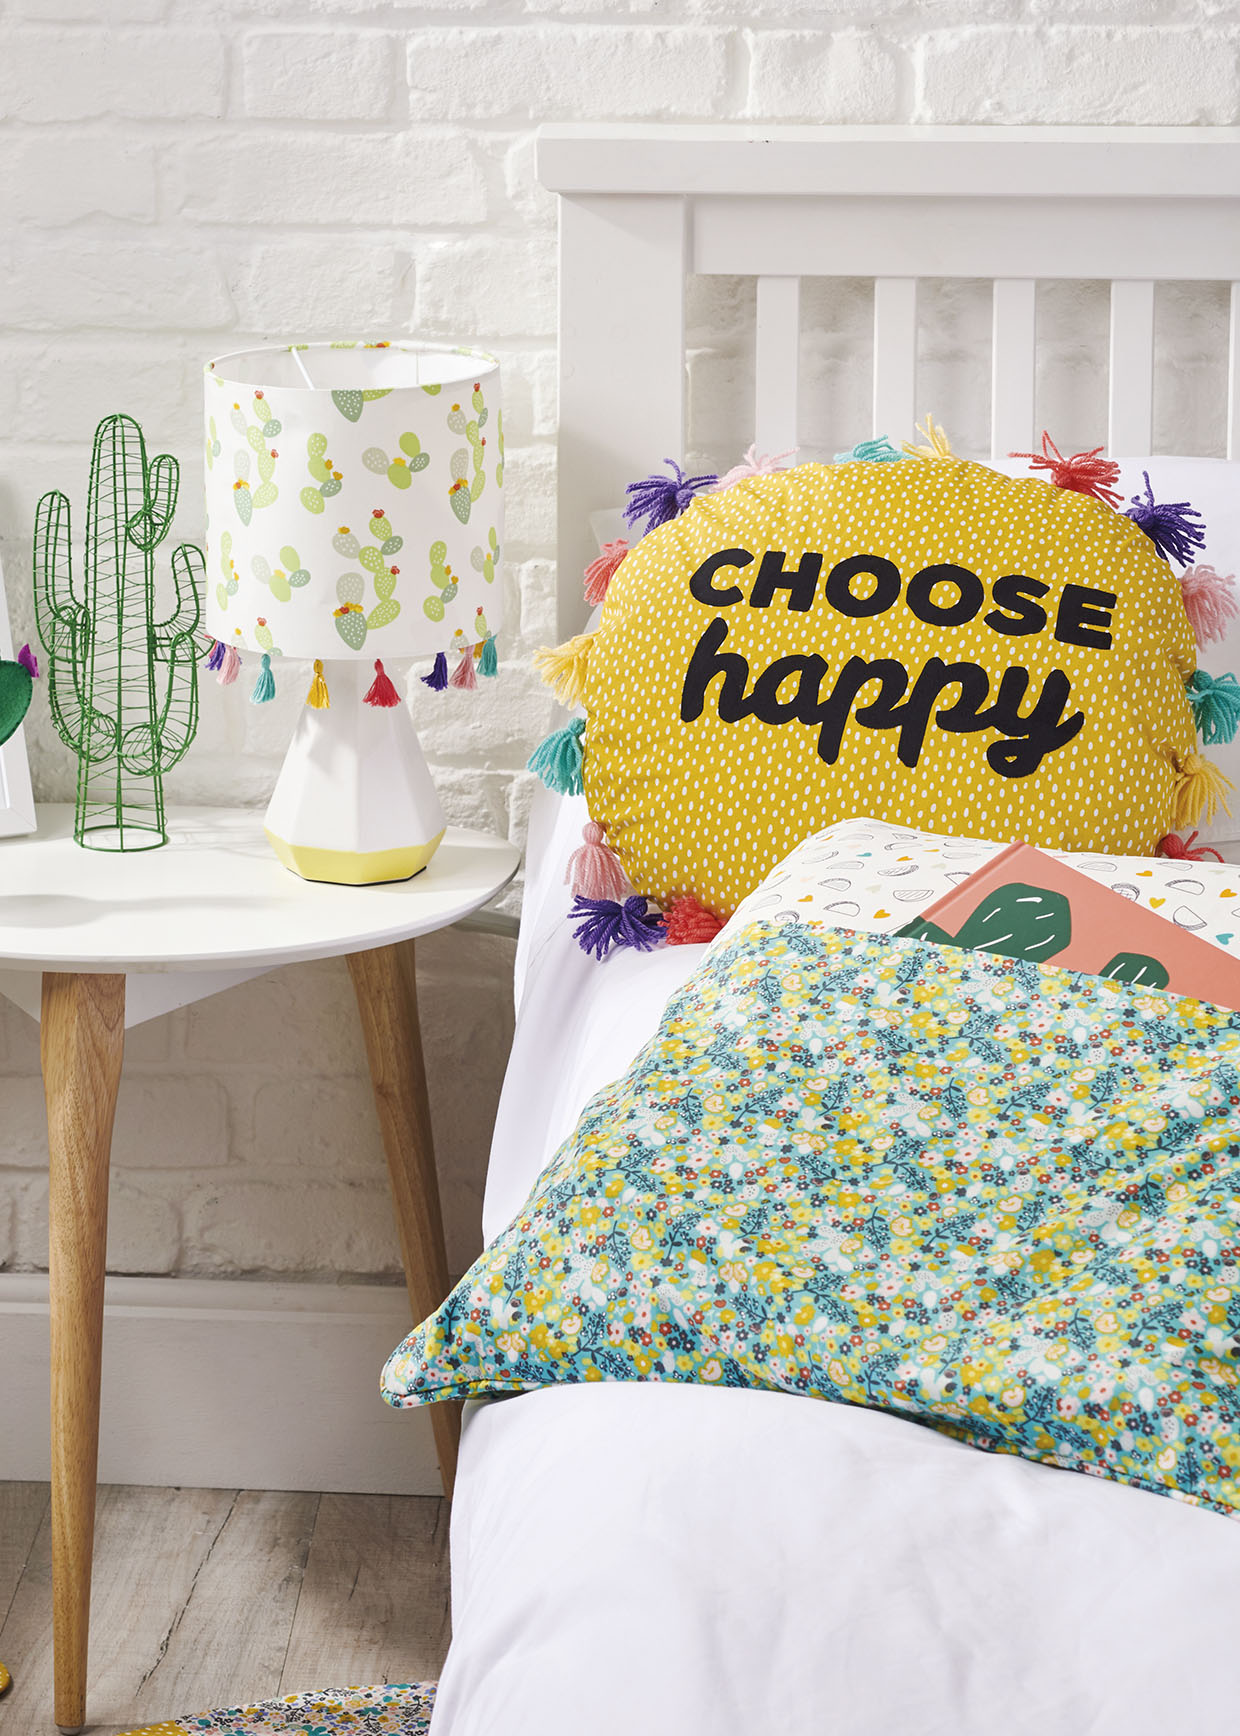
Work out how many tassels you want around the cushion. We have 20 tassels, with four of each of the five colours.
Step 3
Mark equal points on the cushion front for the tassels.
Step 4
Peel off the backing paper from the Bondawebbed fabric and press the text onto the fabric using the iron.
Step 5
Topstitch around the edges of the appliqué for added security.

Assembling the cushion
Step 1
For each of the envelope back pieces, fold over one of the long sides to the WS by 1cm (3⁄8in). Press, then fold over by 1cm (3⁄8in) again to enclose the raw edge. Topstitch in place as before.
Step 2
Pin then sew the envelope back pieces to the cushion front, overlapping them in the centre. Turn RS out and press.

Making the tassels
Step 1
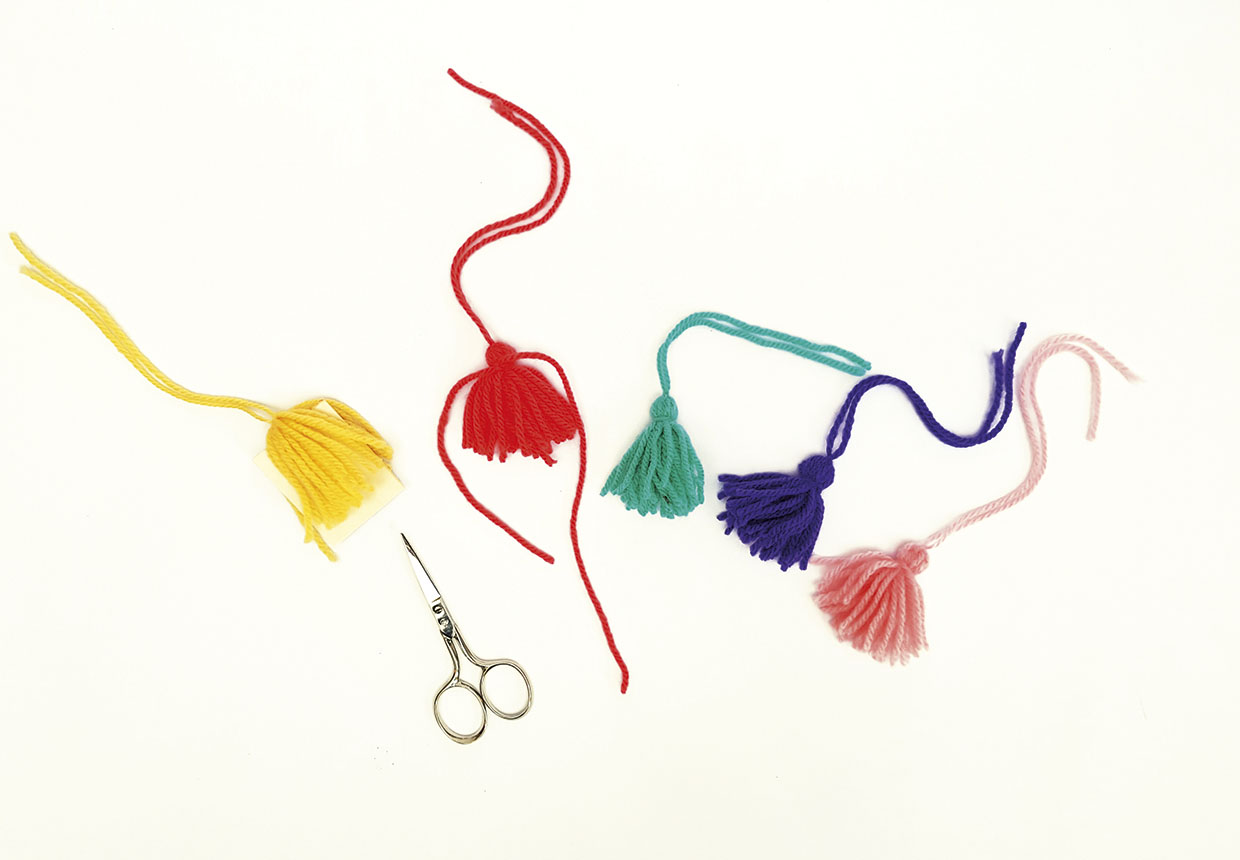
Cut the card in half to make two pieces 6x4cm (23⁄8x15⁄8in). Hold them together then wind the yarn around the 6cm (23⁄8in) length 20 times. Make sure you cut the yarn off at whichever edge the loose starting yarn is.
Step 2
Cut a piece of yarn 15cm (6in) long, thread it onto a tapestry needle then thread it between the two card pieces on the opposite end to where the loose yarn is.
Step 3
Tie the knot tightly in a double knot.
Step 4
Insert your scissors between the two card pieces on the opposite edge to the knot and cut the yarn.
Step 5
Remove the card pieces. Cut another piece of yarn about 15cm (6in) long. Tie it around the top of the tassel approx 1cm (3⁄8in) down from the knot. Wrap around the tassel a couple of times then tie in a double knot. Pull the wrapped yarn ends inside the tassel.
Step 6
Trim the ends of the tassel to the same level. Repeat to make 20 tassels.

Adding the tassels
Step 1
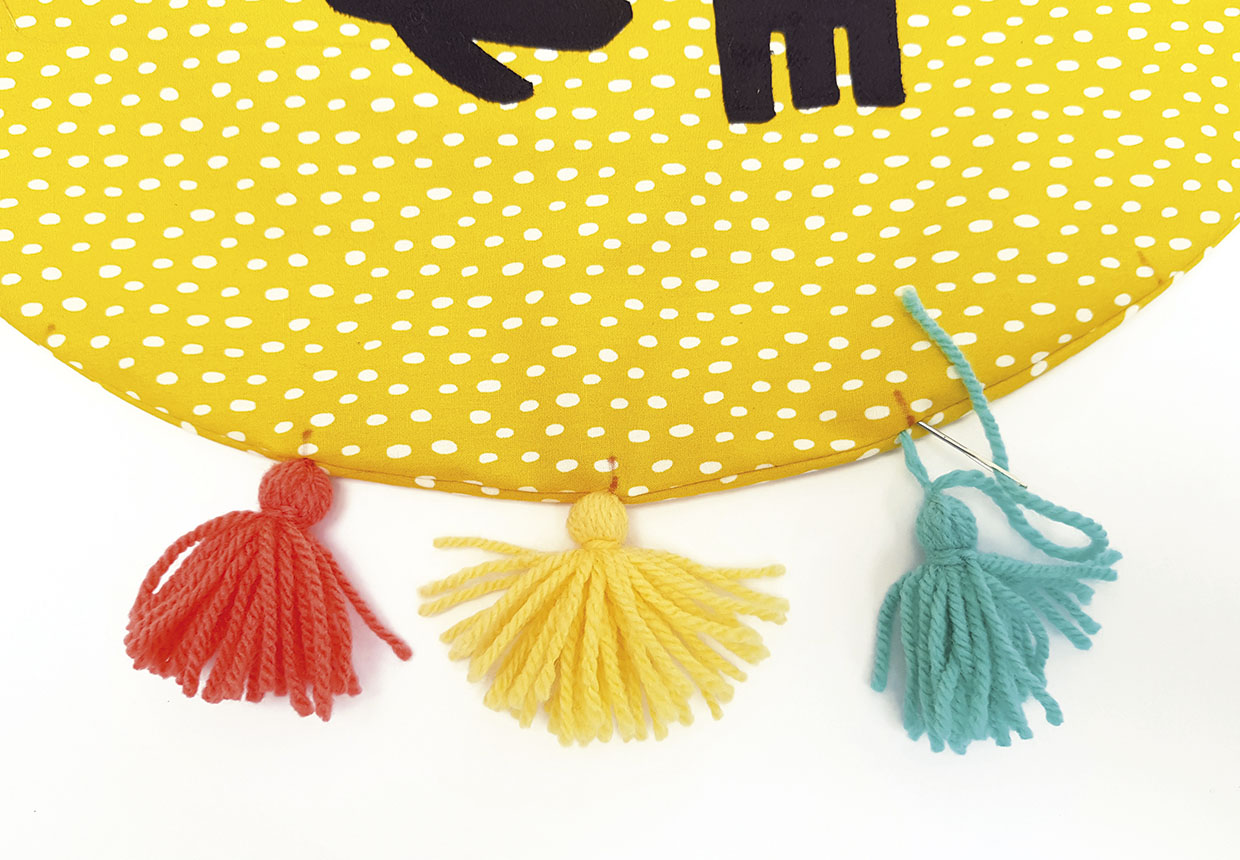
Thread one of the tassel yarn ends onto a tapestry needle and insert it into the edge of the seam at the marked point.
Step 2
Pull the yarn through to the inside of the circle cushion.
Step 3
Repeat with the other yarn end, this time inserting the needle 1mm away.
Step 4
Pull the yarn ends tight inside the cushion and tie in a double knot to secure.
Step 5
Repeat to attach the rest of the tassels to the cushion, evenly distributing the colours.


