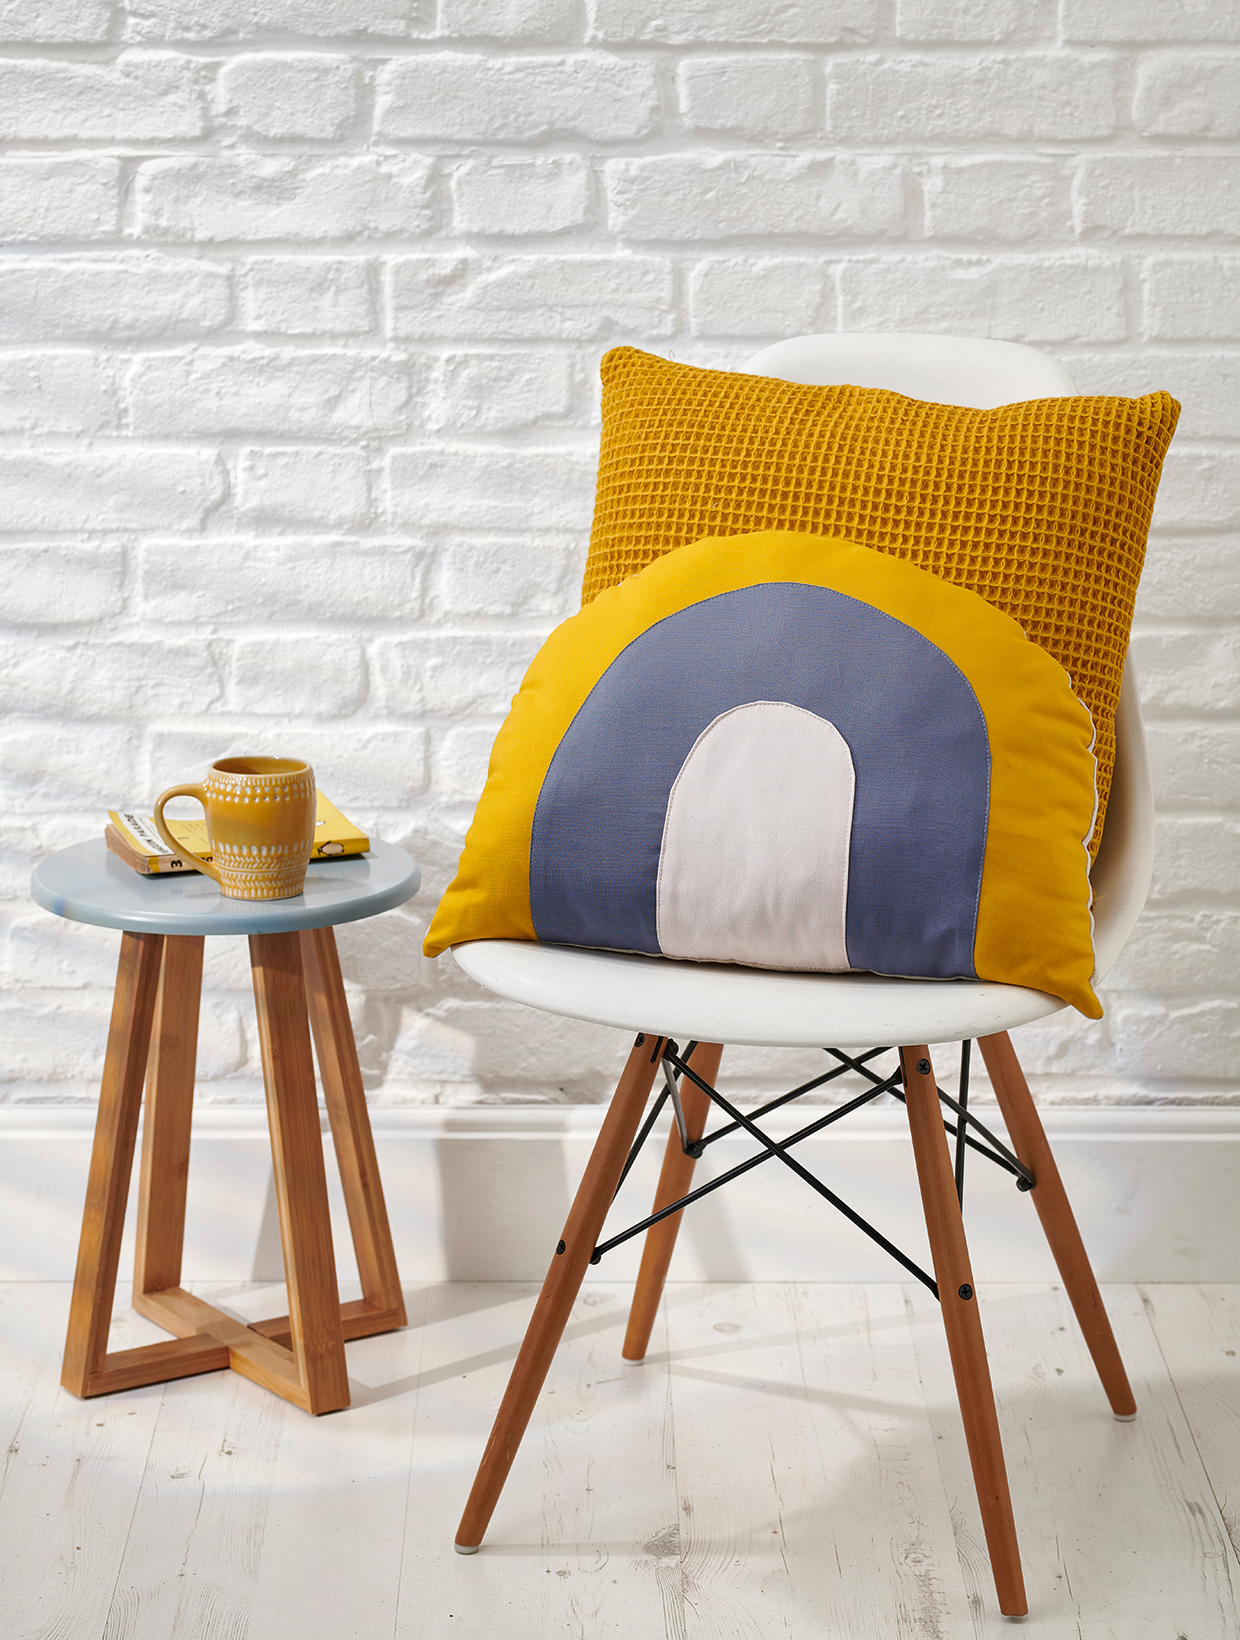
Cutting out
Step 1
From Fabric A cut:
- Outer arc: one using template A.
- Backing: three using template A.
Step 2
From Fabric B cut:
- Centre arc: one using template B.
Step 3
From Fabric C cut:
- Lower arc: one using template C.
Preparing your pieces
Step 1
 Lay out one of the backing pieces and lay the outer arc piece on top, right side (RS) together. Set aside for now.
Step 2
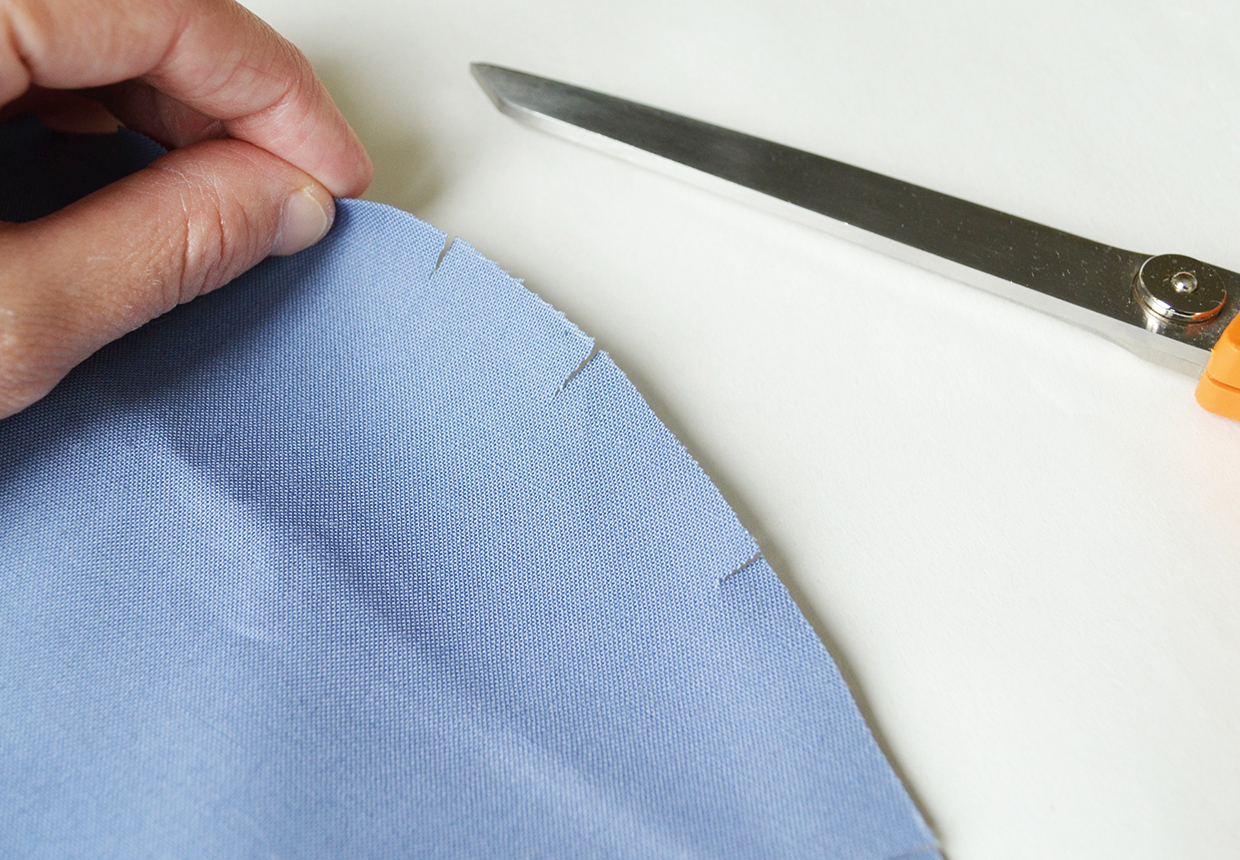
Take the centre and lower arc pieces and snip approx 7-8mm in at roughly 2-3cm (¾-1¼in) intervals around the curved part of their edges only.
Step 3
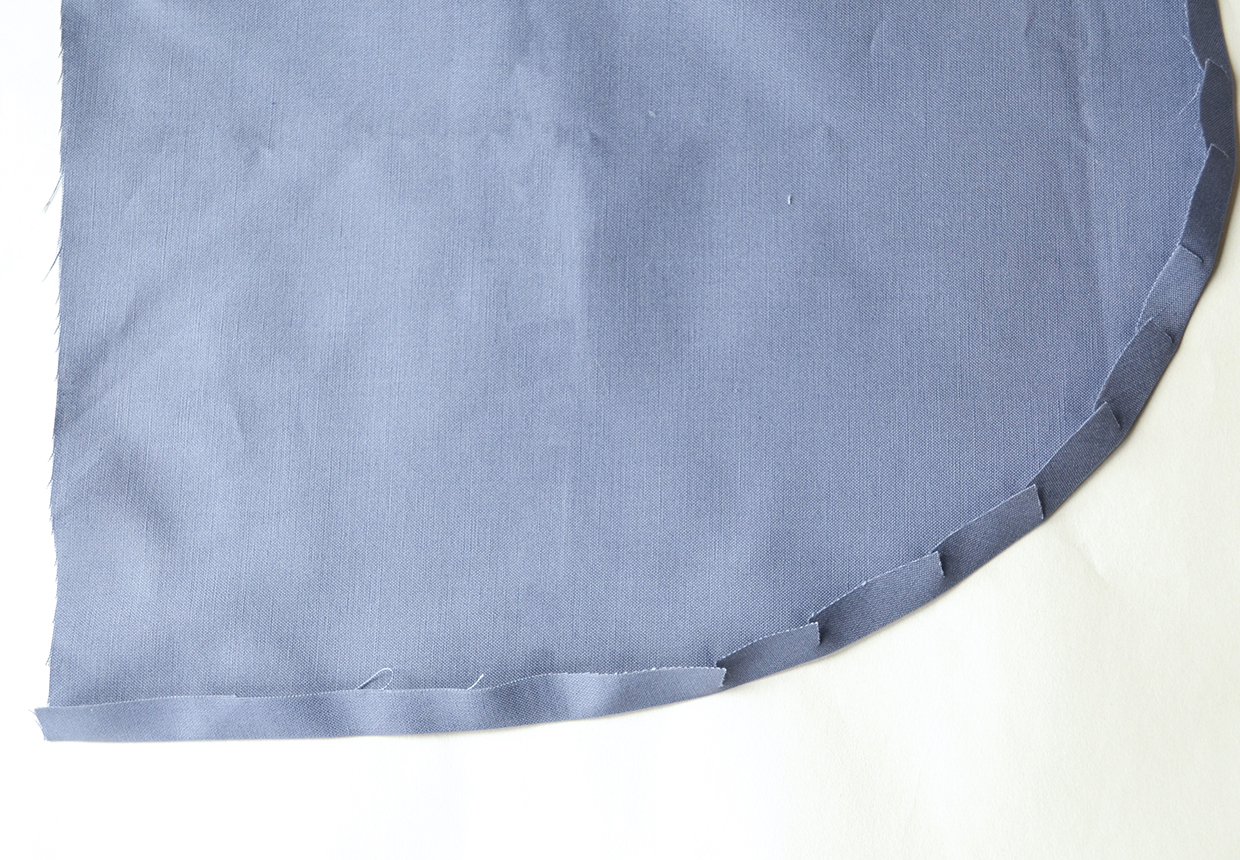
Lay the centre arc piece RS down on your work surface. Along the outer edge (but not the straight bottom edge), fold the fabric in by 1cm (3⁄8in) and press as you go around. Do the same with the lower arc piece.
Assembling the front panel
Step 1
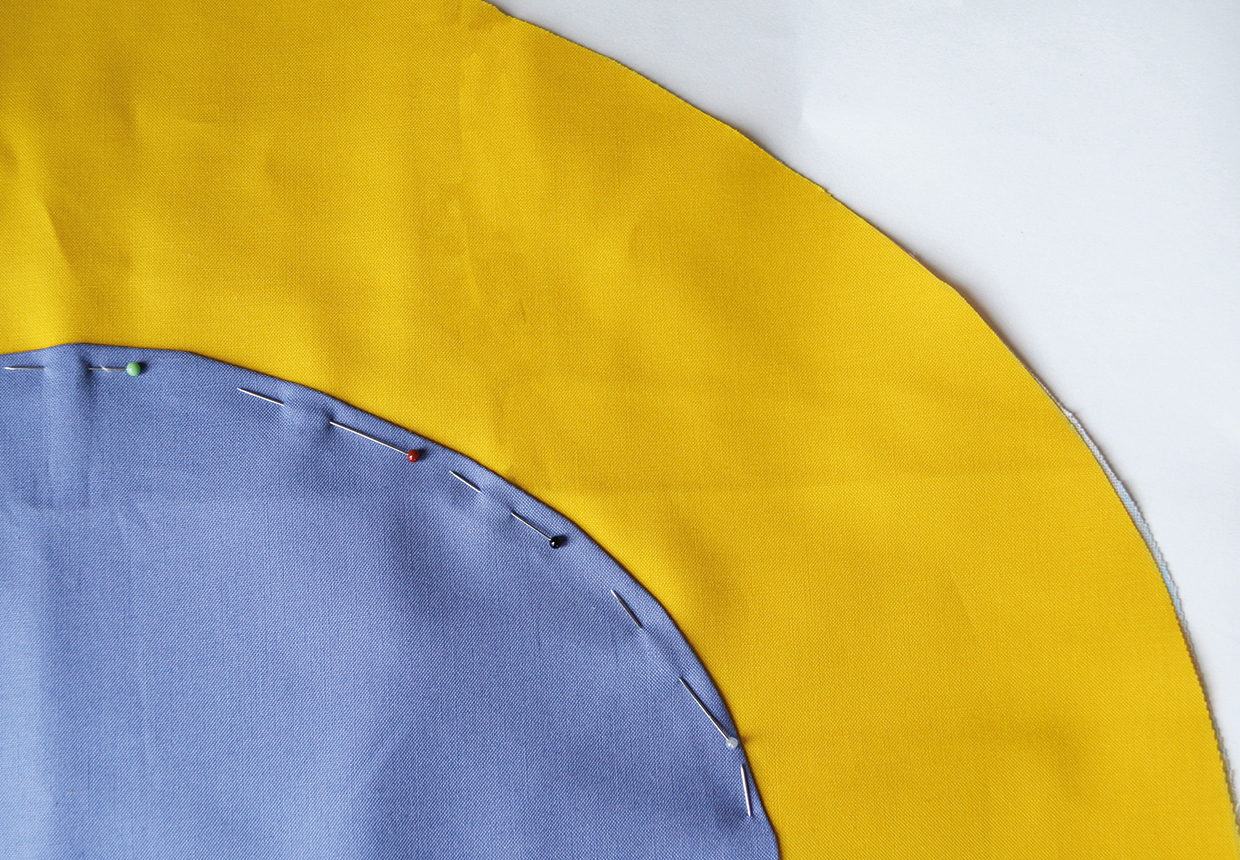
Turn the centre arc piece over so it is RS up and the folded edge is underneath. Place it on top of the outer arc/backing piece so that the bottom edges align and the sides of the blue piece are 10cm (4in) in from the edges of the outer arc piece. Pin around the edge of the centre arc piece (you don’t need to pin along the straight bottom edge). Repeat with the lower arc piece, making sure the sides are 9cm (35⁄8in) in from the sides of the centre arc.
Step 2
Sew around the outer edges (but not along the straight bottom edges) of the centre and lower arc pieces, 1-2mm in.
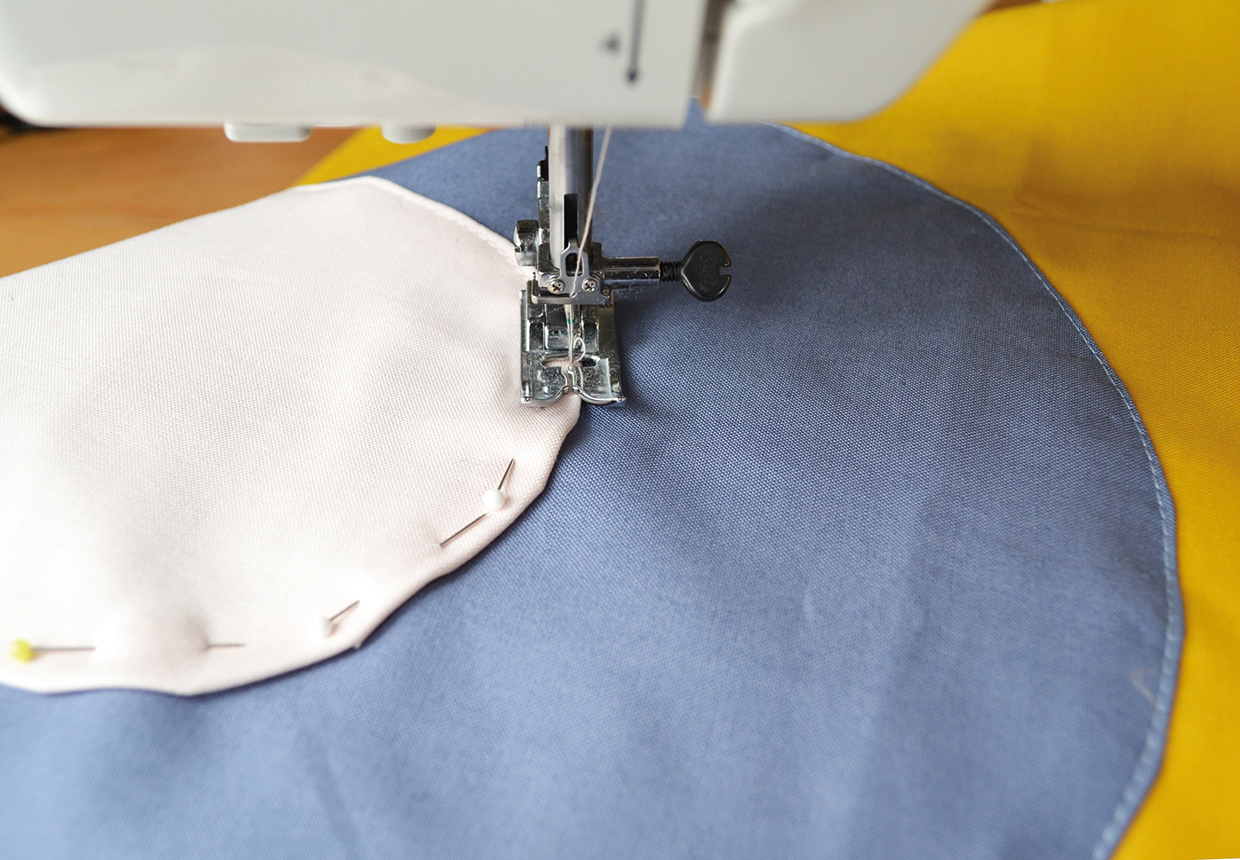
Assembling the cushion
Step 1
Lay out the remaining lining/backing pieces, RS up, one on top of the other. Place the front panel RS down on top.
Step 2
Pin around the edge, including the bottom straight edge
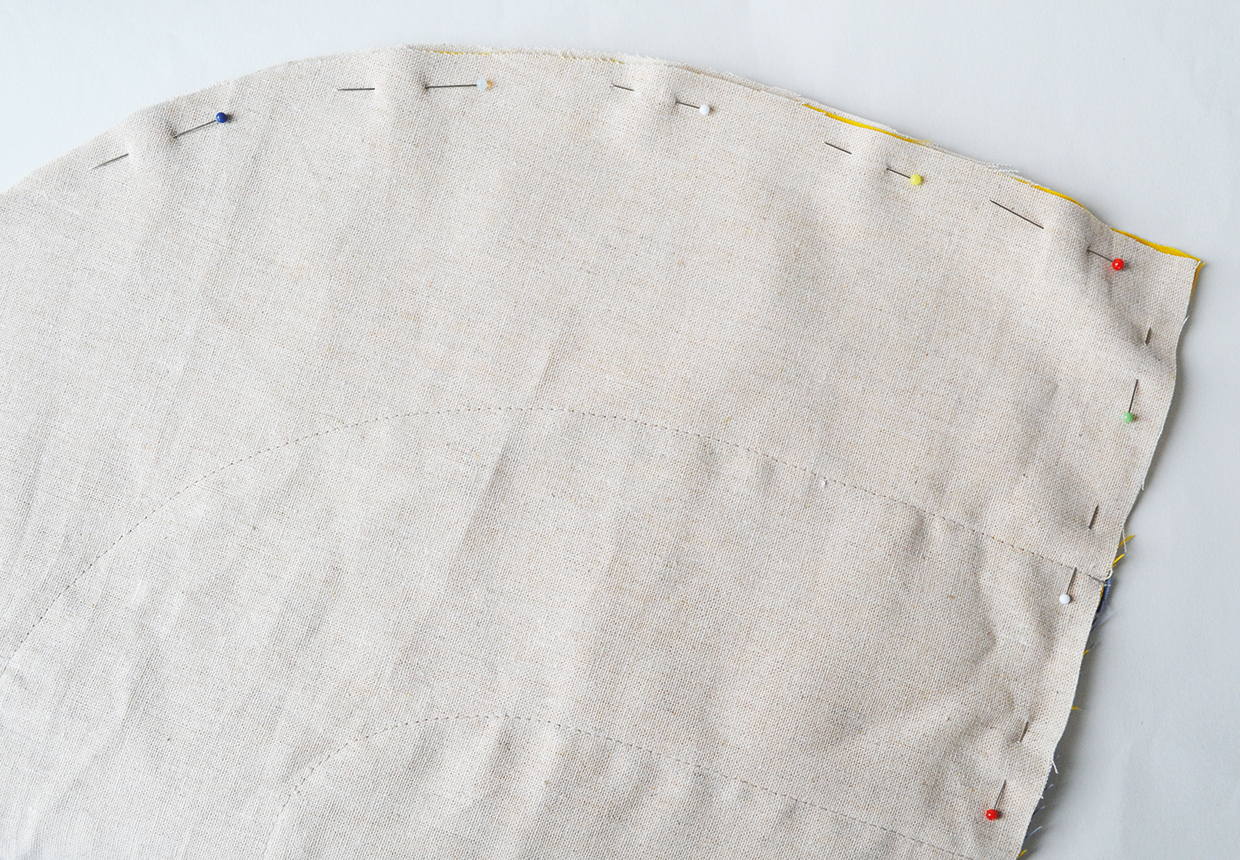
Step 3
Sew all the way around the edge 1cm (3⁄8in), leaving a turning/stuffing gap of 6cm (23⁄8in) gap on the bottom edge. Snip approx 7-8mm in at roughly 2-3cm (¾-1¼in) intervals along the curved part of the edge.
Step 4
Turn RS out through the gap left in the bottom edge.
Step 5
Stuff with toy stuffing.
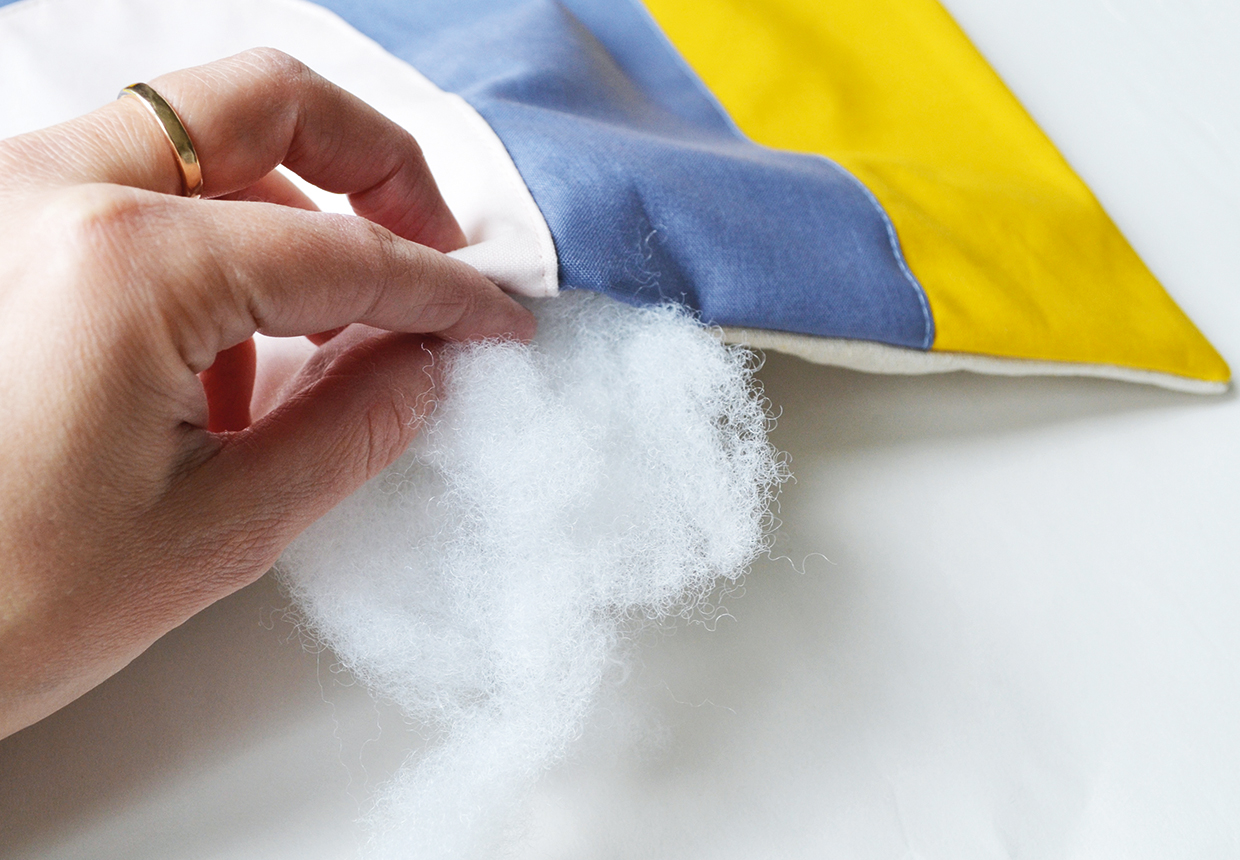
Step 6
Pin and then sew the turning gap closed by hand.

 Lay out one of the backing pieces and lay the outer arc piece on top, right side (RS) together. Set aside for now.


