Cutting out
Step 1
Cut your main fabric into a point to make the banner shape, following the measurements shown in the template here.
Step 2
Cut the backing fabric to the same shape as the main fabric. The remainder will be used for your appliqué.
Appliqué
Step 1
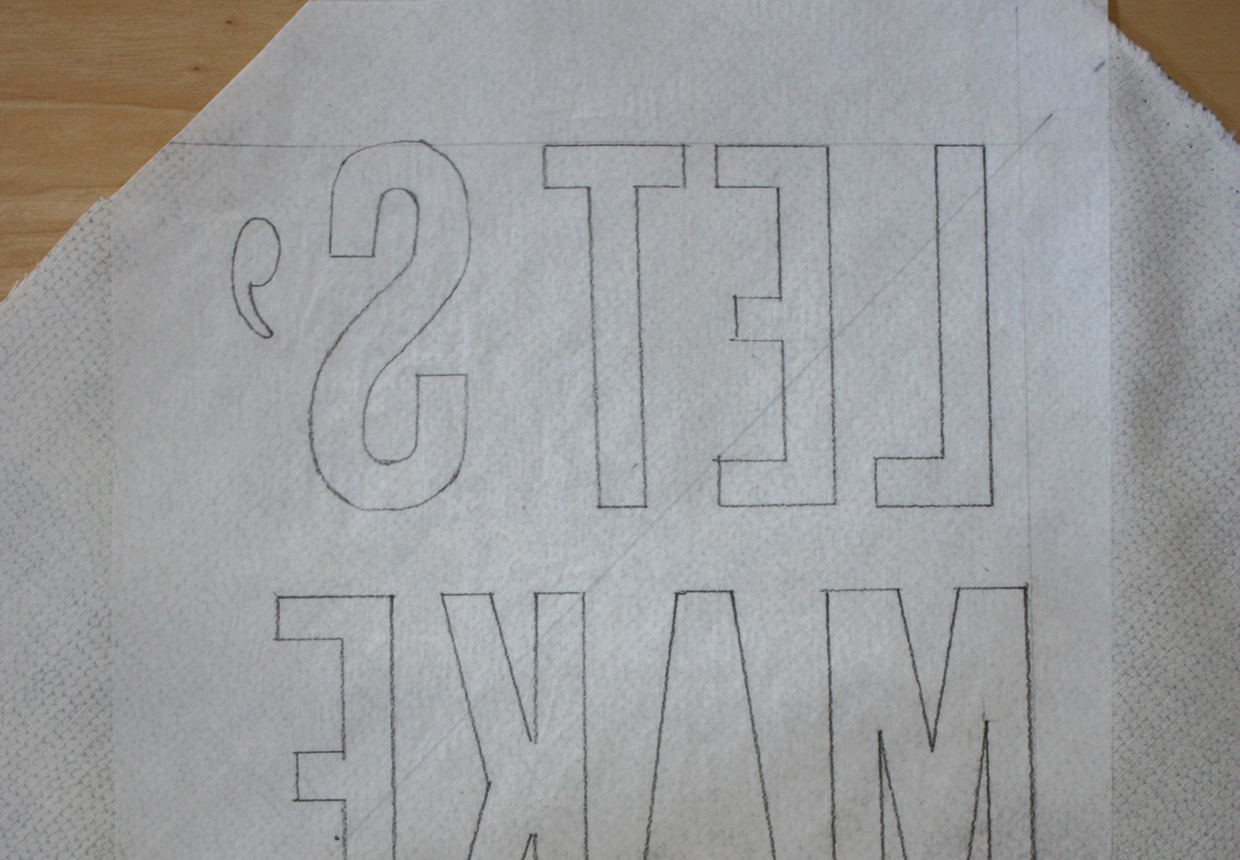
Trace over the words ‘LET’S MAKE STUFF’ which are available here. Turn it over to the wrong side (WS) and place your fusible web paper side up on top. Now trace over the letters onto the paper side so you are tracing them in reverse. We spaced the apostrophe apart a little to make it easier to cut out later.
Step 2
Place your traced fusible web paper side up onto the WS of your letters fabric and press gently into place until it is firmly stuck using a dry medium temperature iron (don’t use any steam).
Step 3
Carefully cut out all the letters along your drawn pencil lines. Make sure you cut them accurately so they are a neat shape. Remove the paper backing from the letters then you are ready to stick them in place.
Step 4
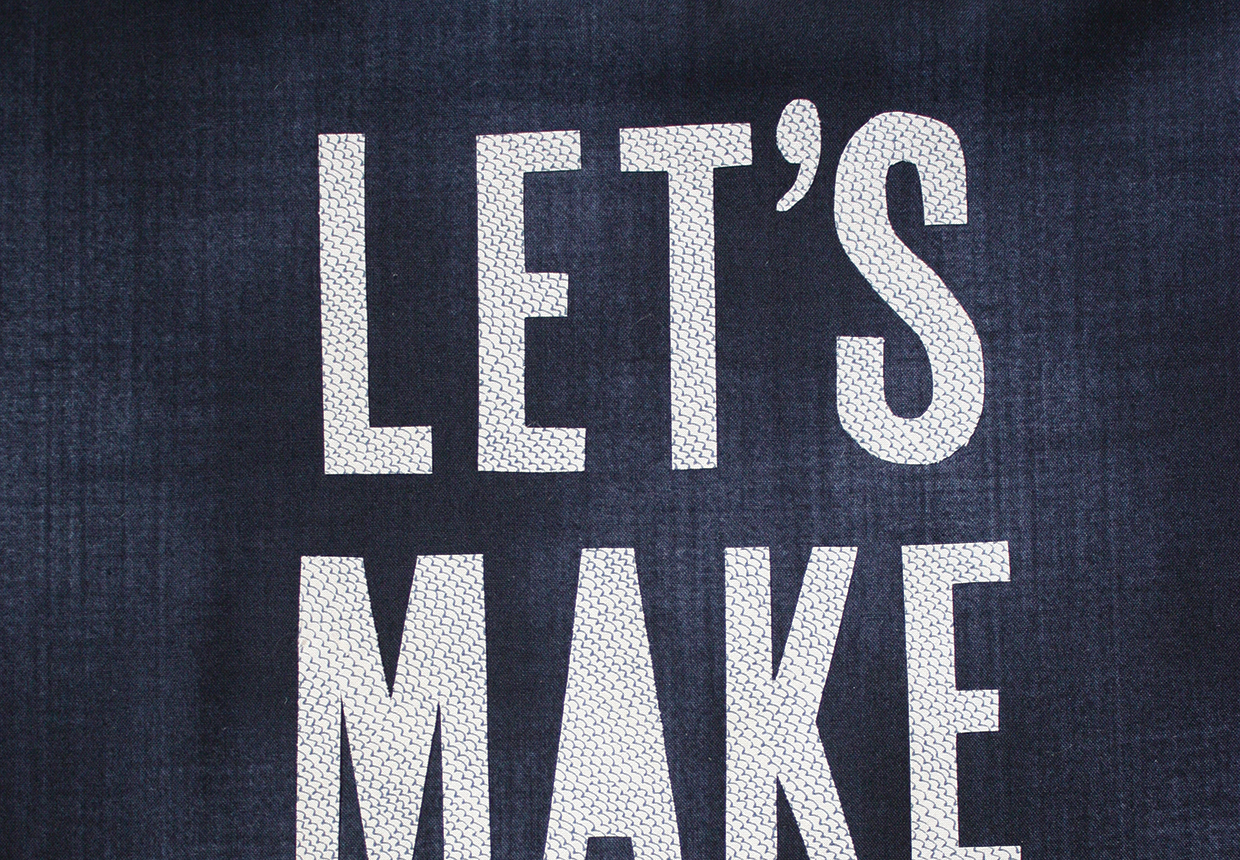
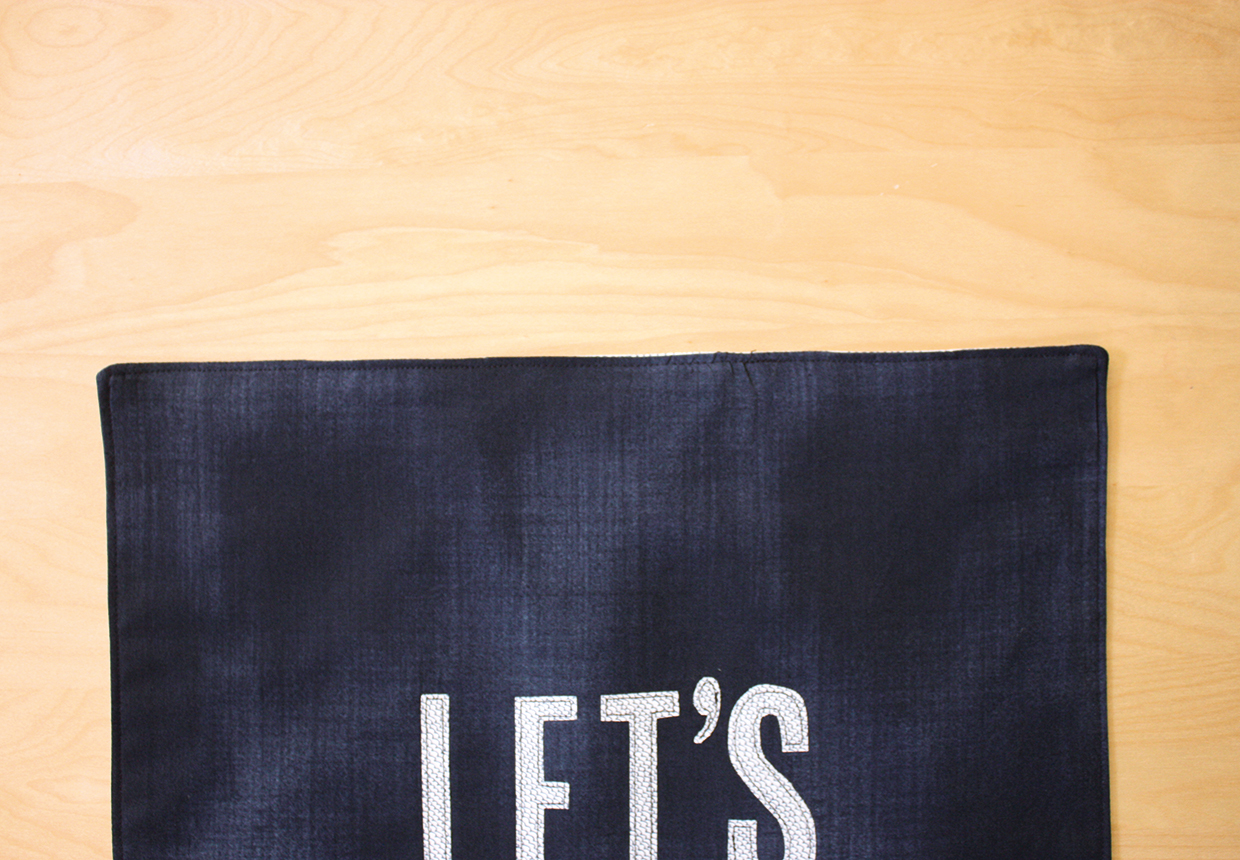
Place your main banner fabric right sides (RS) up then place all the letters on top. They should be positioned centrally across the fabric and the top of LET’S should be 15cm (6in) from the top of the fabric. Press carefully into place.
Step 5
Stitch around each letter by machine or hand to hold them firmly in place and for a decorative effect.

Making the banner
Step 1
Cut the interlining into the same shape as the main banner. The interlining is used to give the banner a little more body so it hangs better. You can use a heavy cotton fabric, wadding or fleece fabric.
Step 2
Place the main fabric RS together with the backing fabric and the interlining beneath the two. Stitch together, ensuring you leave a 10cm (4in) gap in the centre of the top for turning.
Step 3
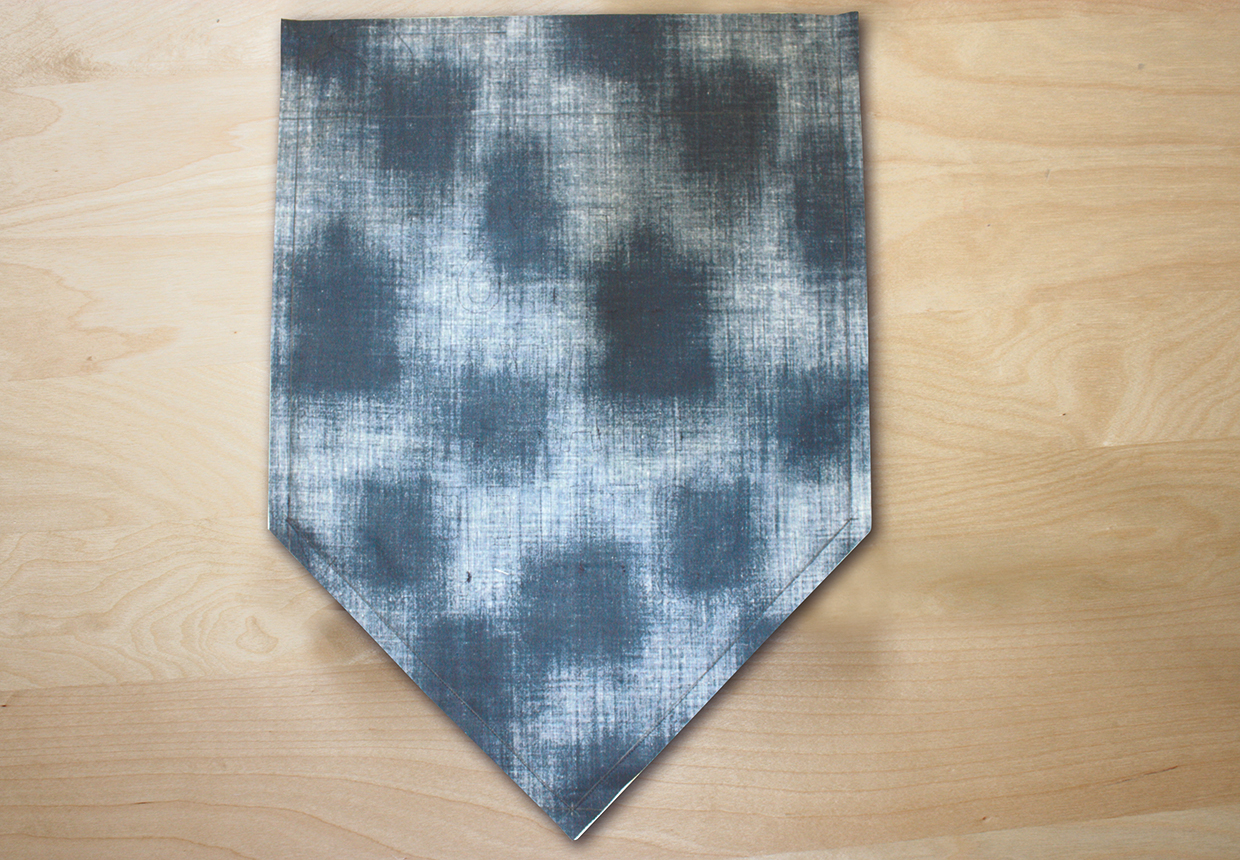
Turn the fabric RS out and press then topstitch all the way round to neaten and close the gap at the top too.
Step 4
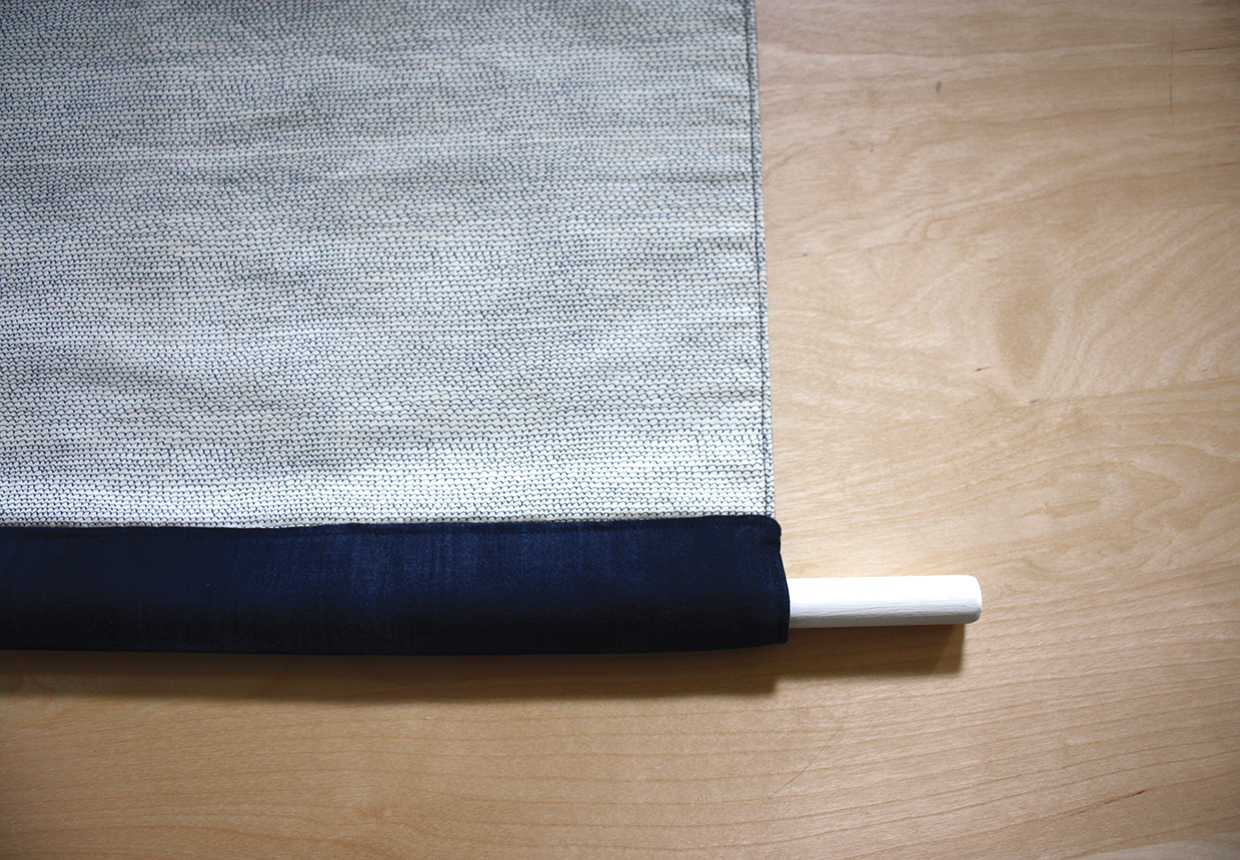
Fold the top over by 5cm (2in) to the back. Slip stitch down to make a casing, ensuring you only stitch through the lining. Thread the dowel through then tie cotton tape to either end for hanging the banner.
