Bucket hat sewing pattern

Bucket hat sewing pattern

Bucket hats are back! Learn how to make your own with Jessica Entwistle's bucket hat sewing pattern from Simply Sewing Magazine

6 issues of Simply Sewing magazine for £14.99|Save 78%!

Published: April 28, 2021 at 2:16 pm

This summer we're welcoming back a 90s wardrobe staple: bucket hats! These practical hats were everywhere at one point and worn by both men and women, so with their fashionable return we're adding one to our ever-growing library of free sewing patterns.

We love discovering patterns that celebrate 90s nostalgia (like this how to make a scrunchie tutorial), so we were delighted to have a go at making our own funky bucket hats using this pattern. Bucket hats are lightweight and are great for protecting your face from the sun's rays on scorching summer days, whether you're chilling on the beach or heading for a picnic in the park. They've even featured in a recent episode of the Great British Sewing Bee.

Why not whip up your own using some summery fabric? This pattern is designed for women, but could easily be adapted to fit a man.

This pattern was created by Jessica Entwistle for Simply Sewing Magazine. Jess is a fabric crafts designer who’s work is regularly published in Simply Sewing and Love Patchwork & Quilting magazines.

Looking for more summery sewing patterns? Check out our pick of 20 of the best summer dress sewing patterns, make a free crop top sewing pattern or sew a child's sun hat.

New to sewing? Take a look at our how to use a sewing machine guide and beginner's guide to sewing.

Read on to learn how to find Jess's bucket hat sewing pattern…

Top tips for sewing laminate

Laminates are great for all kinds of homeware sewing projects, but they require specific techniques to achieve a professional finish.

  • Use a Teflon foot or a walking foot if you have one. If you don’t have one, use magic tape on the underside of the machine foot to help the fabric glide underneath it.
  • Never iron on the right side, only ever on the reverse. If you need to iron on the right side, place a piece of fabric between the iron plate and the laminate fabric. Always iron on a low heat.
  • Use clips, not pins, to hold the fabric together, as pin marks won’t come out.
  • Use washi tape or masking tape to hold fabric sections together where you are unable to clip.
  • Use a 14 or 16 standard point or jeans needle in the machine.
  • Check that the erasable pen wipes off the fabric on a piece of scrap first. Wipe off the marks as you go.

Fabrics used

Notes

  • Use a 1cm (38in) seam allowance.
  • Download the templates
  • Templates include seam allowance.
  • *Our fabric is 140cm (55in) wide from selvedge to selvedge.
  • Fabric is cut on the horizontal fold for all templates. Fold the fabric accordingly. Pay attention to fabric placement if fabric is directional. We used a seam roller to press our seams open.
  • You can use pins when joining the main body (not the brim) curved edges – but make sure any pin marks are within the seam allowance, so they won’t show once the hat is sewn up.
  • Remove any markings when you no longer need them and before they are sewn up and unable to be removed – e.g. when the brim is turned RS out and sewn up.
  • Our hat fits a medium-sized head. If you wish to alter it, you could make the brim wider (by adding extra depth to the outside edge of the brim). If you wish to alter the hat size, you could print the pattern pieces smaller or larger, and use a corresponding smaller or larger seam allowance to match, but test fit on scrap fabric first.
You will need:

  • Fabric A (main, laminate*) (WOFx30cm (WOFx12in))
  • Fabric B (lining, cotton) (35x45cm (14x18in))
  • Paper for the templates
  • Erasable pen
  • Matching thread
  • Basic sewing kit

Cutting out

Step 1

Download, print, and cut out the three templates.

Step 2

From fabric A cut:

  • Outer Top: one
  • Outer Side: two
  • Brim: four

Step 3

From fabric B cut:

  • Lining Top: one
  • Lining Side: two

Making the hat top

Step 1

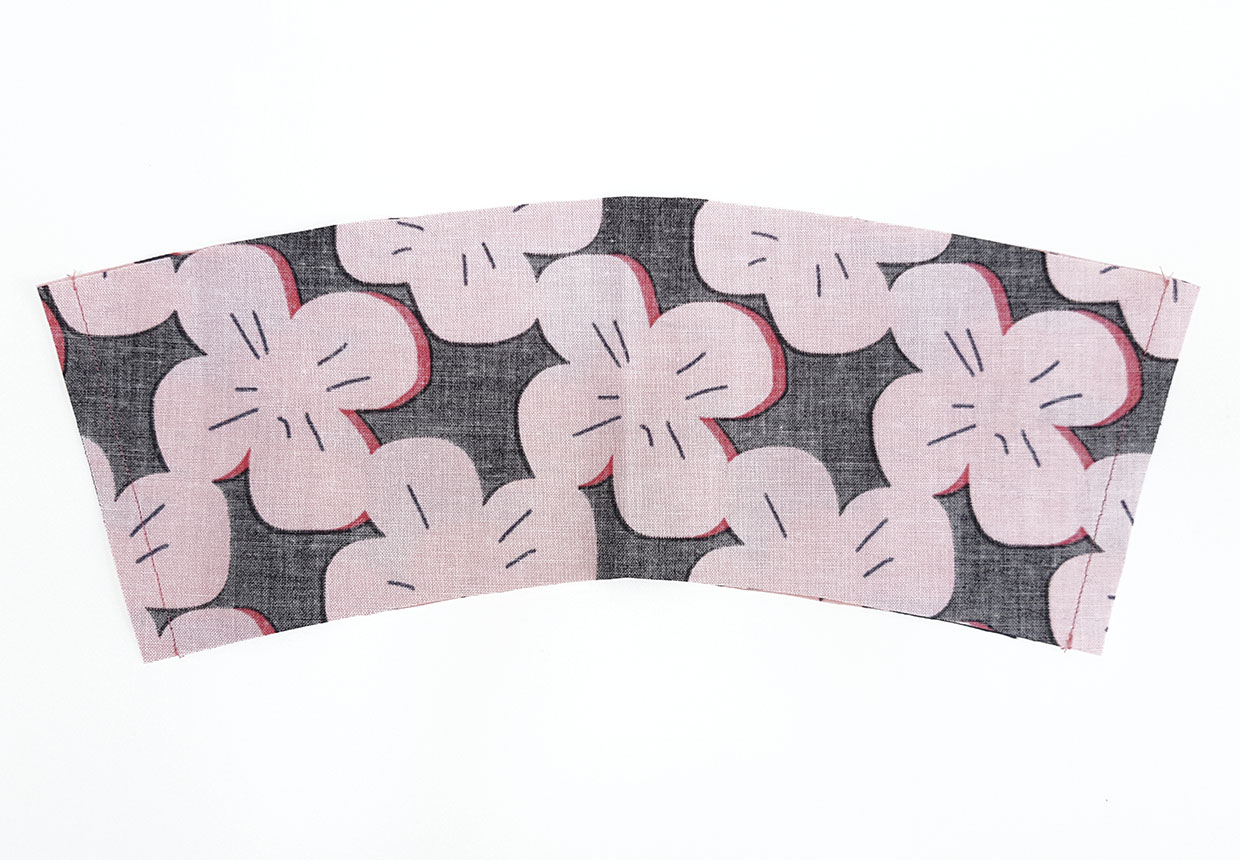
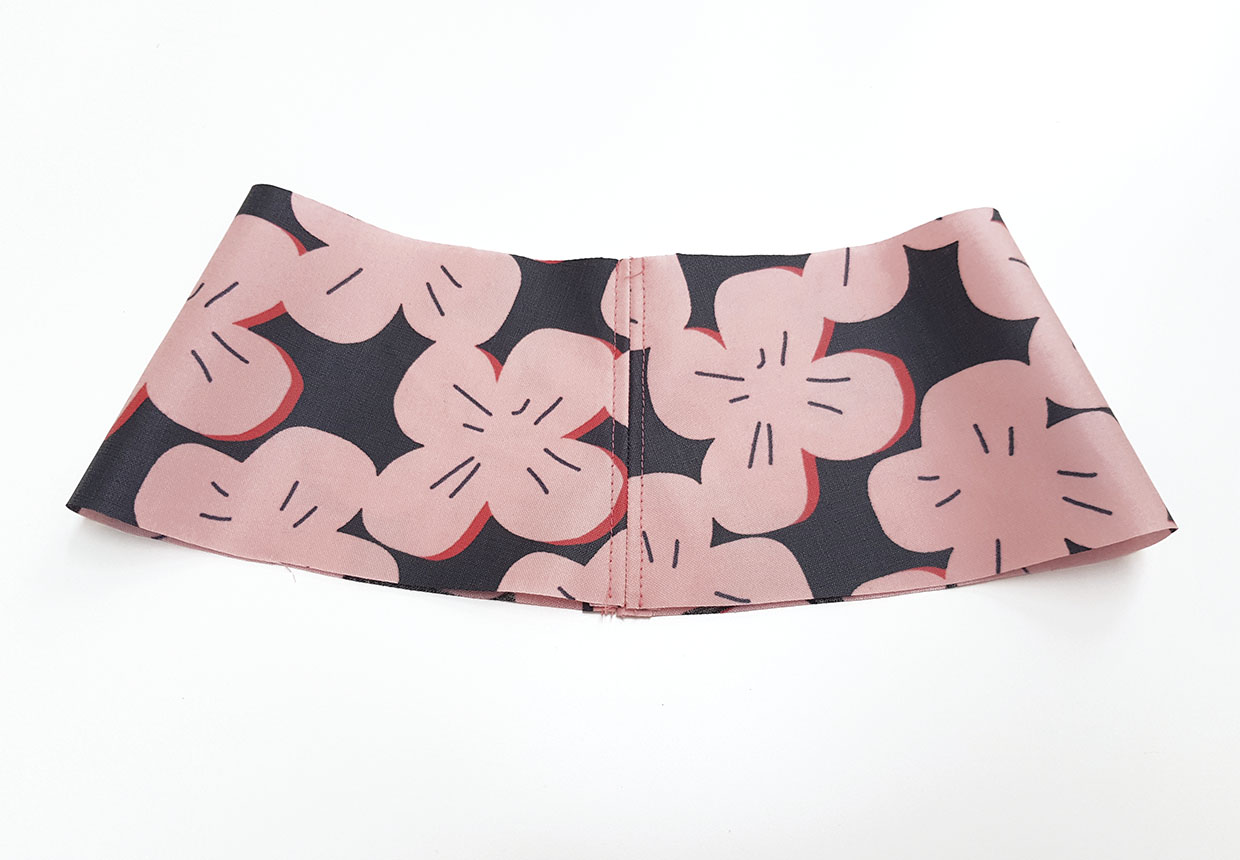
Place the Outer Side pieces right sides (RS) together. Sew both short sides together.

Bucket hat sewing pattern step one

Step 2

Press both seams open, then topstitch either side of both seams.

Bucket hat sewing pattern step two

Step 3

Mark the quarter and eighth points on both curved edges of the Outer Side piece, and the Outer Top piece.

Step 4

Snip around the top smaller curve of the Outer Side piece, within the seam allowance. This will make it easier to join to the Outer Top.

Step 5

With RS together, clip the Outer Top to the Outer Sides, matching marked points. The two side seams need to be clipped to the left and right sides of the Outer Top. If the print is directional, clip with the Outer Top print facing forwards.

Step 6

Sew the Outer Top to the Outer Sides.

Bucket hat sewing pattern step three

Step 7

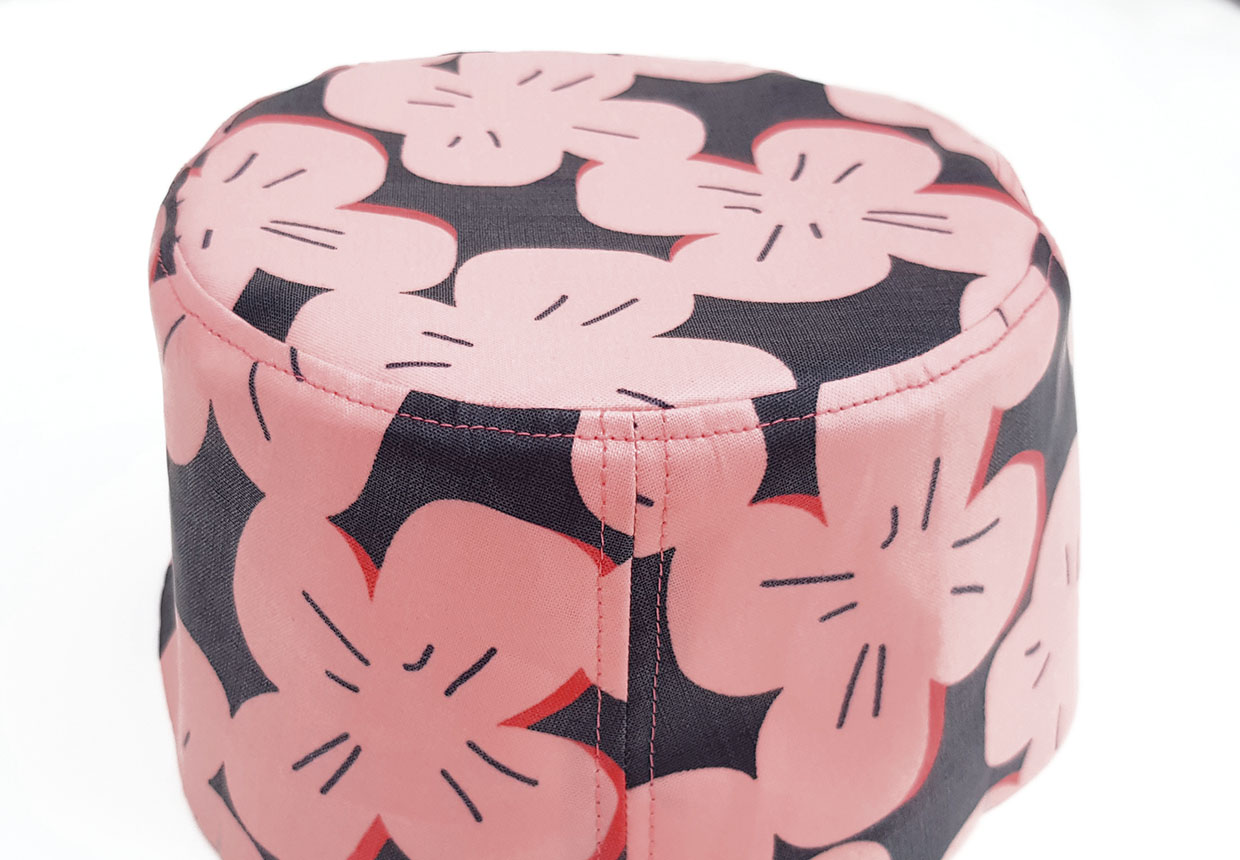
Trim away approximately 2–3mm (18in) of fabric along the raw edge of the just-sewn seam to reduce bulk. Finger press the seam fabric down on top of the Outer Sides and topstitch around the top of the hat below the hat seam on the Outer Sides piece.

Bucket hat sewing pattern step four

Step 8

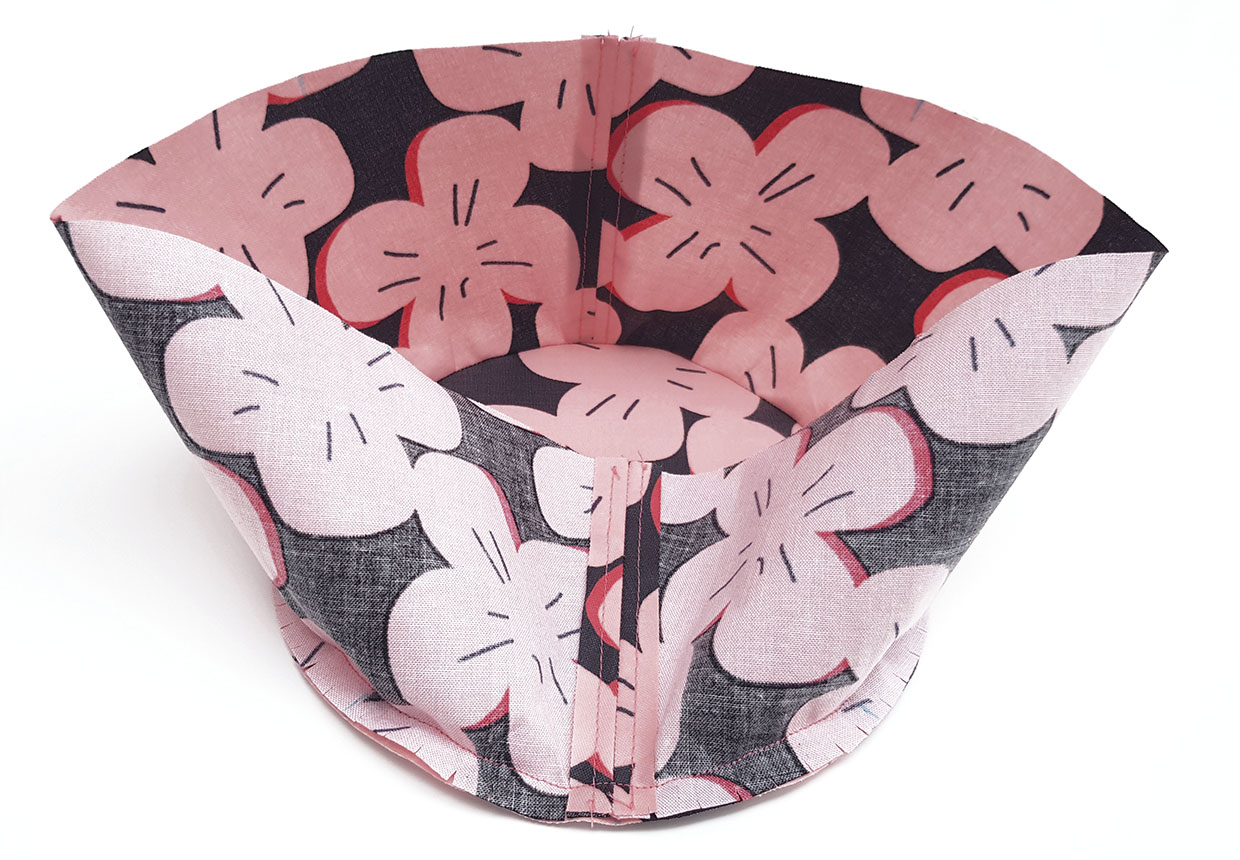
Make the lining as for the outer hat main, marking all points as before, but this time don’t topstitch. Trim away excess seam fabric from the circular top. Turn wrong sides (WS) out and place inside the outer piece, matching side seams and marked points. Stay stitch to hold.

Making the brim

Step 1

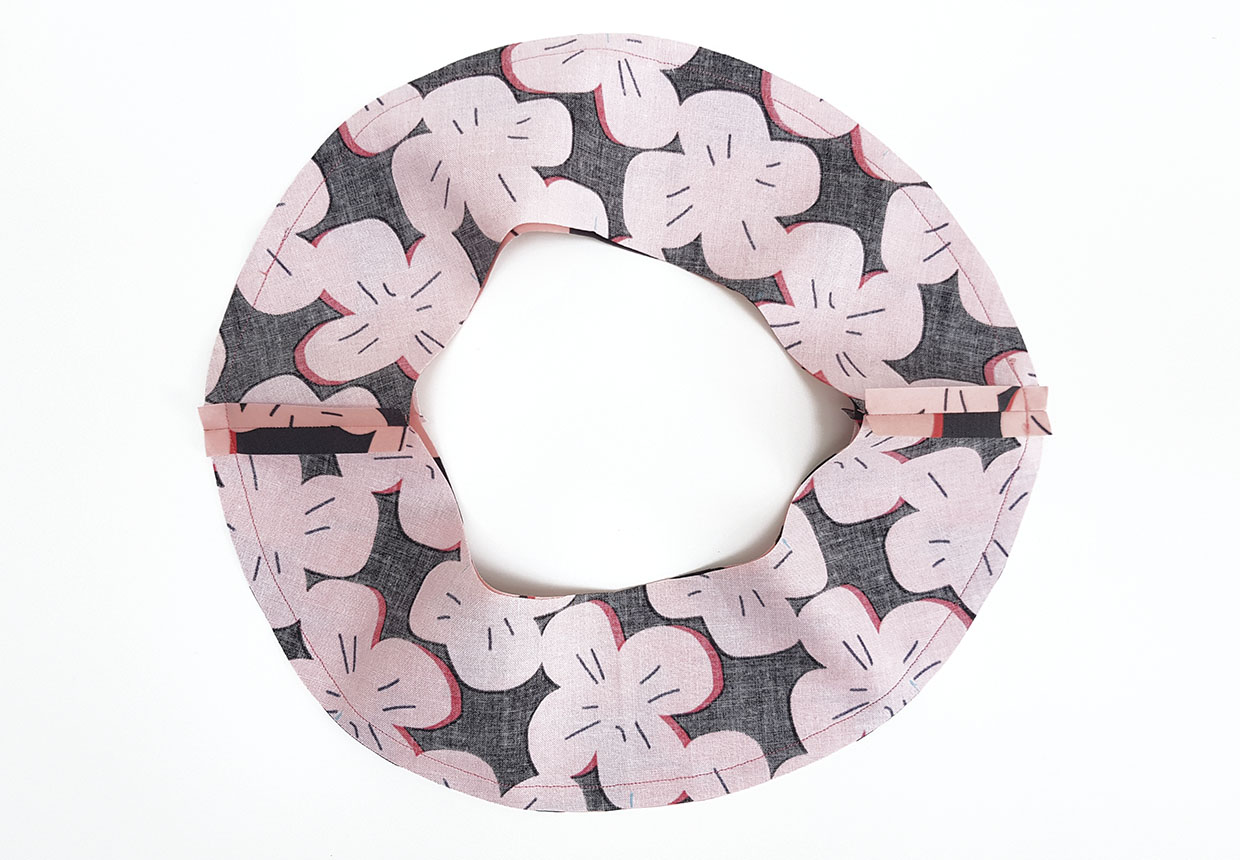
Place two of the Brim pieces RS together, matching all edges. Sew both short sides together. Press seams open.

Step 2

Repeat steps with the other Brim pieces. Mark the quarter and eighth points on all four curved edges as for the hat main.

Step 3

Clip the sewn Brim pieces RS together, matching seams and marked points, along the outer curved edge. Sew all the way around.

Bucket hat sewing pattern step five

Step 4

Trim the seam allowance, leaving 2mm (18in) of fabric outside the sewn seam. Turn the Brim RS out. Push out the seam and roll the seam between your fingers to smooth it.

Step 5

Clip the brim inner curved edges WS together, matching marked points.

Step 6

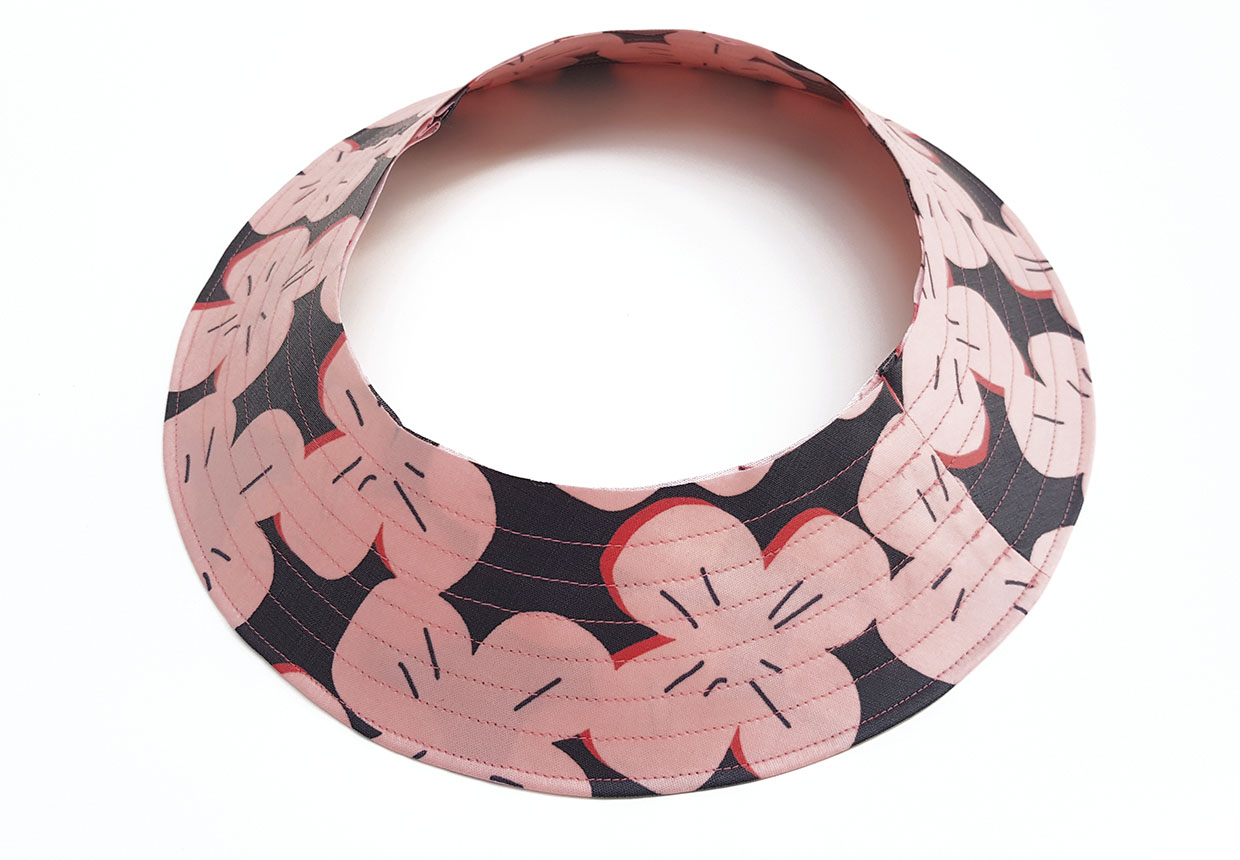
Topstitch along the outer seam edge, then sew circular rows 1cm (38in) apart, starting 1cm (38in) in from the outside topstitching. Start and stop sewing at the same point along the brim, e.g. by a brim side seam as we have.

Bucket hat sewing pattern step six

Joining the brim to the main hat

Step 1

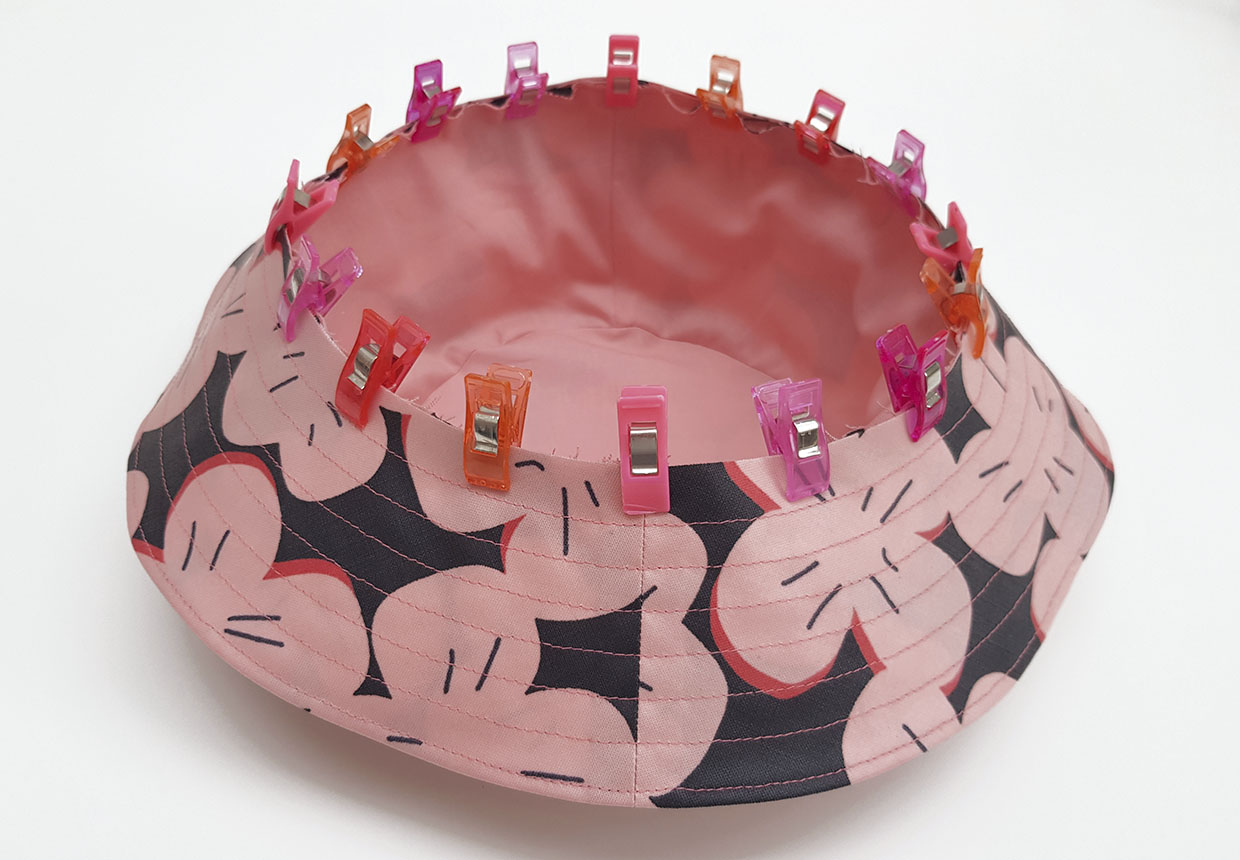
Place the lined hat inside the brim RS together (so the RS of the brim is facing the hat outer fabric). Clip the hat to the brim, matching side seams and marked points. As the curved edge is quite large here, you don’t need to clip into the seam allowance to help the pieces join together.

Bucket hat sewing pattern step seven

Step 2

Sew the brim to the hat.

Step 3

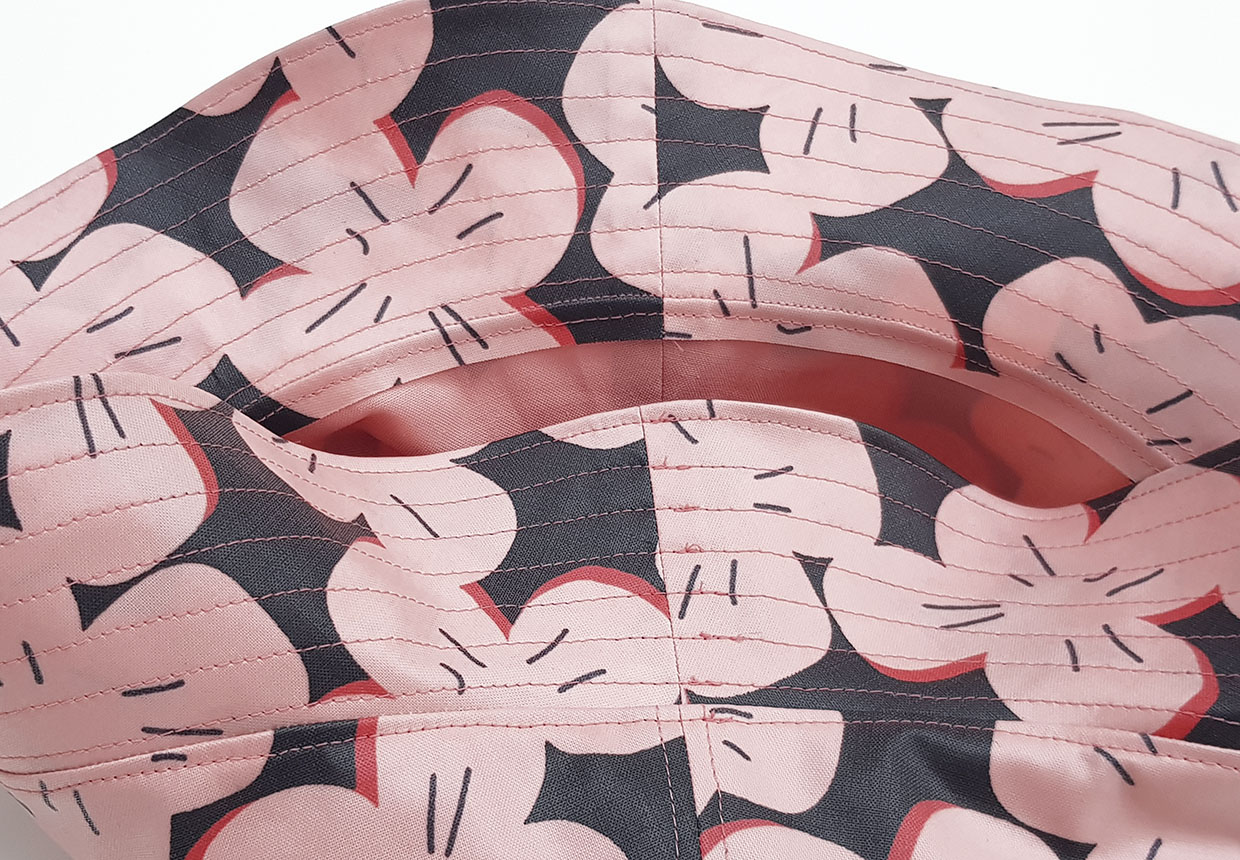
To neaten the inside of the hat, trim away the excess fabric from the main piece and lining only, leaving 3mm (18in) or so of main seam excess fabric. Then finger press the brim’s 1cm (38in) seam allowance up inside of the hat sides, so that the brim seam covers the raw edges of the hat main and lining that you’ve just trimmed.

Step 4

Topstitch along the inside edge of the brim/hat seam, along the hat sides. This will hold the seam inside of the hat and cover any raw edges. Our main fabric is laminated and doesn’t fray. If your chosen fabric isn’t, then run a row of zigzag stitches along this seam, or use an overlocker if you have one, before neatly topstitching in place.

Bucket hat sewing pattern step eight

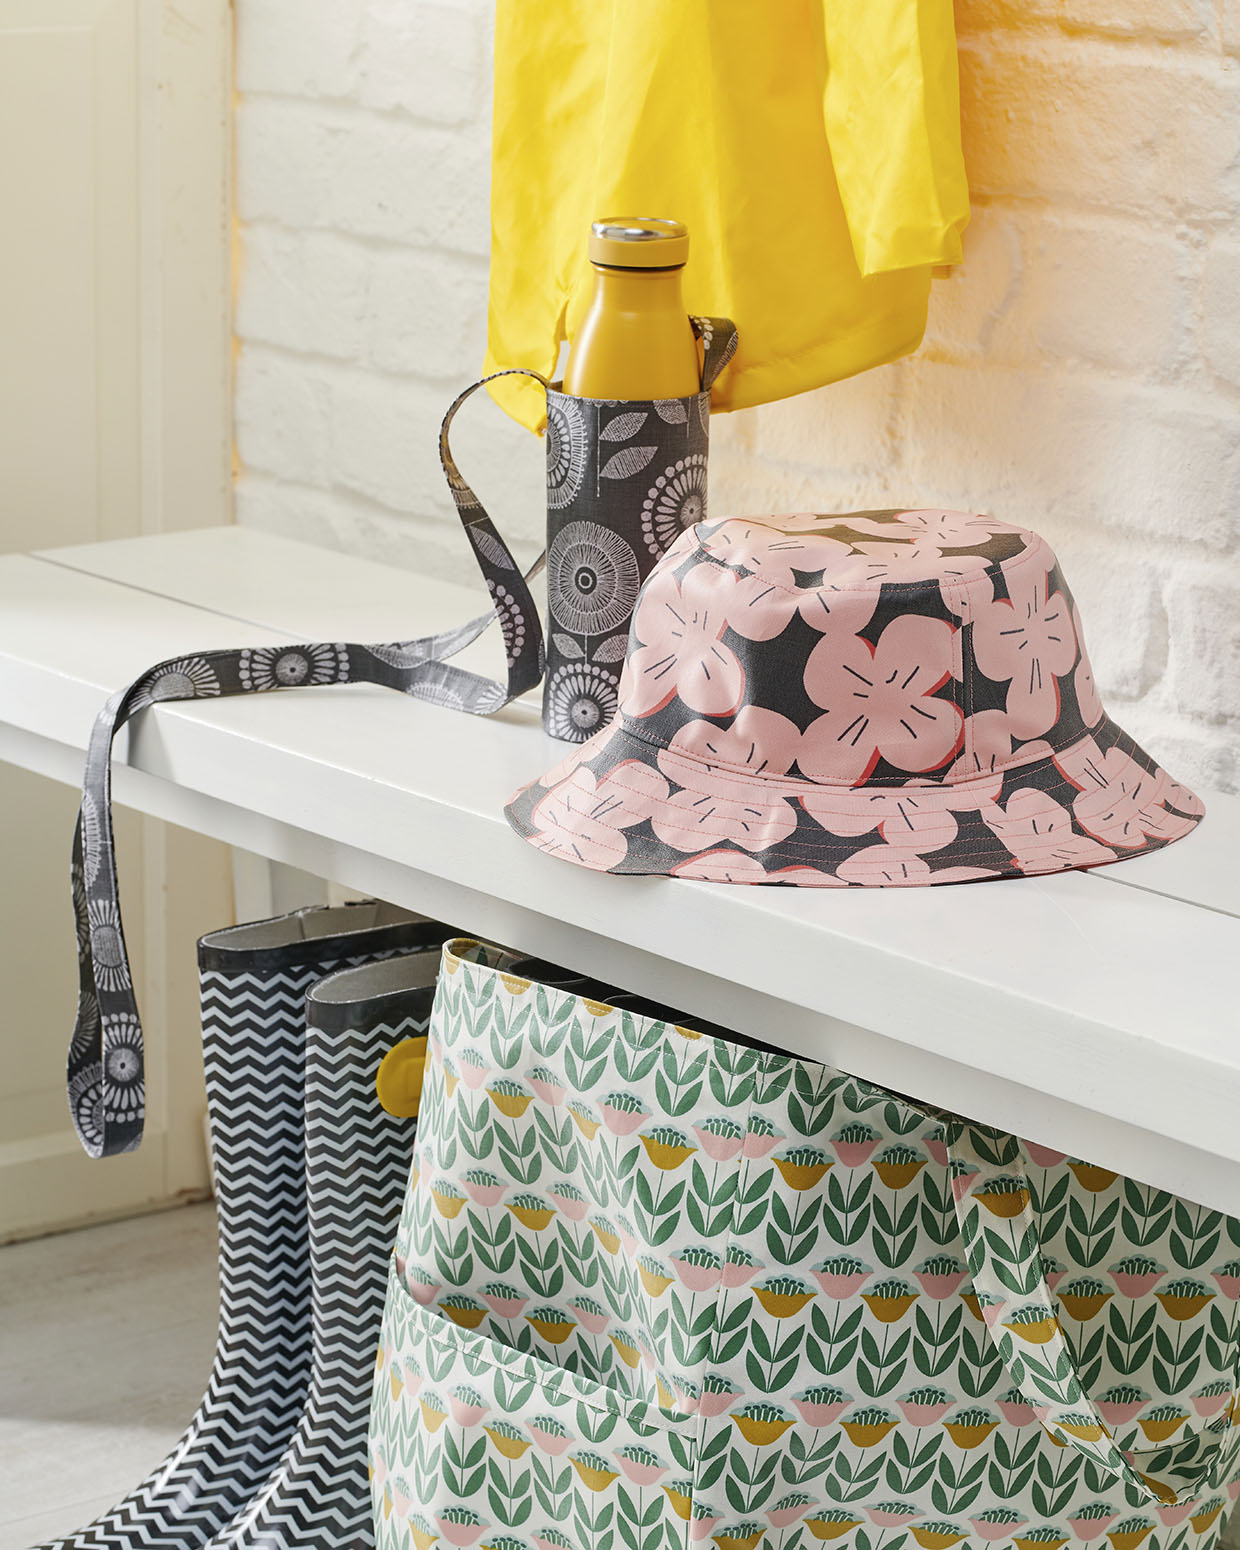
You’ve finished! Enjoy wearing your bucket hat this summer!


Bucket hat sewing pattern