Celebrate the festive season by sewing Christmas ornaments at home
All products were chosen independently by our editorial team. This review contains affiliate links and we may receive a commission for purchases made. Please read our affiliates FAQ page to find out more.

Celebrate the festive season by sewing Christmas ornaments at home

Add some shimmer and sparkle to your tree this year with these fun Christmas jumper decs from Christine Leech

Try 3 issues of Simply Sewing magazine for £10!

Published: October 24, 2022 at 6:00 am

Make your tree shine this year by sewing your own Christmas ornaments. These charming mini Christmas sweaters are easy to sew and can be decorated with a few simple embroidery stitches.

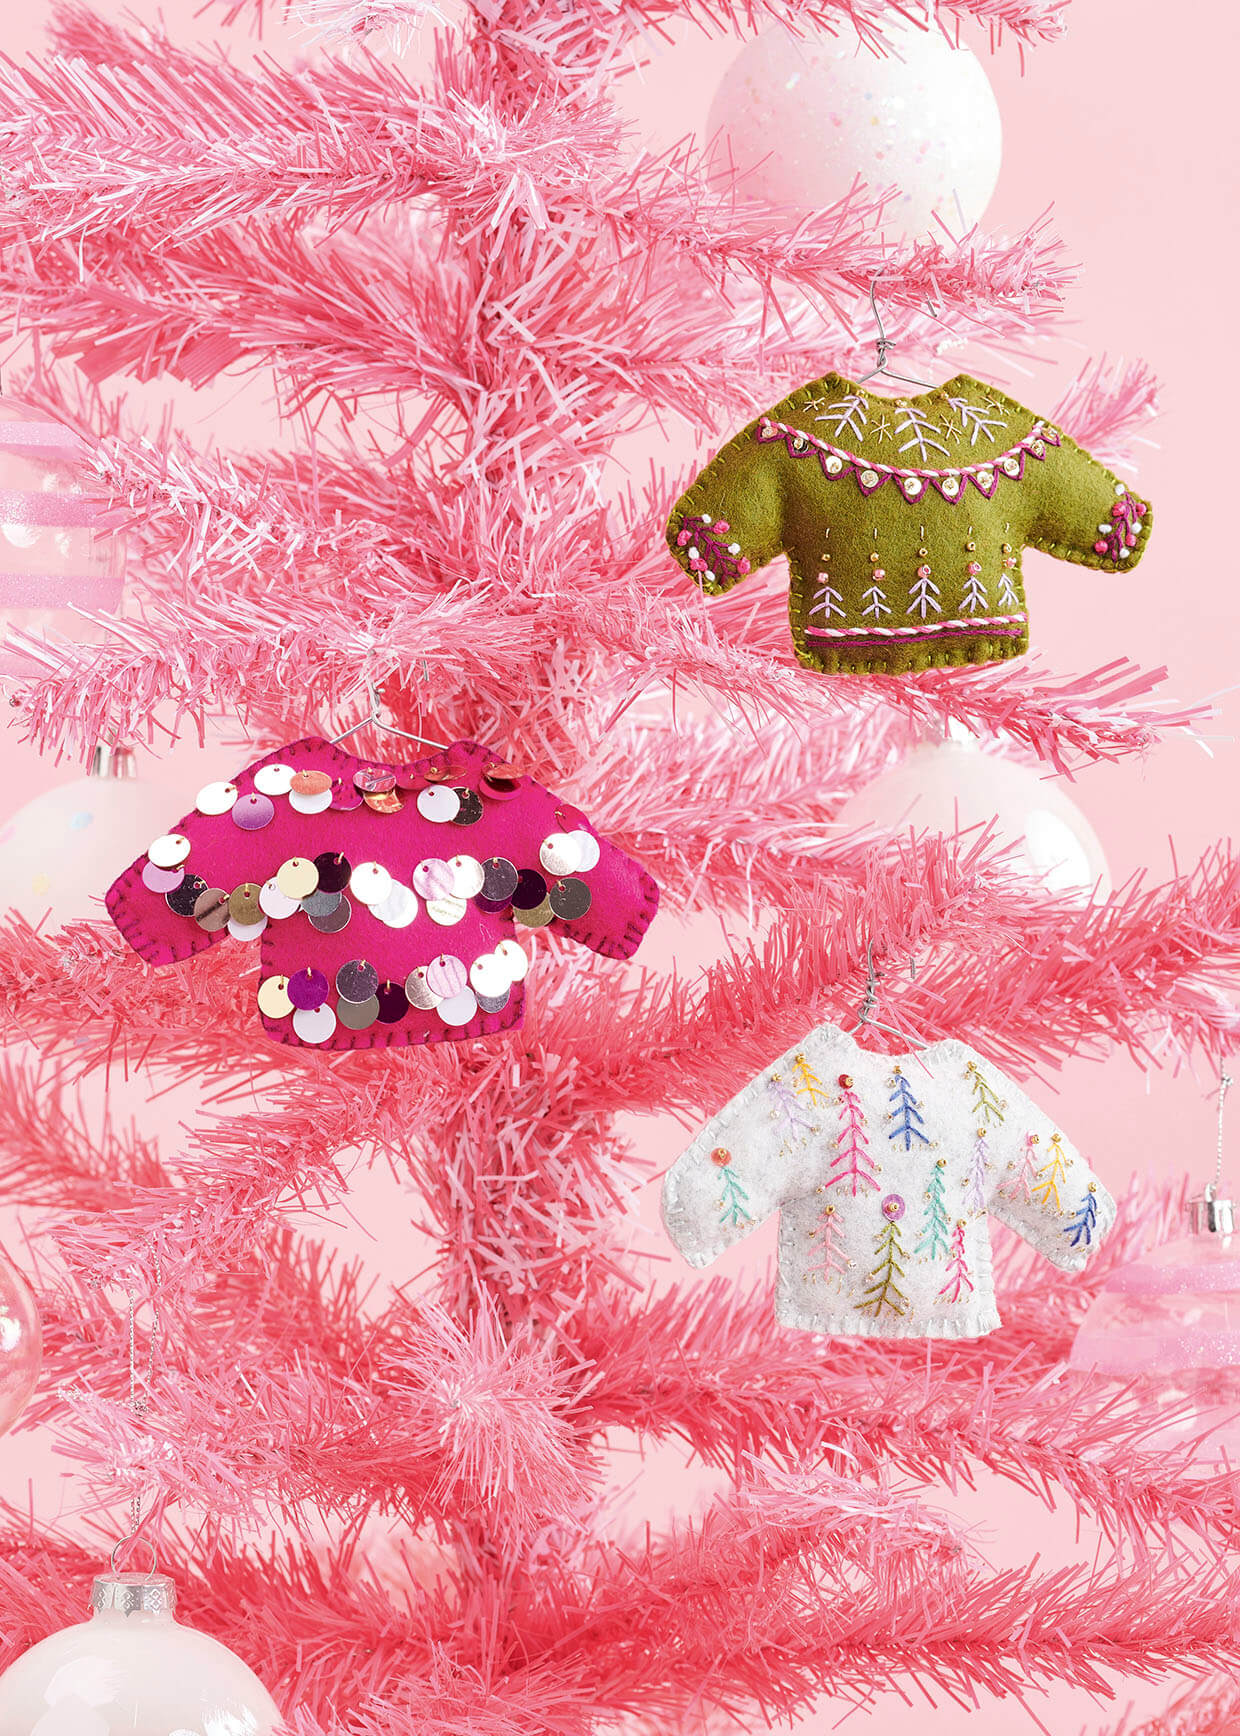
The finished decorations look professional and can be hung on your tree using miniature wire coat hangers!

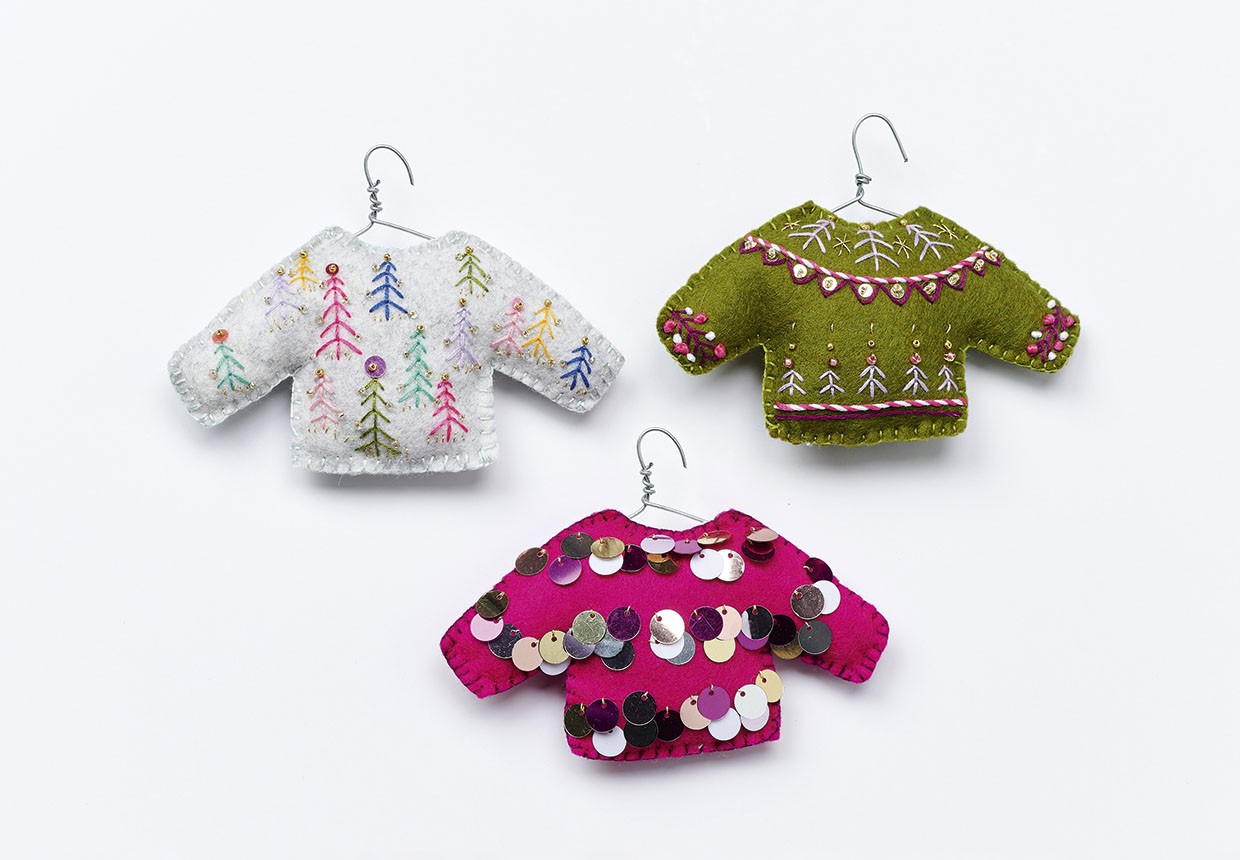
Christine has designed three different patterns for you to try: one with sequins, one with a tree pattern and one with a Scandi-style yoke around the neck. Once you’ve mastered the techniques you can have lots of fun coming up with your own original designs too!

This project is a great introduction into embroidery. You’ll find a few different stitches to learn. Take a look at our embroidery for beginners guide before you begin to pick up lots of helpful tips and tricks.

Fabric Christmas ornaments patterns

Ready to start making? Check out our shopping list to stock up on the supplies you’ll need to make your own fabric Christmas ornaments.

DIY Christmas ornaments template

Embroidery stitches you’ll need for the DIY fabric Christmas ornaments

To get a more delicate stitch, everything apart from the whipped backstitch and French knots are sewn using three strands of stranded cotton. The backstitch and knots are sewn with six strands. There are six embroidery stitches you need to know for this project:
Fabric Christmas ornaments patterns

You will need:

  • Wool felt (30x10cm)
  • Thin crafting or garden wire (20cm)
  • A selection of small sequins and size 12 gold, sliver and pink seed beads
  • Stranded cotton in neon pink, white, navy blue, peppermint, olive, yellow, lilac and violet
  • Gold metallic thread
  • Fabric scraps for stuffing

Making the green Scandi jumper

Step 1

Using the templates, cut two jumper pieces from the wool felt.

Step 2

Transfer the design using an iron-on pencil (just the curved line across the shoulders and the straight lines of the tree trunks).

Step 3

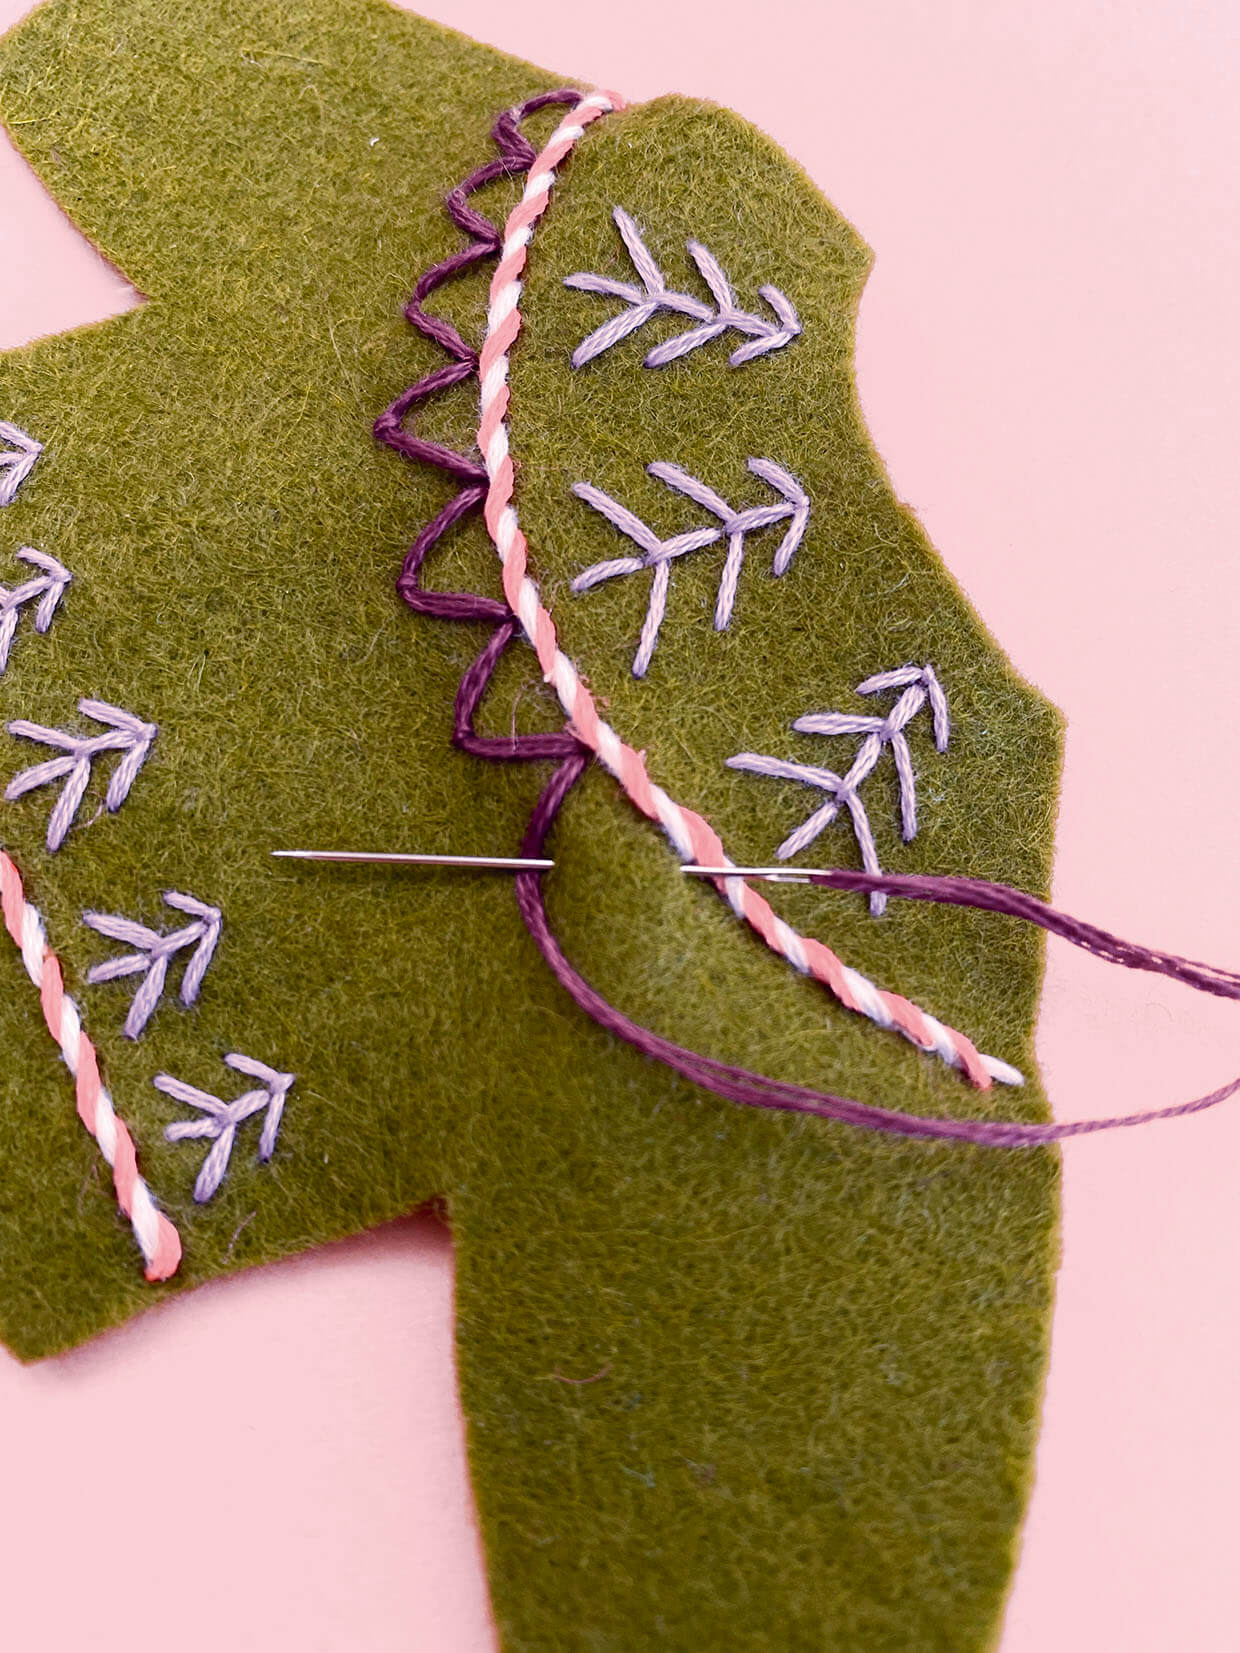
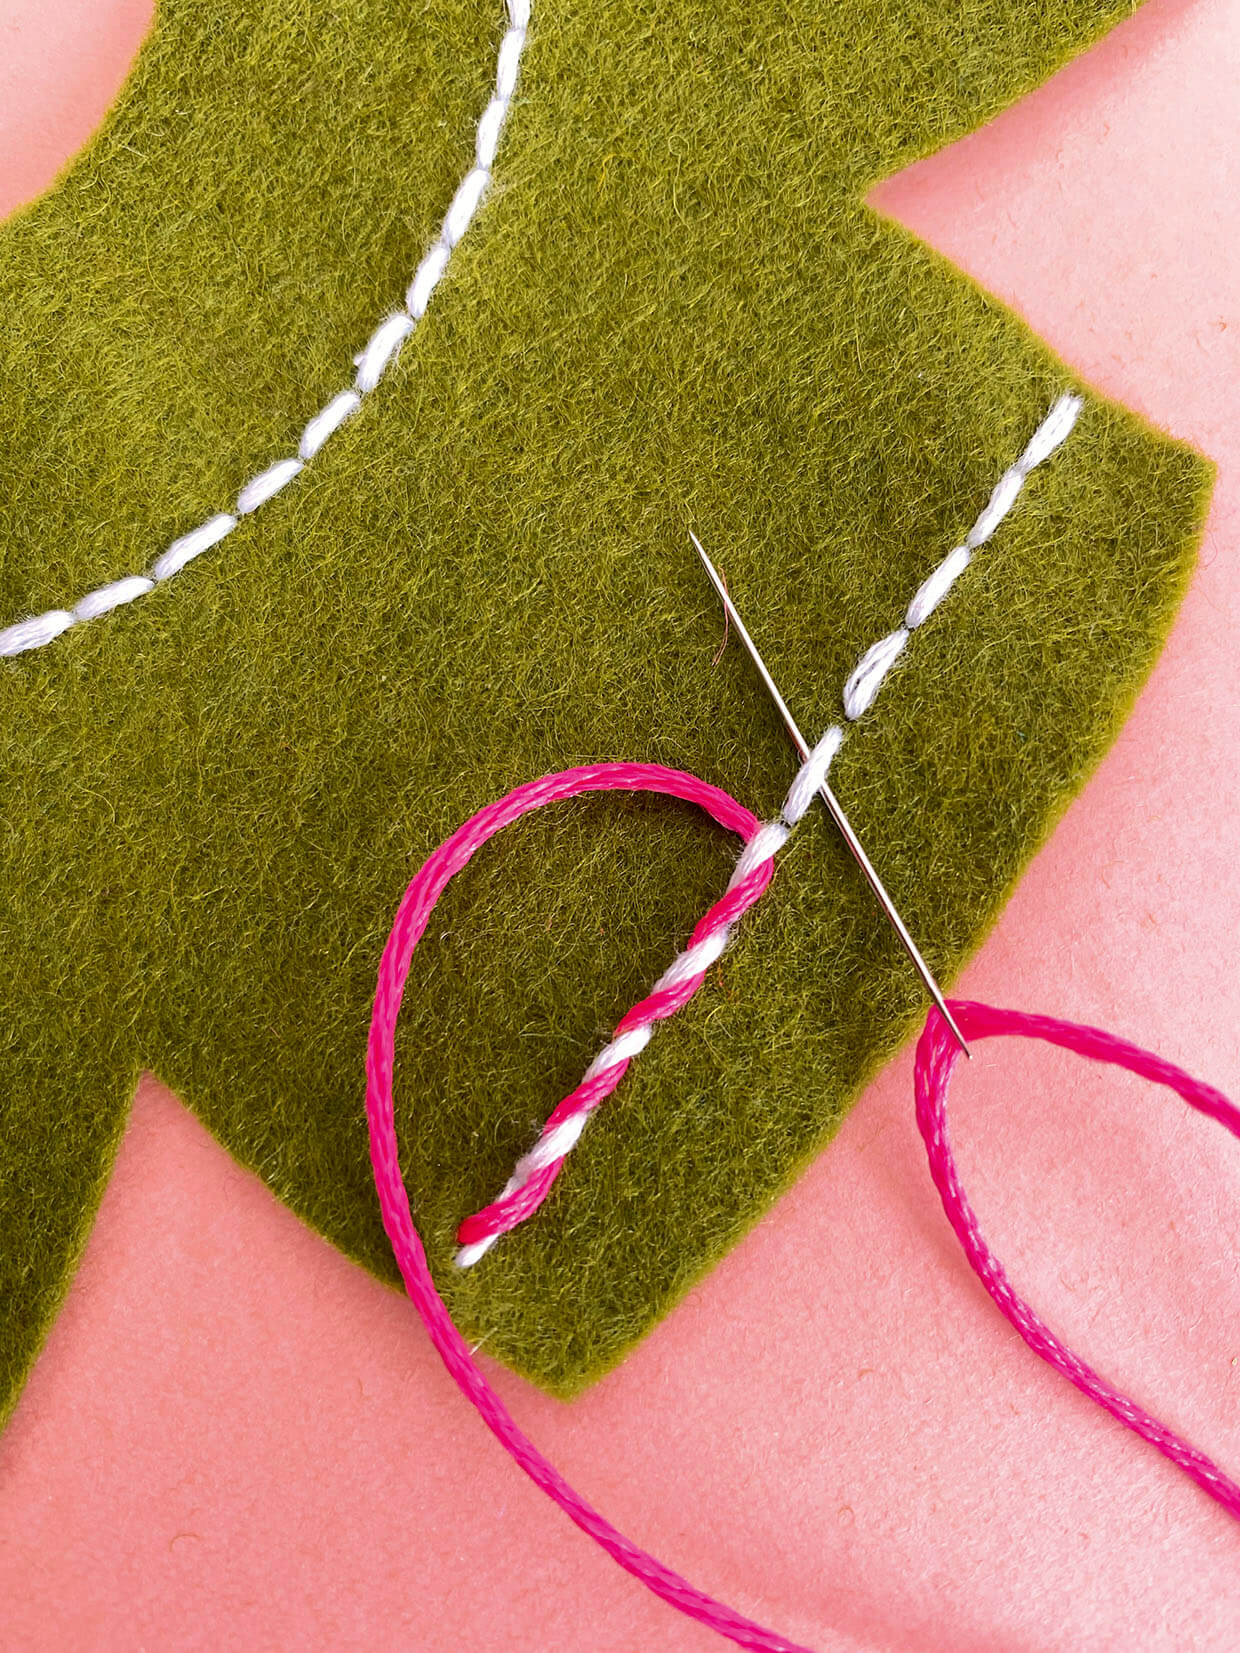
Begin by stitching a backstitch across the shoulders and along the bottom. Make each stitch 5mm wide. Use a contrasting thread to whip the backstitch.

Whipped backstitch

Step 4

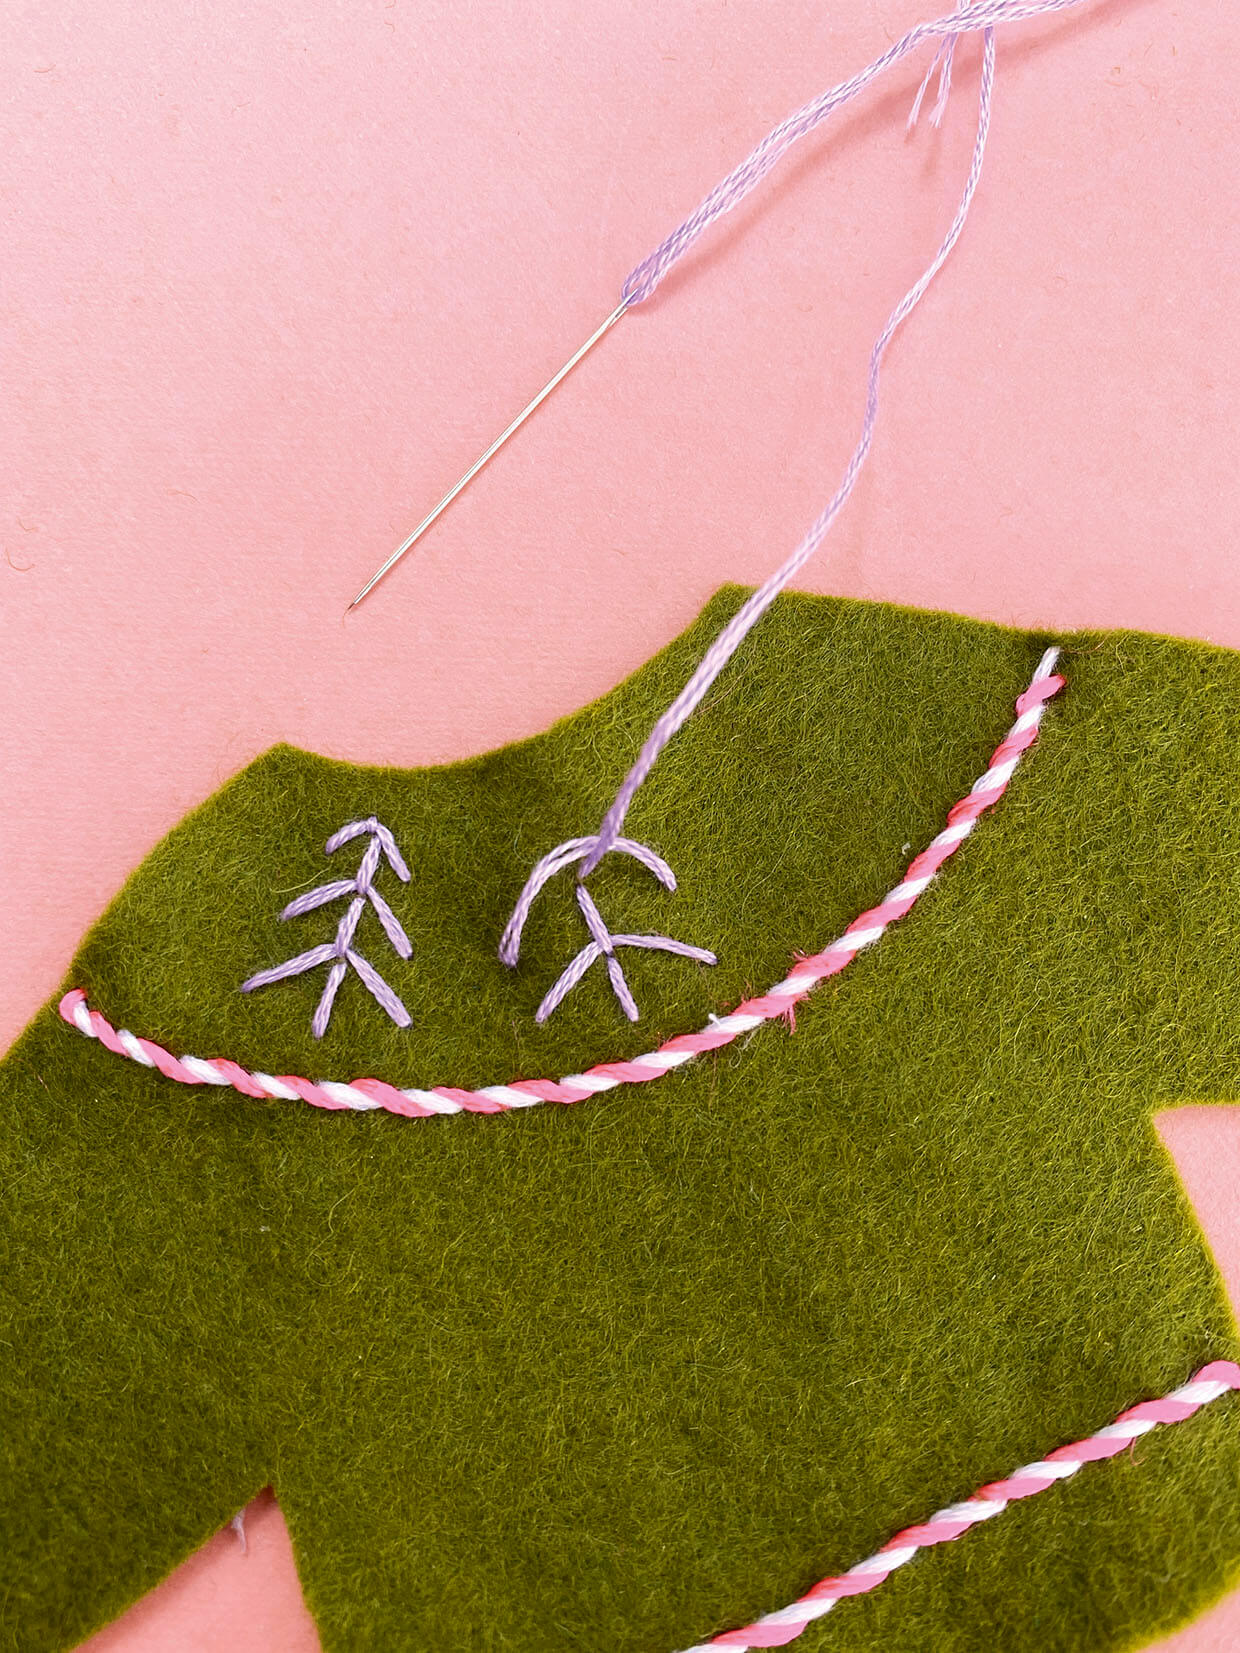
Use a decreasing fly stitch to embroider the trees. Use three stitches per tree on the shoulders and two along the bottom.

Stitching the trees

Step 5

Embroider a row of scallop stitch just below the curved shoulder line. Make each stitch 5mm. Stitch a row of split stitch just below the row of whipped backstitch at the bottom of the jumper. 

Embroider two rows of close together fly stitch, one on each cuff.

Scallop stitch

Step 6

Stitch stars between each tree on the shoulders. Add a seed bead on top of each tree.

Step 7

Sew a sequin into each scallop and a small seed bead above the sequin. 

Step 8

Add rows of small beads and a single stitch above each tree at the bottom of the jumper and stitch alternating French knots across the cuffs.

Making a cute little hanger

Step 1

Find the centre of a 20cm length of crafting/garden wire. At 3cm either side of this point fold the wire upwards to create the shoulders of the hanger.

Step 2

Twist one arm of the wire around the other to secure the two together and trim. Curve the other arm into a hook.

Making the coat hanger

Step 3

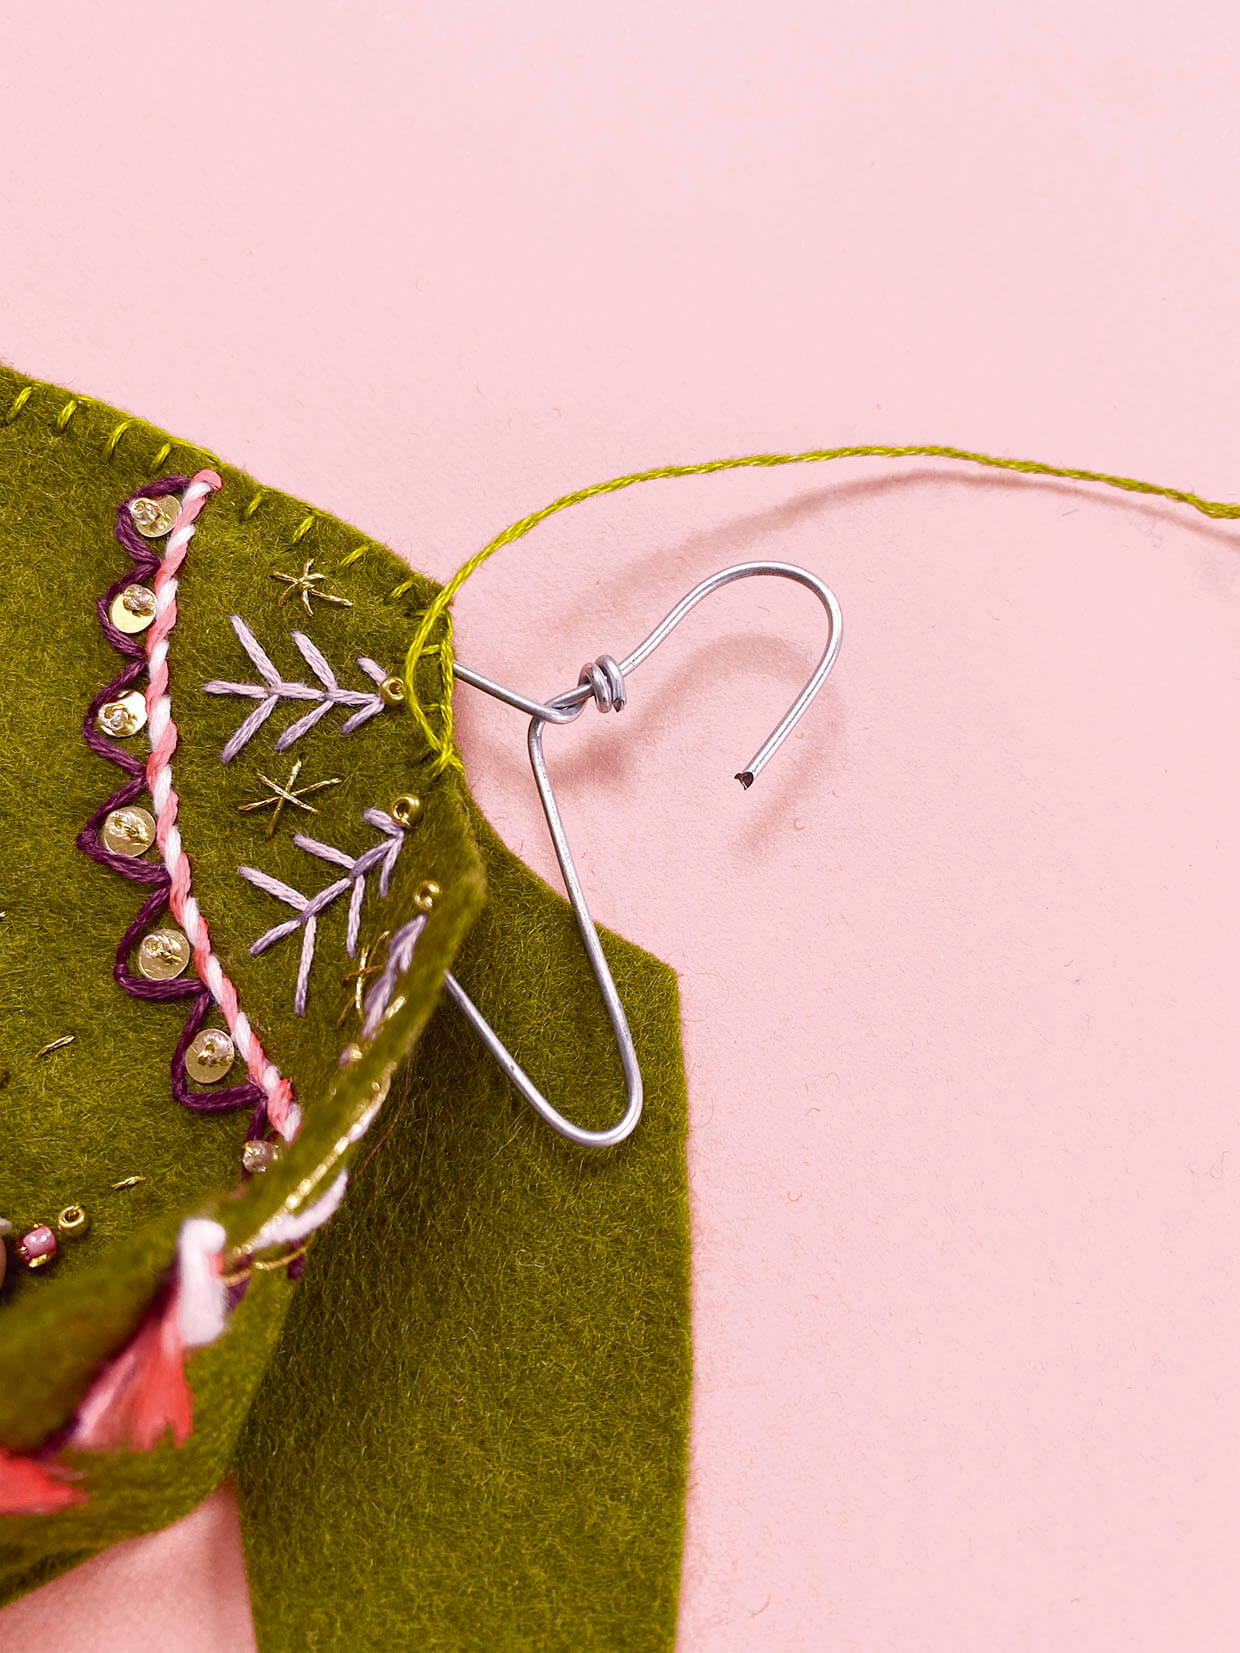
Place the front and back jumper pieces together. Starting at the bottom left, use a blanket stitch to join the pieces. When you get to the neck, insert the hanger and stitch around the wire to secure. Continue sewing, stopping at the bottom right.

Inserting the hanger

Step 4

When you reach the base of the jumper stuff with fabric scraps then sew closed.

To make the grey forest jumper

Step 1

Stitch coloured trees across the front of the jumper. Vary the colour/size of the trees and decorate with seed beads and sequin stars.

To make the pink sequinned jumper

Step 1

Sew a mix of coloured sequins across the front of the jumper in rows. Stagger the position of the sequins to create fuller rows.

DIY fabric Christmas ornaments completed

Sewing Christmas ornaments is so easy!

Making fabric Christmas ornaments couldn’t be more simple. You only need a few easy embroidery stitches to make these adorable festive jumpers!

You can make these DIY fabric ornaments as simple or as detailed as you like. We’ve provided three different designs to help you get started, but you could get creative and add your own original twist to the pattern.

This is a brilliant project for anyone who wants to take up embroidery as a hobby, as you can learn a few simple stitches as you go.

Make a festive embroidery hoop

A Christmas embroidery hoop would make a stylish addition to your seasonal decor! This stunning Merry and Bright embroidery hoop features festive foliage and a hand-stitched Christmas message.

DIY fabric Christmas ornaments