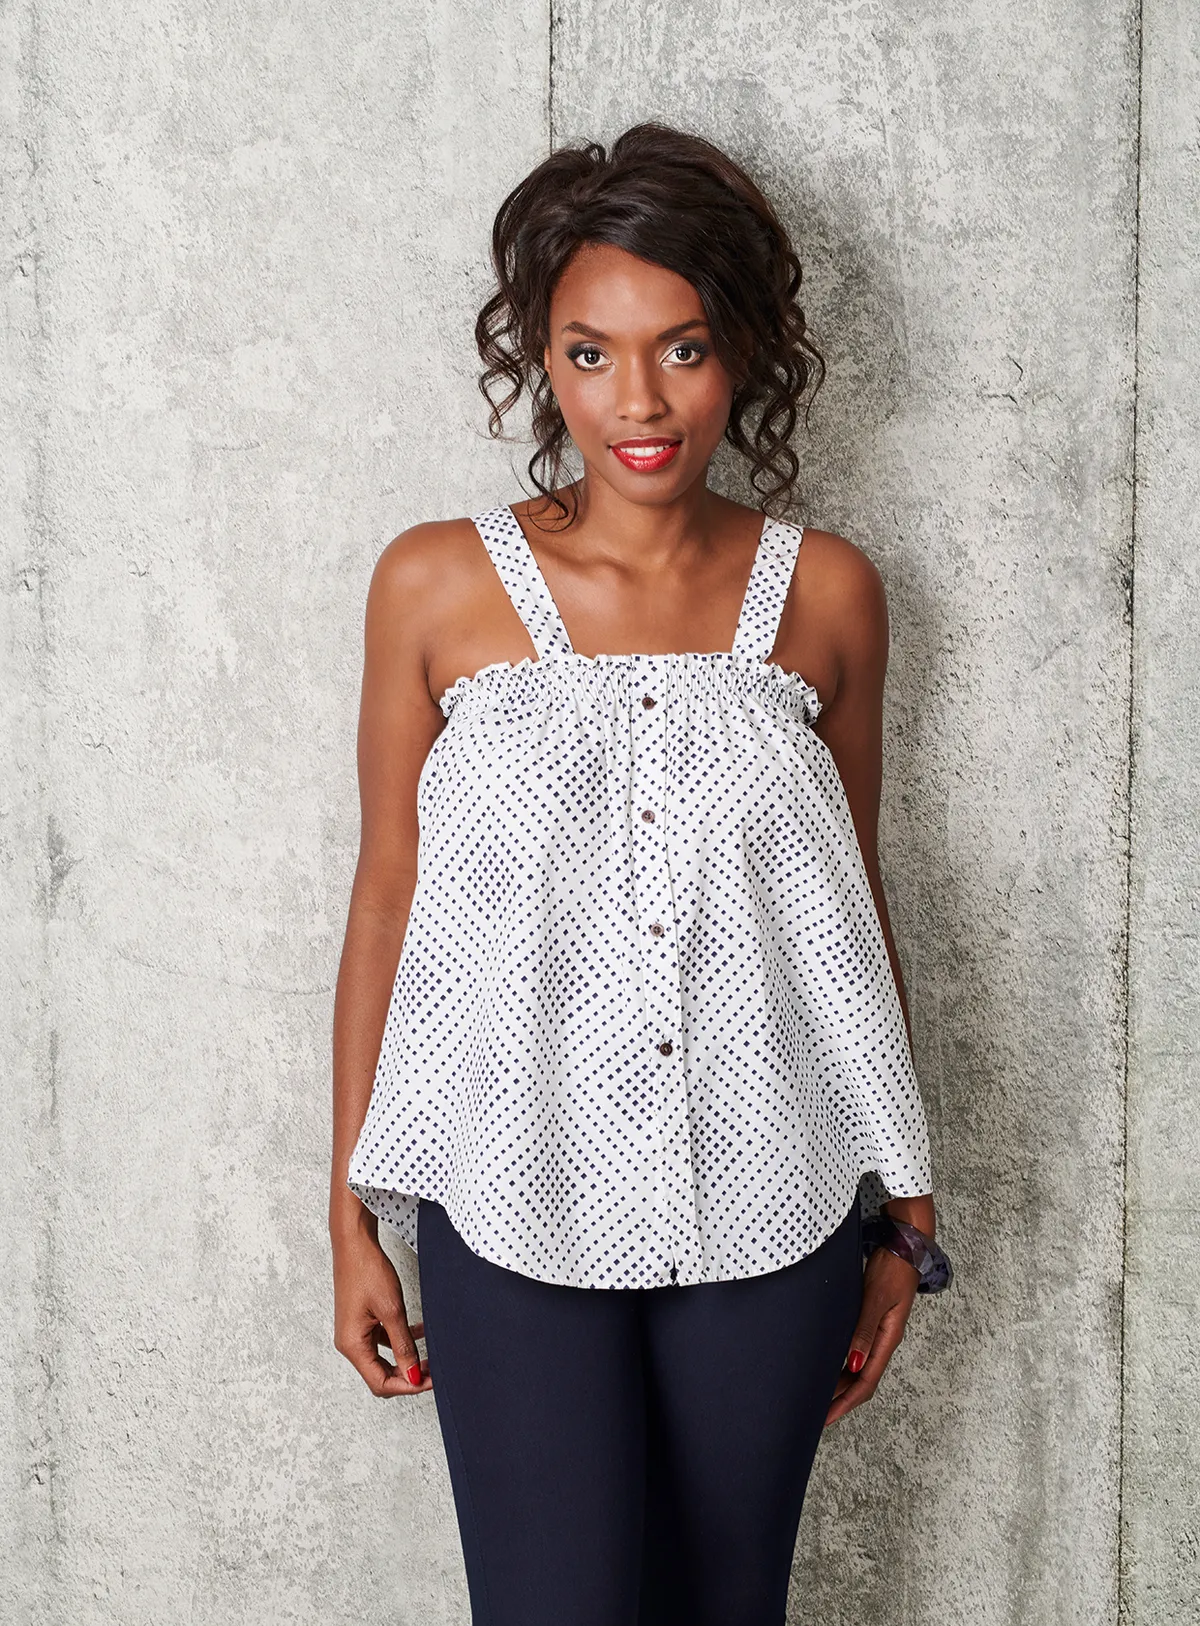
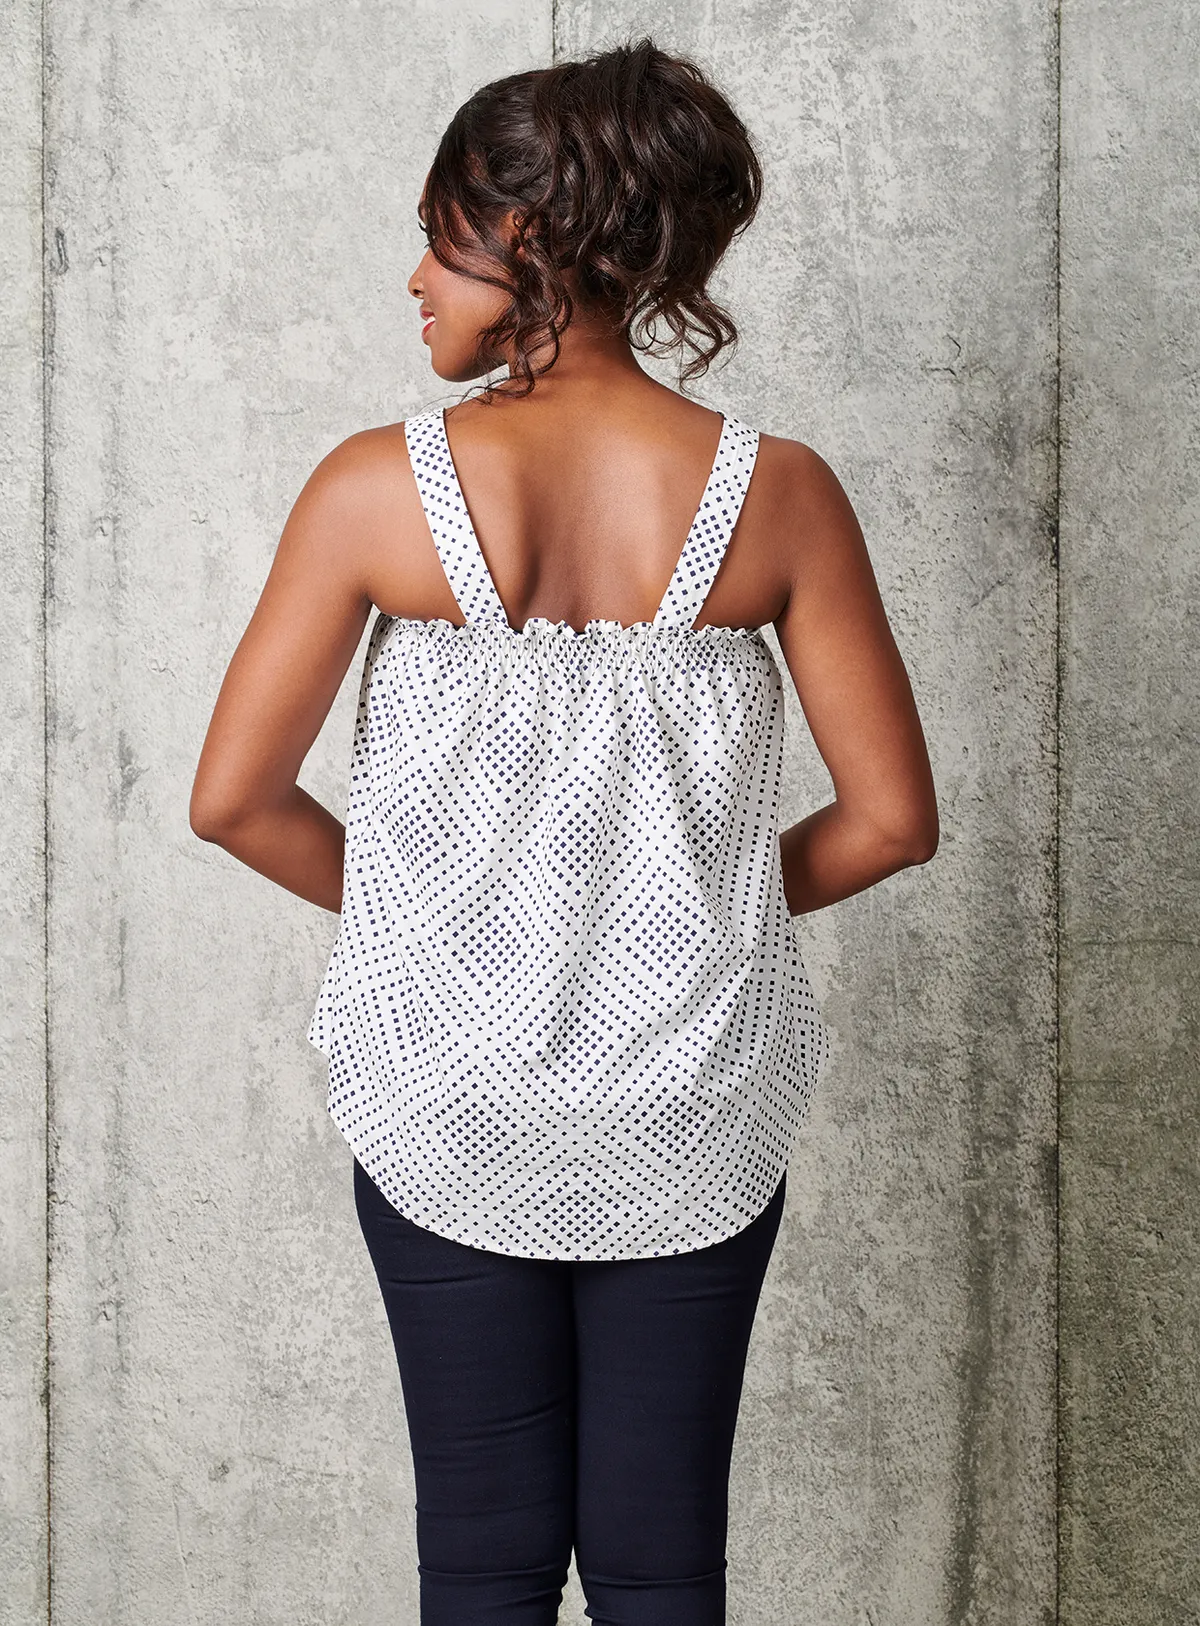
Transform any old, neglected shirts you have into a stylish, flattering gathered cami top with this cami top pattern from Portia Lawrie. Once you've made one, why not experiment with other strap styles, such as a cross-over back, halter, or ties.
You will need
- >Man’s shirt that fits you loosely (see notes for details)
- Elastic:2.5cm (1in) wide
- Matching thread
- Basic sewing kit<
Notes
The shirt you choose as your base garment should have an underarm to underarm measurement that is at least 1.5 times your bust measurement for a lightly gathered top, or 2–2.5 times your bust measurement for a more heavily gathered top.
Before you take your bust measurement, read our handy guide to How to measure yourself
Cutting out
Step 1
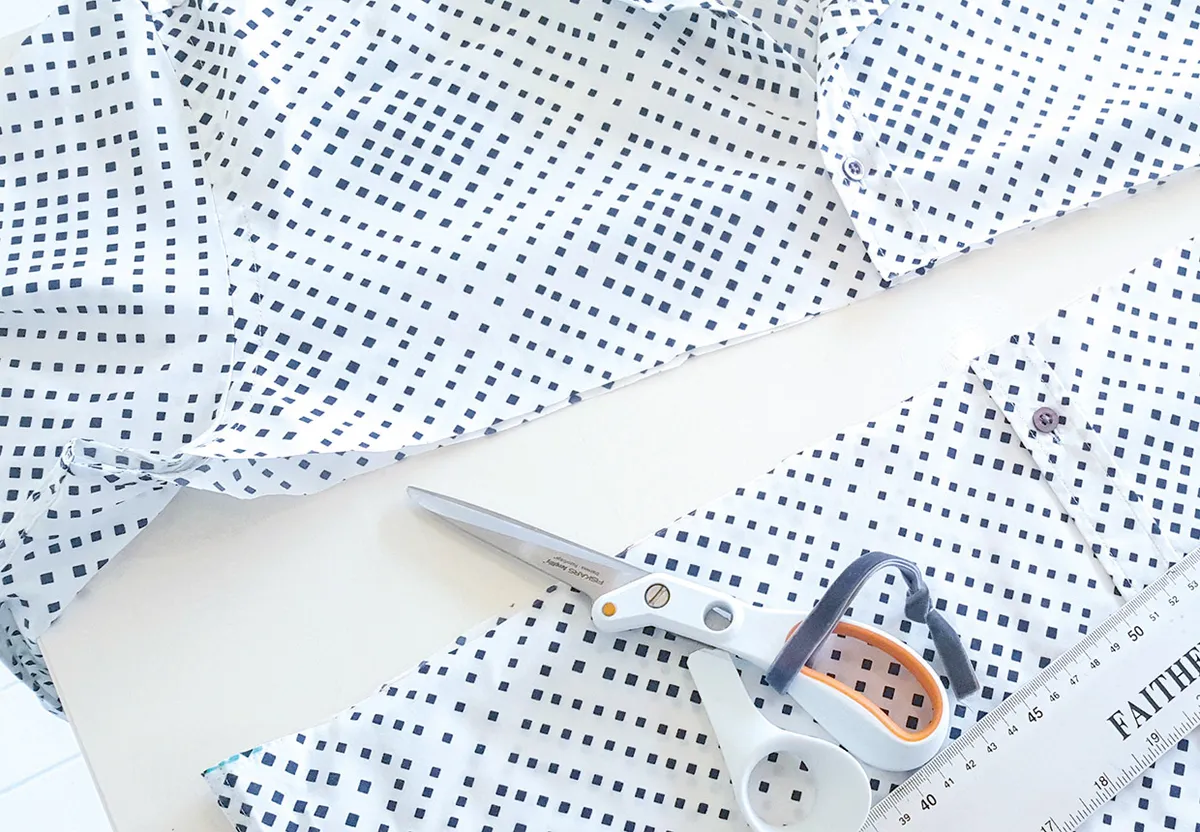
With the shirt buttoned up, cut straight across through all layers, underarm to underarm, as pictured. The bottom section you cut away from the shirt will form the main part of your top. Set this aside for now.
Step 2
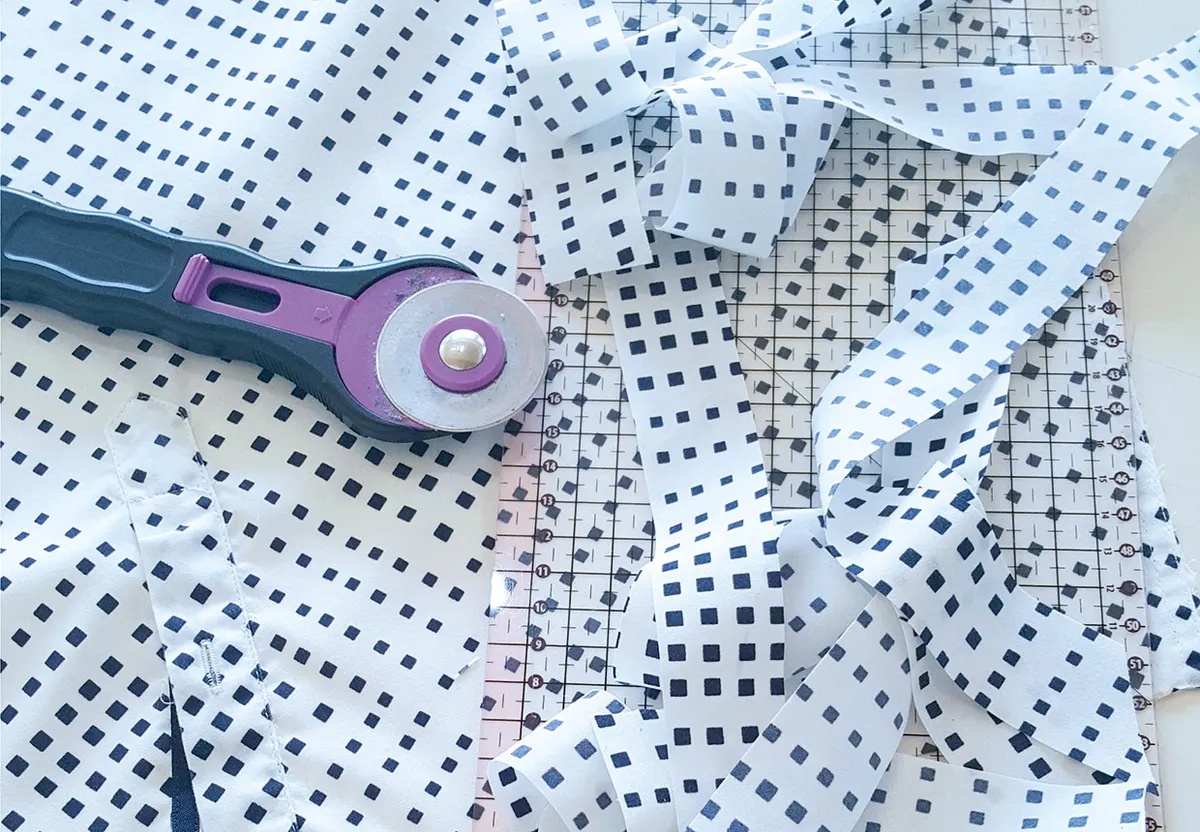
Cut strips on the bias from one of the shirt sleeves. You’ll need enough to run along the length of the top raw edge of the main top section you just cut in the first step. We cut ours 3cm (1¼in) wide.
Step 3
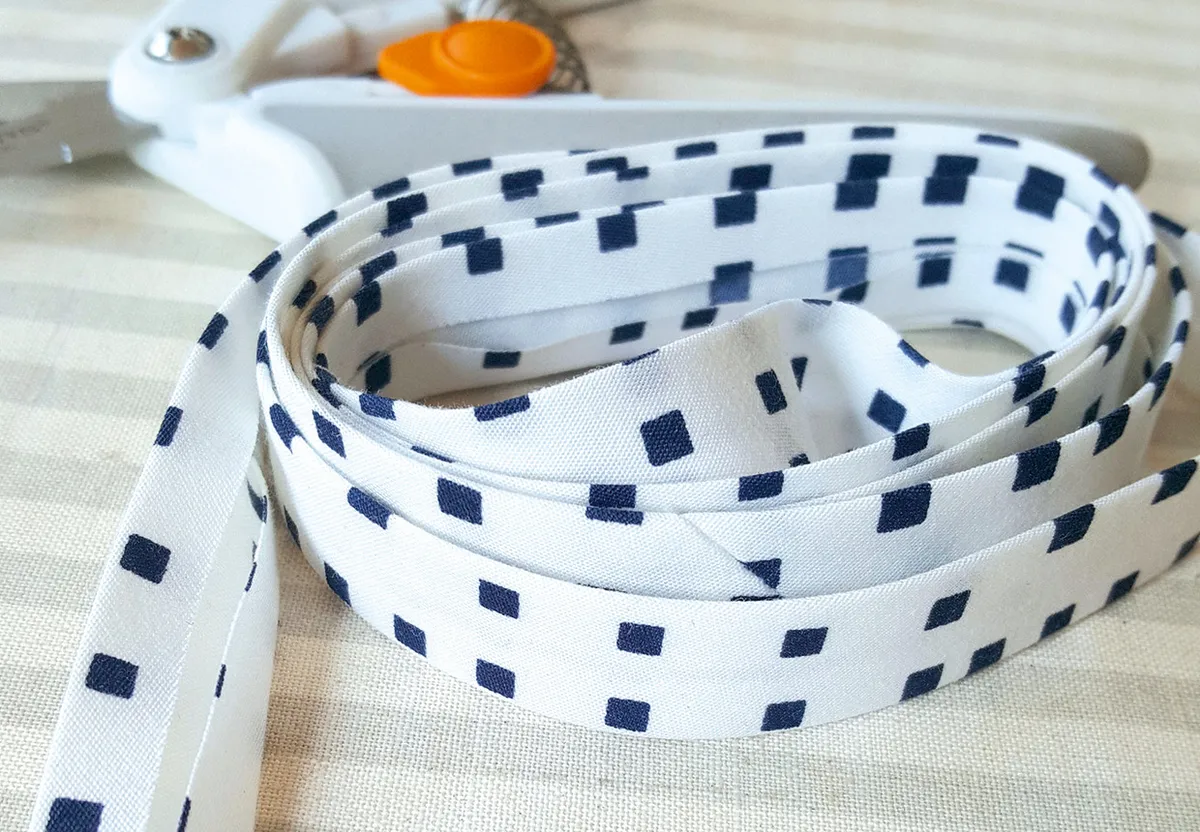
Join the bias strips together with diagonal seams and use the pieced-together bias strip to make double-fold bias tape as pictured. You can use a bias tape maker to do this, or press the raw edges to the middle.
Making the top
Step 4
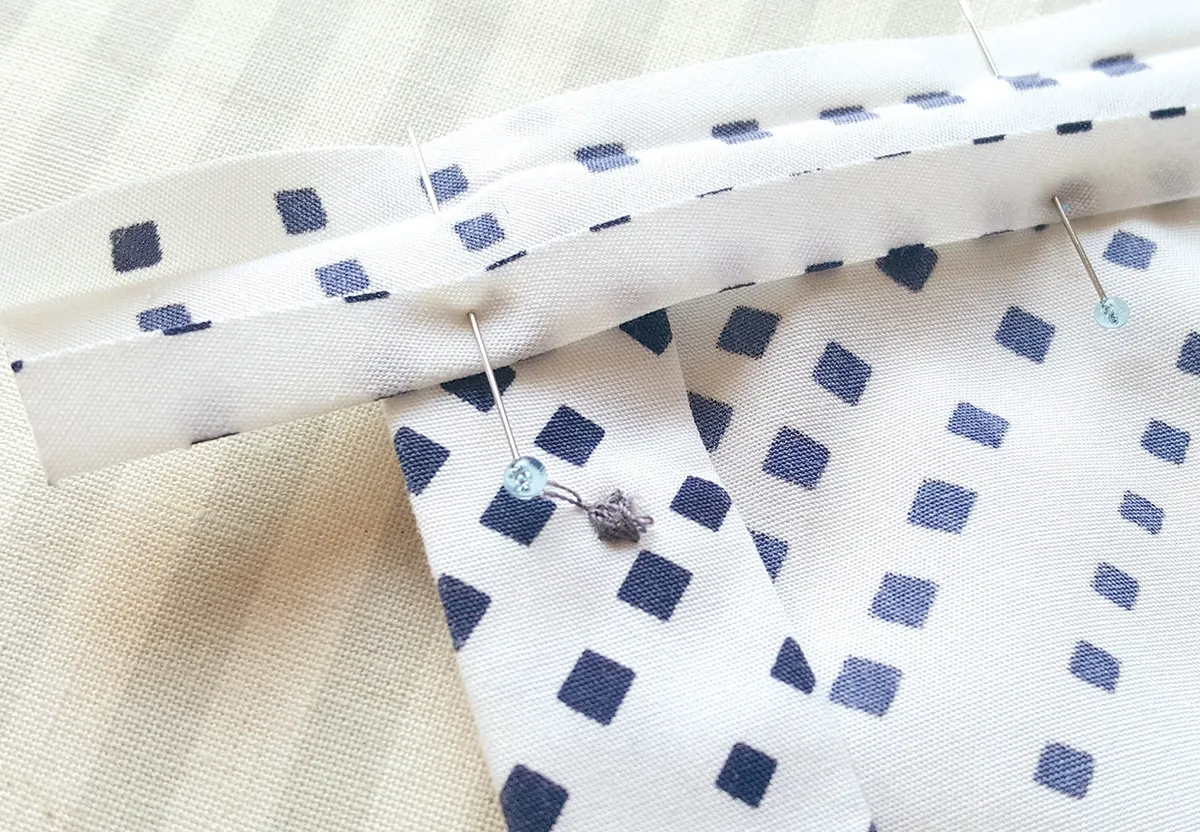
With the top unbuttoned and laid open and flat, apply the bias tape to the inside of the top. With raw edges aligned, place the right side (RS) of bias against the wrong side (WS) of the shirt and with the ends of the bias tape overhanging the button plackets on both sides, as pictured.
Step 5
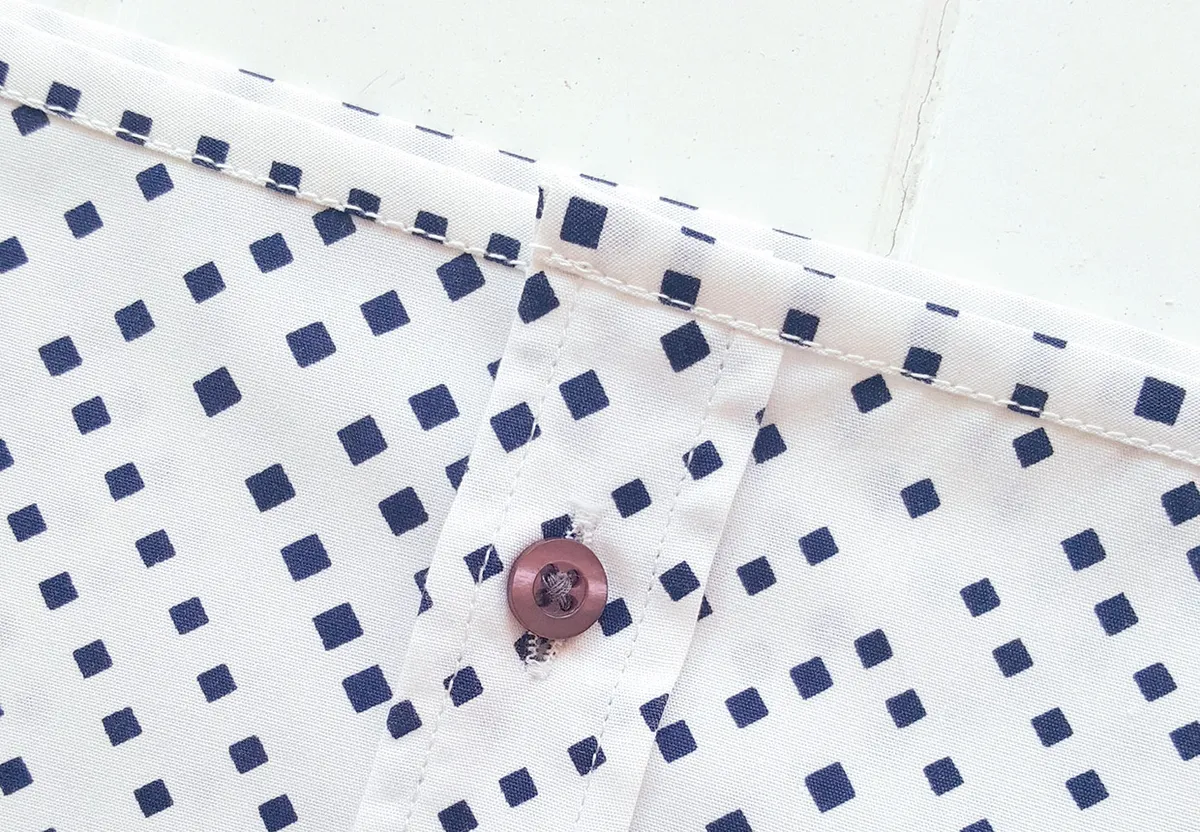
Trim the ends of the bias to within 1cm (3⁄8in) of the button plackets. Press the bias up and over to the RS of the shirt, tucking the ends of the bias tape over to enclose the plackets as you go. Pin and edgestitch in place.
Step 6
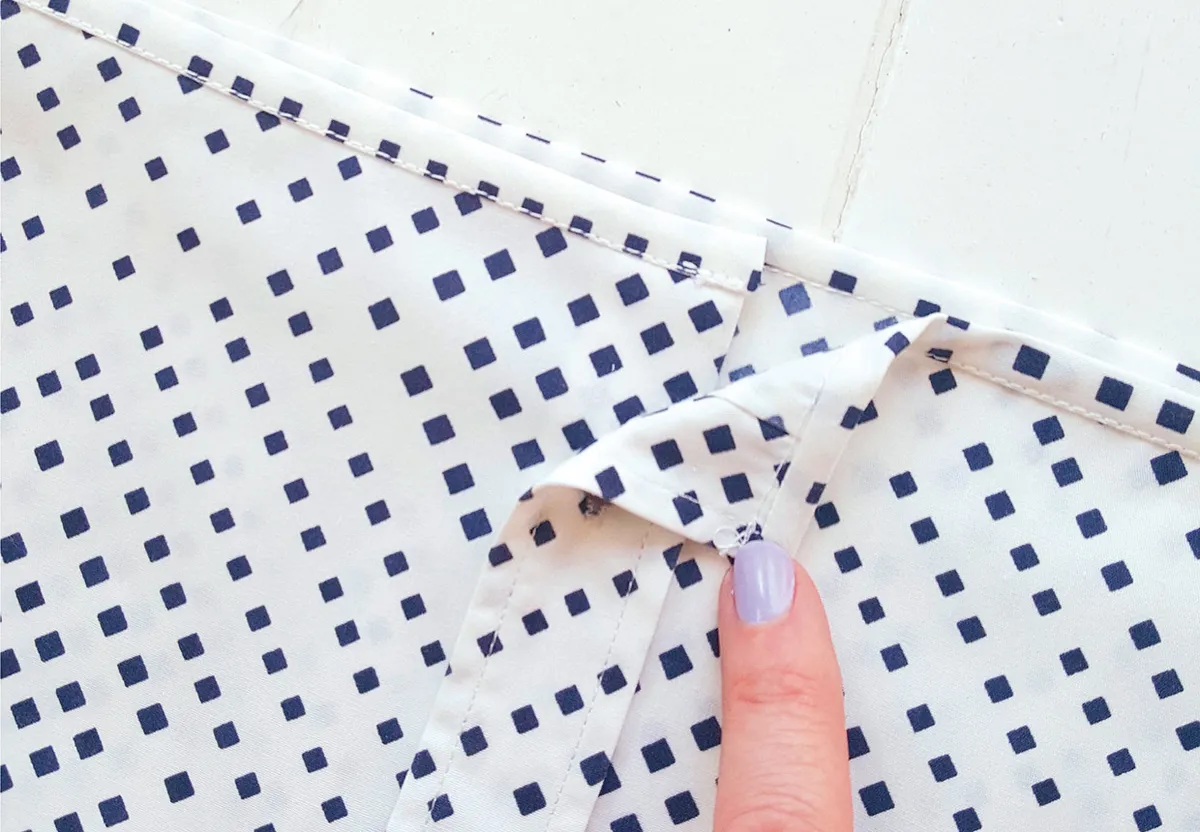
You should now have a bound top edge, with the button plackets enclosed in the bias binding. At this stage the button plackets remain separate as it will make it easier in the next step.
Step 7
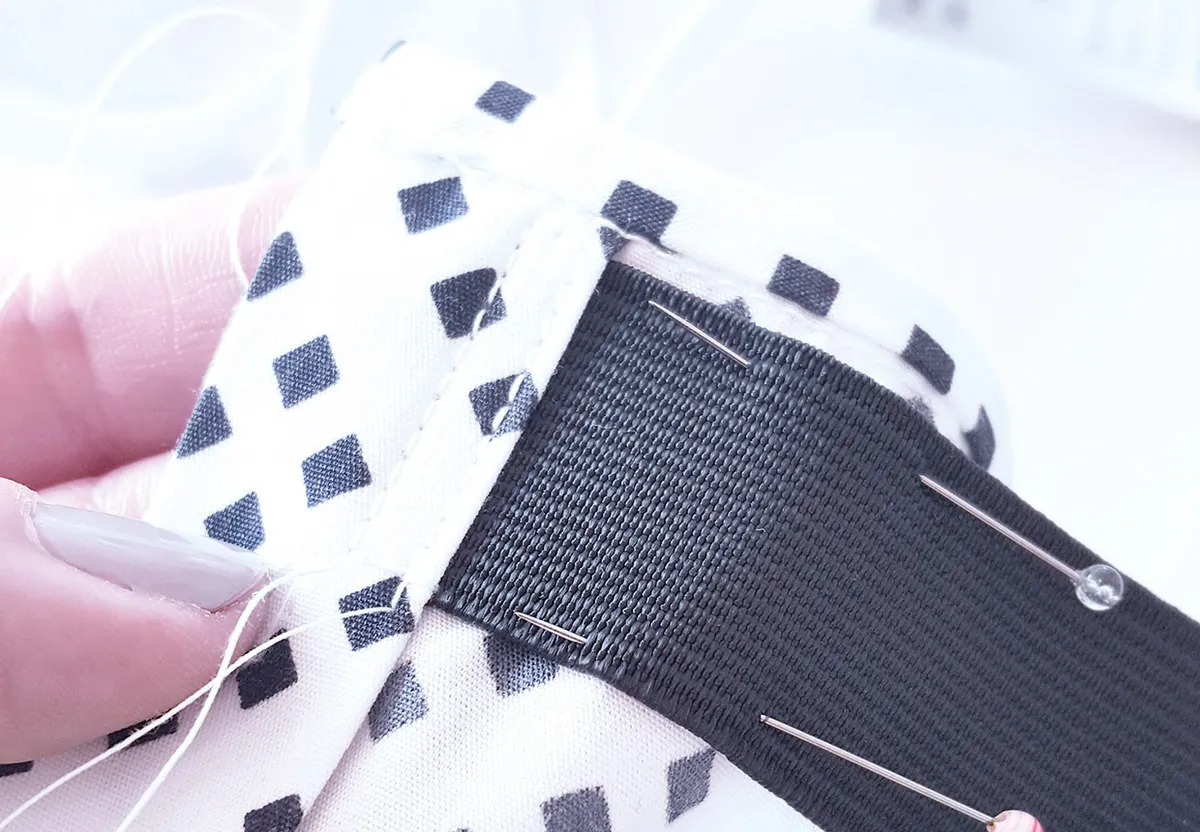
Cut a length of elastic so it fits you snugly above your bust, with approx 3cm (1¼in) added on for seam allowance. With the top unbuttoned and laid flat WS up, insert one end of the elastic just under one of the button plackets and secure in place with a stitched box.
Step 8
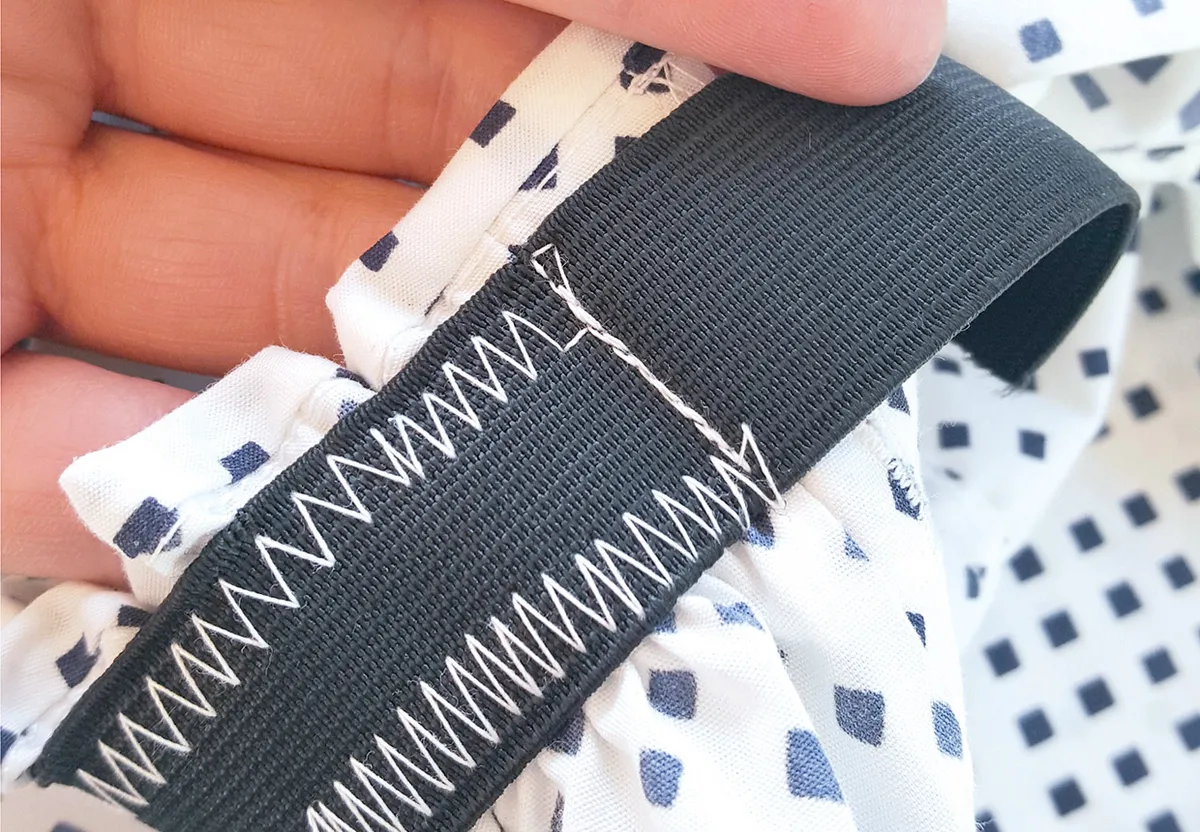
Stretching the elastic as you sew, stitch the elastic to the inside edge of the top using a long, wide zigzag stitch – we used two rows of zigzag stitches as pictured. The elastic must reach all the way to the other button placket, with the 3cm (1¼in) excess overhanging. Backstitch across the width of the elastic where it meets the placket to secure. Cut away any excess elastic.
Find your next sewing project:
Making the straps
Step 9
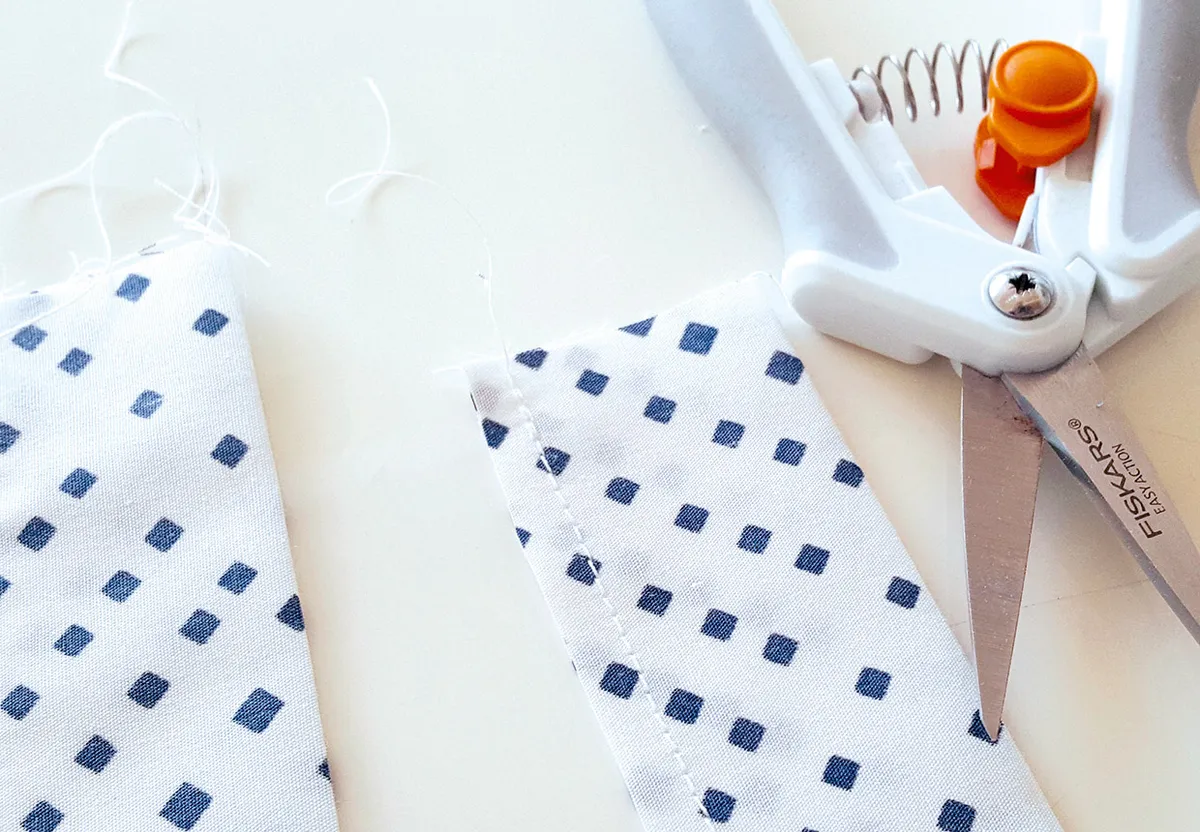
Using the remaining shirt sleeve, cut 7x45cm (2¾x17¾in) strips for the straps. Fold the strips in half with RS together and stitch along the length to create a tube.
Step 10
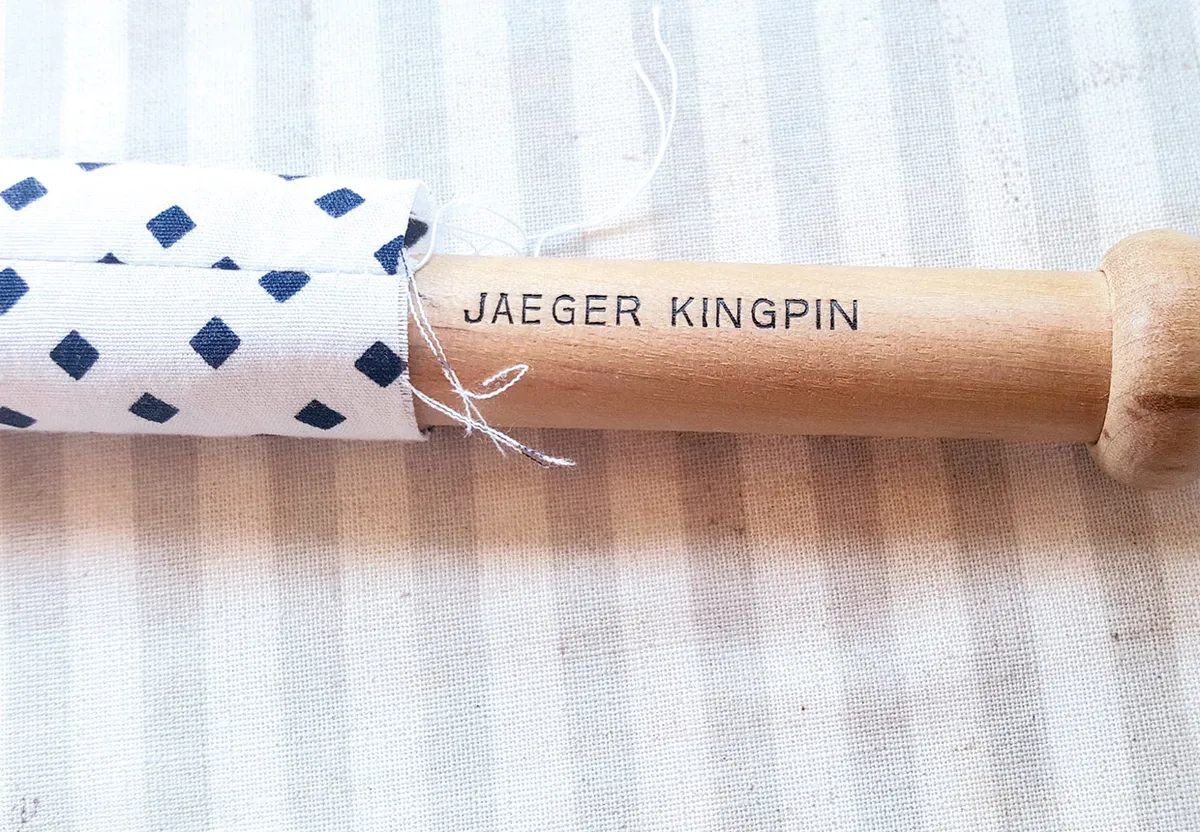
Turn both of the tubes through to the RS and press.
Step 11
Edgestitch along both edges.
Step 12
Establish where you want your straps to sit and how long you need them to be by trying the top on and pinning them in place.
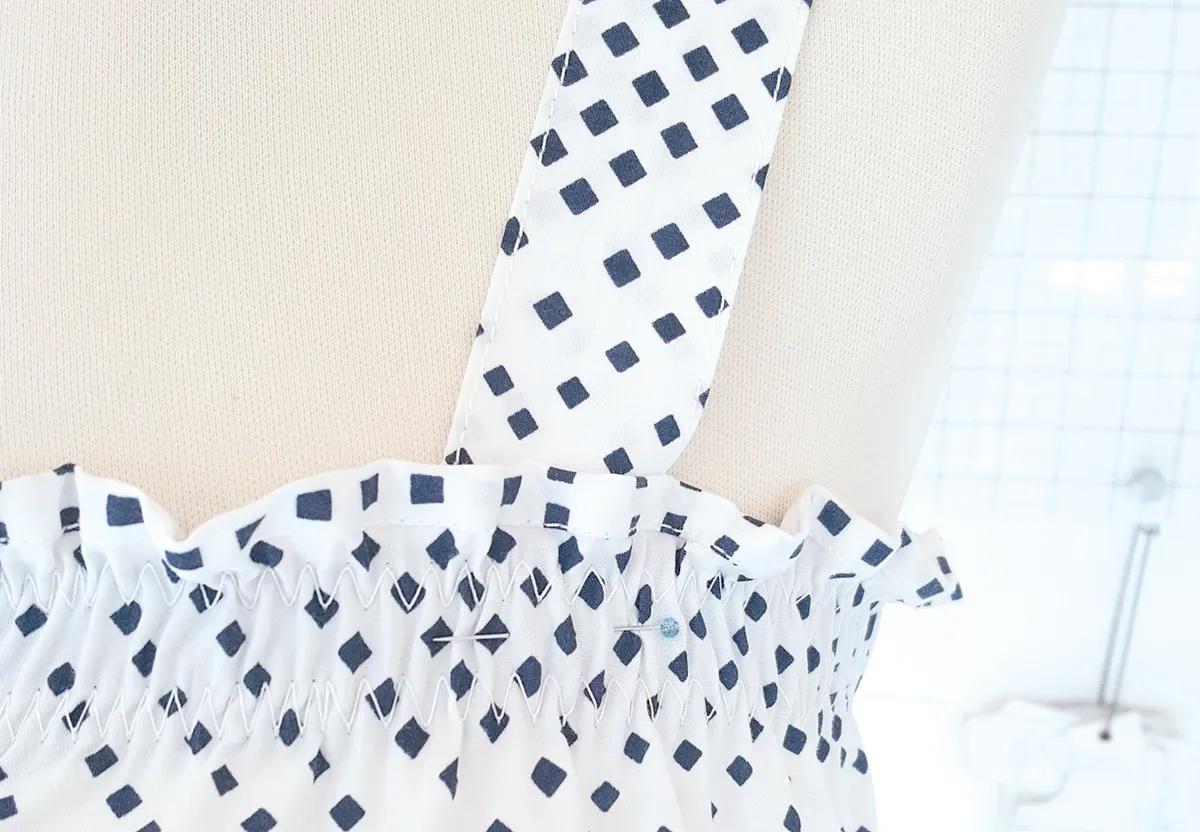
Step 13
Stitch the straps in place securely through all layers (straps, elastic and shirt) using a stitched box.
Step 14
Sew the two button plackets together along the top edge of the shirt using a stitched box. You will be stitching through all layers as for the straps.

More ideas to try
- We retained the original shirt hem, but there are lots of possibilites to change the length. Use a longer shirt for a tunic length top or shorten the hem for a crop top.
- Use a contrasting colour bias binding along the top edge.
- Combine two smaller shirts for a colour-block version. This is especially helpful if you can't find one shirt that is large enough as you are doubling the available fabric by combining two.
- Remove the buttons and add new contrasting or matching ones, ensuring they are the right size for the buttonholes.
- Topstitch a lace or ric rac trim to the placket edge, the hem, or along the straps to add an extra design detail.
