Cutting out
Step 1
Download, print and cut out the templates and make a note of the left and right side on them.
Step 2
From Fabric A cut:
- Inner sole: two 32x15cm.
- Slipper upper: four pieces 12x24cm (4¾x9½in).
- Sole binding: two strips 4.5x80cm (17⁄8x31½in).
- Slipper upper top edge binding: two strips 4.5x15cm (17⁄8x6in).
- Slipper upper bottom edge binding: two strips 4.5x22cm (17⁄8x8¾in).
Step 3
From Fabric B cut:
- Sole: two using the template, remembering to flip the template over to create a mirrored pair.
Step 4
From the foam wadding cut:
- Sole wadding: two 32x15cm (125⁄8x6in).
- Slipper upper wadding: two 12x24cm (4¾x9½in).
Making the slipper soles
Step 1
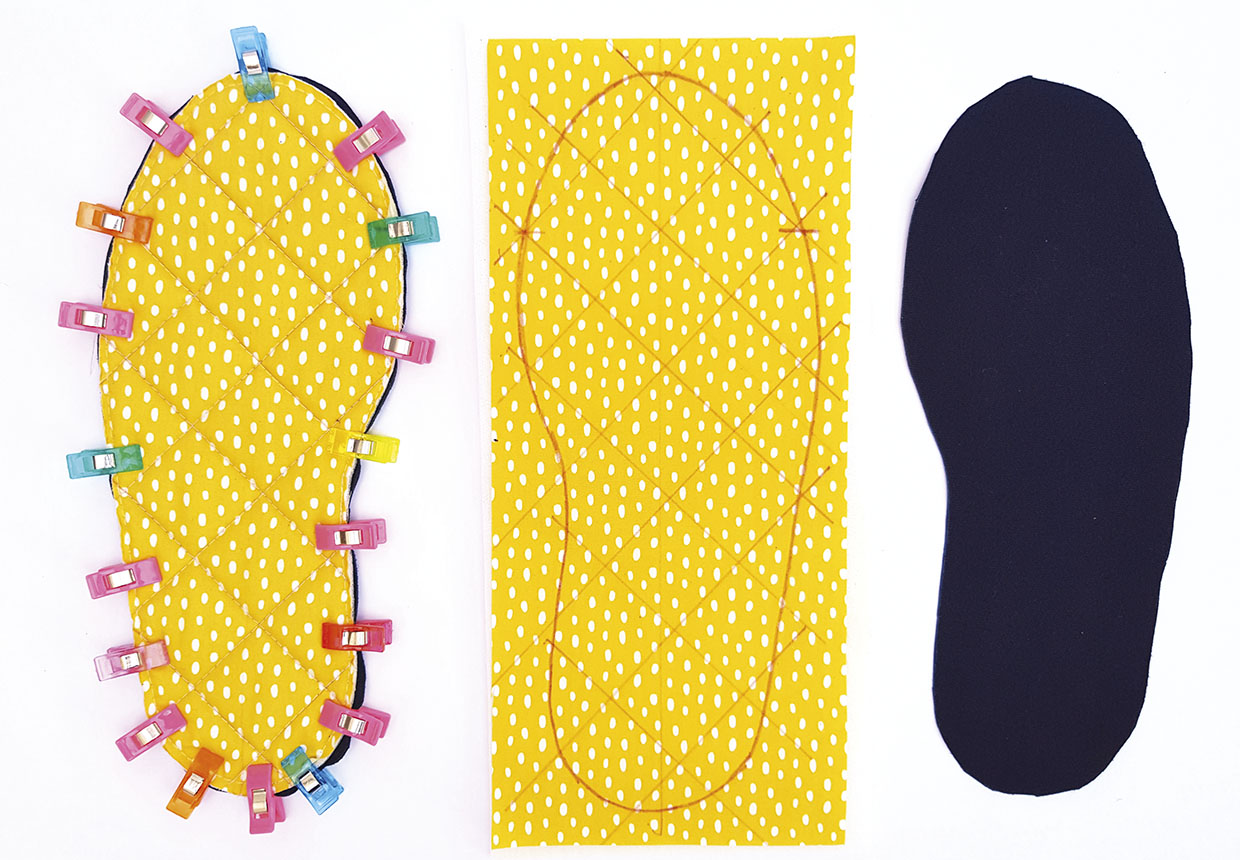
Draw around the sole templates on the right sides (RS) of the inner sole fabric pieces – remember to draw a mirror pair. Transfer the marks for the placement of the slipper upper.
Step 2
Draw quilt lines on the fabric within the template lines – we cross-hatched approx 3.5cm (13⁄8in) squares apart.
Step 3
Pin or clip the foam to the wrong side (WS) of the fabric. Sew along the marked lines with a long stitch length then staystitch all the way around the outside (just within the template outline). Cut out the quilted sole along the template outline.
Step 4
Clip the quilted sole to the corresponding suede sole, so that the foam is facing the WS of the suede.
Step 5
Sew the two pieces together with a 5mm (¼in) seam allowance. Repeat steps to make the second slipper sole.
Making the slipper slides
Step 1
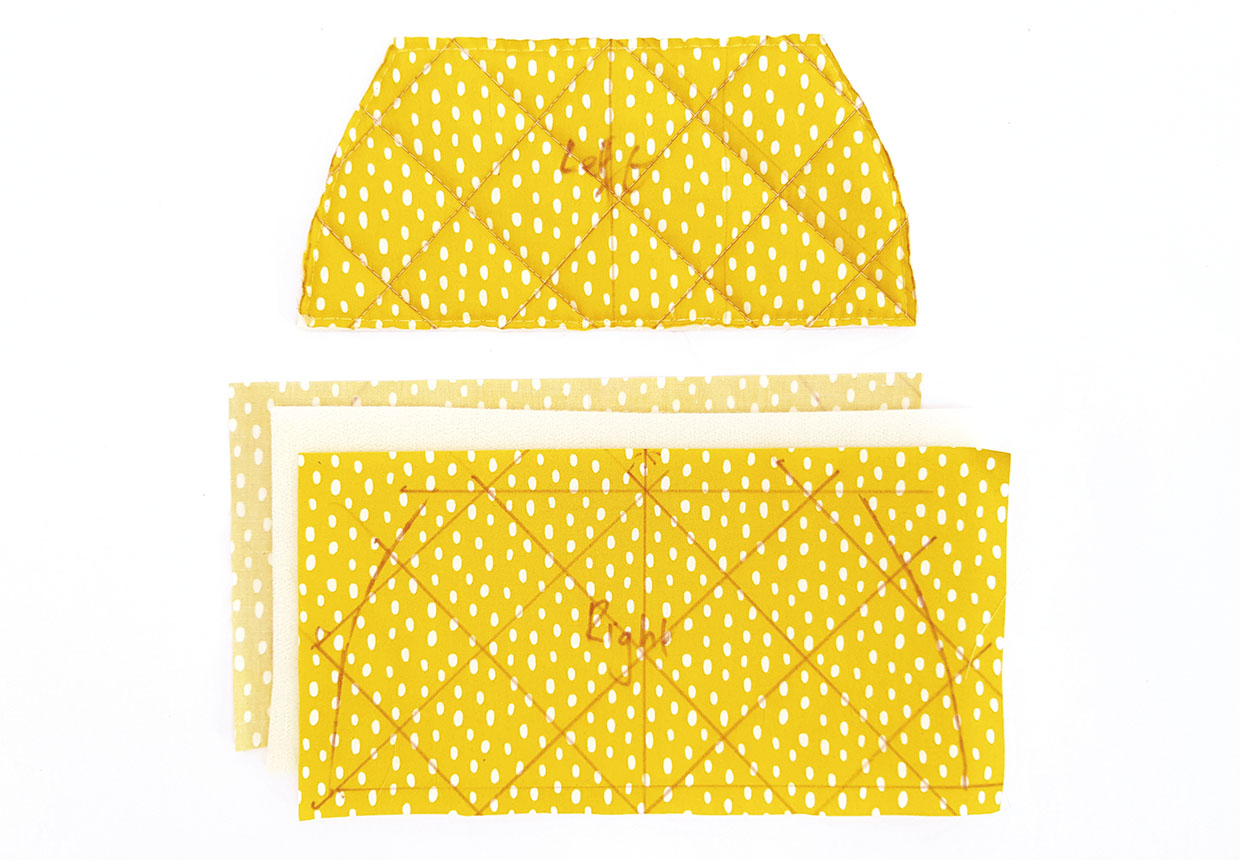
Take one of your Fabric A slipper upper pieces and transfer your slide template and mark quilting lines. Mark whether this is the left or right slide so that they don't get mixed up later on.
Step 2
Sandwich your foam between the marked fabric and the second slipper upper piece.
Step 3
Quilt and staystitch just inside the template outline as before. Cut out your slipper upper along the template outline.
Step 4
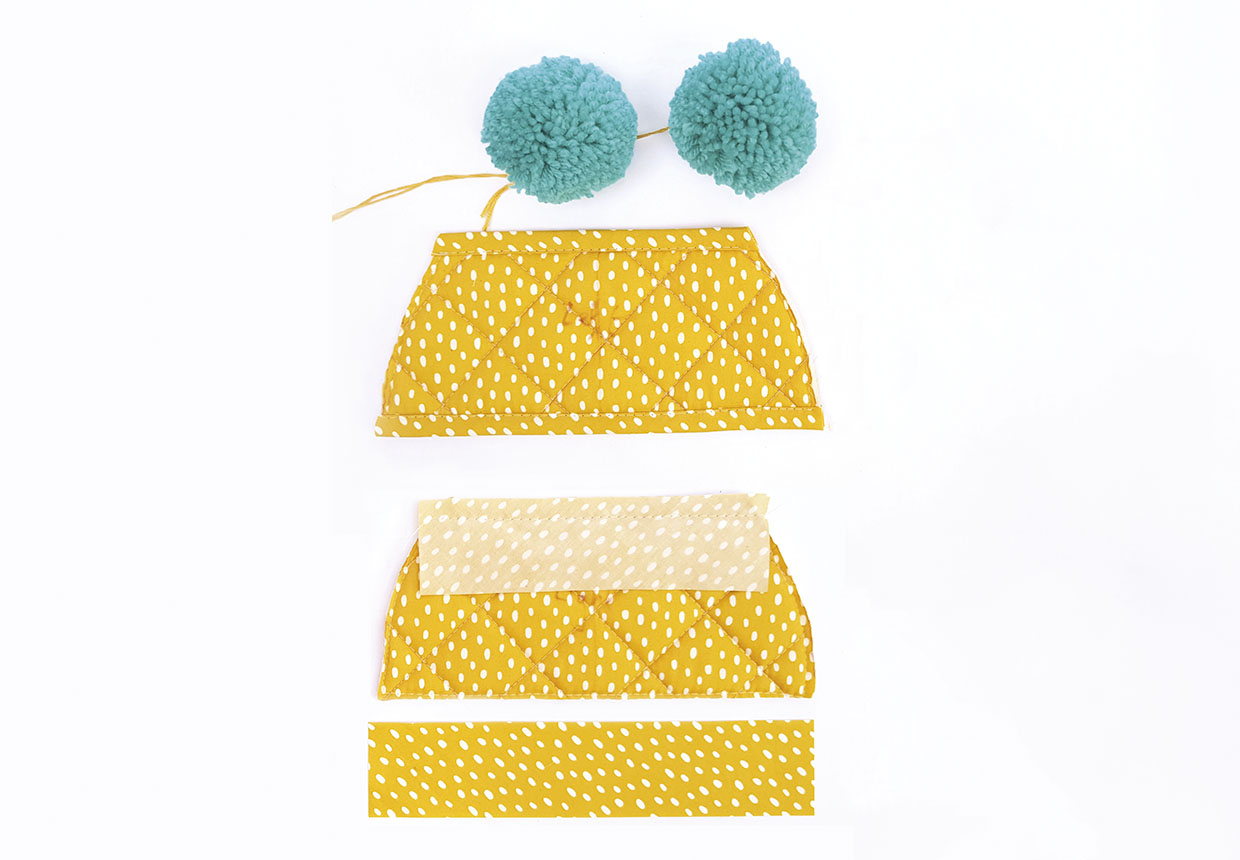
Take one of the slipper upper top edge binding pieces and place it on top of your slipper upper piece with RS together, aligning the raw edges. Sew together.
Step 5
Press the strip upwards then press the short edges to the back and fold the fabric strip over the slide edge, tucking the strip raw edge under by 1cm (3⁄8in). Press, then topstitch in place.
Step 6
Repeat for the bottom raw edge of the slipper upper using the slipper upper bottom edge binding strip. Repeat steps to make the second slipper slide.
Adding pom poms
Step 1
Make two large pom poms using the yarn and pom pom maker. Use two pieces of 30cm (12in) long strong thread that match your fabric to tie the pom poms together.
Step 2
Sew the pom poms to the centre of each of the RS of the slipper upper pieces.
Assembling the slipper
Step 1
Staystitch the slipper upper to your slipper sole sandwich, for each slipper.
Step 2
Take one of the sole binding strips, fold over one of the short edges to the WS by 1cm (3⁄8in) and press.
Step 3
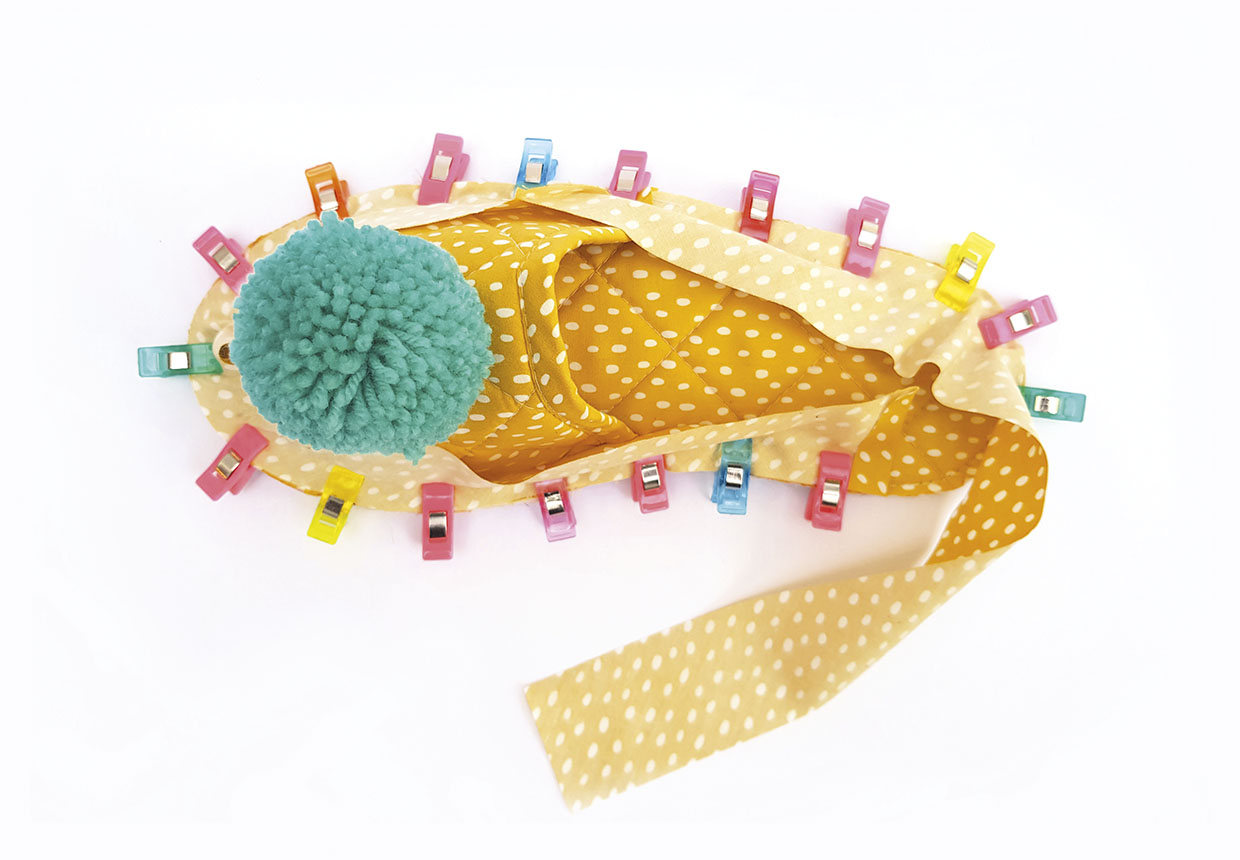
Clip the binding strip to the slipper RS together, aligning raw edges.
Step 4
Start by sewing over the folded raw edge, then sew the strip onto the RS of the slipper. Use a long stitch length and stitch slowly. When you reach the start of your stitching overlap the binding by 2cm (¾in) then cut off the excess.
Step 5
Fold the binding to the WS, tuck the raw edge under by 1cm (3/8in) and tack in place.
Step 6
Topstitch to finish.


