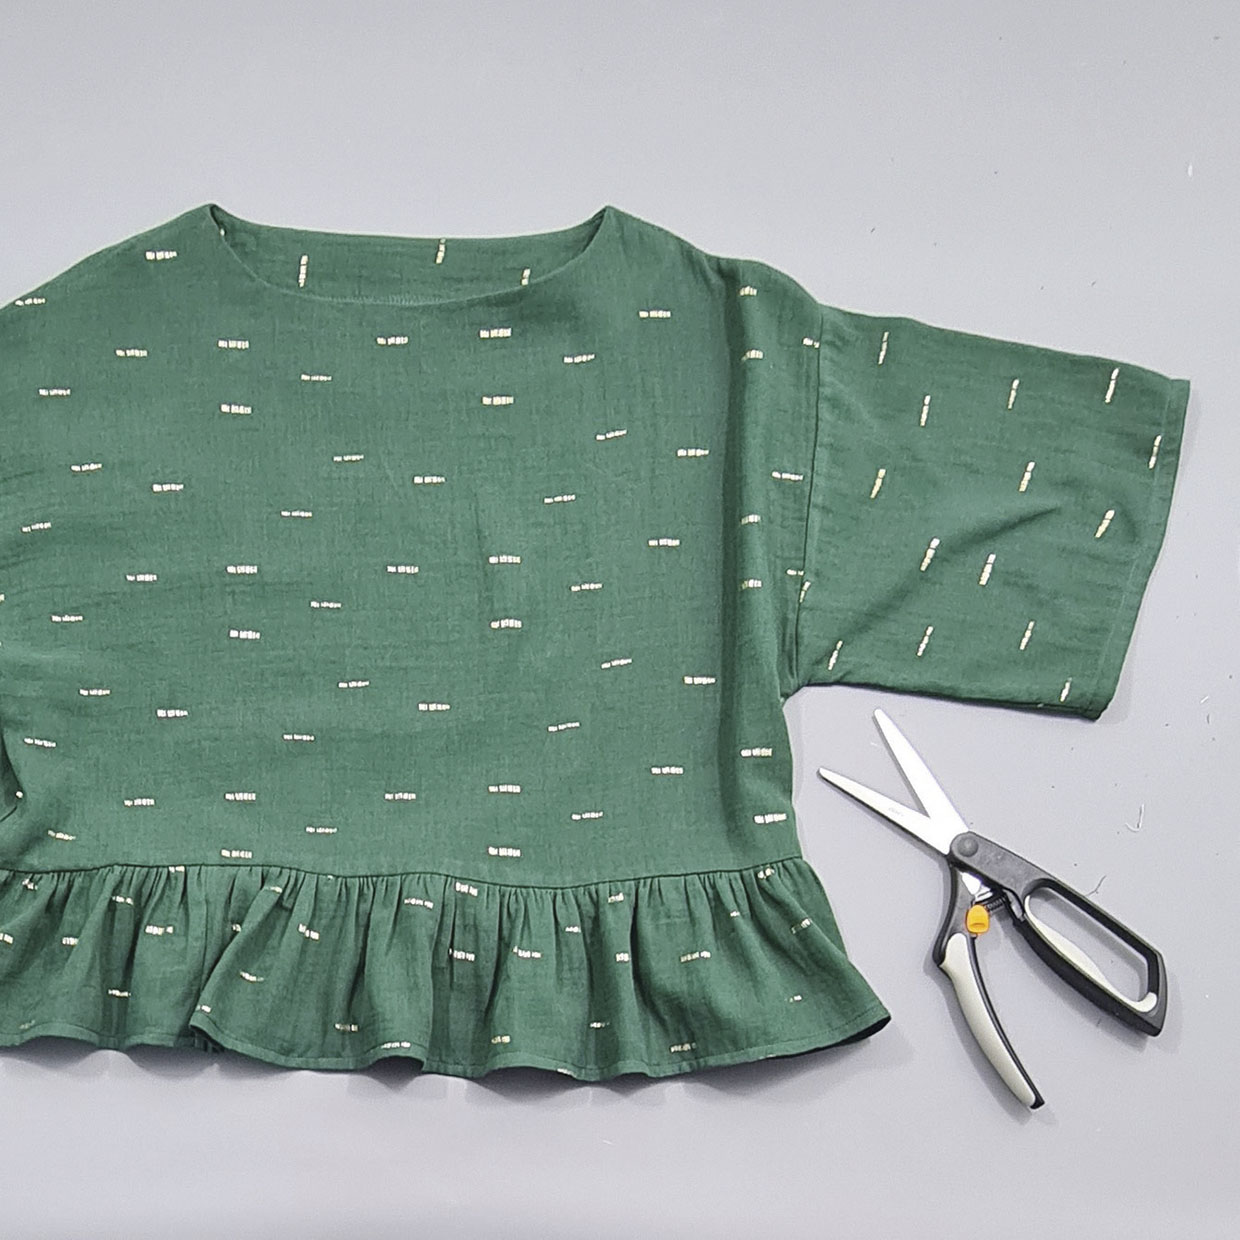
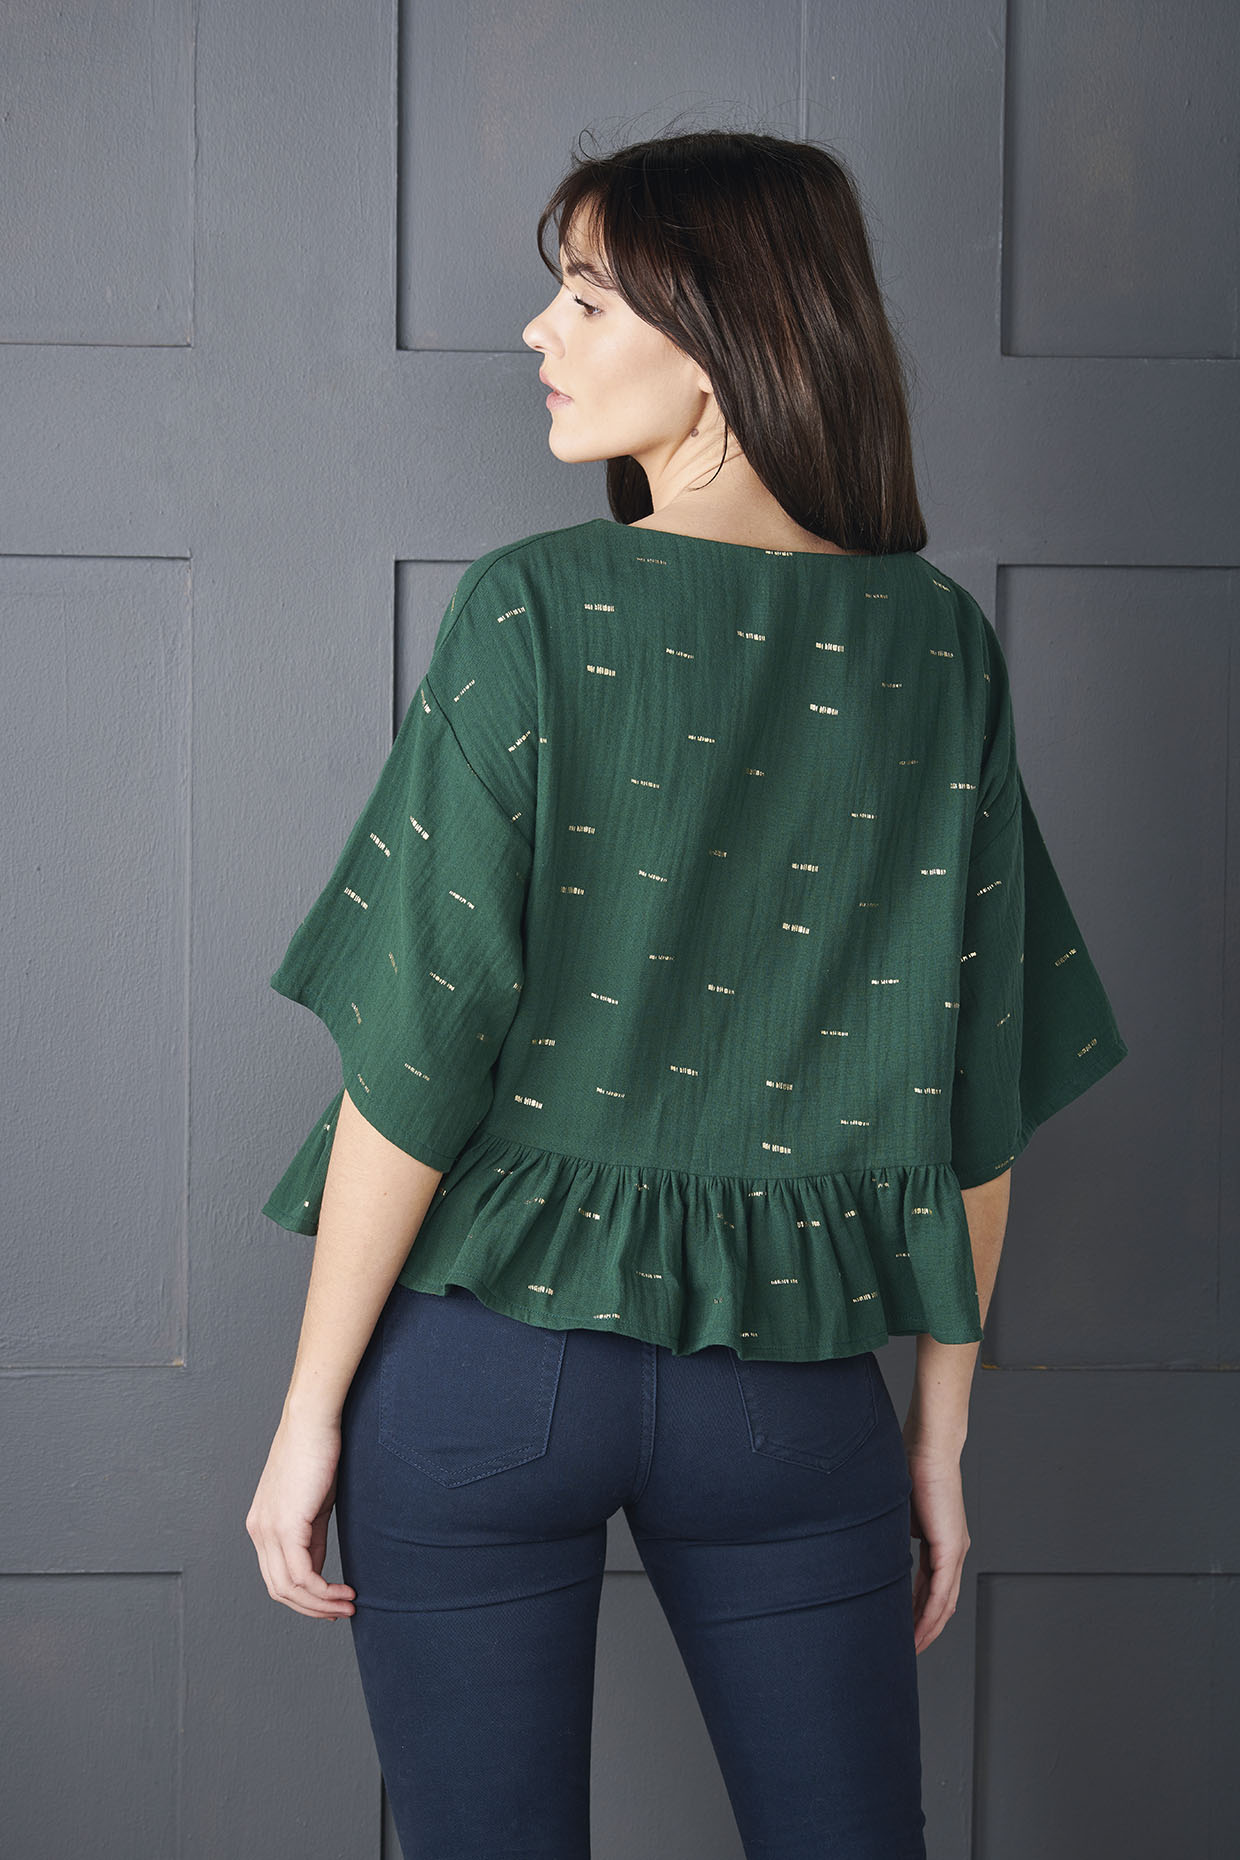
Cutting out
Step 1
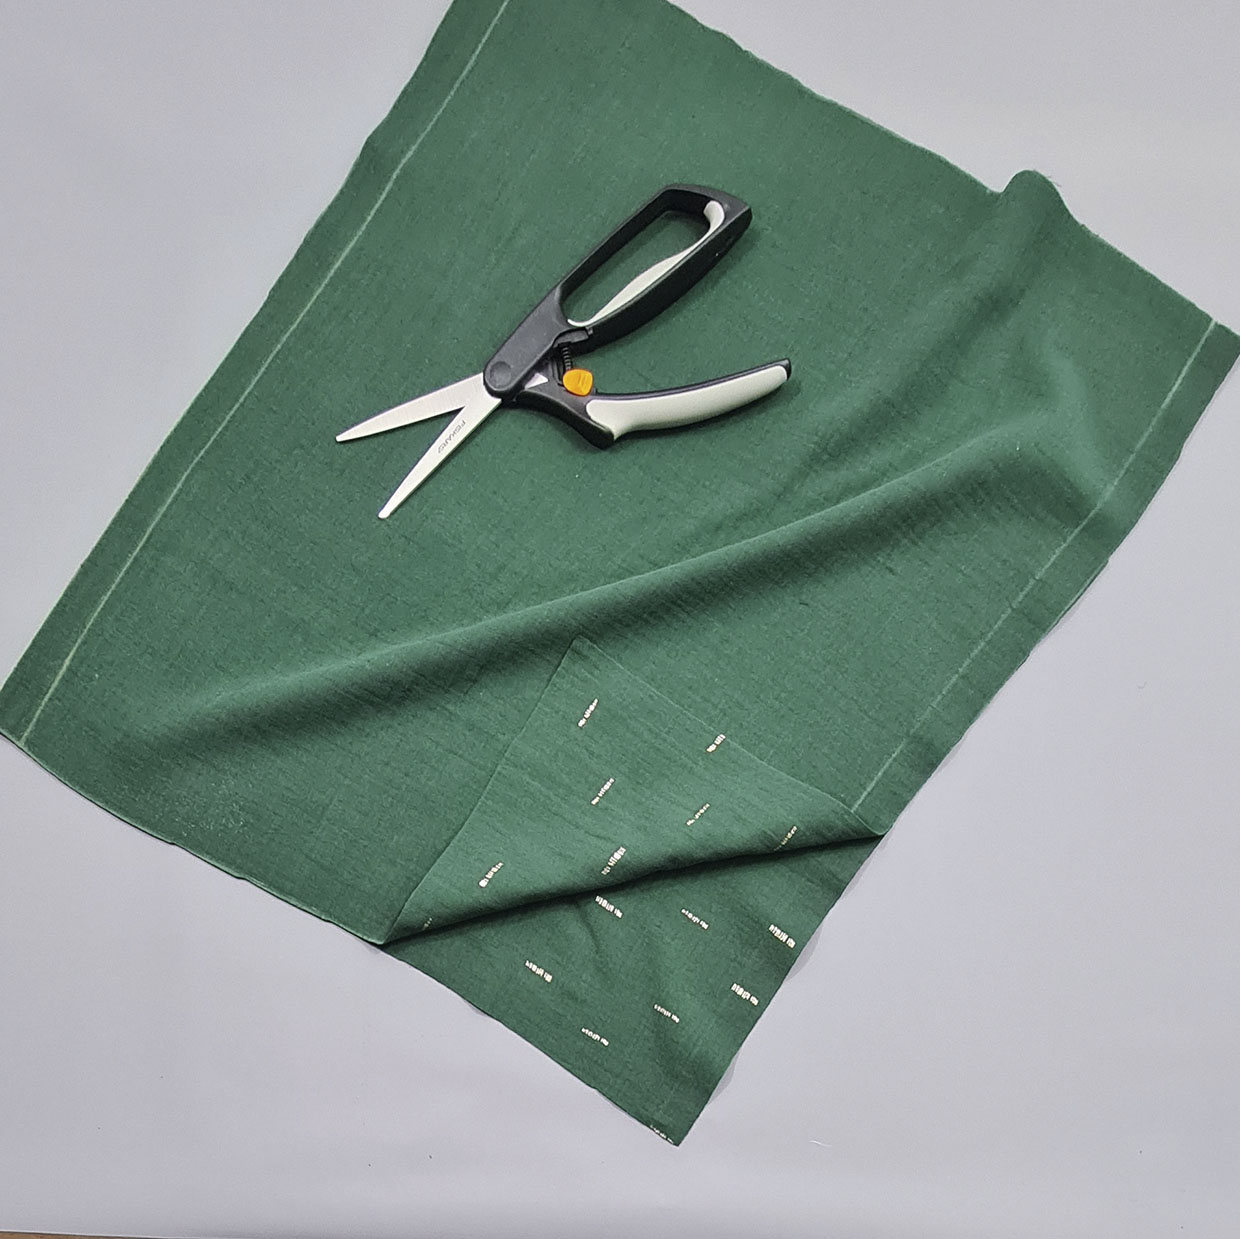
From the main fabric cut:
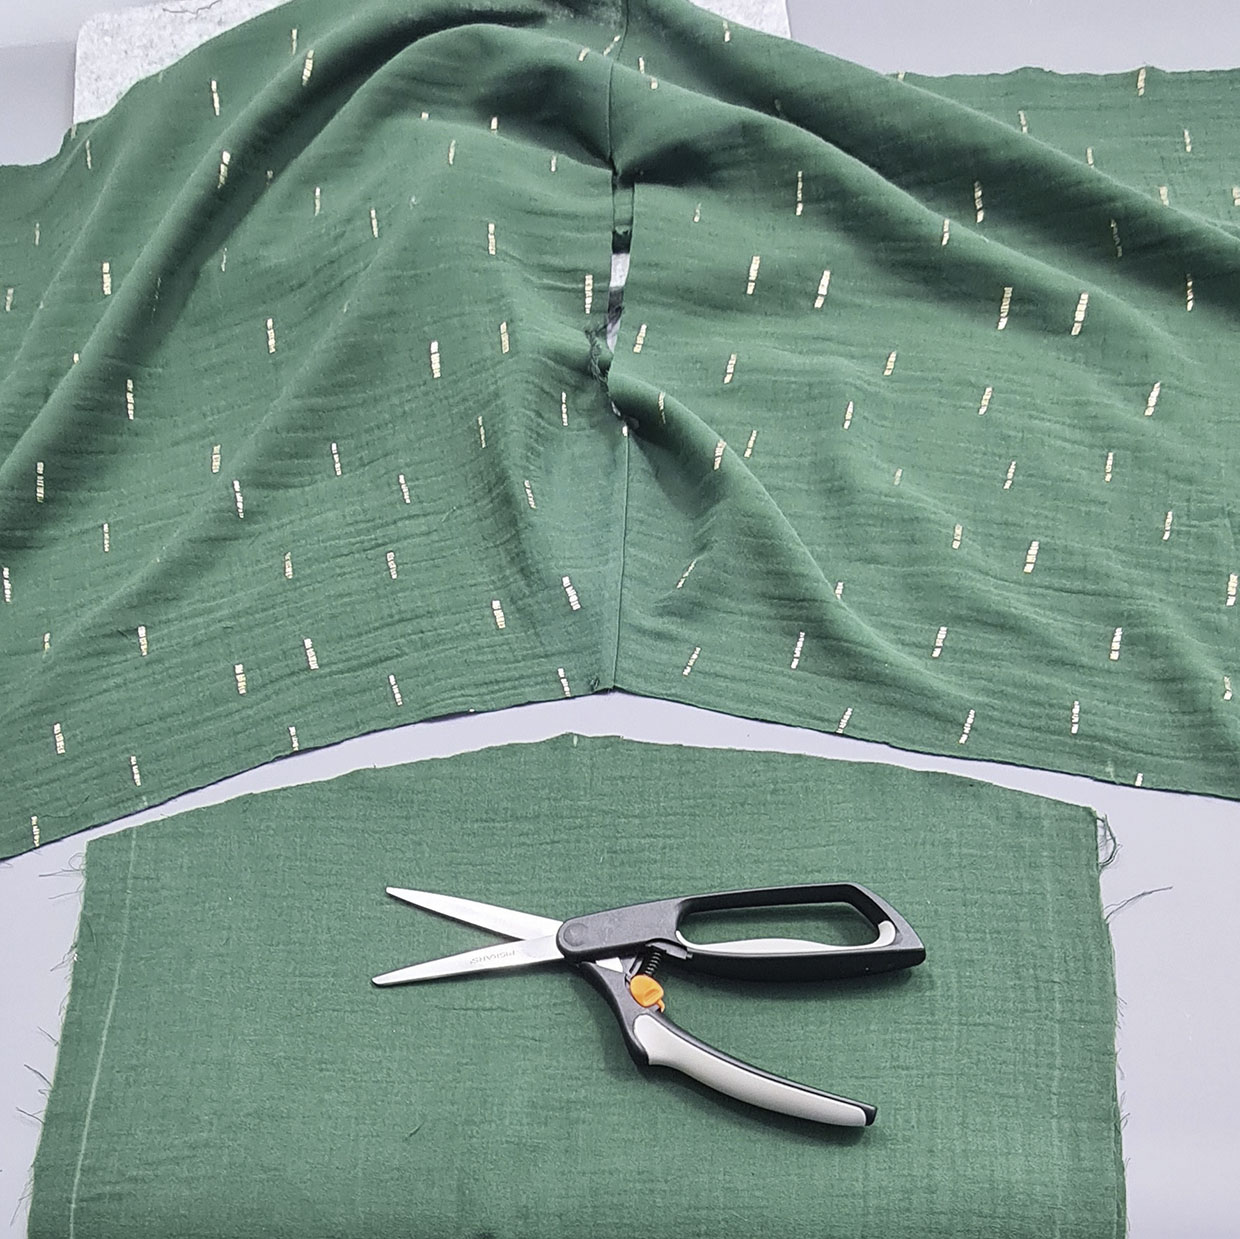
- Front/Back Bodice: two 55x55cm (215/8×215/8in)
- Sleeves: two 50x40cm (193/4×153/4in)
Creating the neckline
Step 1
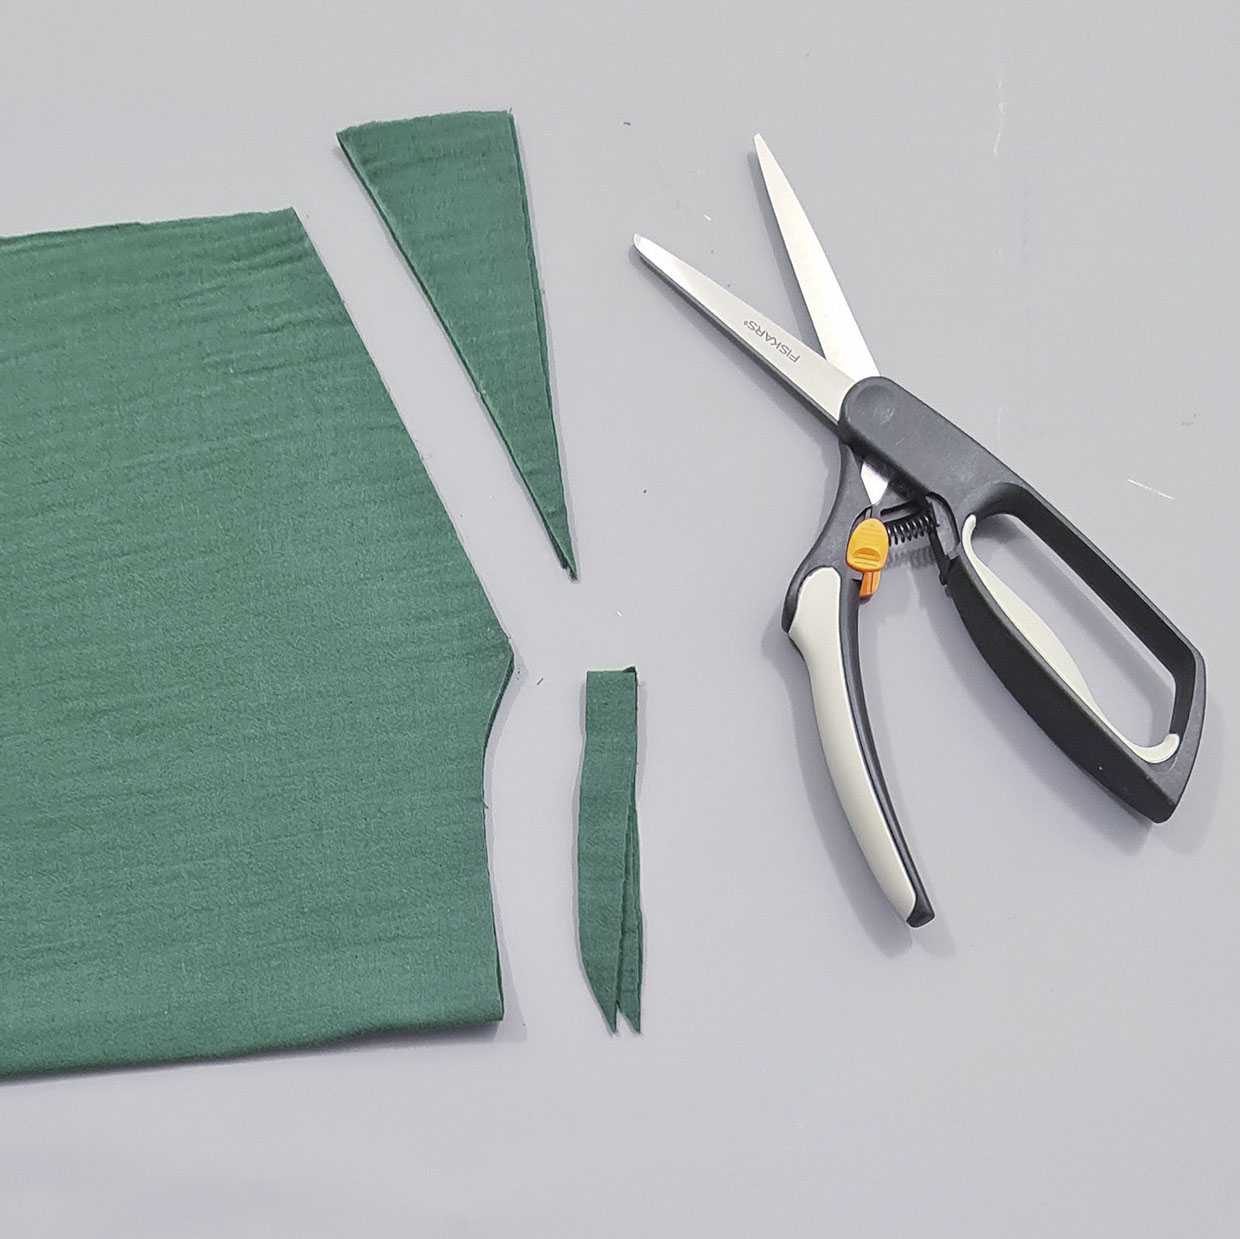
With the Front and Back Bodice pieces RS together and folded along the warp/grainline cut out a 2.5cm (1in) deep and 12cm (4¾in) wide shallow neckline through all layers, from the folded edge.
Step 2
Cut a shoulder slope through all layers.
Assembling the top
Step 1
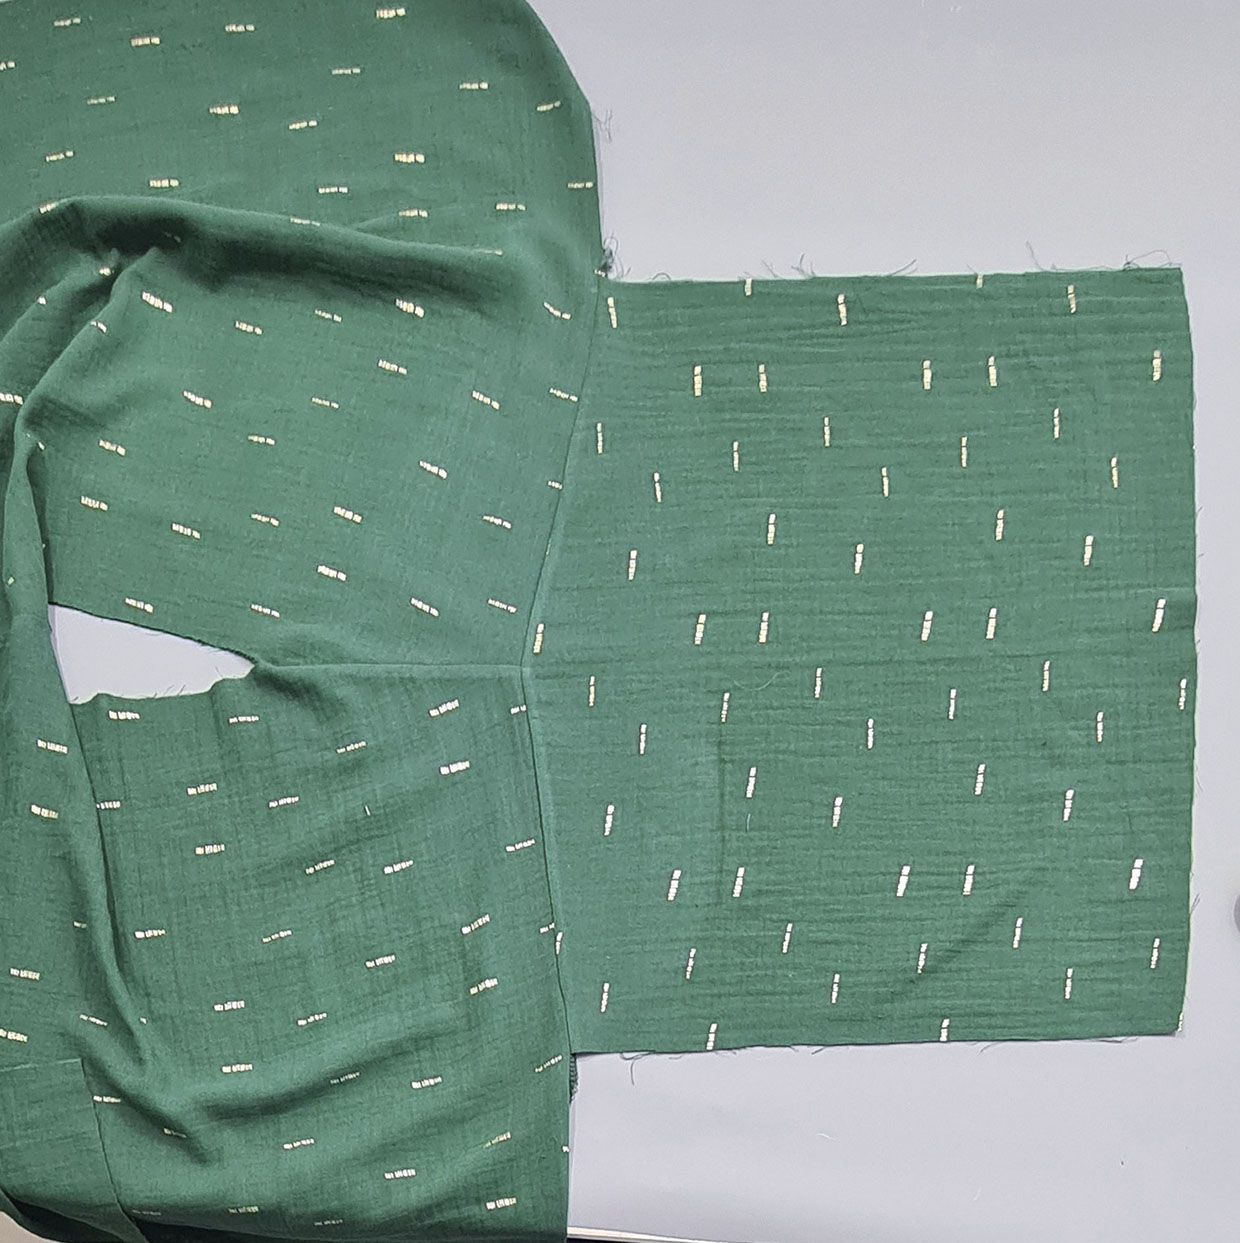
Unfold. With RS together sew the shoulders with a 1cm (3⁄8in) seam allowance. Press the seam allowance to the back. Take a Sleeve rectangle and curve the top (50cm) edge to match the curve of the armhole, having the centre of the Sleeve head align with the shoulder seam.
Step 2
Sew the Sleeve heads to the armholes RS together with a 1cm (3⁄8in) seam. Press the seam towards the Sleeve. Finish the seam allowance.
Step 3
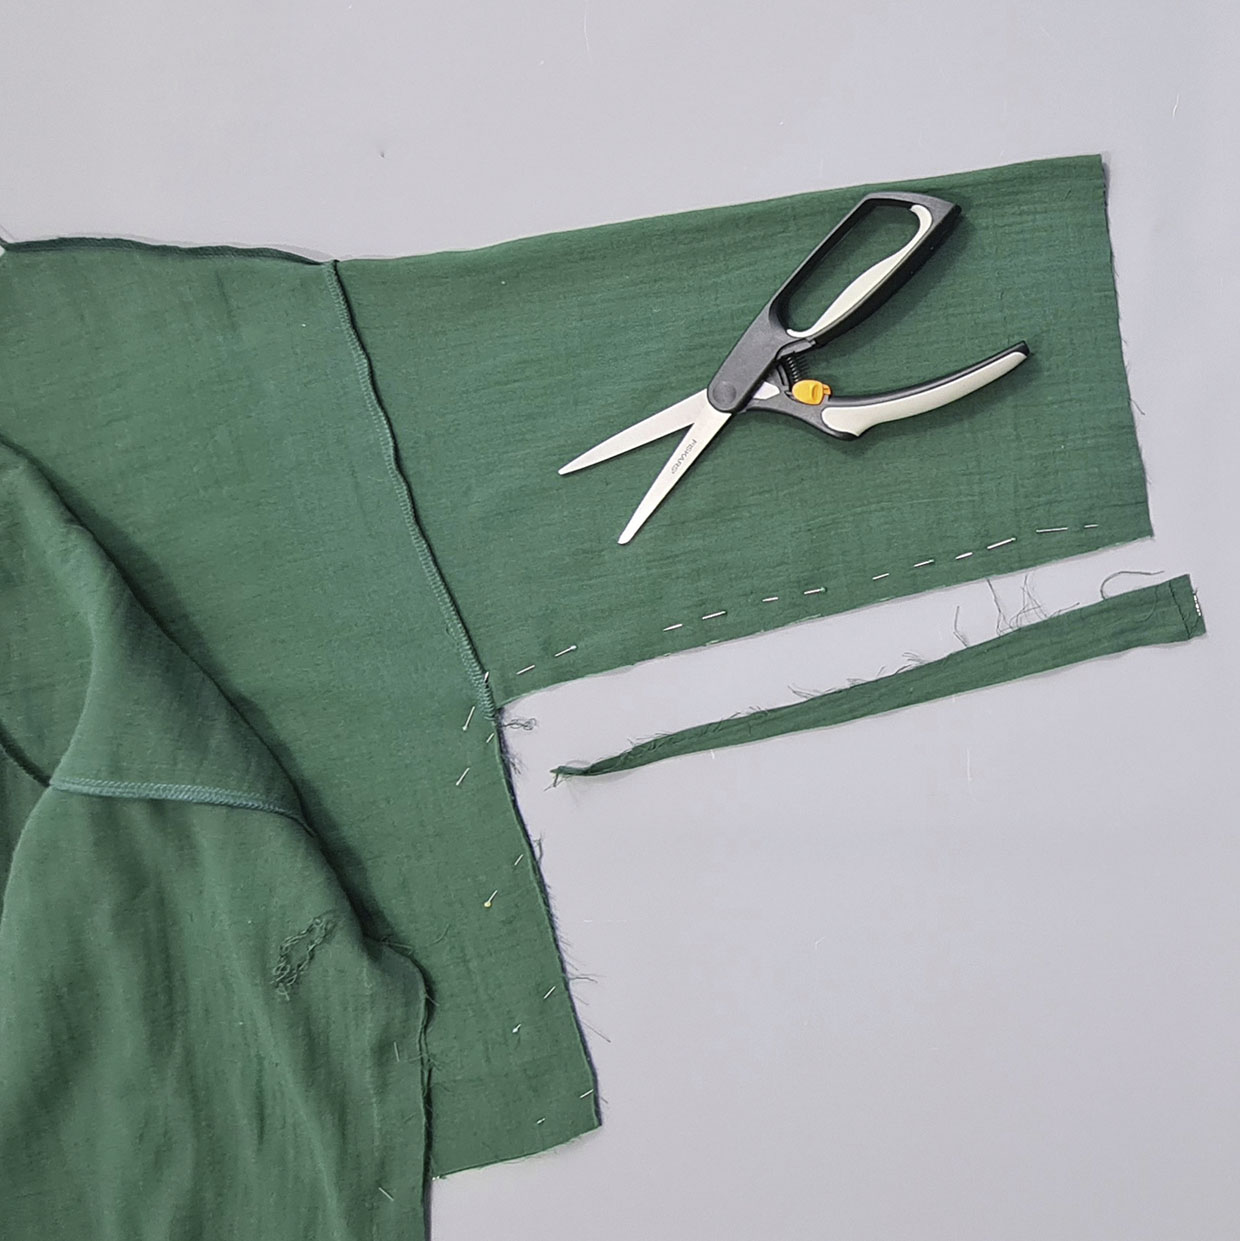
Fold the whole garment RS together with raw edges of the Sleeve and side seams aligned. You can shape the Sleeve at this stage if you wish by cutting a shallow wedge from the seam allowance, starting at the cuff and finishing at the underarm. Sew the Sleeve and side seams with a 1cm (3⁄8in) seam allowance in one pass, curving at the underarm. Press the seam to the back. Finish the seam allowance.
Step 4
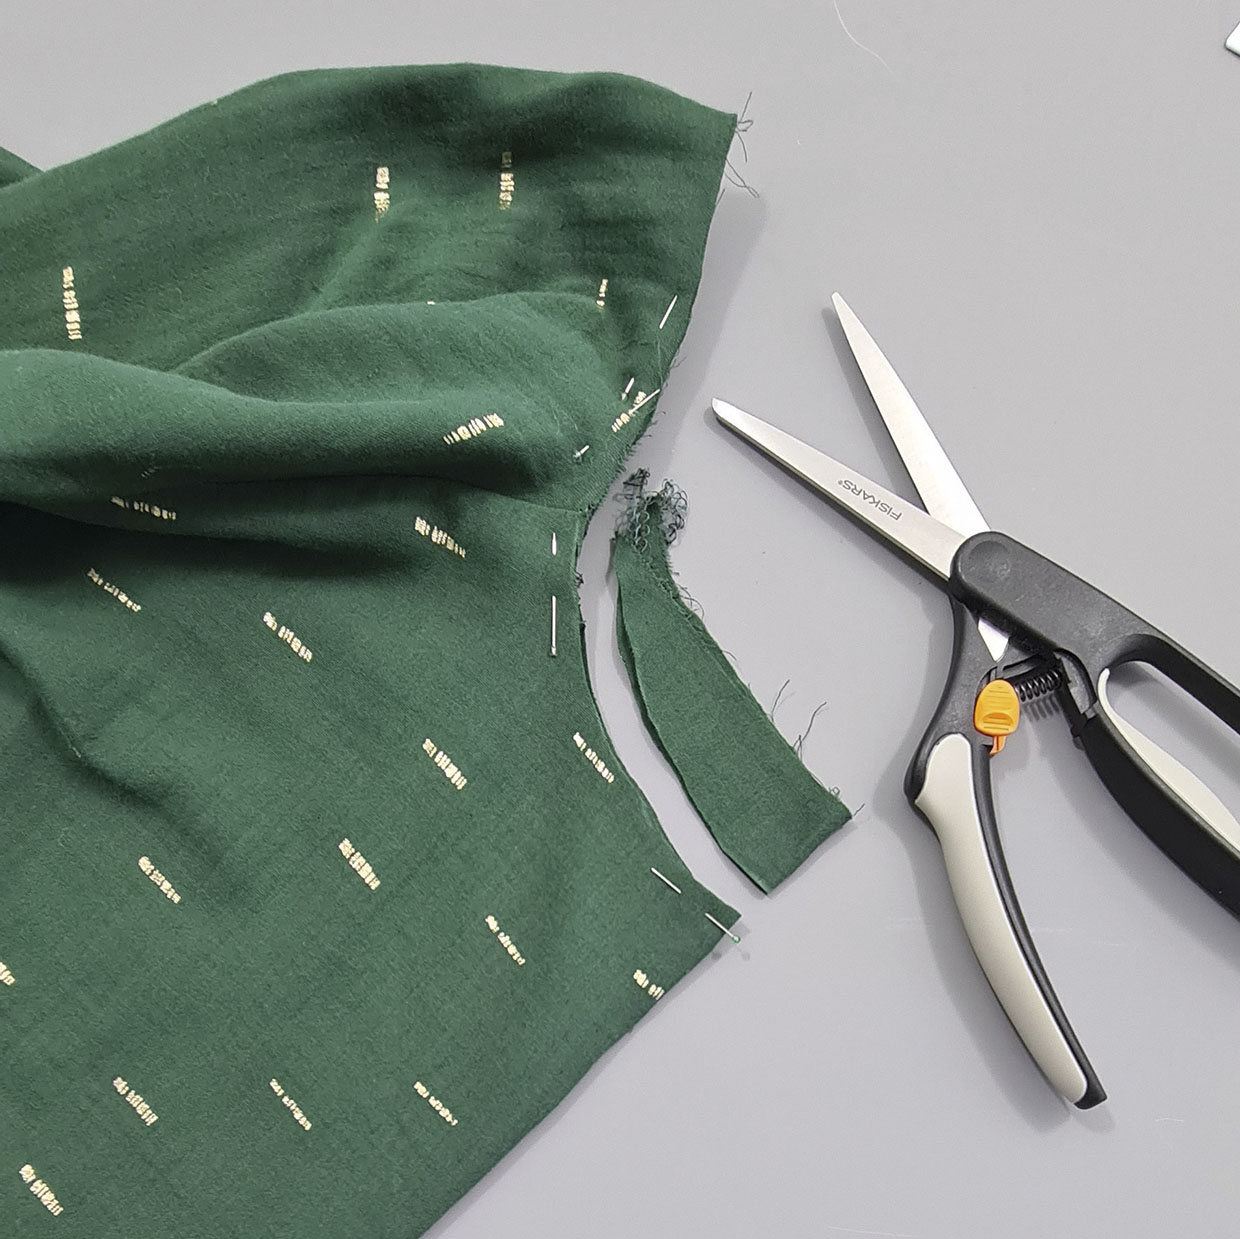
Try the top on. Mark a front neckline curve that sits smoothly along your collar bone. With the garment folded along the centre front, and neckline edges and shoulder seams aligned, cut from the centre front fold, along the marked curve, blending to nothing at the shoulders.
Adding the facing
Step 1
With the top laid open and flat, trace the front neckline curve, and 3.5cm (13⁄8in) along the shoulder slopes, onto the interfacing. Join the ends of this line with a bottom curve spaced 3.5cm (13/8in) from the first, to create a neckline facing. Repeat for the back neckline and then cut both pieces out.
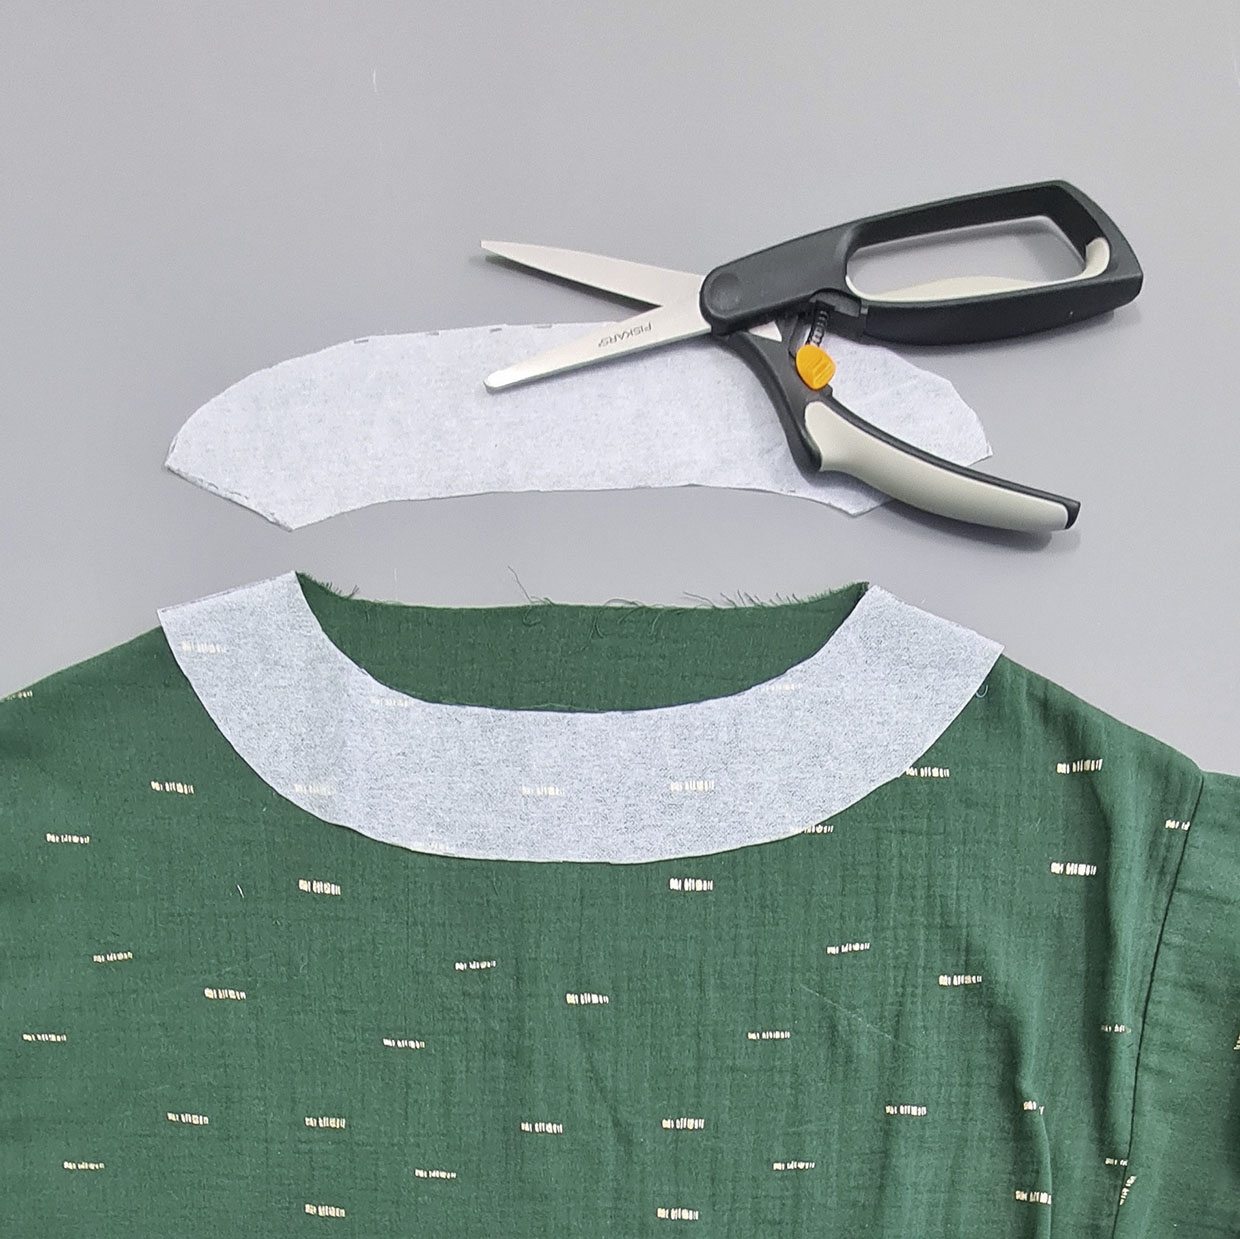
Step 2
Press the Front and Back interfacing pieces onto fabric. Cut out with a 1cm (3⁄8in) fabric seam allowance along the shoulder edges. Finish the shoulder seam and bottom curved edges.
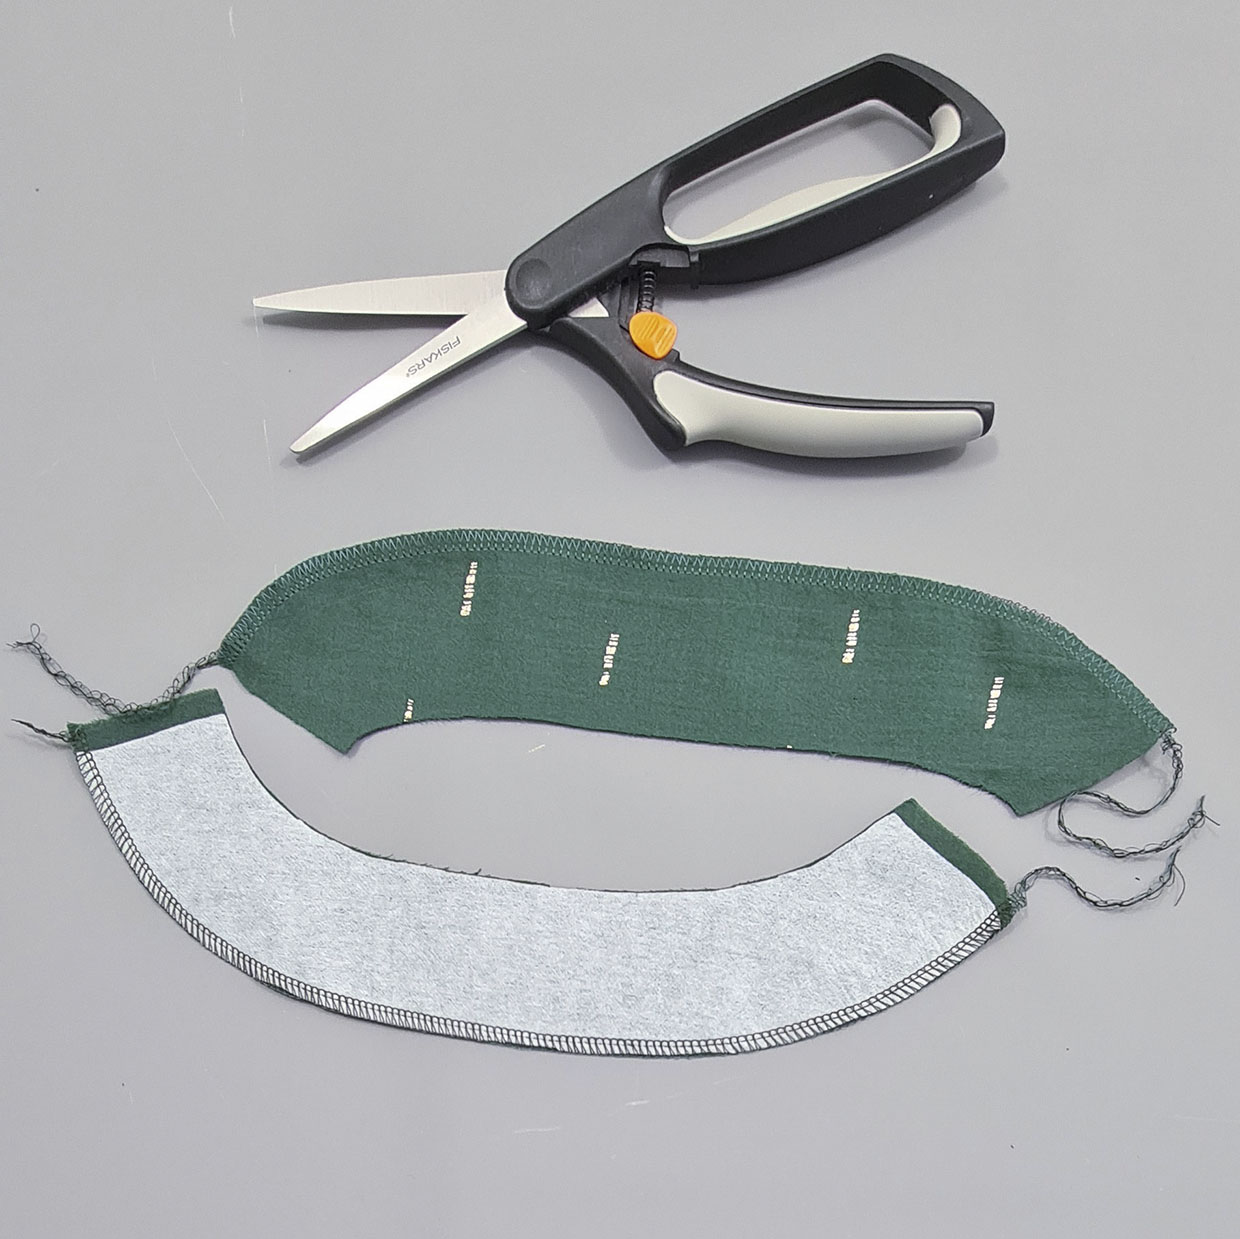
Step 3
With RS together sew the Front and Back facing pieces together along the shoulder seams with a 1cm (3⁄8in) seam allowance. Apply the complete facing piece to the garment neckline with RS together, raw edges aligned, and a 8mm seam allowance. Understitch then press the facing to the inside.
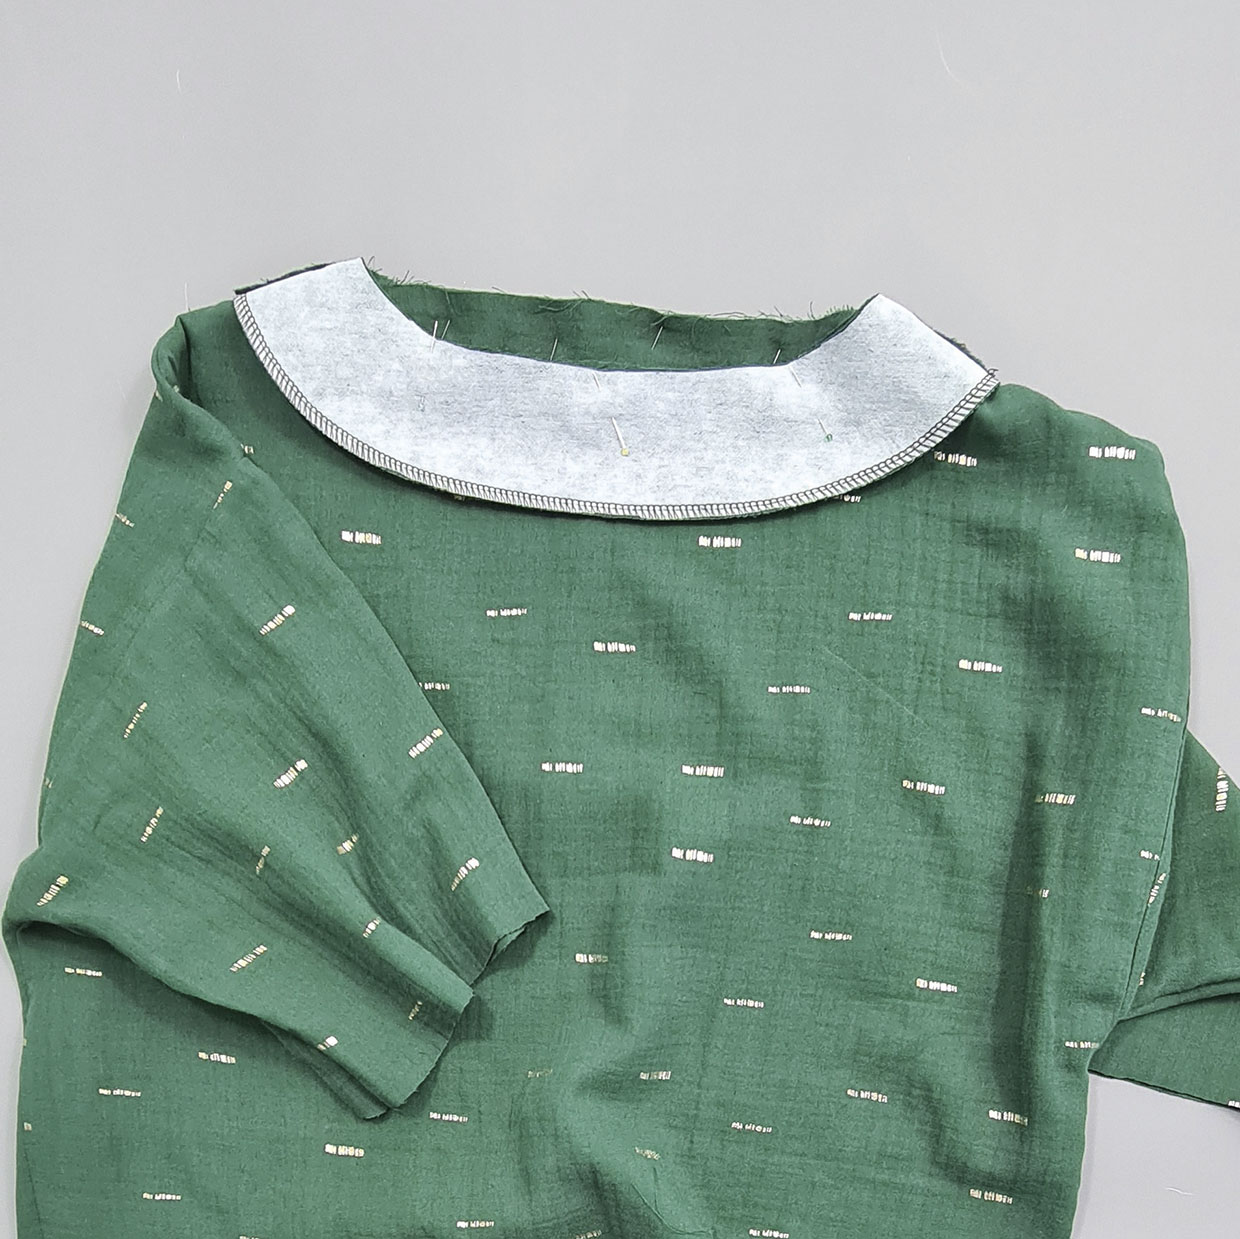
Adding the peplum
Step 1
Try the garment on again. Mark where you want the peplum seam to sit + 1cm (3⁄8in) seam allowance. Cut away any excess fabric below this mark.
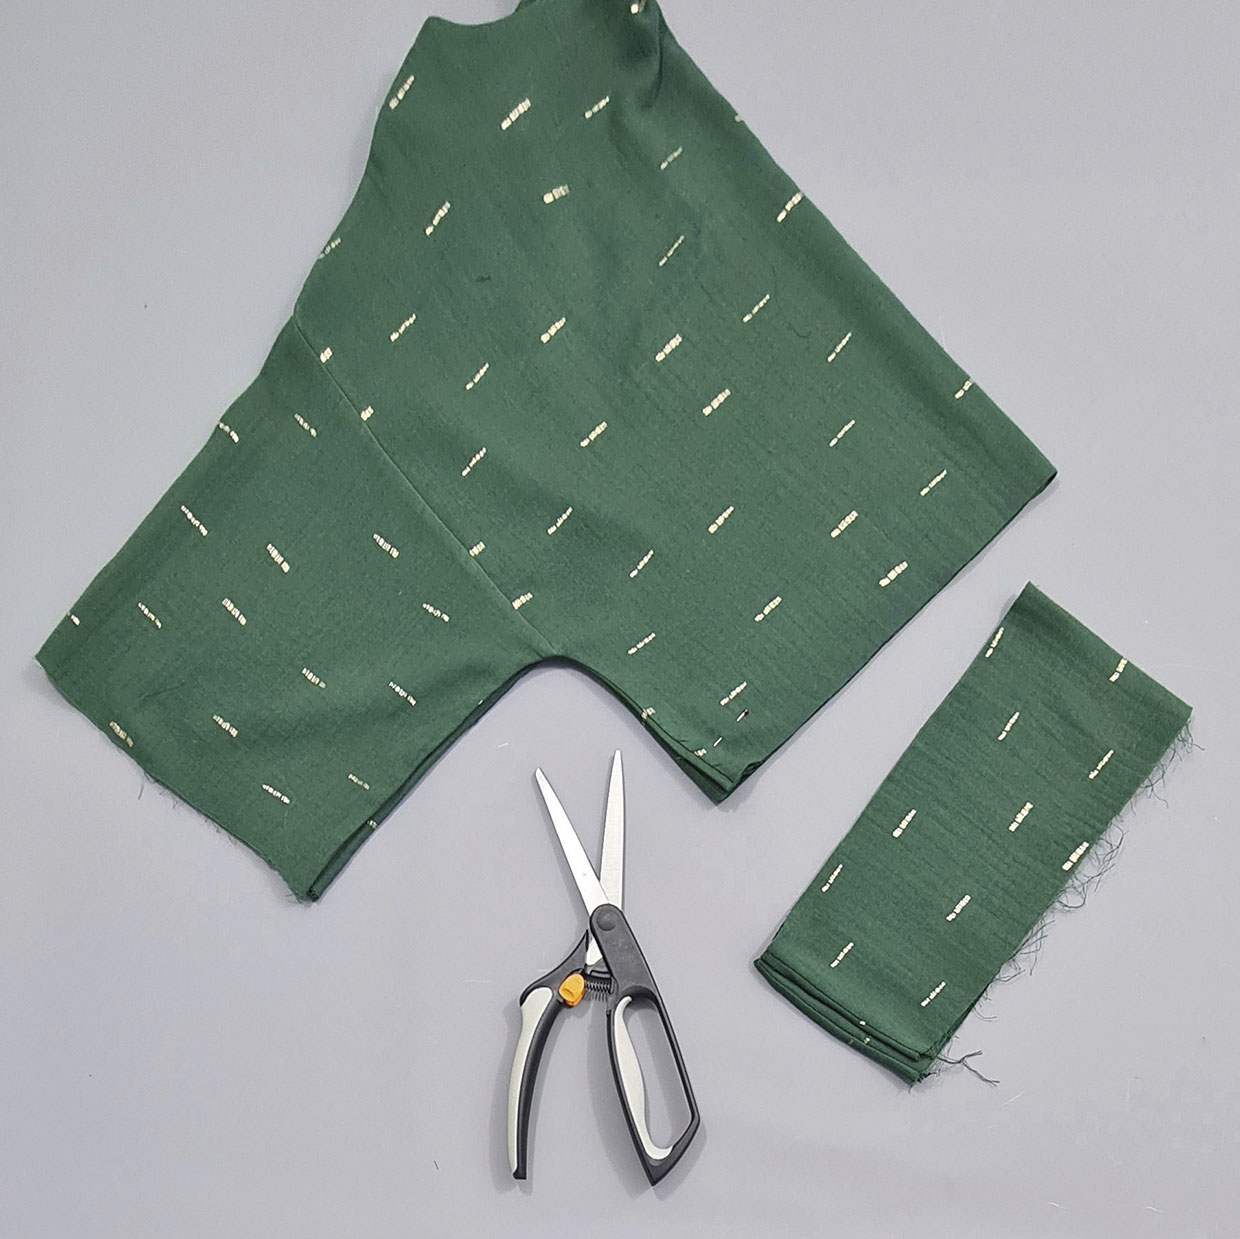
Step 2
The peplum is a closed loop of fabric that is hemmed along the bottom edge and gathered until it is the same circumference as the hem of the garment. Dimensions here are entirely your choice depending on how gathered and how deep you want the peplum to be. Ours is approximately 1.5 times the garment hem and 10cm (4in) deep before being gathered and hemmed.
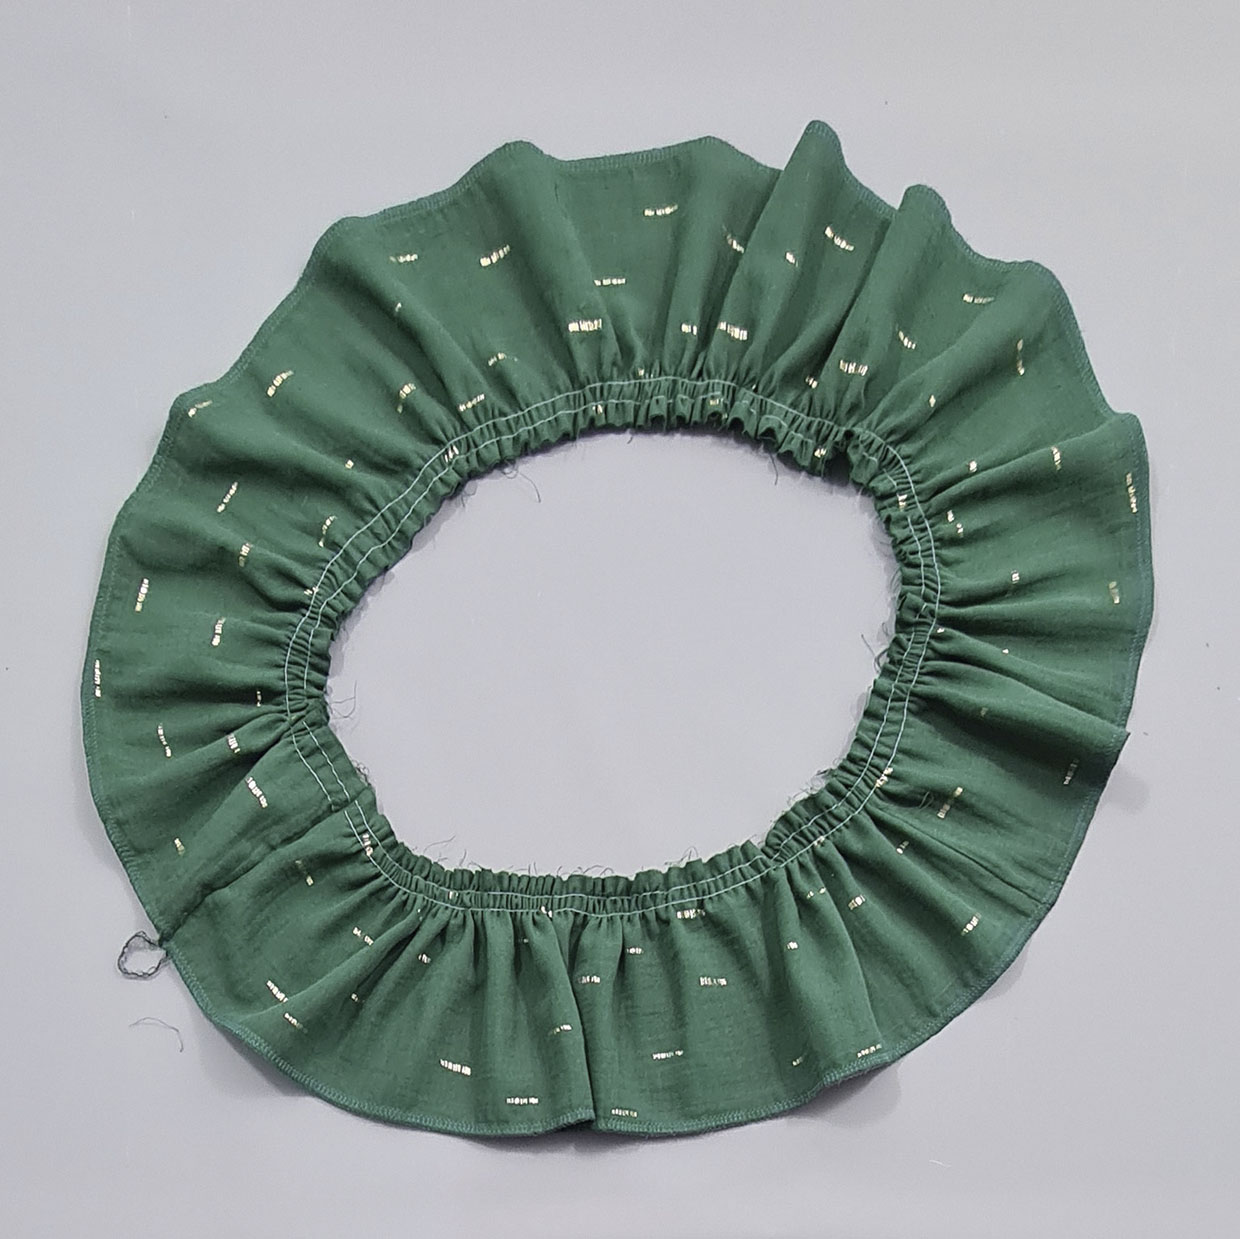
Step 3
Secure the gathering on the peplum in place with machine tacking. Sew to the garment hem with RS together, raw edges aligned, and a 1cm (3/8in) seam allowance. Press the peplum away from the garment and press the seam allowance towards the garment. Finish the seam allowance.
