Cutting out
Step 1
Cut the main fabric, lining fabric and wadding to the following sizes:
- Bag front: 33x48cm (13¼x187⁄8in)
- Bag back and flap: 71x48cm (28×187⁄8in)
- Gusset: 11x110cm (43⁄8x43in)
Step 2
Press the interfacing to the wrong side (WS) of each of your main fabric pieces.
Making the bag outer
Step 1
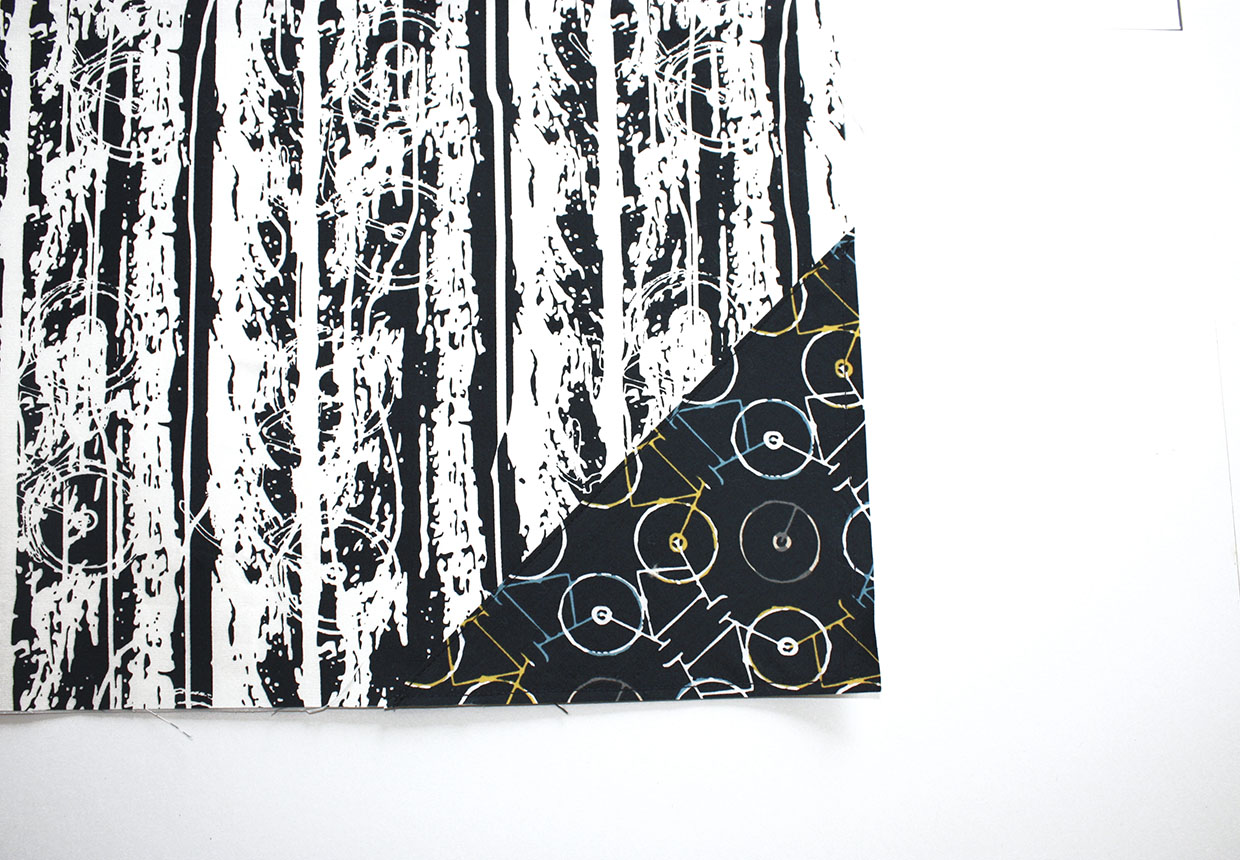
To add a triangle feature to your bag front, fold one edge of the contrast fabric under by 1cm (3⁄8in) and press. Measure 16cm (63⁄8in) up and left from the bottom-right corner of your bag back and flap piece. Mark these points with a pin then lay the hemmed contrast fabric edge centrally across from one pin to the other. Topstitch in place all the way around, then trim the contrast fabric to meet up with the main fabric edge.
Step 2
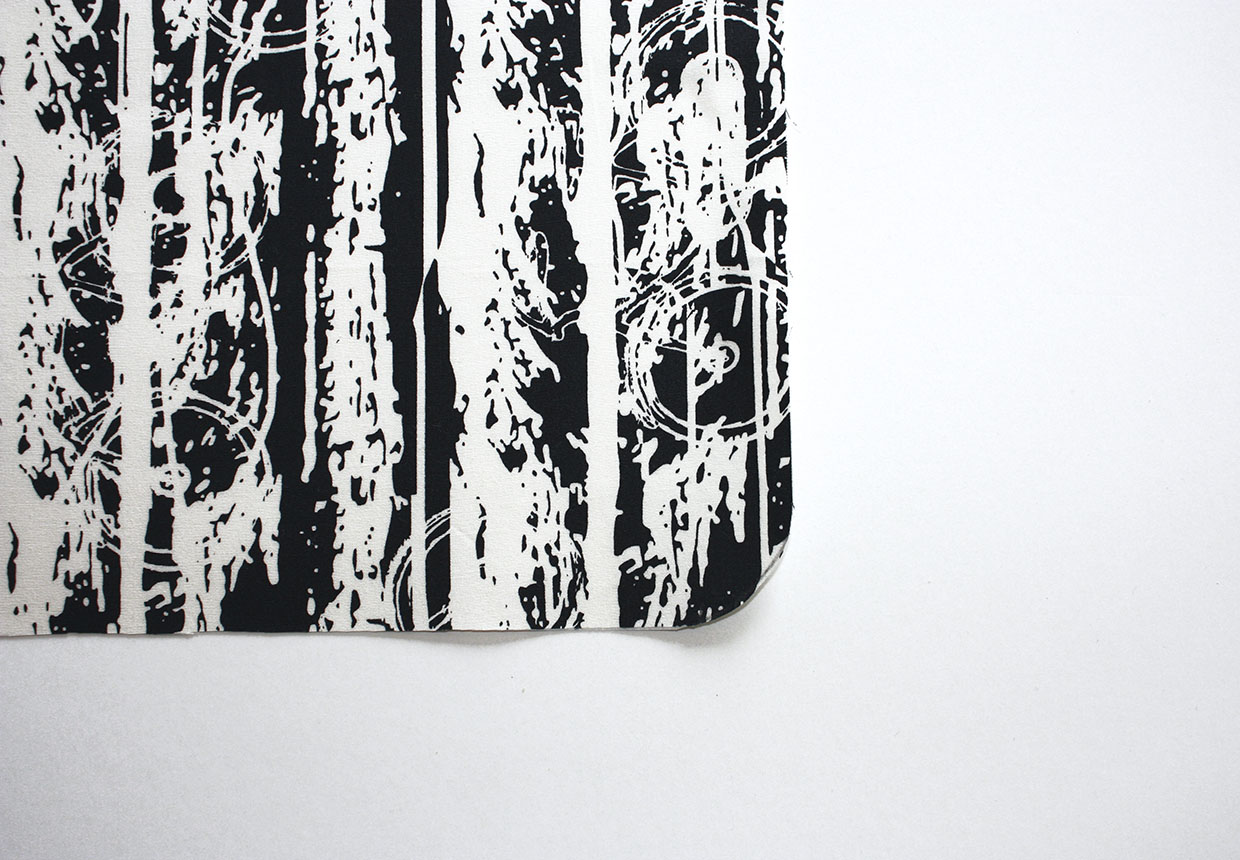
Round off the two bottom corners of the front piece and all four corners of the back and flap piece by drawing a small curve on each one and cutting around it. Do this for both main and lining fabrics.
Step 3
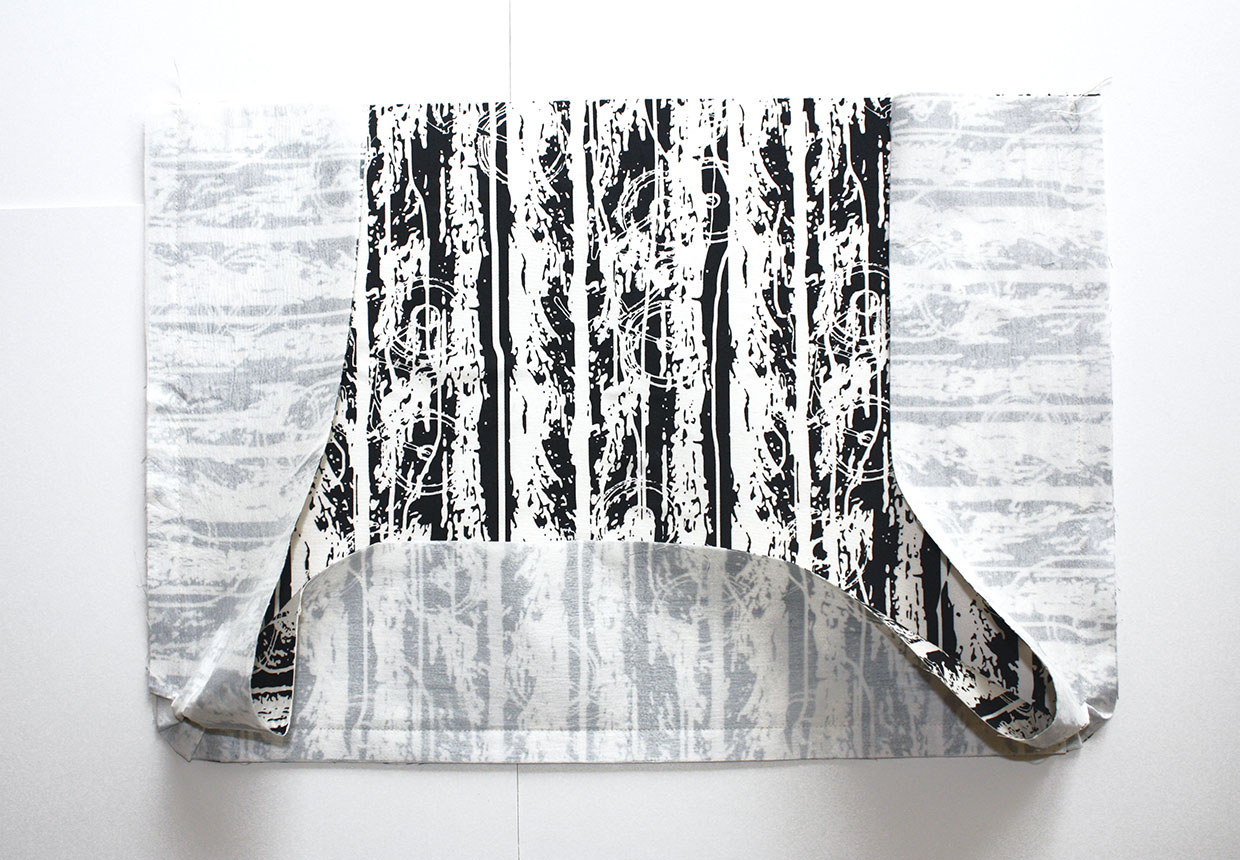
Place the bag front right sides (RS) together with the gusset and stitch together down the side, along the bottom and up the other side. Trim the gusset’s short edge to match the top of the bag front if it’s a little longer.
Step 4
Join the back and flap piece to the other side of the gusset in the same way. Clip the curves to help them to lie flat.
Attaching the magnetic closures
Step 1
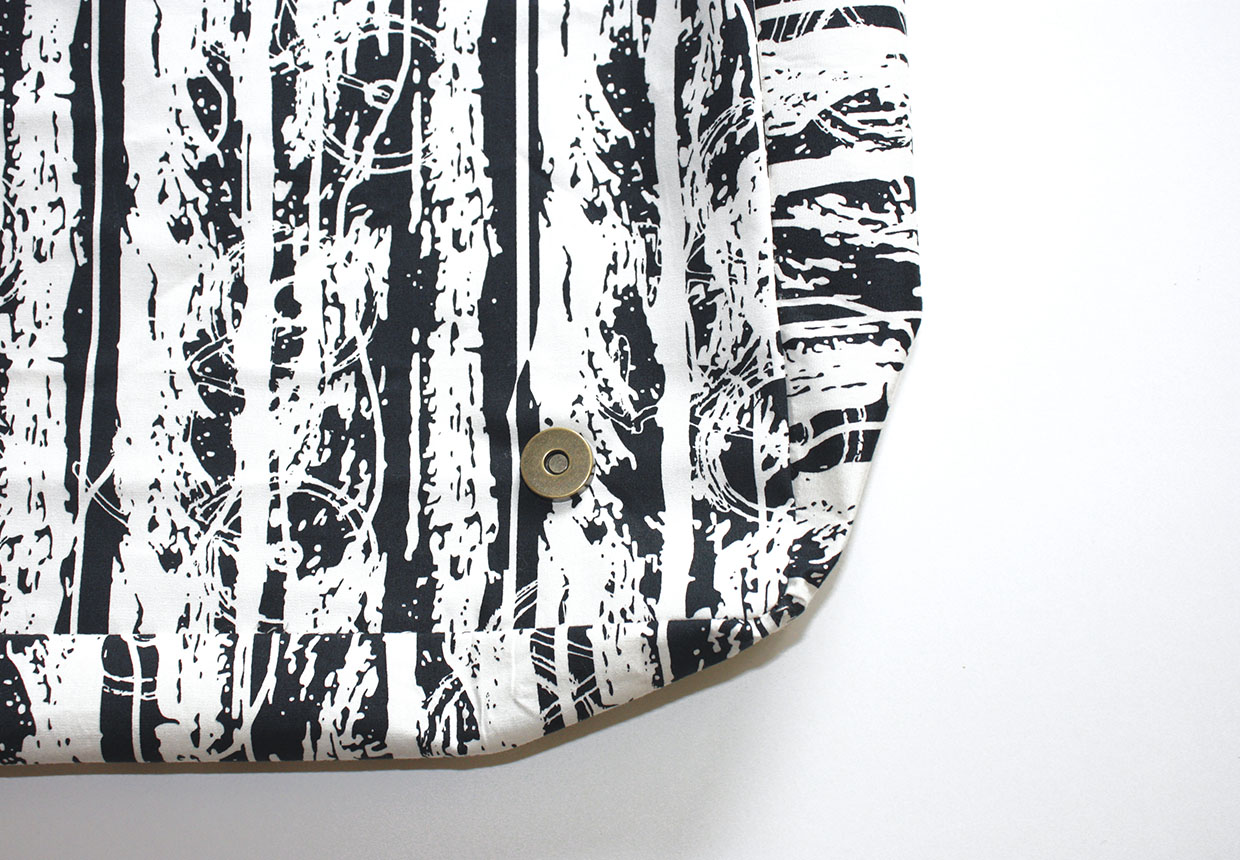
Measure 6cm (2 3⁄8in) in from the left seam where the bag front is joined to the gusset and 4cm (1 5⁄8in) up from the bottom seam and mark this point with a pin.
Step 2
Attach one half of your magnetic closure here. Repeat with the same half of the other magnetic closure on the other side of the bag front using the same measurements.
Joining the lining
Step 1
Place the wadding pieces on the back of each of their corresponding lining pieces and tack or pin in place all the way around the edges. This gives the inside of the bag a little padding.
Step 2
Join all the lining pieces together in the same way as for the main fabric bag outer pieces but leave a 10cm (4in) gap in the centre of one of the gusset seams for turning later.
Step 3
The other half of the magnetic closures are attached to the bag flap lining and wadding. Lay this on top of the bag front and outer and mark with a pin where the magnetic closures should meet exactly. Remember to take into account the 1.5cm (5⁄8in) seam allowance on the lining, which will be joined into the seam of the bag outer later. Attach the magnetic closures at these marks so they sit on top of the lining fabric.
Assembling the bag
Step 1
Turn the bag outer RS out then place it inside the lining, which is wrong sides (WS) out. The two bags will be RS together now. Stitch the two bags together around the edges.
Step 2
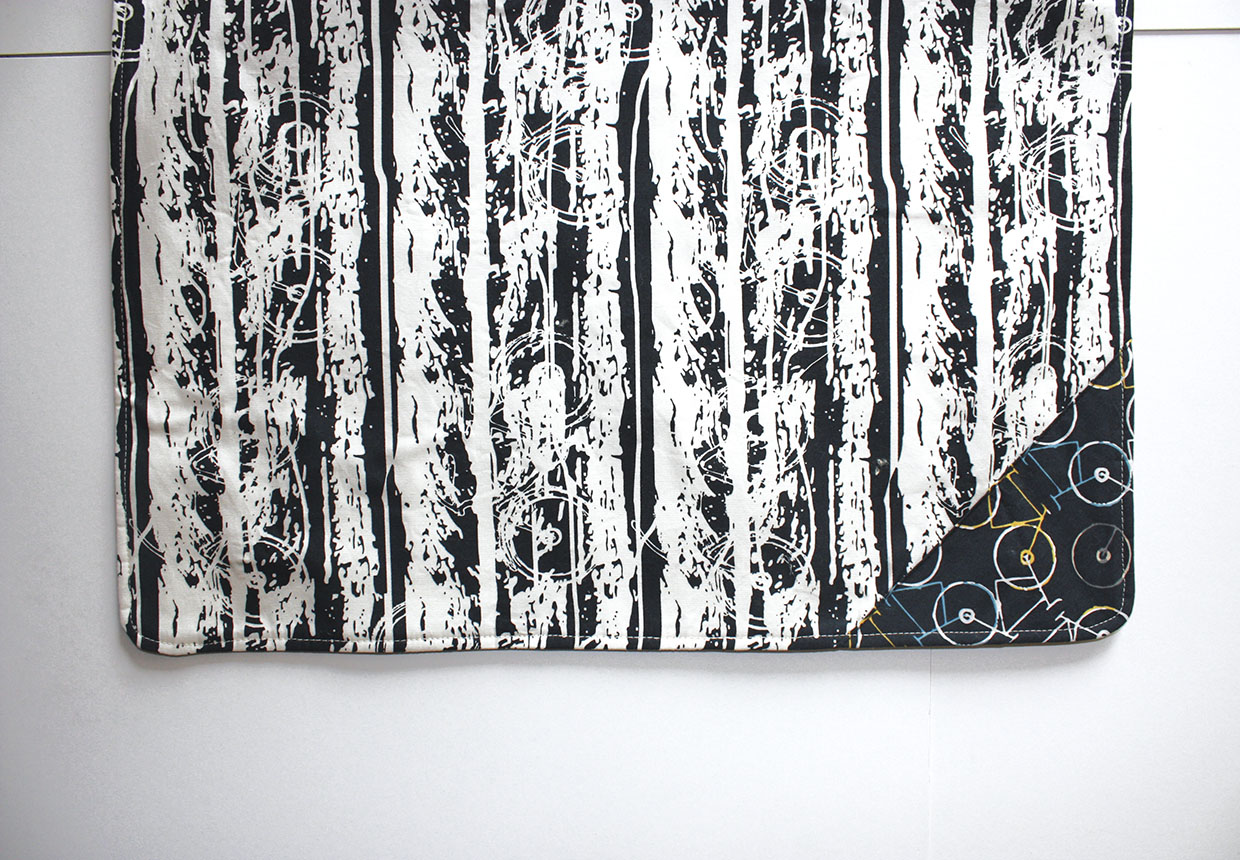
Turn the bag RS out through the gap then slip stitch it closed. Topstitch all the way around the edges of the bag to neaten and hold in all place.
Adding the strap
Step 1
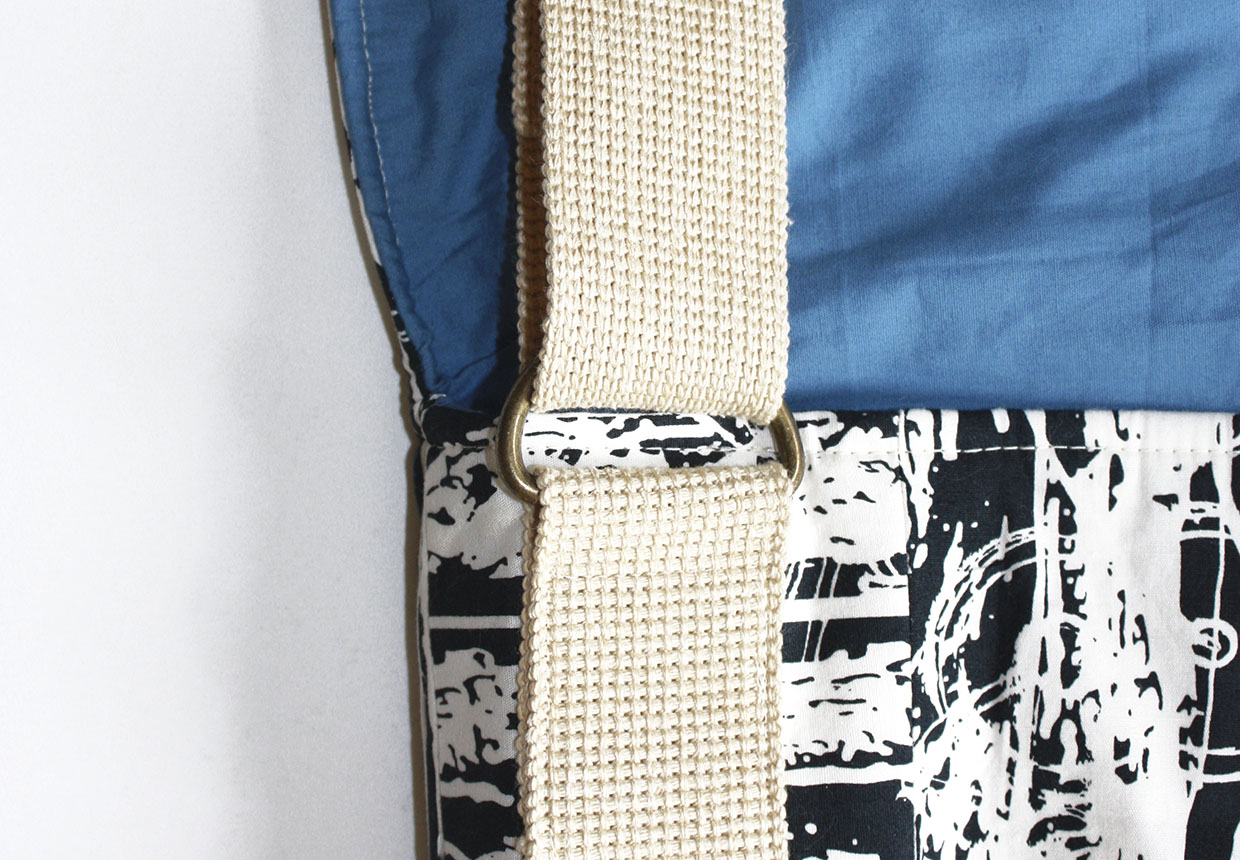
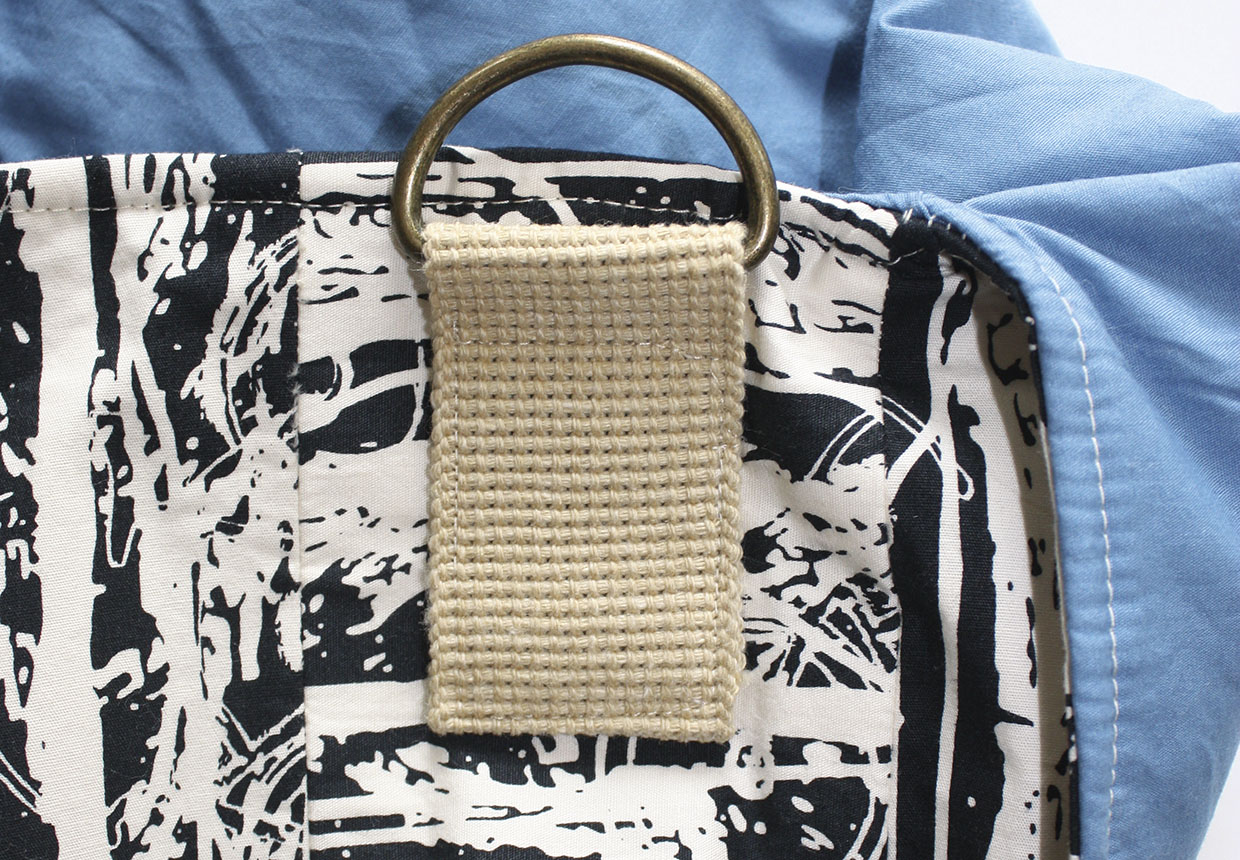
Cut a 15cm (6in) piece of webbing then thread it through one of the D-rings. Turn the short ends under by 2cm (¾in) then topstitch the end to the centre top of the bag gusset. Repeat at the other side of the gusset with webbing and a D-ring.
Step 2
Take the remainder of the webbing and thread one end up above the centre bar of the slider then over it and down through the bottom. Turn the webbing end over by 2cm (¾in) and topstitch in place.
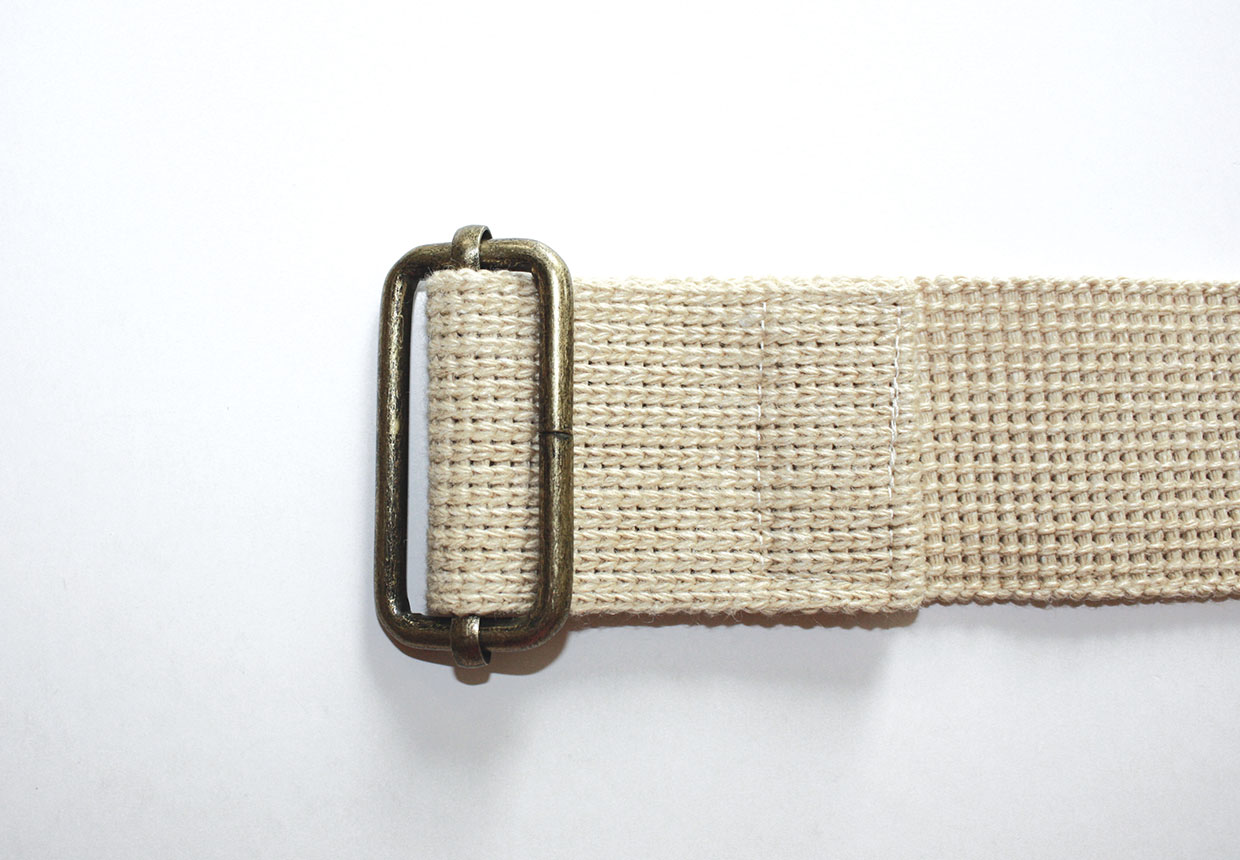
Step 3
Take the other end of the webbing and thread it through one D-ring, then thread it though the slide buckle. Thread this end through the other D-ring, turn the short end under by 2cm (¾in) and topstitch in place.
