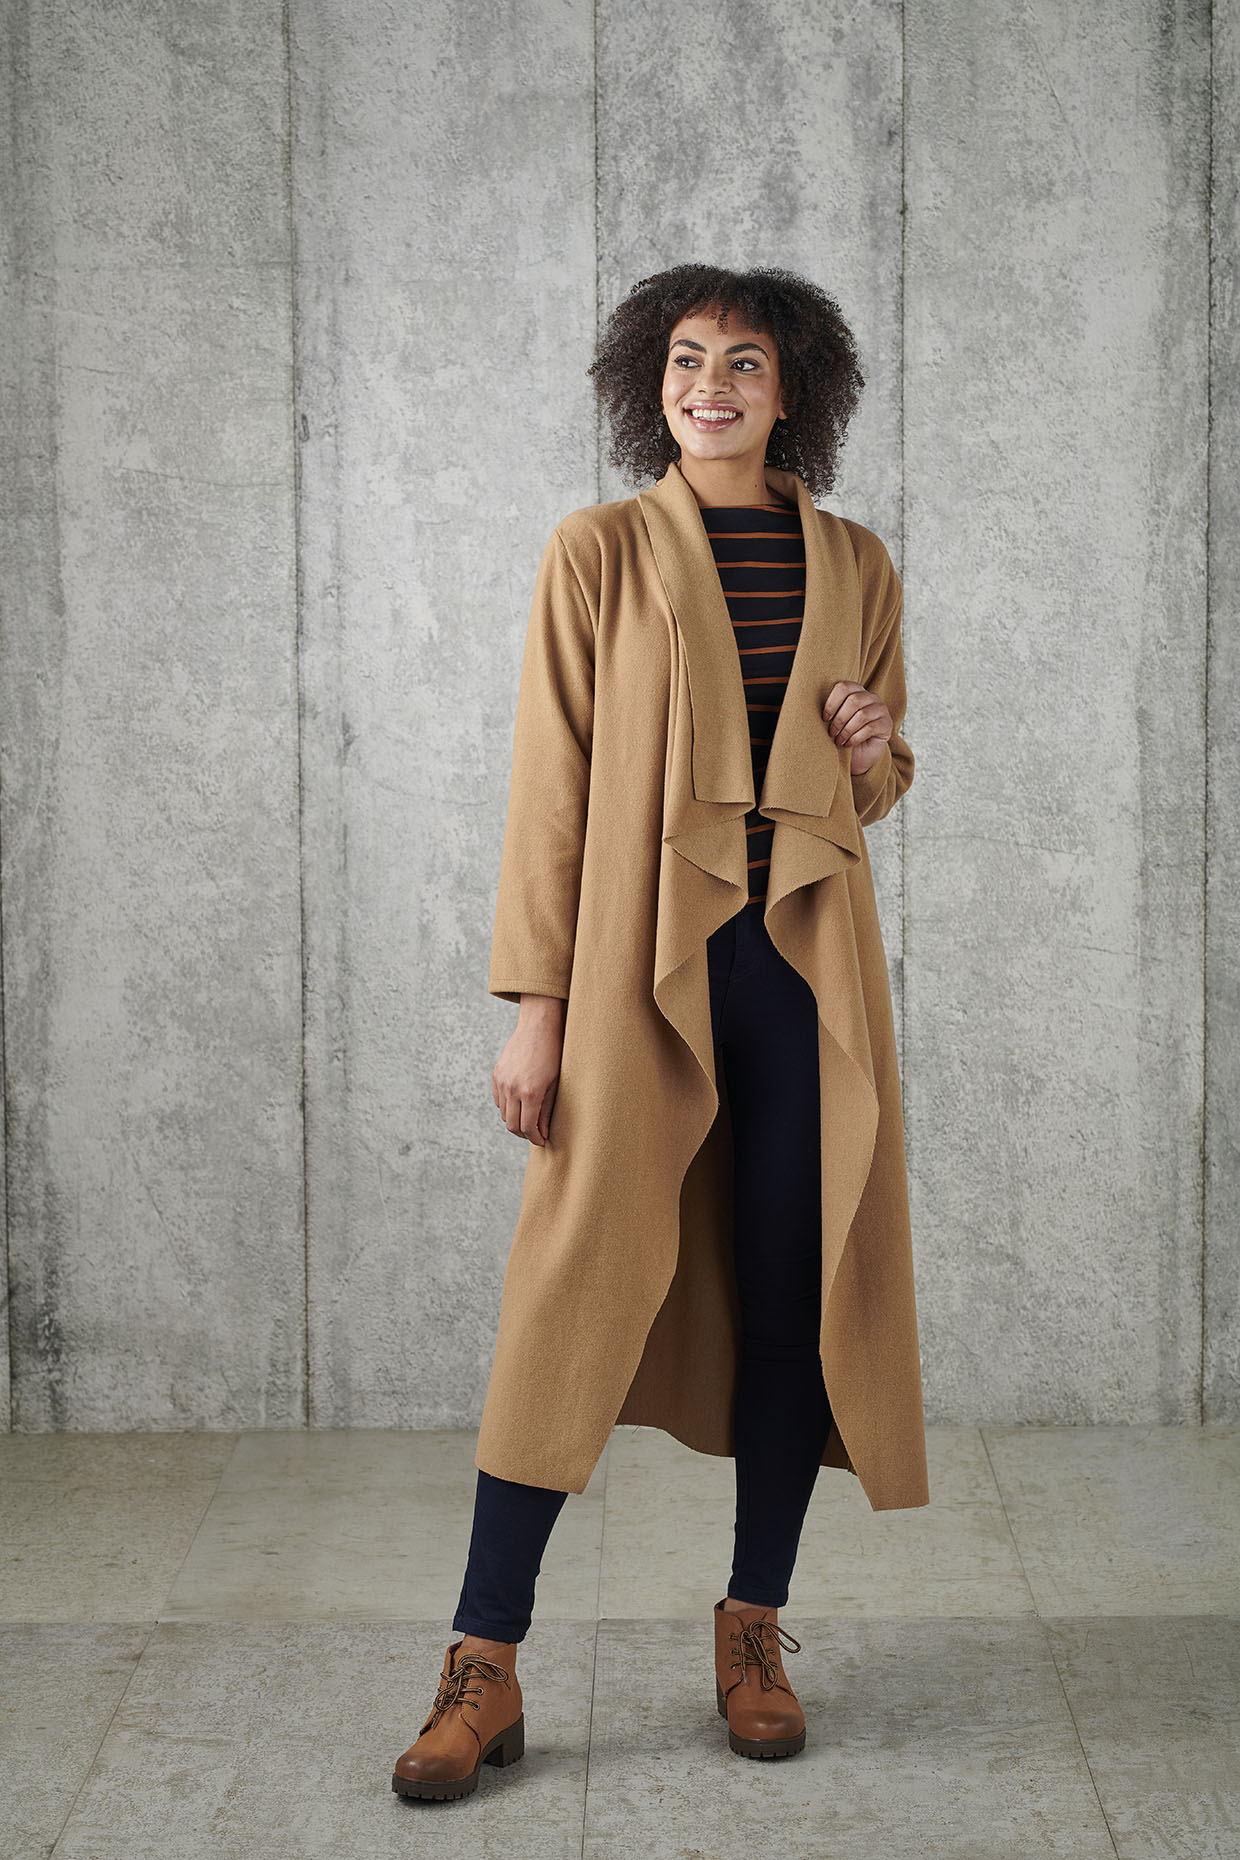
Before you start
Step 1
As we mentioned in the notes, you’ll need to use a pattern you already have as a template to get the right fit for your build. Measure the back neckline curve of your pattern and make a note of this number (N).
Step 2
Fold out the seam allowance along the shoulder of your front pattern piece for now.
Marking the pattern
Step 1
With your fabric folded right sides (RS) together, position your front pattern piece so the side seam is orientated to the edge of the fabric, and there is at least 23cm of space above the shoulder point. Trace around it in chalk.
Step 2
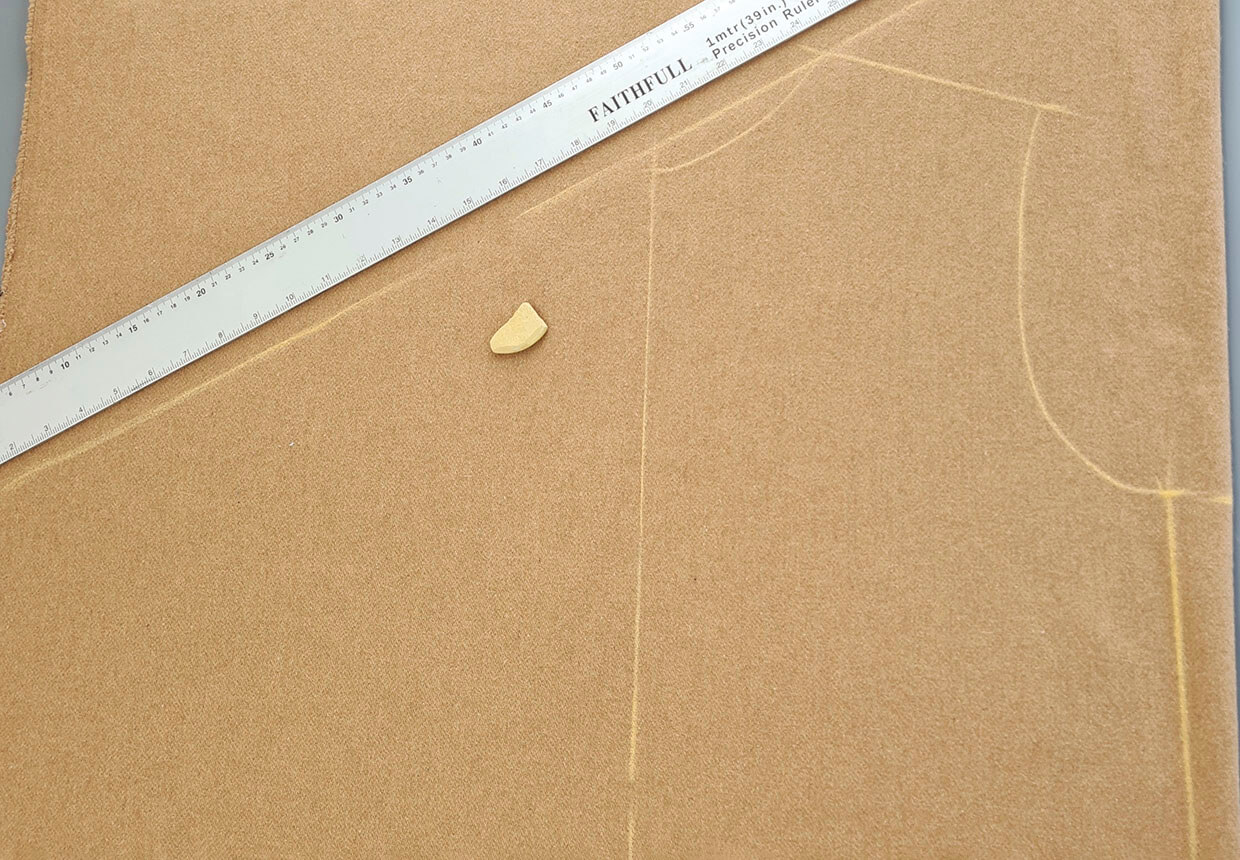
Draw a diagonal line (A) straight across the width of your fabric. The line needs to touch the shoulder point and be at a 45-degree angle to the shoulder slope.
Step 3
Approximately 15cm above this, draw a second straight line (B) parallel to the first line (A).
Step 4
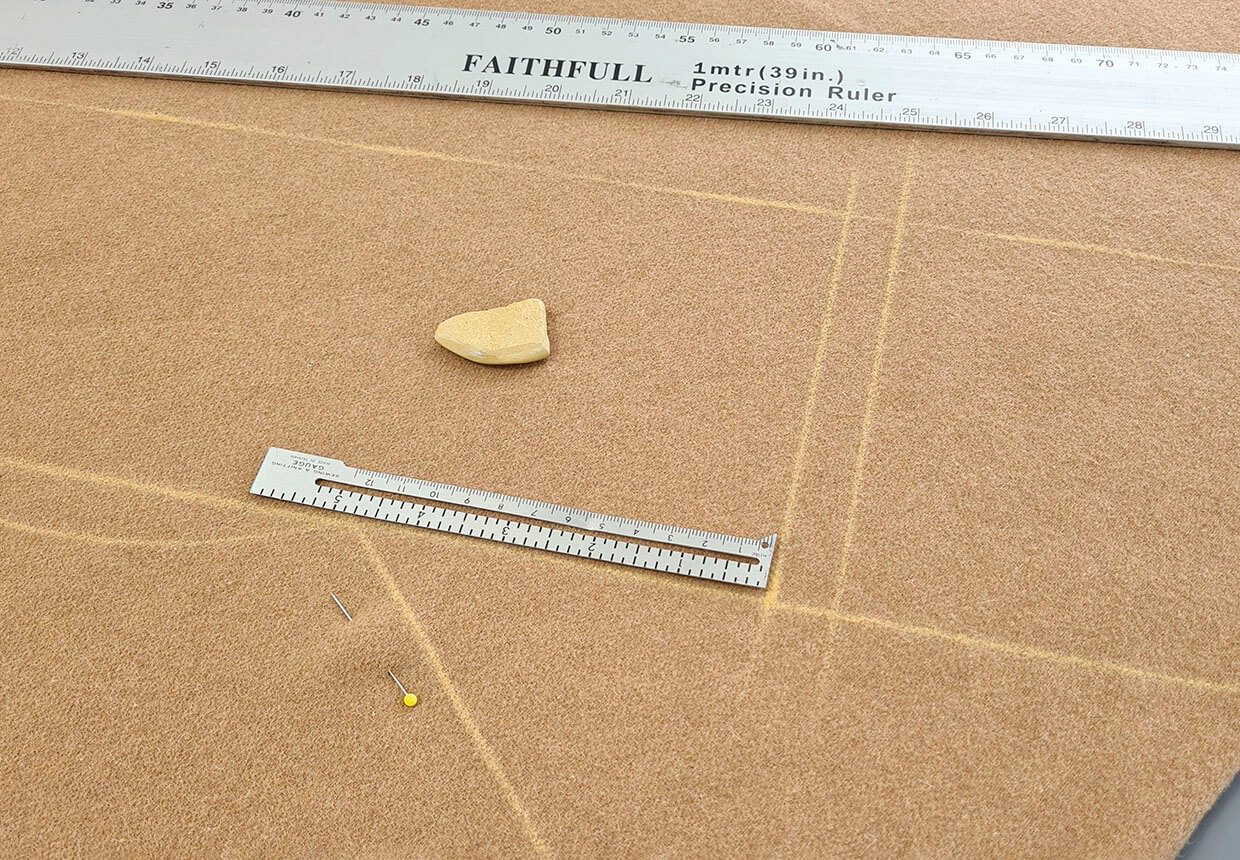
From the shoulder point measure away from the neckline along line A a distance equal to the measurement you dotted down before you started (N), then square up to line (B) and add a 1cm seam allowance to the short edge as pictured. This is the collar extension and that short edge will form the centre back collar seam.
Step 5
Mark the seam allowance on the neckline edge of your collar extension and your shoulder to give you your cutting line. Mark the junction between the neck/shoulder point of the collar extension with a tailor tack through both layers of your fabric.
Step 6
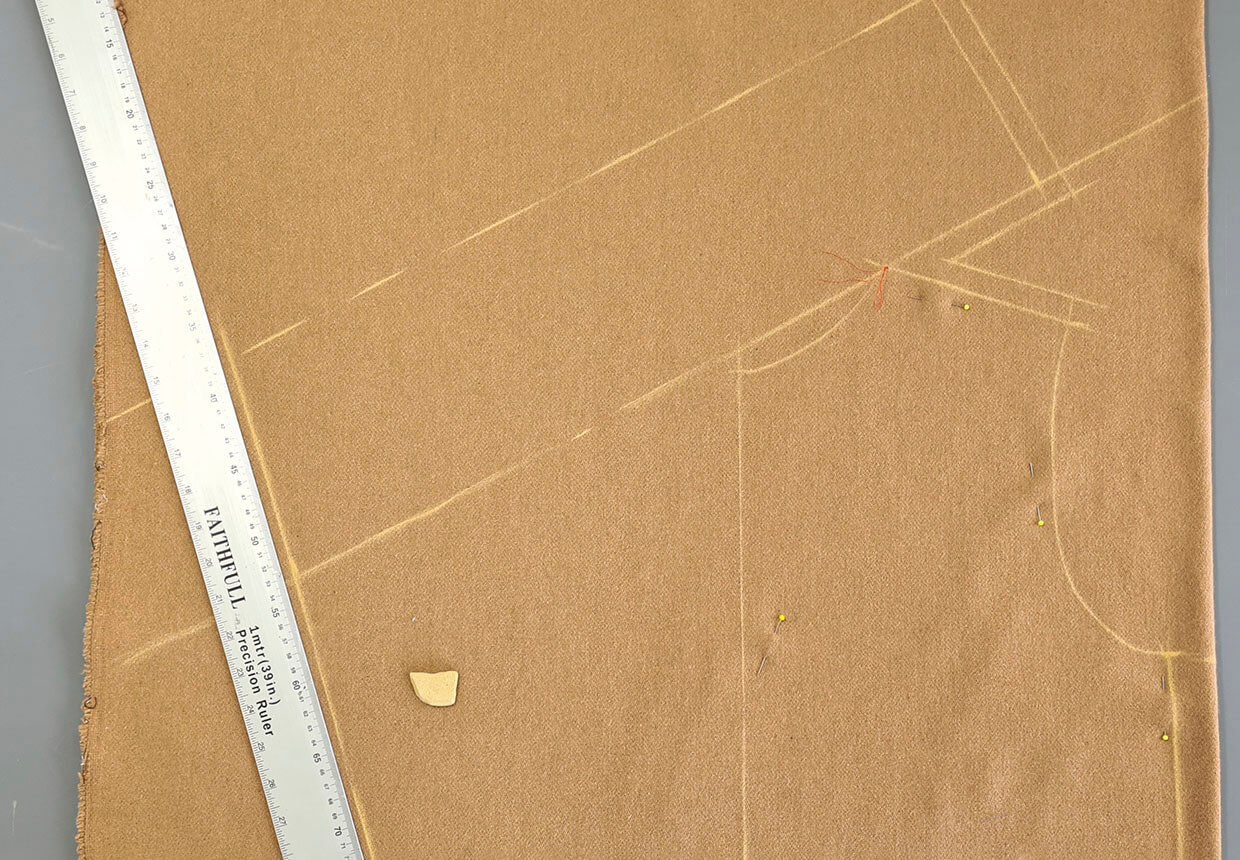
Starting from the shoulder point, mark a point 45cm along line A. With a diagonal line, join this point to the centre front corner of the hem below and line B above. This large triangular section is what will create the waterfall effect at the front of your jacket.
Cutting out
Step 1
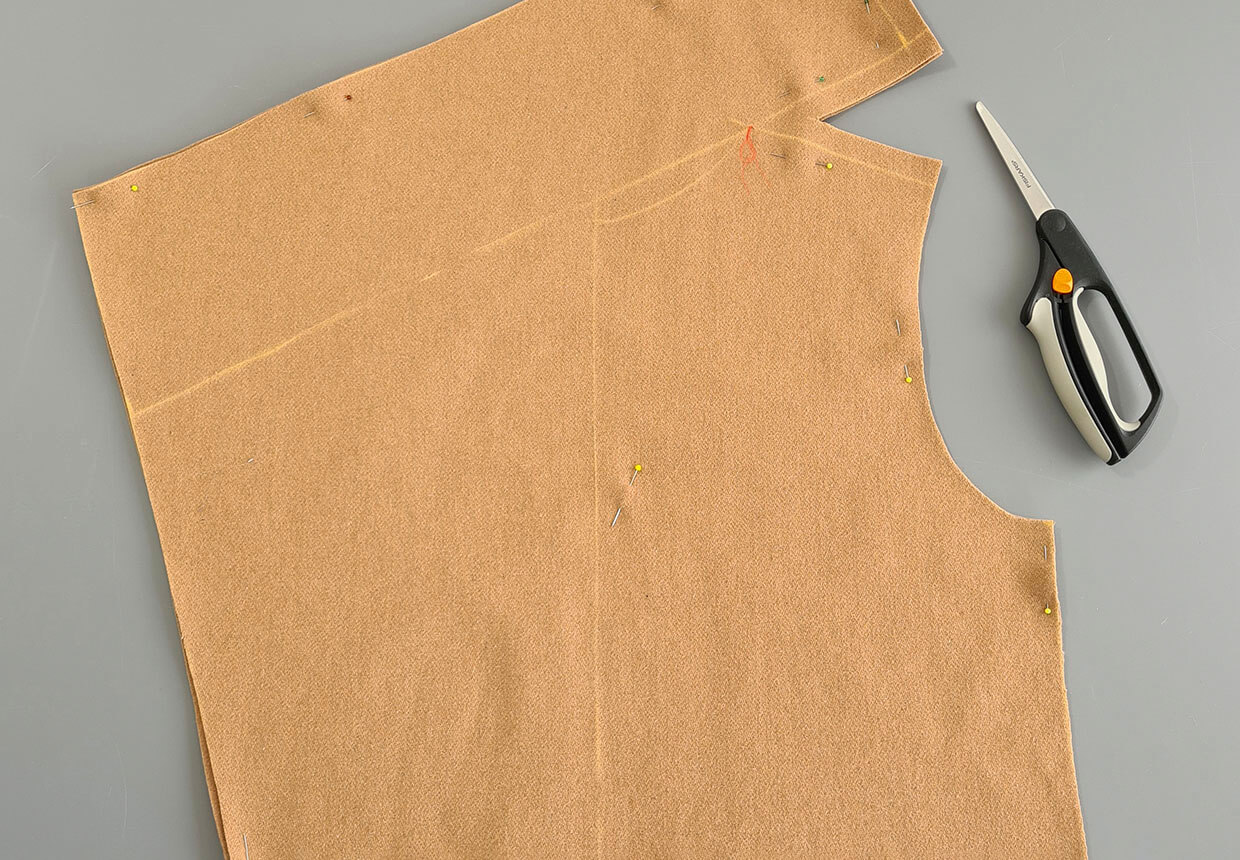
Cut out the Front section along the marked cutting lines through both layers. You should have two sections which will make up the Front sides. The image should give you an idea of what your pattern piece should look like.
Step 2
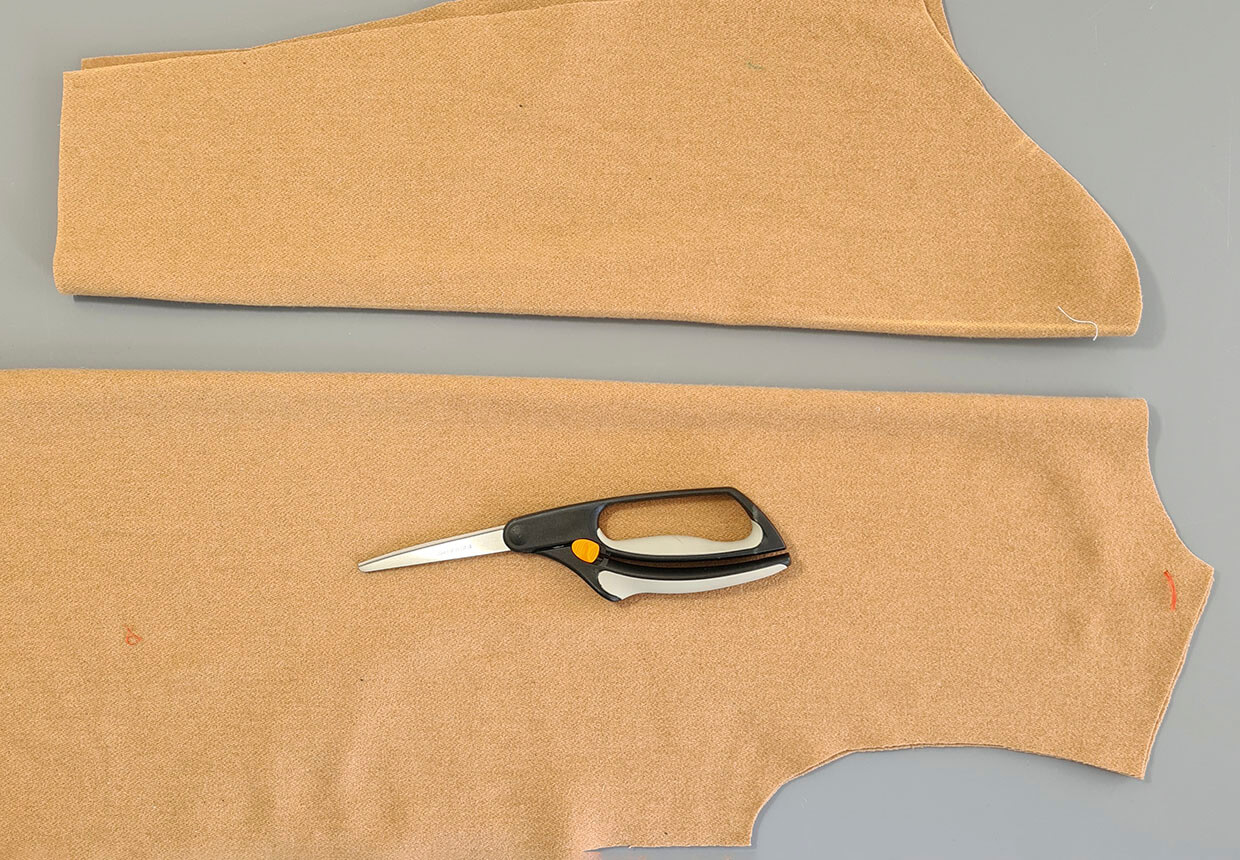
Cut out the Back pattern piece (adding length as needed) and Sleeve pattern pieces as per the instructions in your chosen pattern.
Assembling the jacket
Step 1
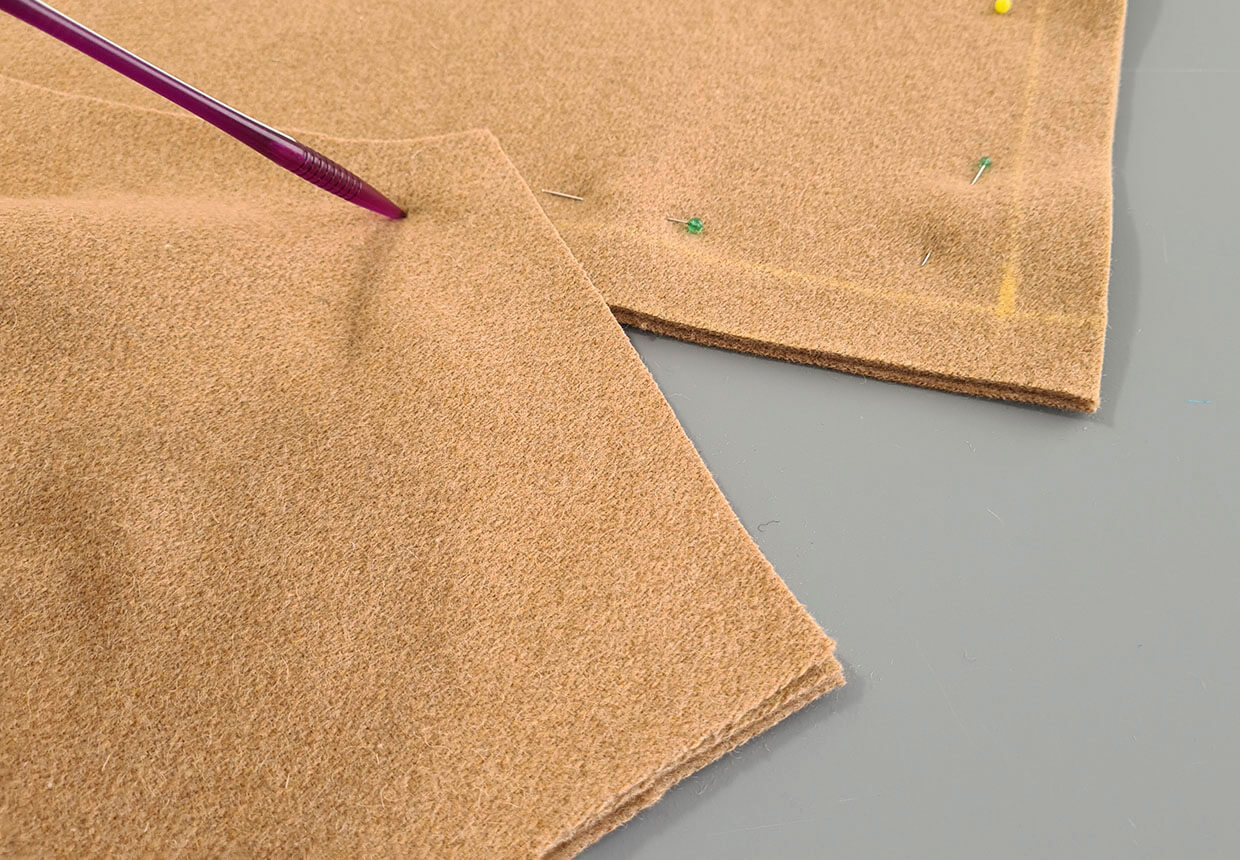
Lay your Back piece on top of one of your Front pieces, RS together, with side and visible shoulder seams aligned. Establish on your Back piece where the back shoulder point corresponds to the front shoulder point you marked with a tailor tack on your front pattern piece earlier.
Step 2
With your Back piece folded along the centre back, mark this point through both layers with a tailor tack.
Step 3
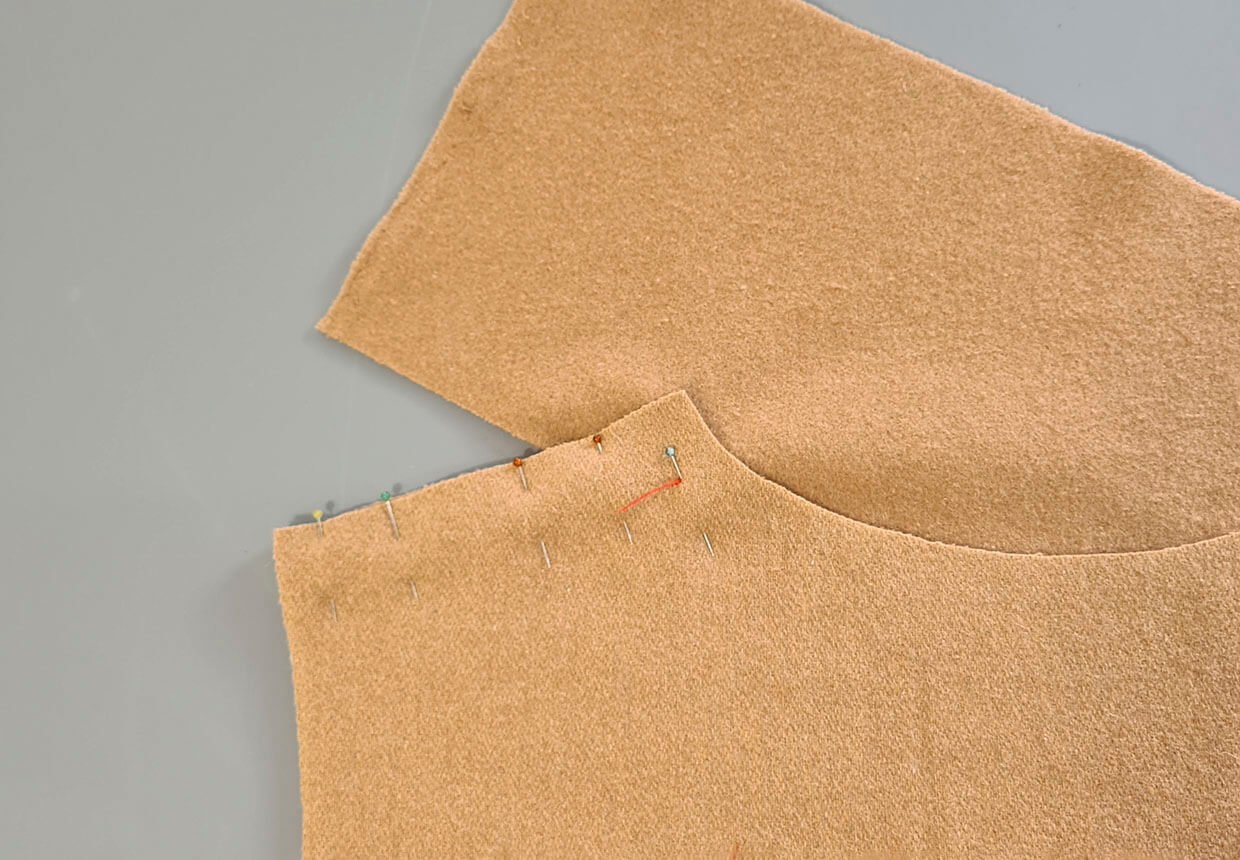
With RS together pin the back shoulders to the front shoulders, taking care to align your tailor tacked neck/shoulder points on the front and back sections.
Step 4
Starting from the marked shoulder/neck point, sew shoulder seams with the marked seam allowance. Backstitch at the beginning and the end of the seam.
Step 5
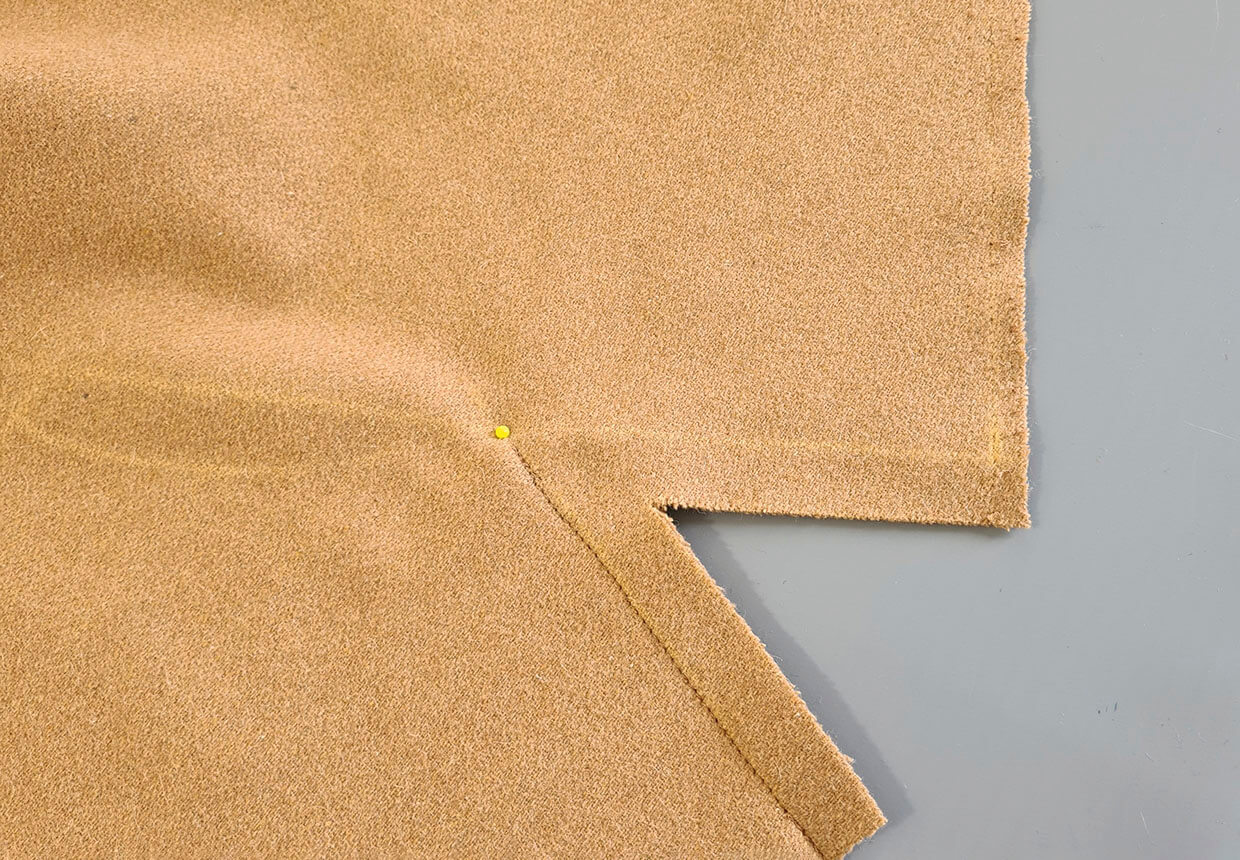
On the front section only, clip the seam allowance diagonally between the shoulder and the collar extension up to the marked shoulder/neck point. This releases the collar extension pieces for pinning in the next step.
Step 6
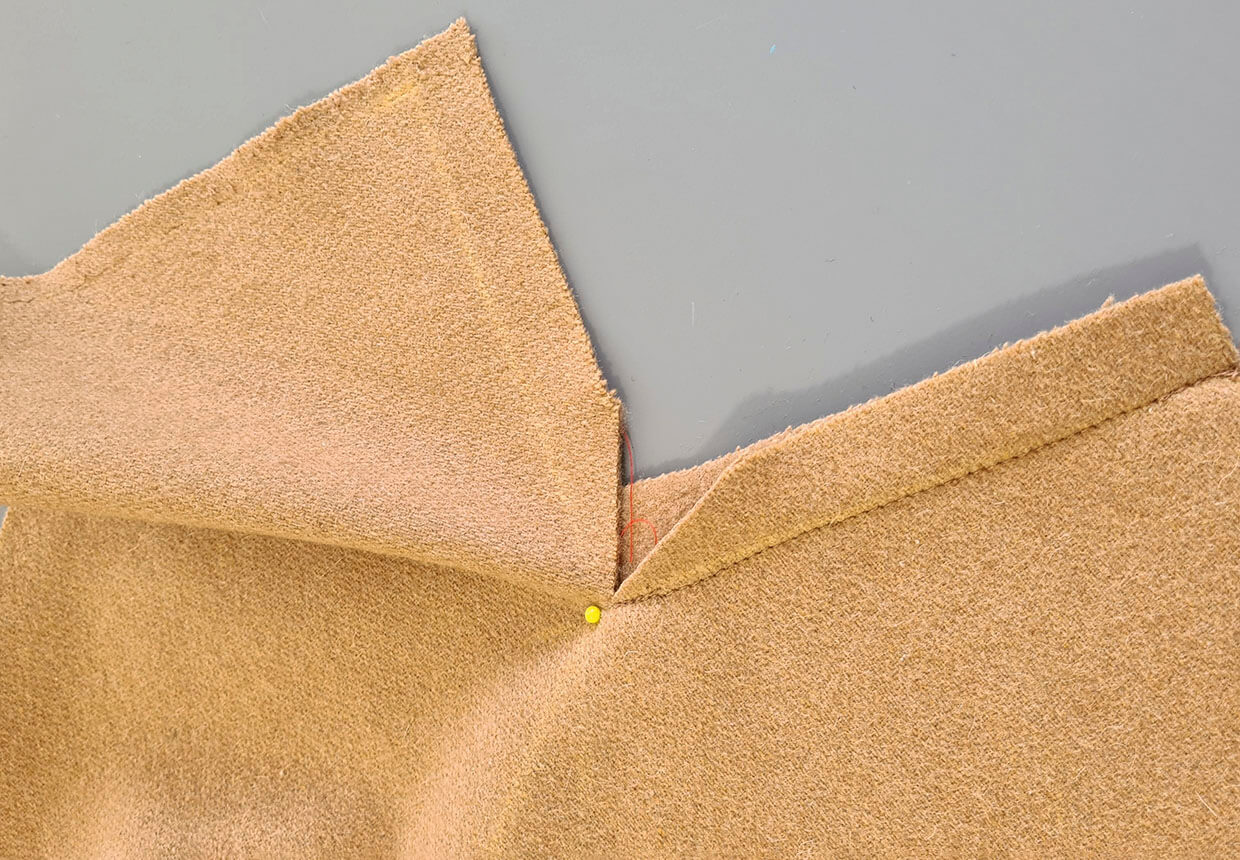
Sew the centre back of the collar extension together along the marked seam allowance (note that this can be sewn WS or RS together depending on whether you want a finished or exposed seam visible on the back of the collar).
Step 7
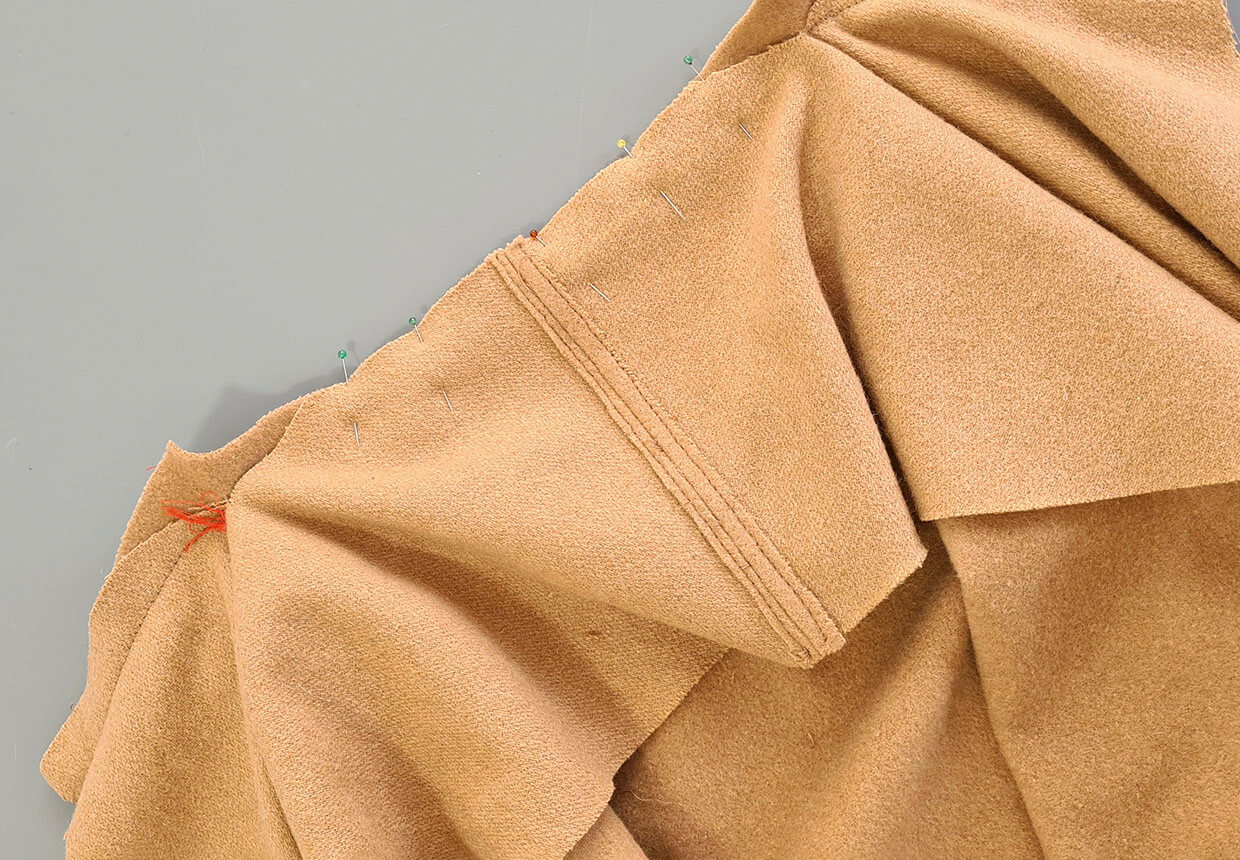
Pin the bottom edge of the collar extension to the back neckline RS together, as shown in the picture.
Step 8
Sew the back neckline and the collar extension together between your two marked dots (starting at one and finishing at the other) using the marked seam allowance. Backstitch at beginning and end.
Step 9
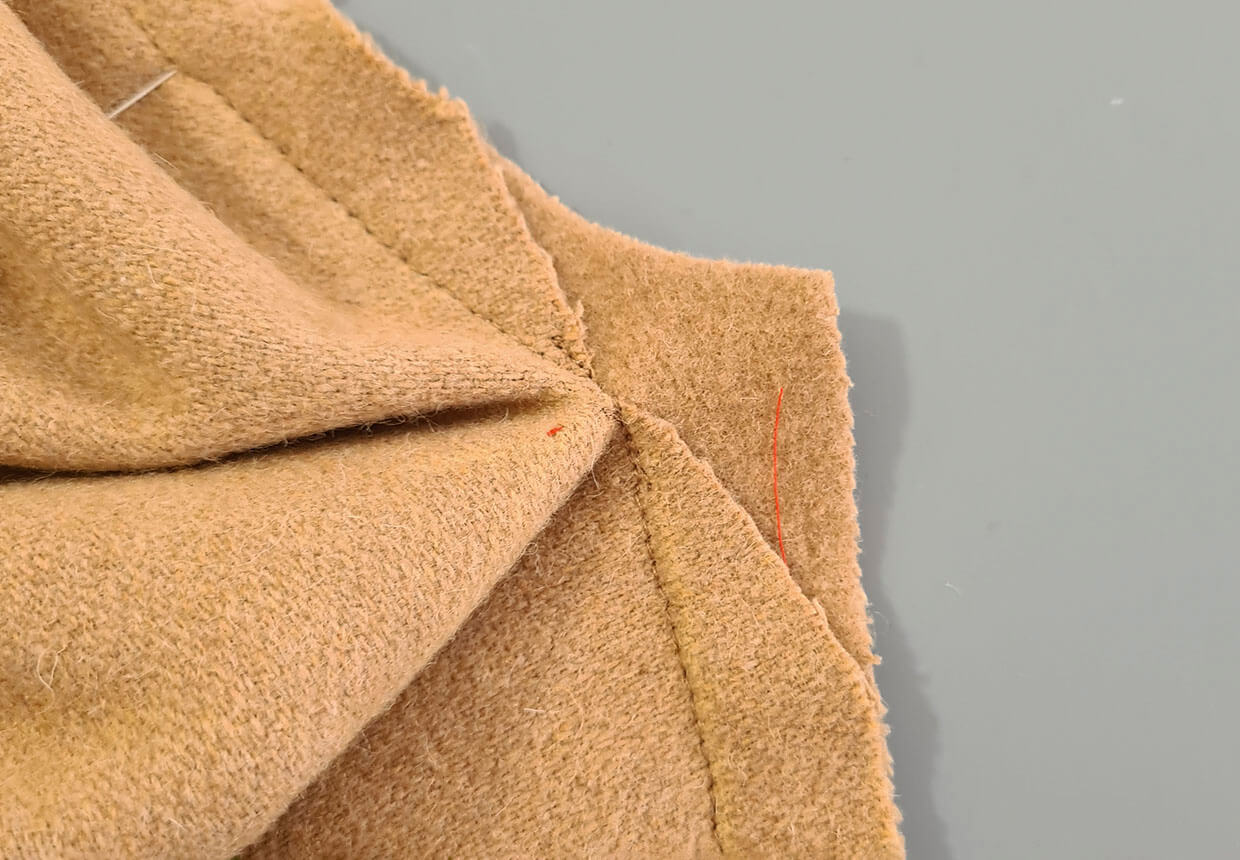
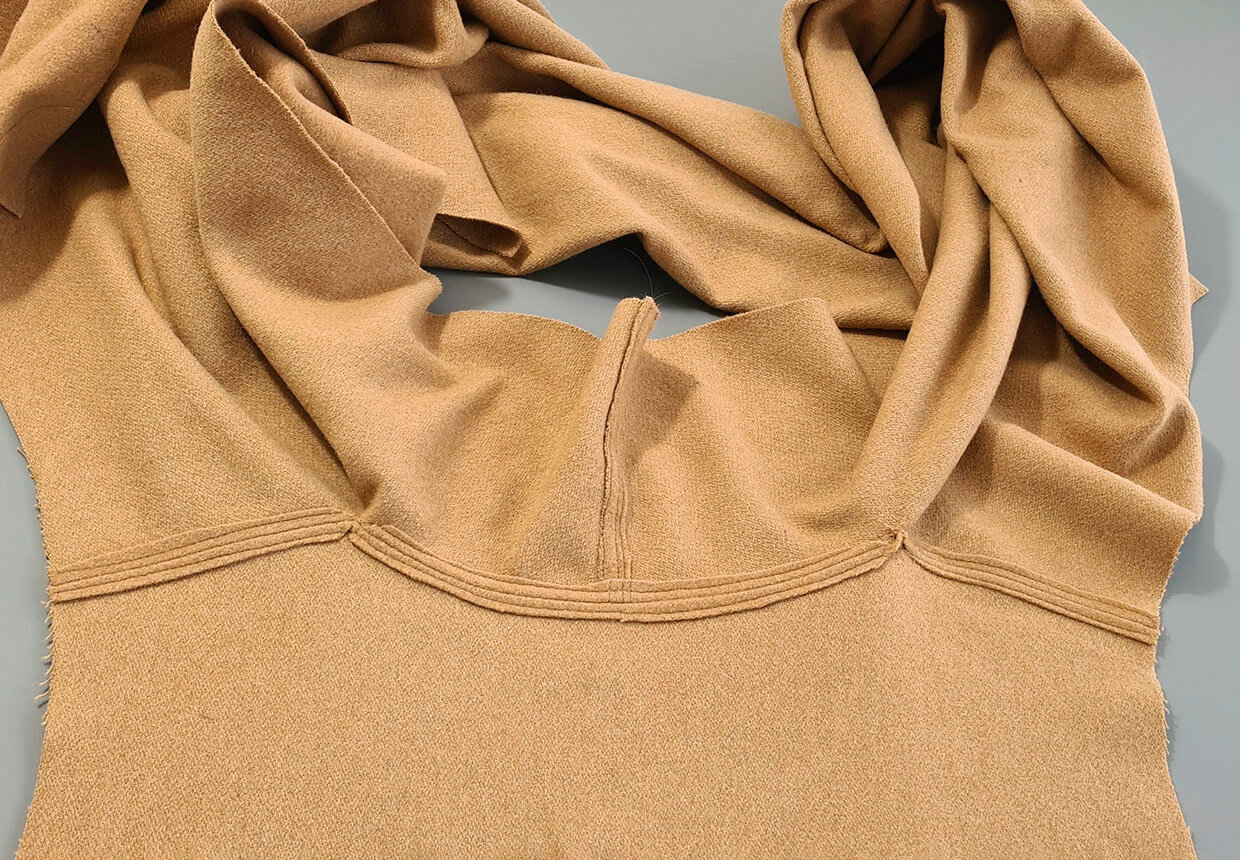
In the image you can see a close up of the neck/shoulder point shown from the front. The aim is for the neckline stitching to meet the shoulder stitching at your tailor tacked neck/ shoulder point and just catch the edge of the collar extension fabric in that corner.
Step 10
Press the shoulder and neckline seams open and flat and topstitch in place from the outside. Trim away excess seam allowance.
Step 11
Pin and then sew the sides according to your pattern instructions.
Step 12
Sew and insert the Sleeves as per the pattern instructions. We hemmed our sleeves but all other edges are left raw.


