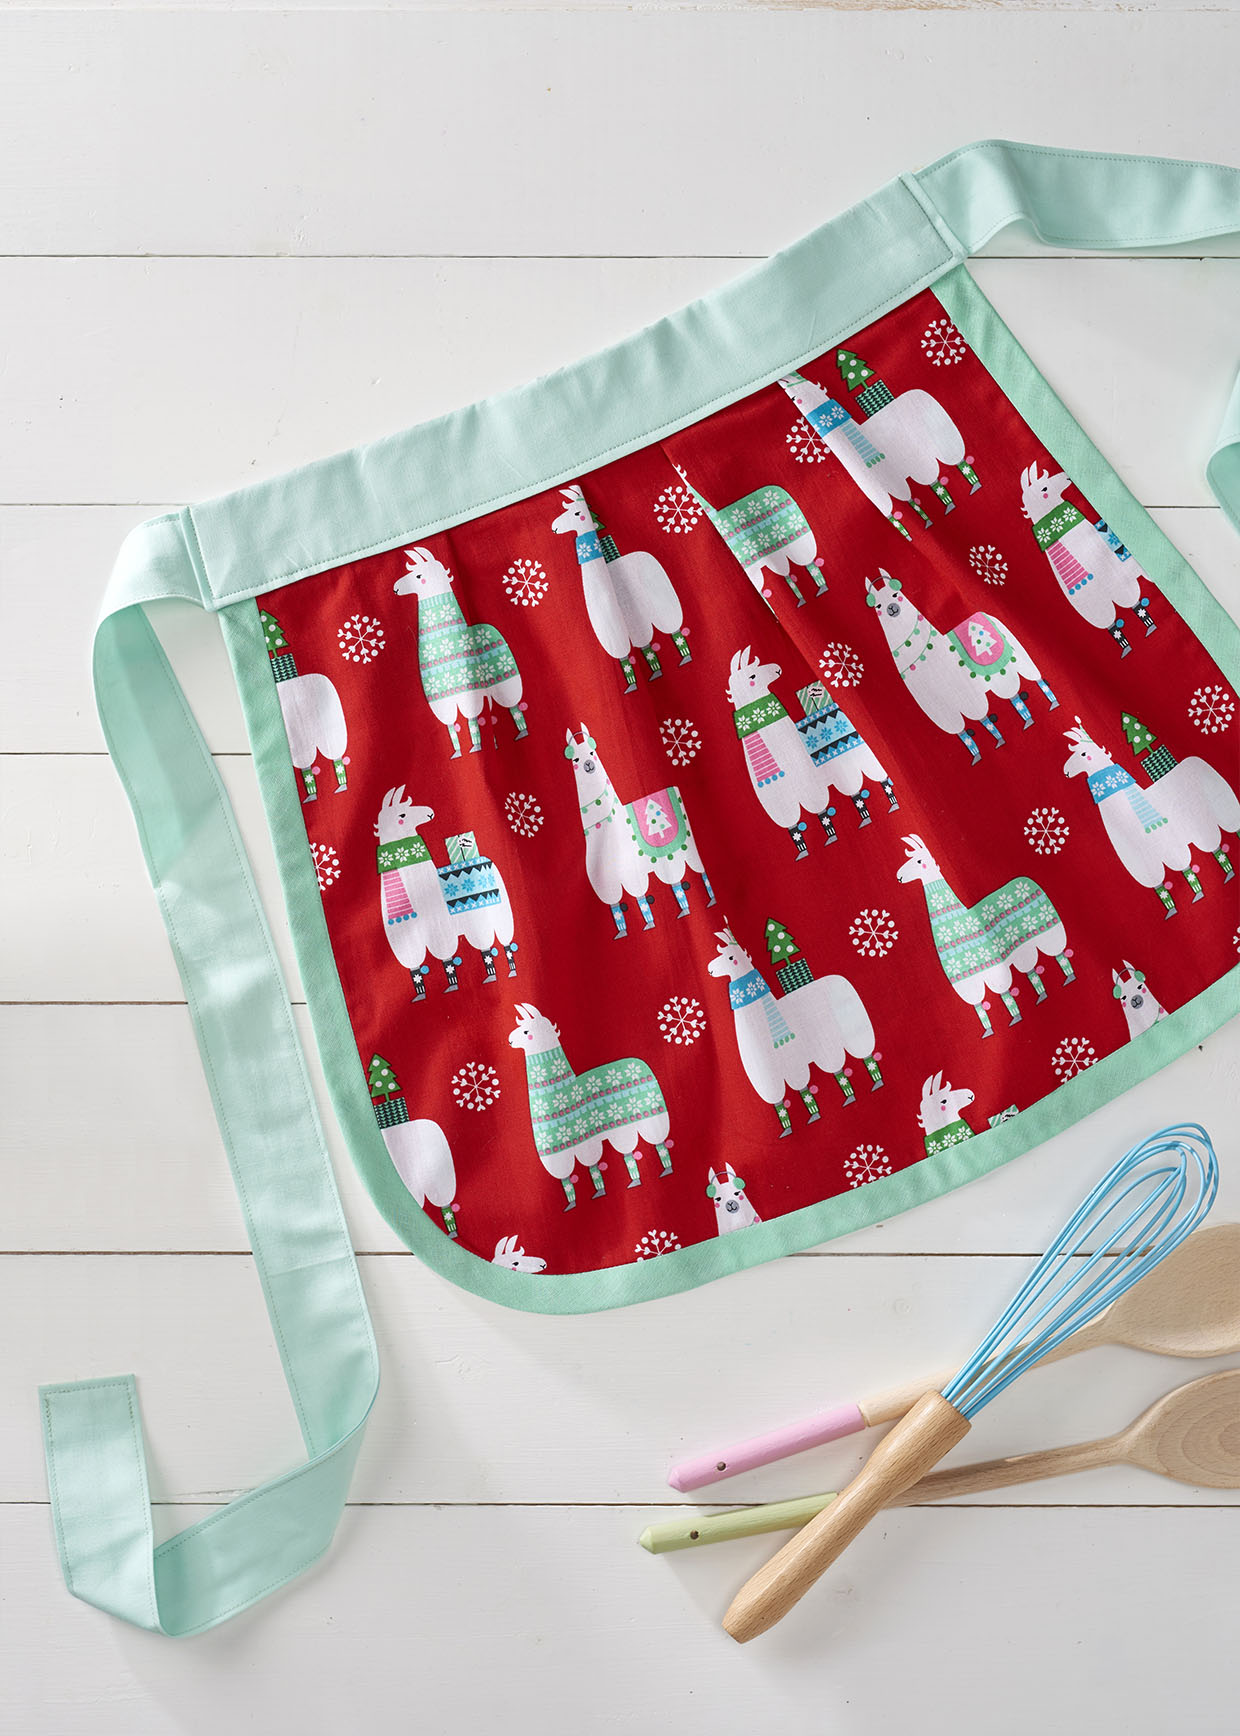
Step 1
Fold the patterned fabric in half along the width with right sides (RS) together, making sure the print runs horizontally across it.
Step 2
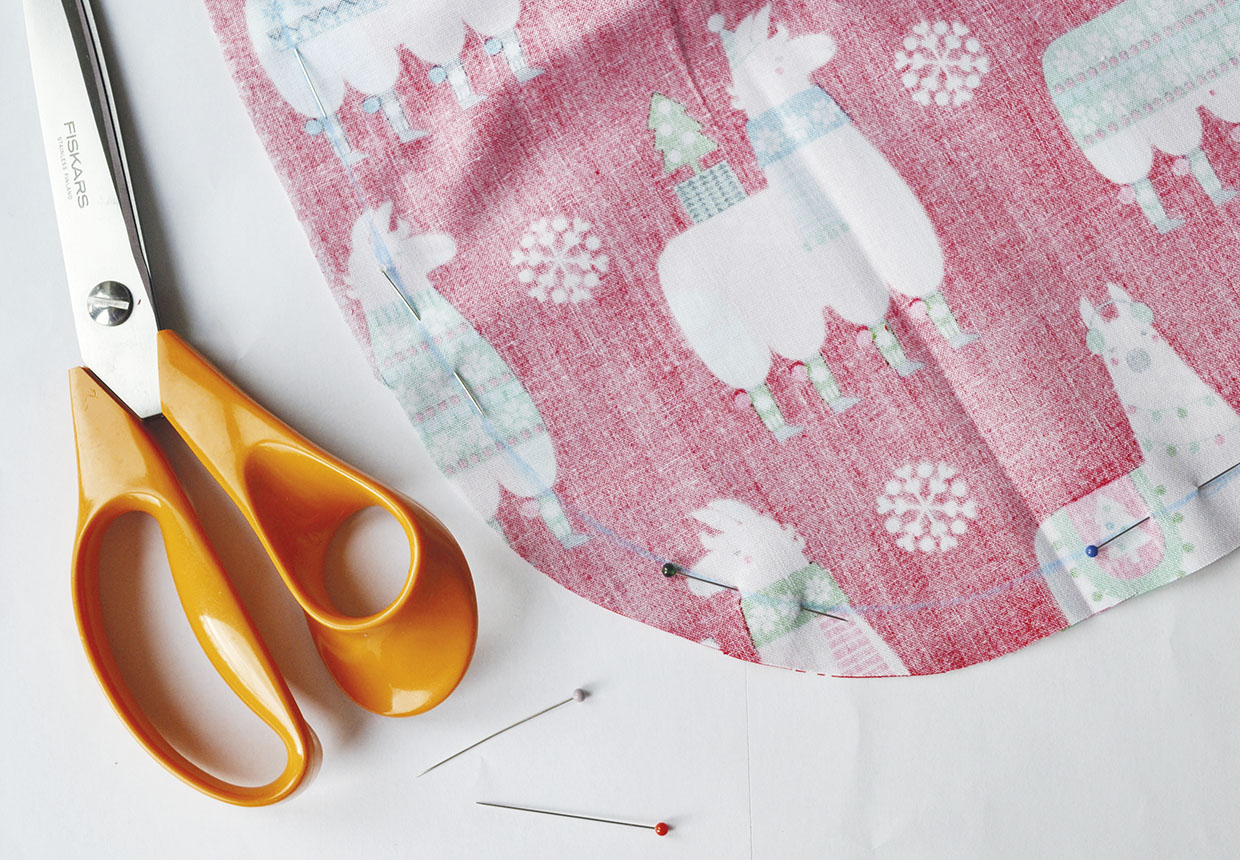
Using the template, mark out the apron front with tailor’s chalk, again, making sure the print runs horizontally across. Pin along the chalk line, then mark on an additional 1.5cm (5⁄8in) seam allowance around the side and bottom edges. Cut out the apron along the outer chalk marks.
Step 3
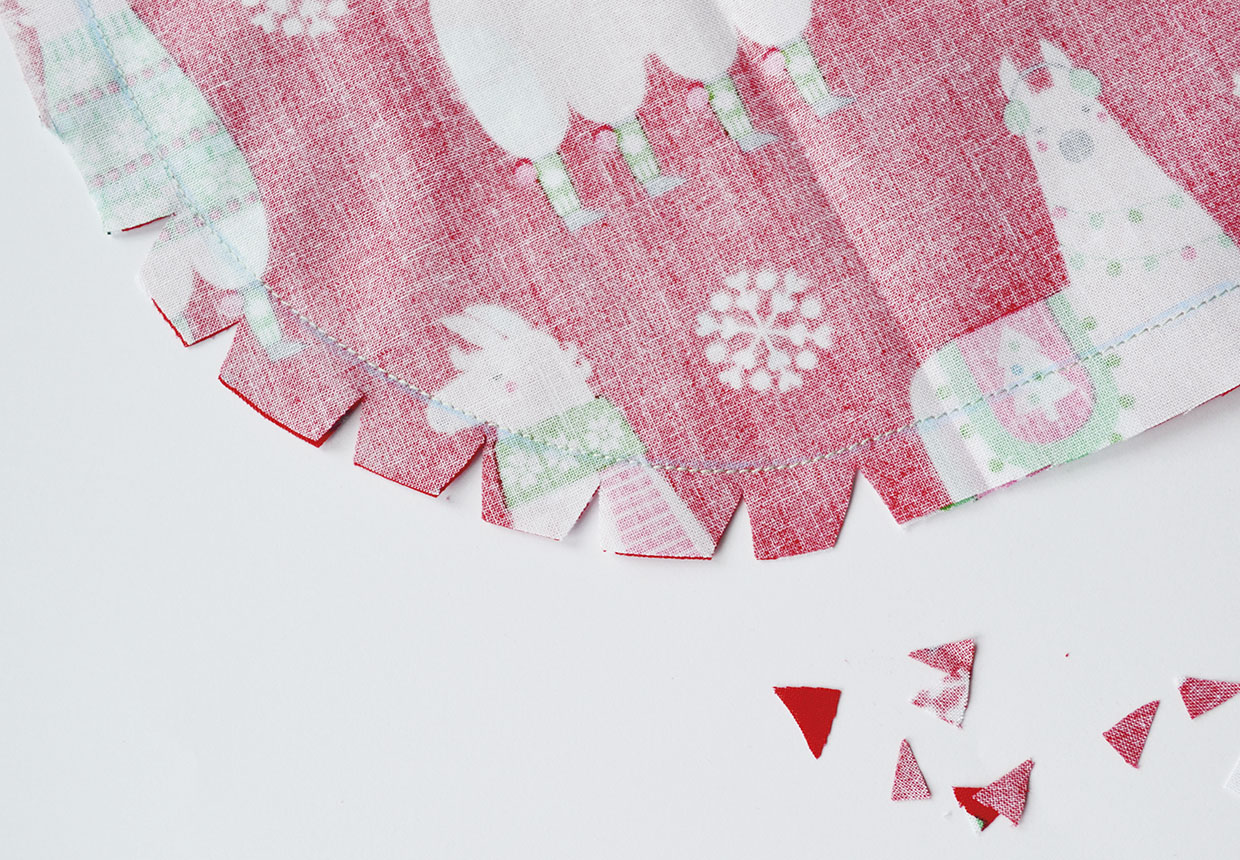
Sew the pinned chalk outline, leaving the top straight edge of the apron open, and removing the pins as you go along. Snip small triangles along the length of the seam allowance, as shown, to help keep the curves smooth. Turn the apron RS out and press neatly.
Step 4
Measure and mark four 10cm (4in) intervals along the top straight edge of the apron. At each marked point, fold the fabric to form a pleat roughly 1.5cm (5⁄8in) wide, then pin the pleats flat with the fold pointing towards the centre of the apron. Sew along the top of the apron, 1cm (3⁄8in) down from the raw edge, to secure the pleats in place.
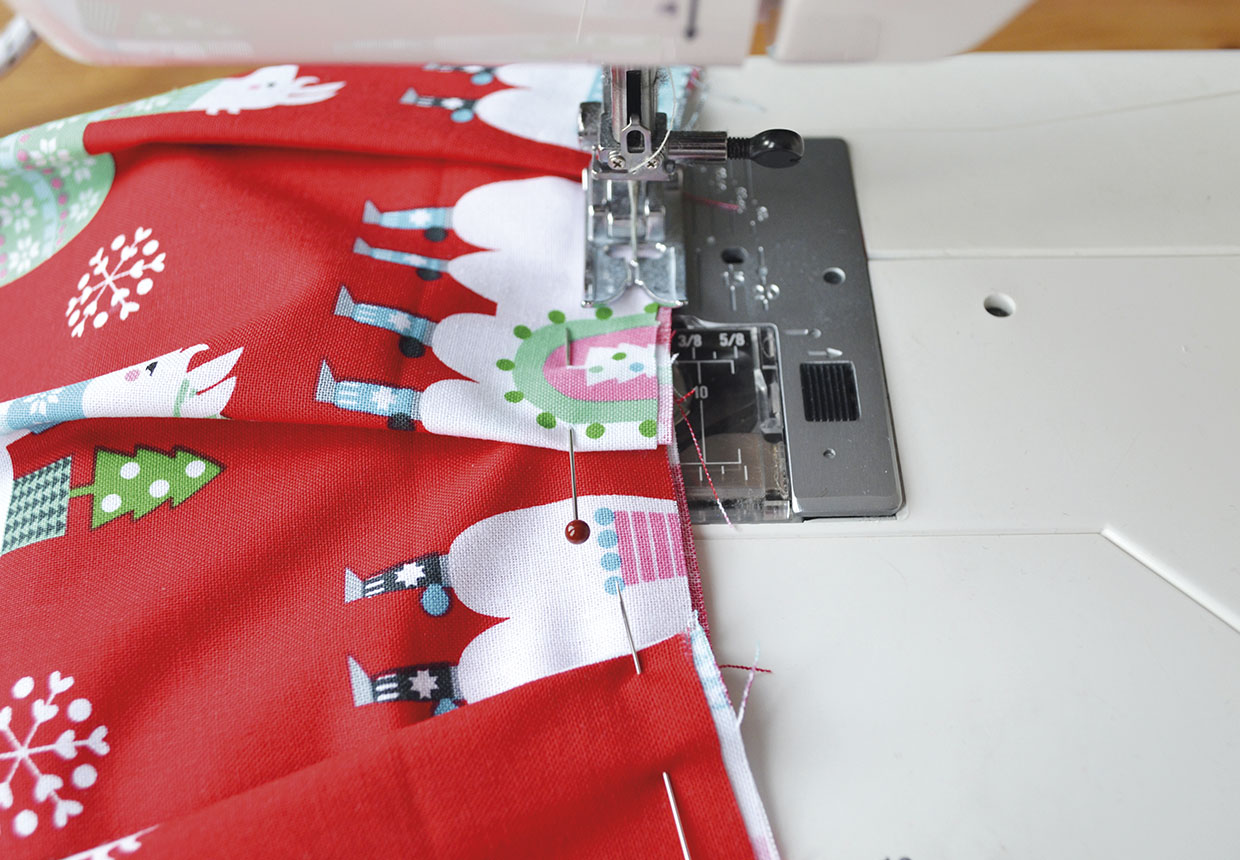
Step 5
Unfold one of the long edges of the bias binding. Starting at one top corner of the apron, and working along one side, pin the opened-out edge of the binding to the apron, with RS together, and positioning the crease in the binding 2cm (¾in) in from the raw edge of the fabric. Continue working around the outside of the apron, finishing at the opposite top corner.
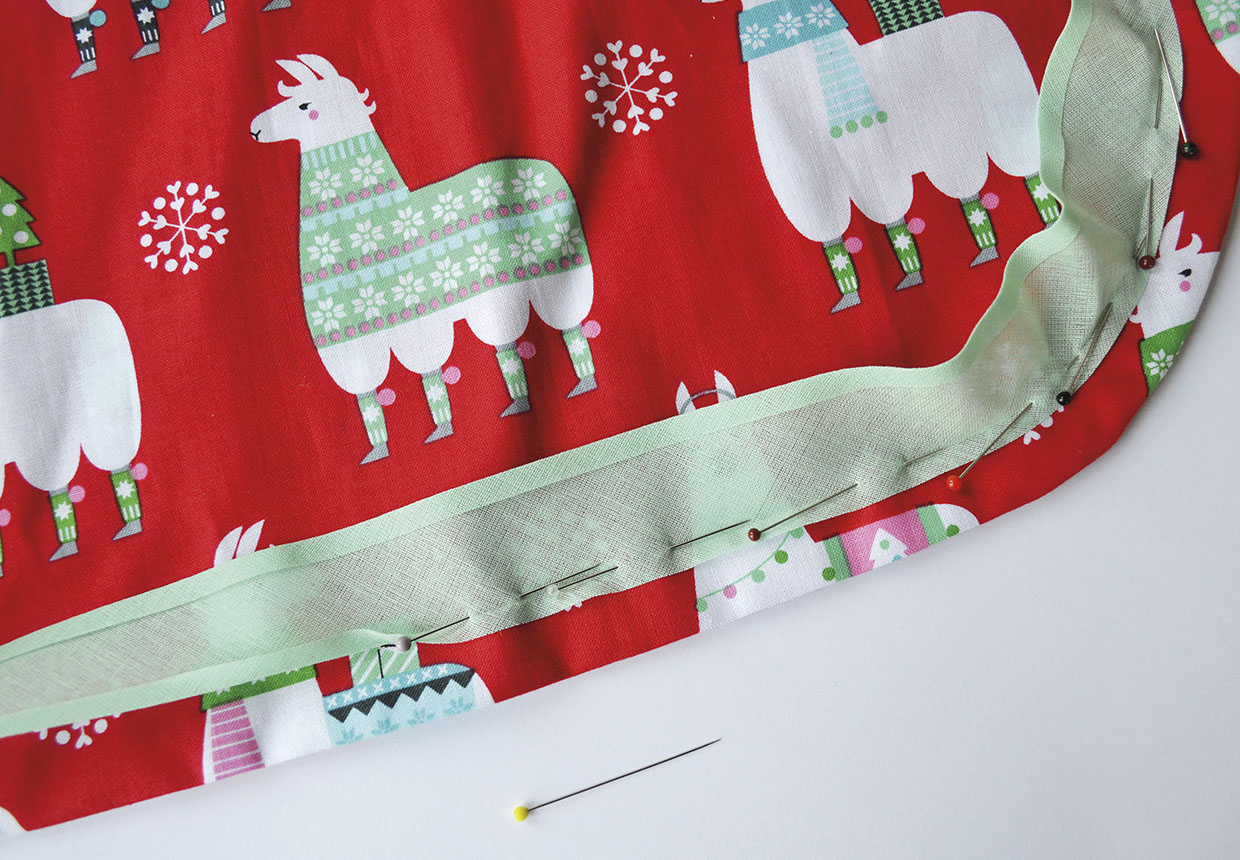
Step 6
Sew along the crease in the binding, removing the pins as you go, then fold the binding back on itself. Press in place.
Step 7
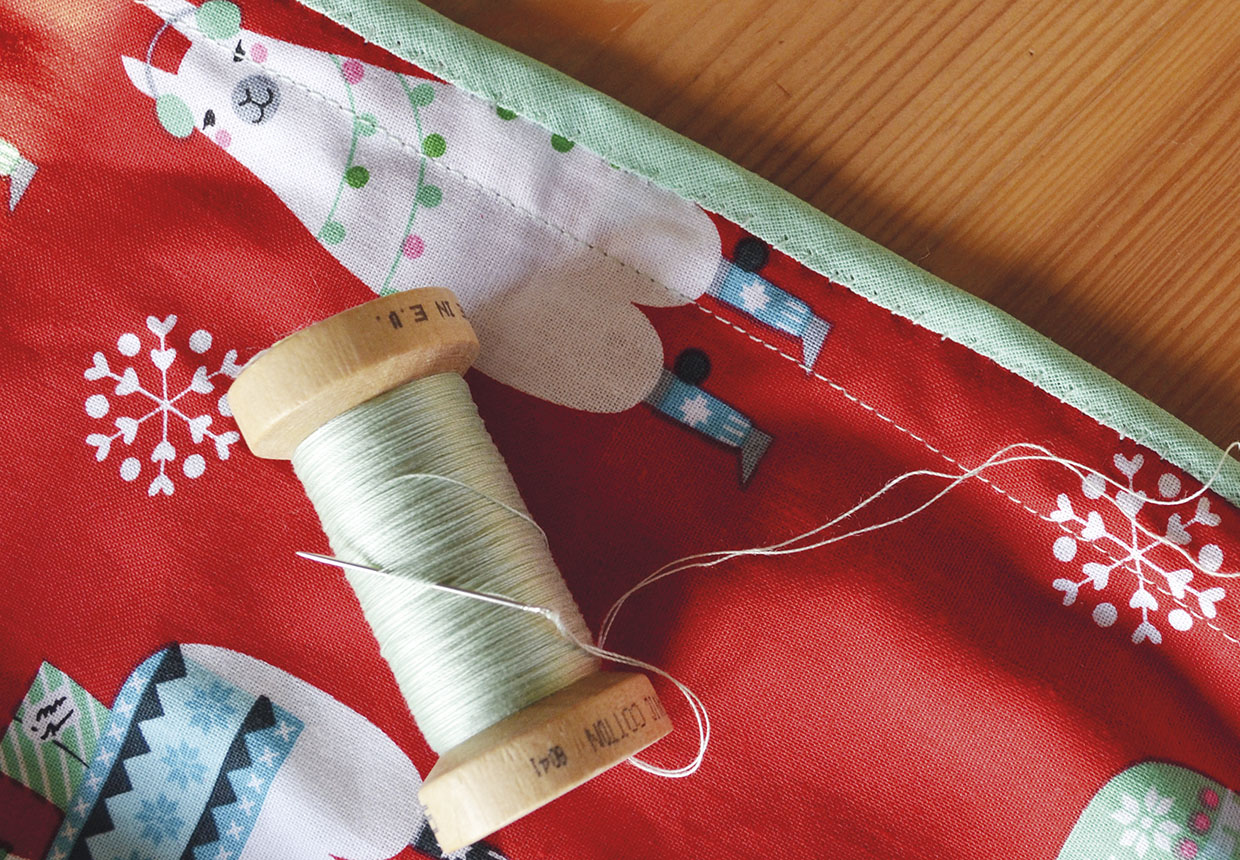
Turn the apron over and fold the overlapping binding down to cover the raw edge of the apron. Pin in place, then sew using small, neat stitches, being careful not to sew through to the front of the apron.
Step 8
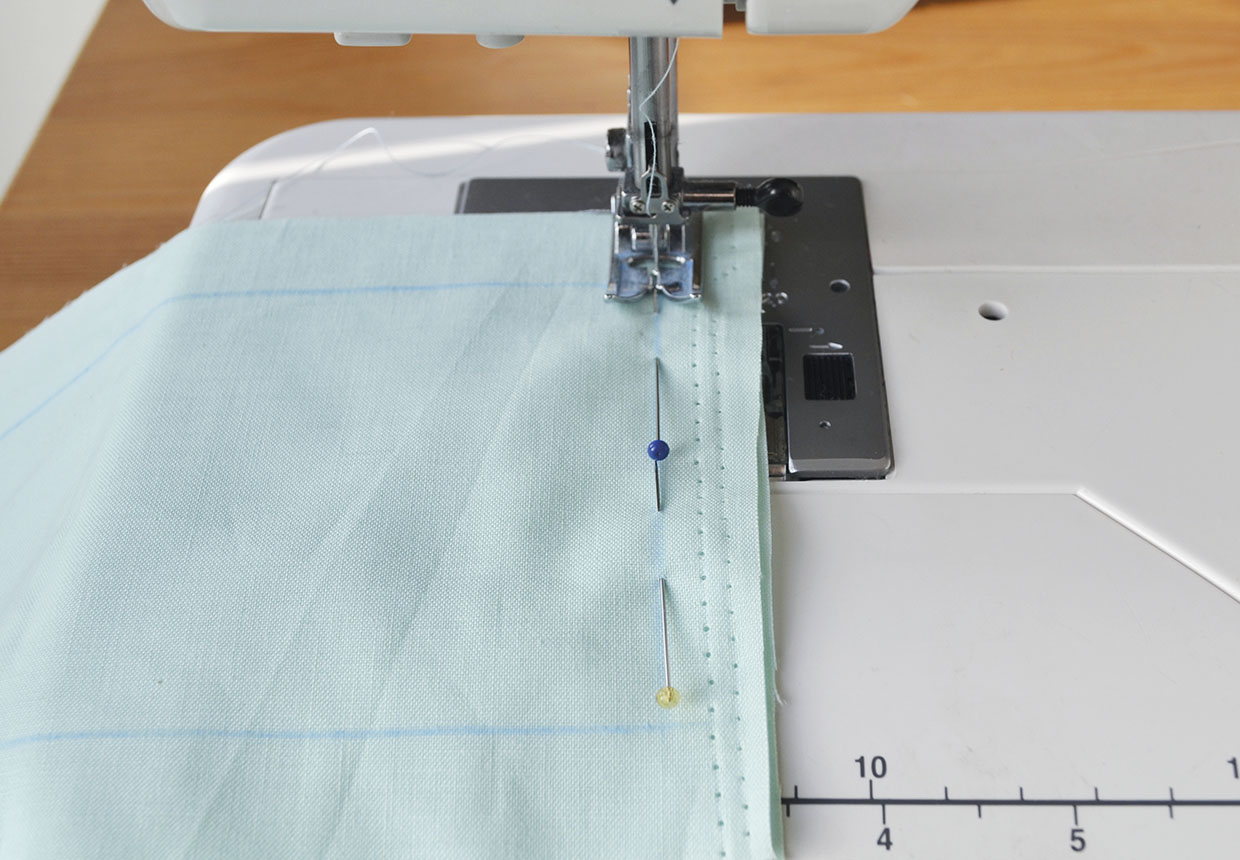
To make the apron ties, mark out two 90 x 90cm (35½x 35½in) strips on the plain fabric, then cut out using a 1.5cm (5⁄8in) seam allowance. Place the two pieces with RS together, then sew along one short edge, 1.5cm (5⁄8in) in from the end. Open out into one long strip.
Step 9
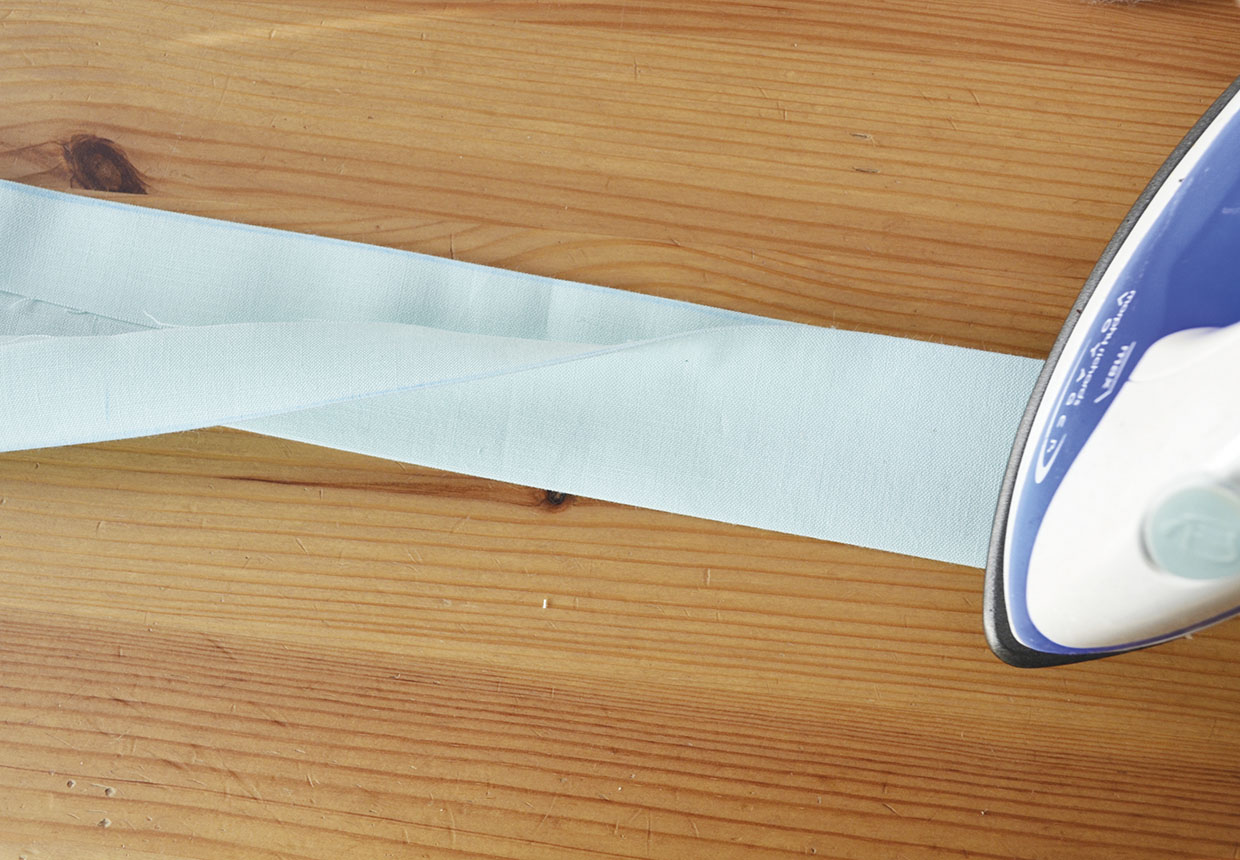
Fold all four raw edges to the wrong side (WS) by 1.5cm (5⁄8in) and press in place. Fold the strip in half along the length with WS together and press again.
Step 10
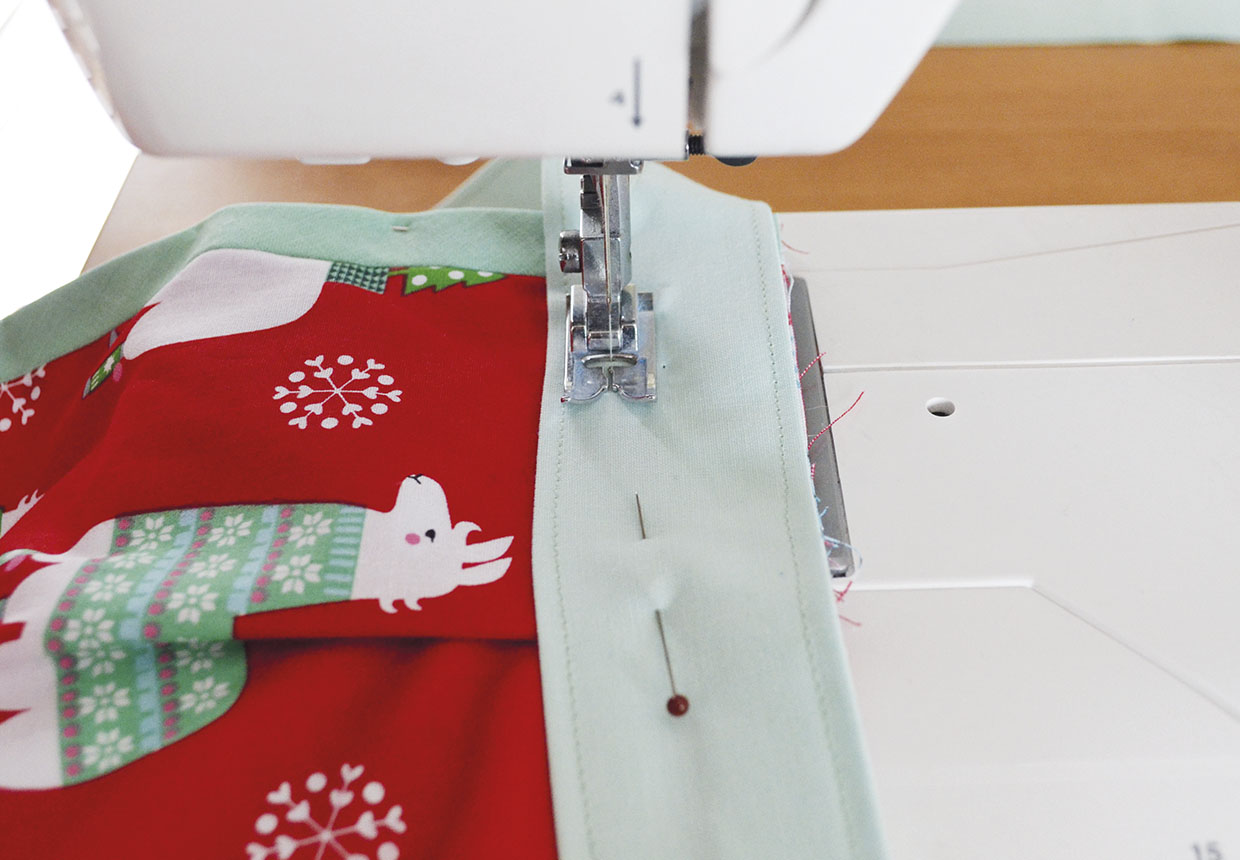
Pin and sew along the open long edge, 0.5cm (¼in) in. Fold the strip in half along the length to find the centre, pin it to the centre point of the top of the apron, aligning the top edges, and sew in place.
Step 11
Measure the top straight edge of the apron, then draw a rectangle the same length, and 10cm (4in) wide. Cut out using a 1.5cm (5⁄8in) seam allowance. Fold all four raw edges to the WS along the seam allowance and press, then fold in half along the length with WS together and press again.
Step 12
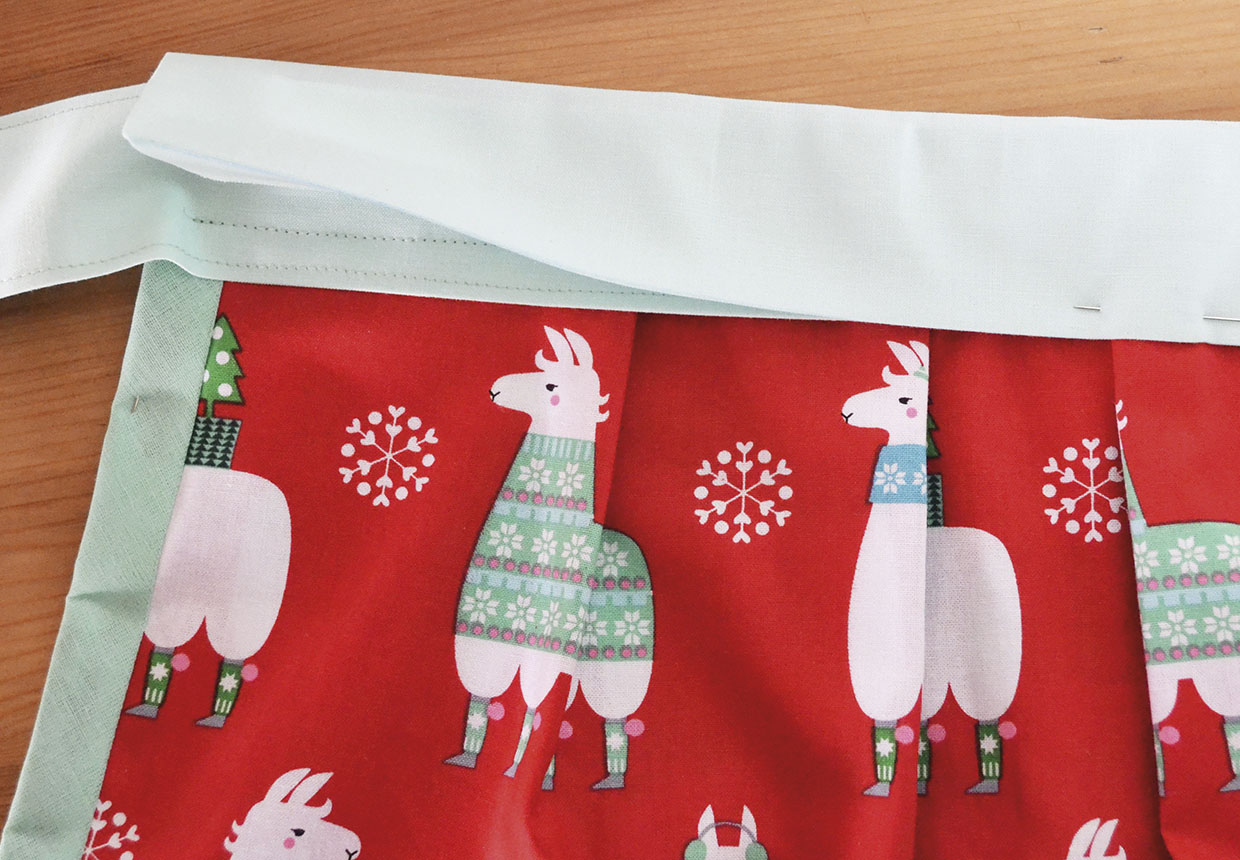
Pin the rectangle across the top of the apron, with the WS of the strip sitting against the RS of the apron fabric, and the central crease at the top. Sew along the side and bottom edges of the rectangle, 0.5cm (¼in) in from the edge.
