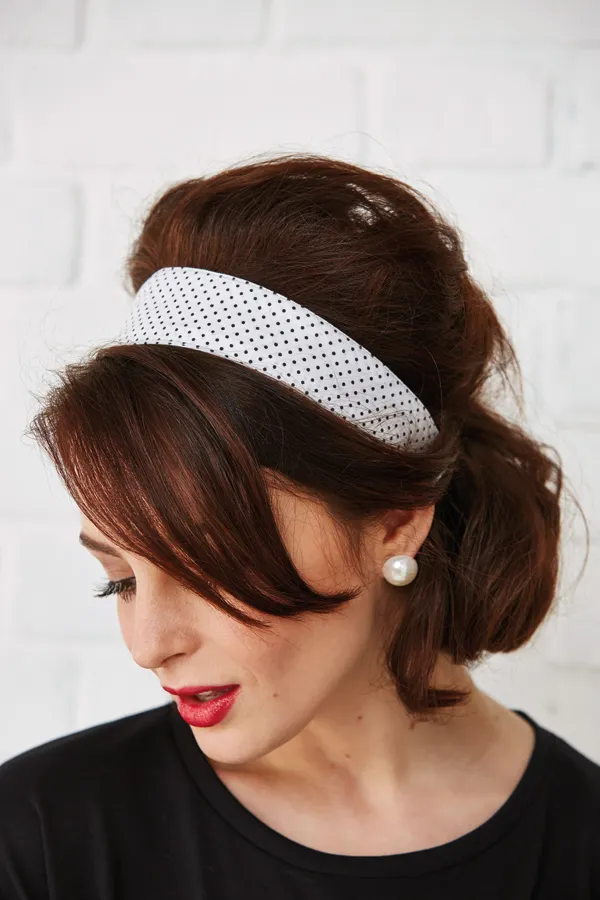
Once you’ve made one headband, you’ll be using any offcuts you have to make more. They turn out best if they’re machine-sewn, but can be just as easily whipped up by hand.
We think they make great gift, presented in a pretty box with colourful tissue paper and a handmade card… just lovely!
- How to make a hair bow in just a few simple steps
- How to make a scrunchie
- 30+ best bag patterns to sew
You will need:
- Download our Free headband sewing pattern
- Polka dot fabric (free in Simply Sewing 1) or any offcuts, roughly 20cm x 45cm
- Black elastic
- Black sewing thread
Step 1
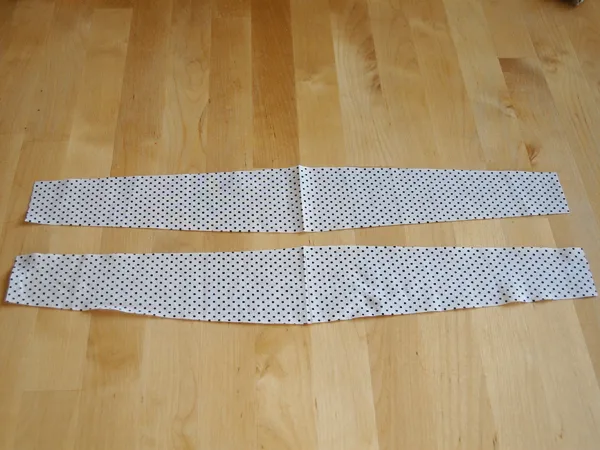
To make the headband , cut two headband pieces from your fabric, using the template.
Step 2
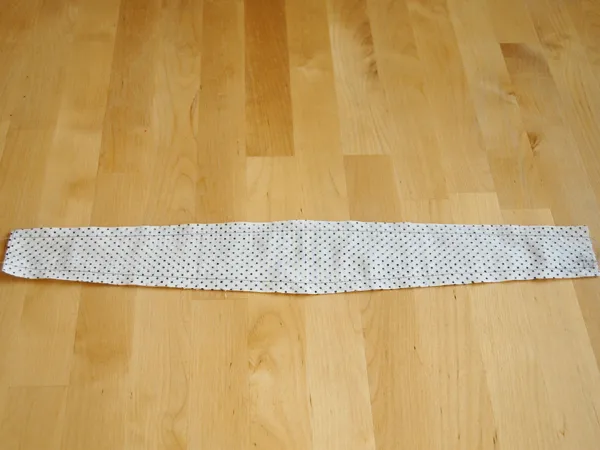
Place the two headband pieces right sides together (with the dotty pattern prints facing each other) and sew along the two long edges, leaving the two short edges open.
Step 3
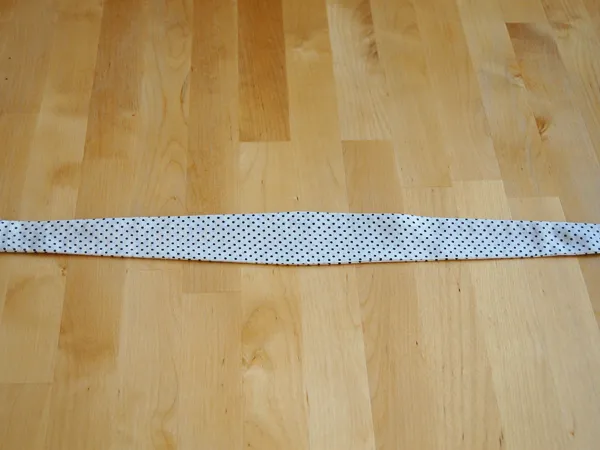
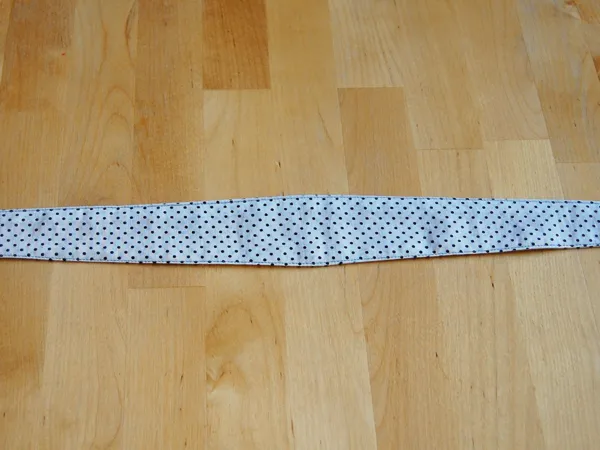
Turn the headband right sides out through one of the open edges, so the fabric print is on the outside. Press the headband flat with an iron.
Step 4
Stitch along the long edges of the headband, close to the seams, again leaving the short ends open. This is called ‘topstitching’ because it will be visible on the finished headband.
Step 5
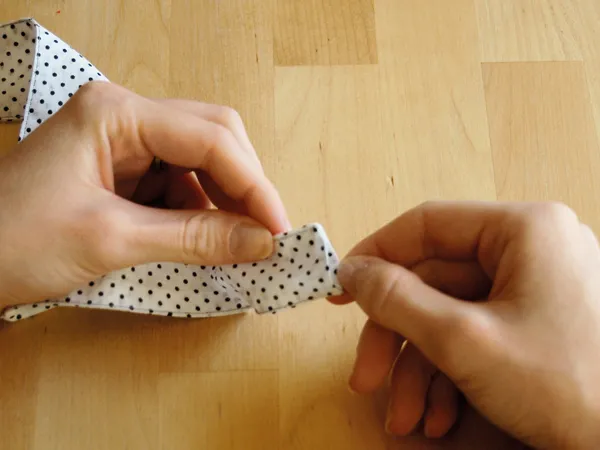
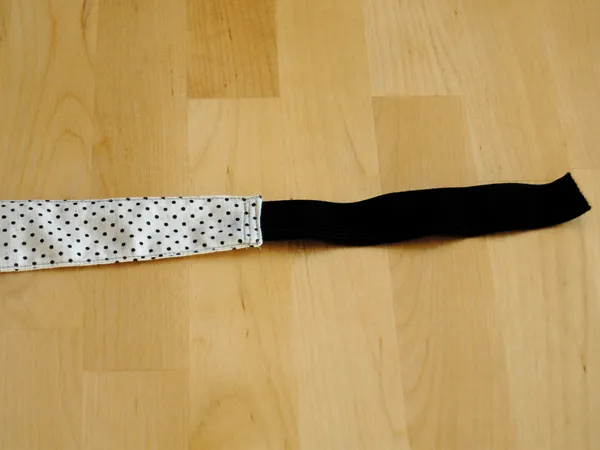
Turn 1cm of fabric to the inside of the opening at both short ends, to hide the raw edges. Press with an iron. Cut a 15cm piece of elastic. Feed one end into one short side of the headband so 1cm of elastic is inside.
Step 6
Machine stitch over this short end with three rows of stitching to make sure it is attached securely. Try on the headband and mark the other end of the elastic to fit. Then work as before to secure the other end. And that's it!
Now you're ready to don this chic headband or gift to a friend!
