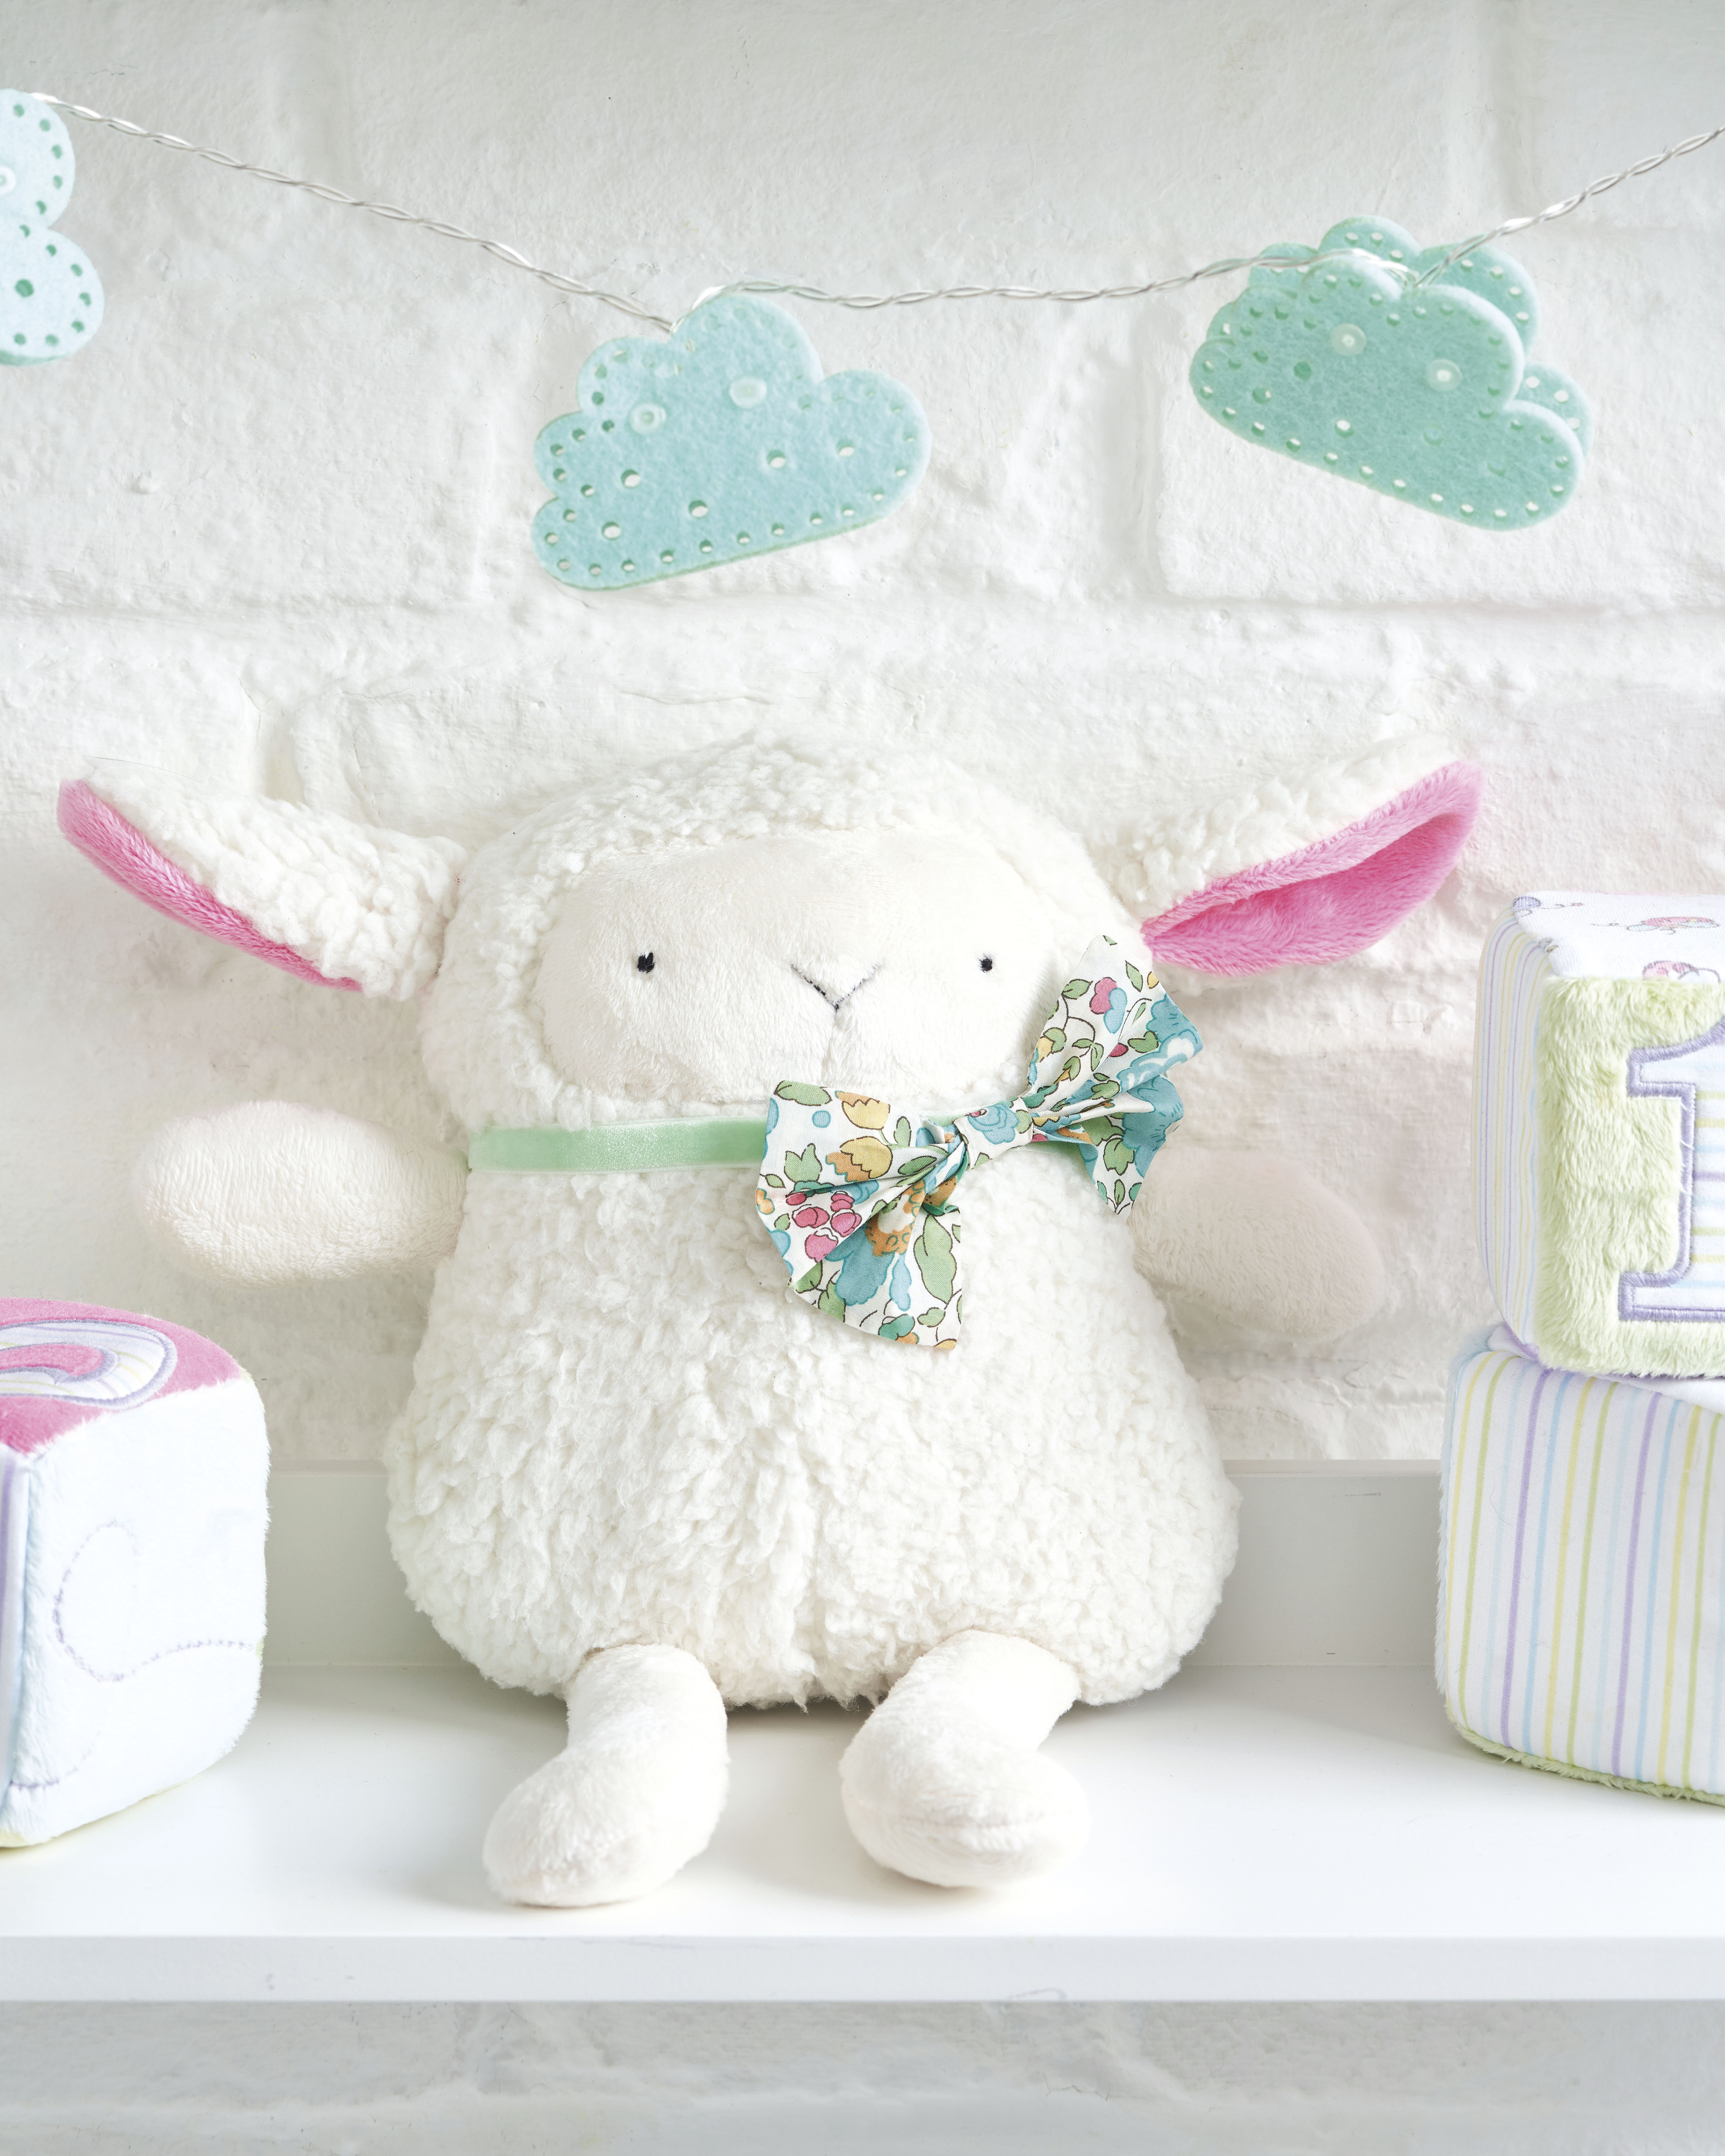
Cutting out
Step 1
Download, print out, and then cut out the templates.
Step 2
Pin the pattern pieces onto the reverse of the fabric and draw around them. Mark the openings, positionings and darts where indicated on the pattern pieces and cut out.
Step 3
From Fabric A, cut out as follows:
- Body/head: cut two.
- Ears: cut two.
Step 4
From Fabric B, cut:
- Legs: cut two pairs.
- Arms: cut two pairs.
- Face: cut one.
Step 5
From Fabric C cut:
Step 6
From Fabric D, cut:
- Bow: cut two.
- Bow middle: cut two.
Making the arms, legs and ears
Step 1
Pin the arm pieces right sides (RS) together. Stitch together, leaving the short ends open. Clip the curves. Turn RS out and stuff firmly, using a pointed tool such as a knitting needle to help you get right to the ends. Leave 2cm (¾in) free of stuffing at the open end to make it easier to sew into the seam later. Repeat to make the legs.
Step 2
By hand, tack the ends of the limbs closed to keep the stuffing in place and make the limbs easier to insert into the body.
Step 3
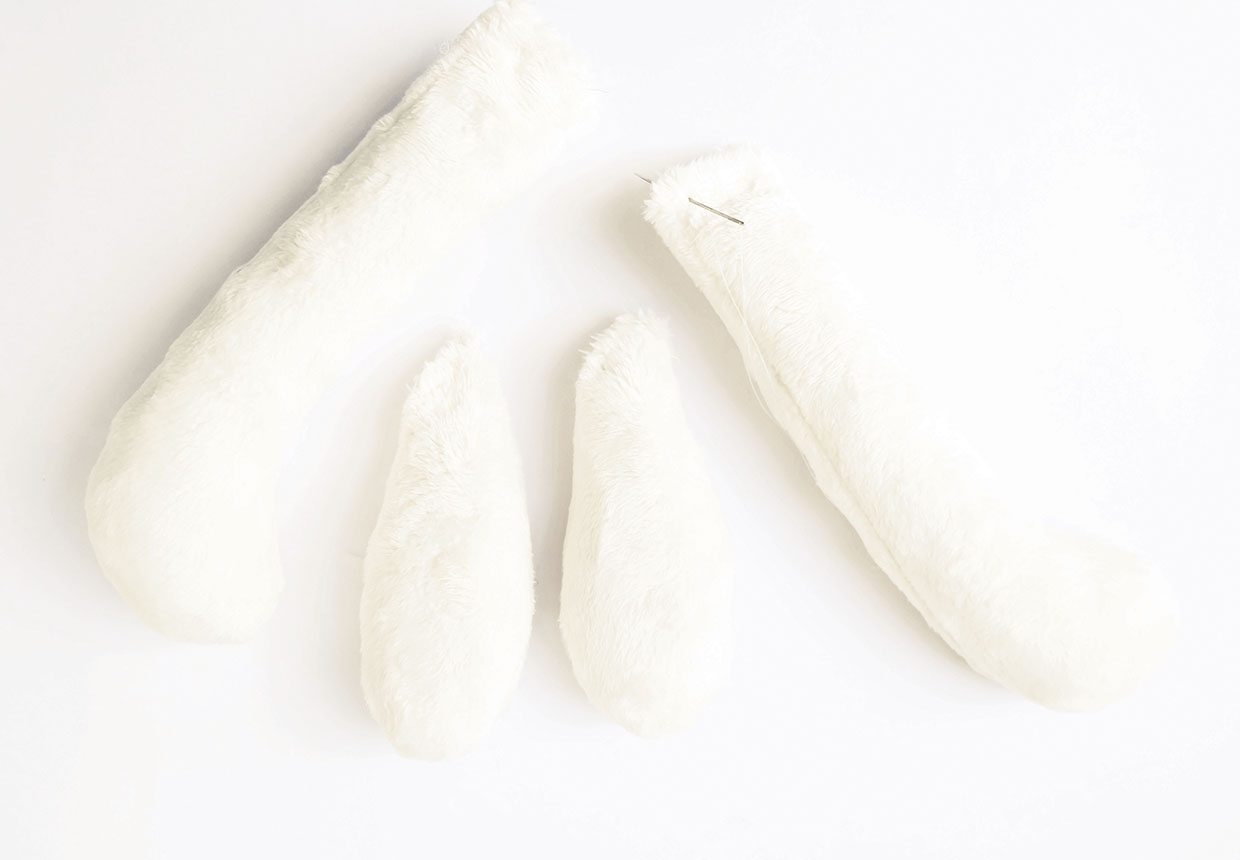
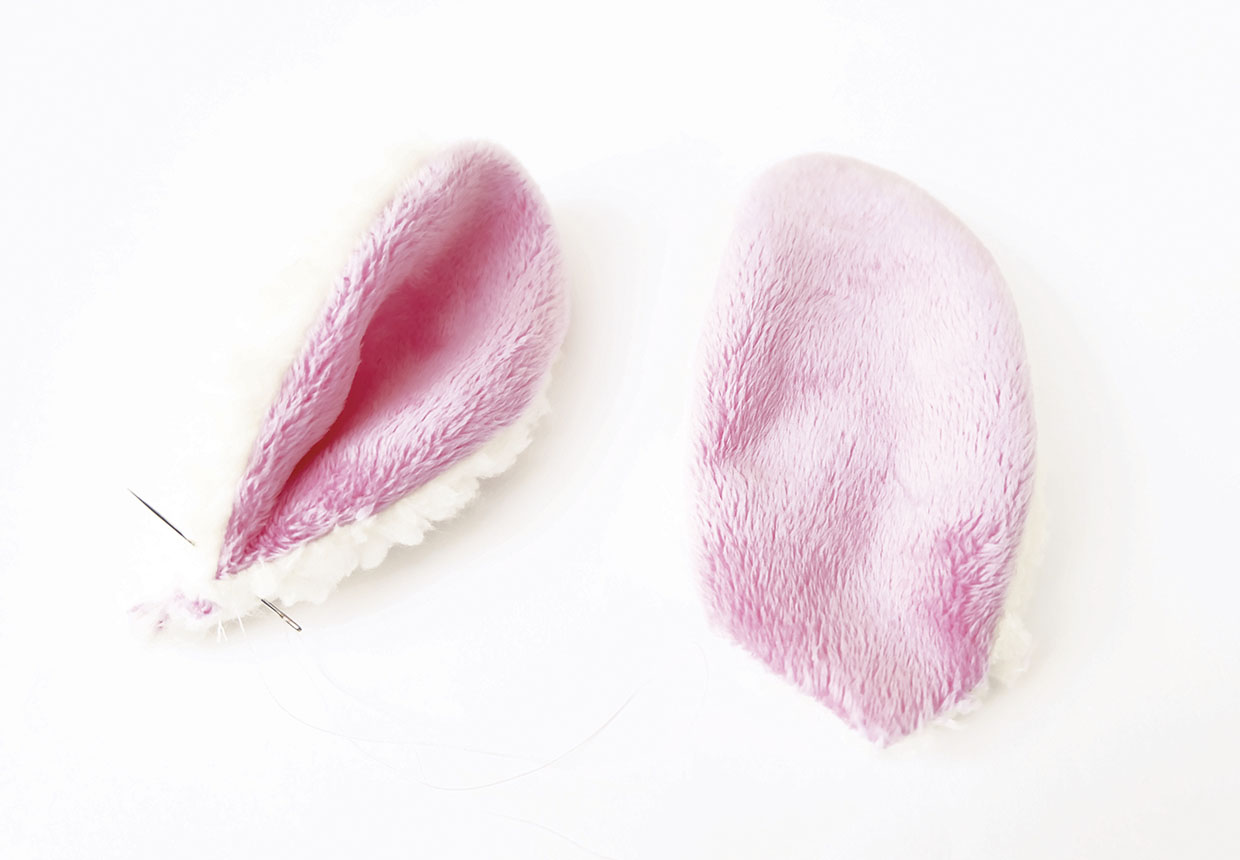
Pin the ear pieces RS together and sew between points A and B marked on the pattern, leaving the short ends open. Turn RS out and clip the curves. Fold each ear in half down the middle, then hand-sew along the open edge to secure.
Making the head and body
Step 1
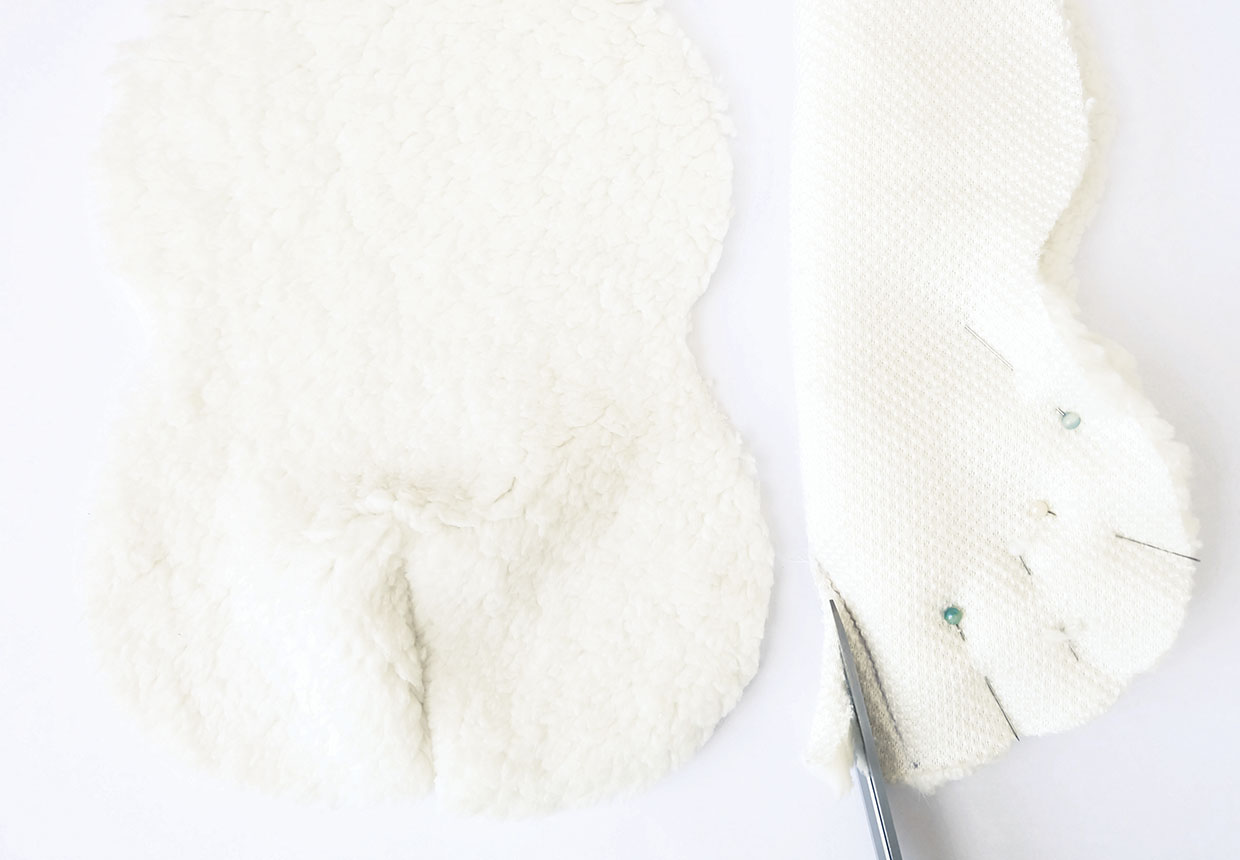
Fold each head/body piece with RS together in half lengthways and pin to keep in place. Pin along the dart and stitch, then trim away the seam allowance.
Step 2
Pin the body pieces RS together. Use lots of pins or clips to prevent the fabric from shifting.
Assembling the lamb
Step 1
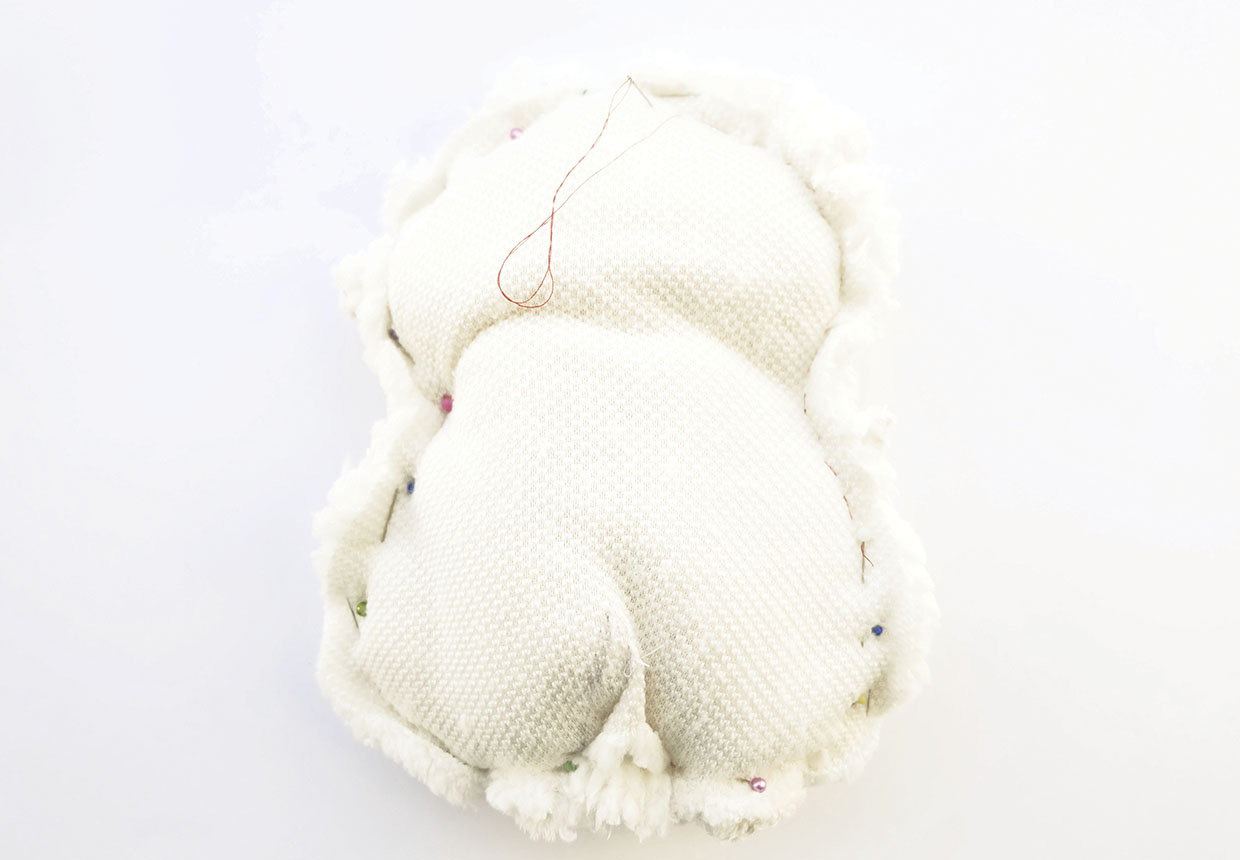
Sandwich the legs, ears and arms between the body pieces, where marked. Pin in place. Tack all the way around the body, taking particular care where the limbs and ears are inserted to ensure they are properly caught into the seam. Remove all pins and turn RS out to check that everything is in the right place and adjust if necessary.
Step 2
Turn back RS together. Replace the pins or clips to help keep everything in the right spot and to prevent the fabric from shifting. Stitch all the way around, leaving a 5cm (2in) gap for turning. Take your time and stitch slowly. Double stitch the limbs and ears to ensure they are secure.
Step 3
Turn RS out and stuff firmly but carefully, using a stick or your fingers, pushing right into the edges. Turn in the edges of the opening and overstitch or ladder stitch to close.
Making the face
Step 1
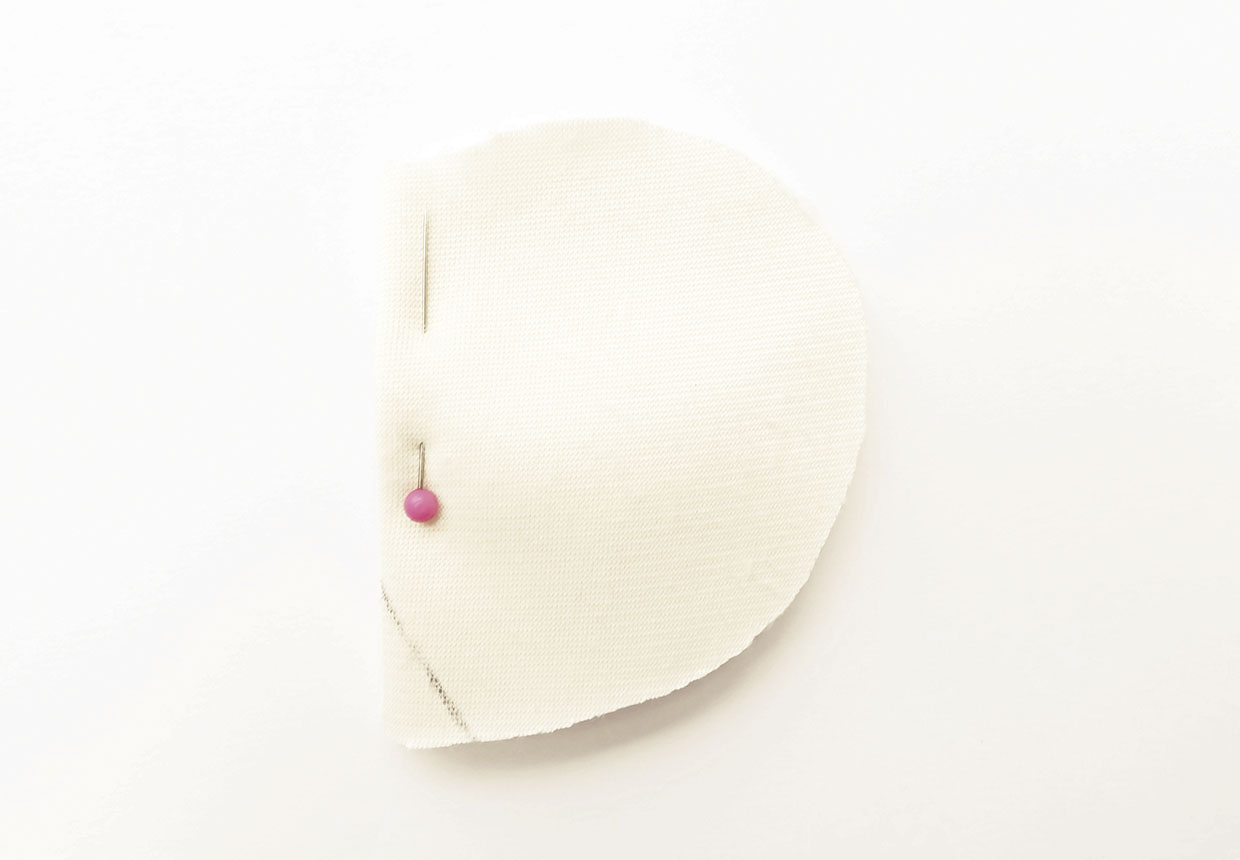
Fold the face in half RS together and pin in position. Pin along the dart and stitch.
Step 2
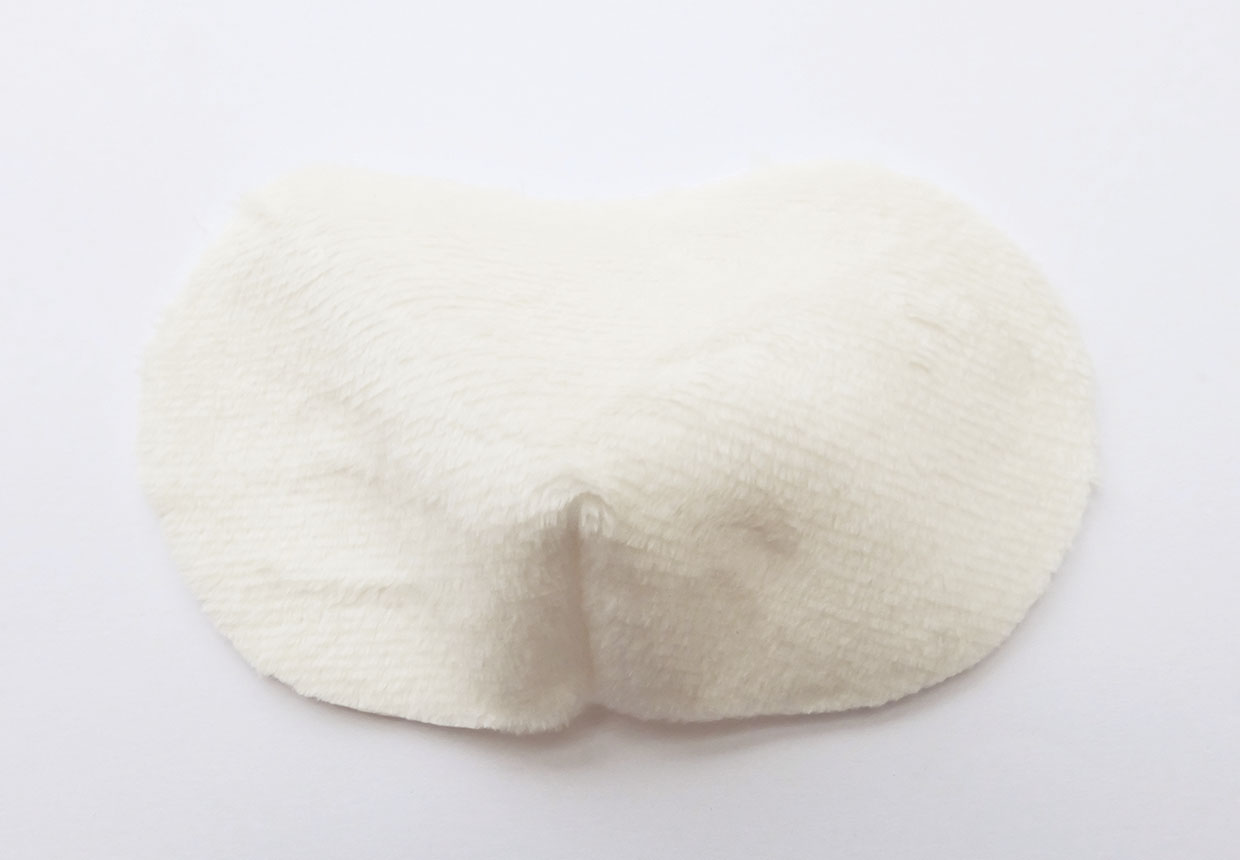
Trim the seam and turn RS out to reveal the face shape.
Step 3
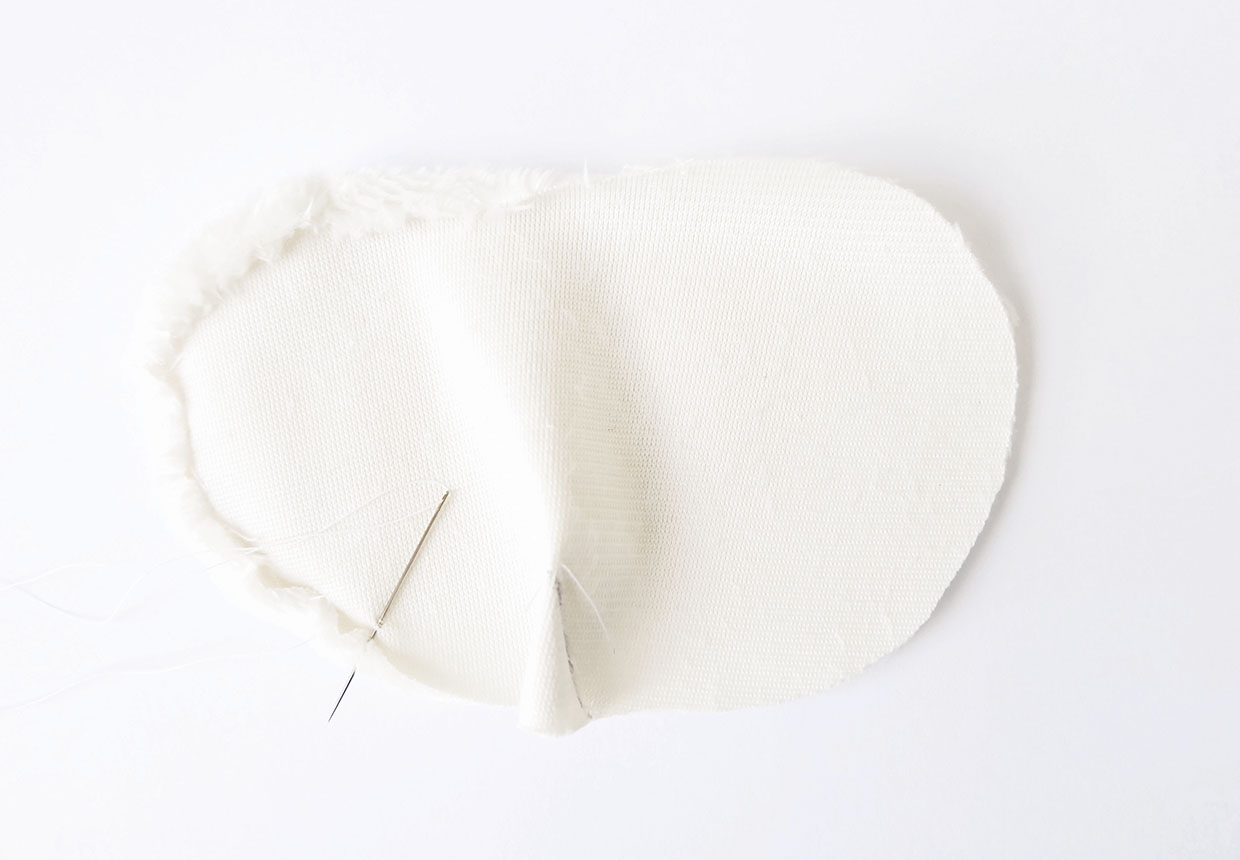
Roll the raw edge of the face under slightly, to prevent any fraying, and hand-sew using small stitches, just catching the wrong side (WS) so that it doesn't show on the RS.
Step 4
Pin the face to the head using the head/ body template as a guide to positioning. Hand- stitch in place using small overstitches, staying close to the edge of the face. Leave an opening of around 2cm (¾in).
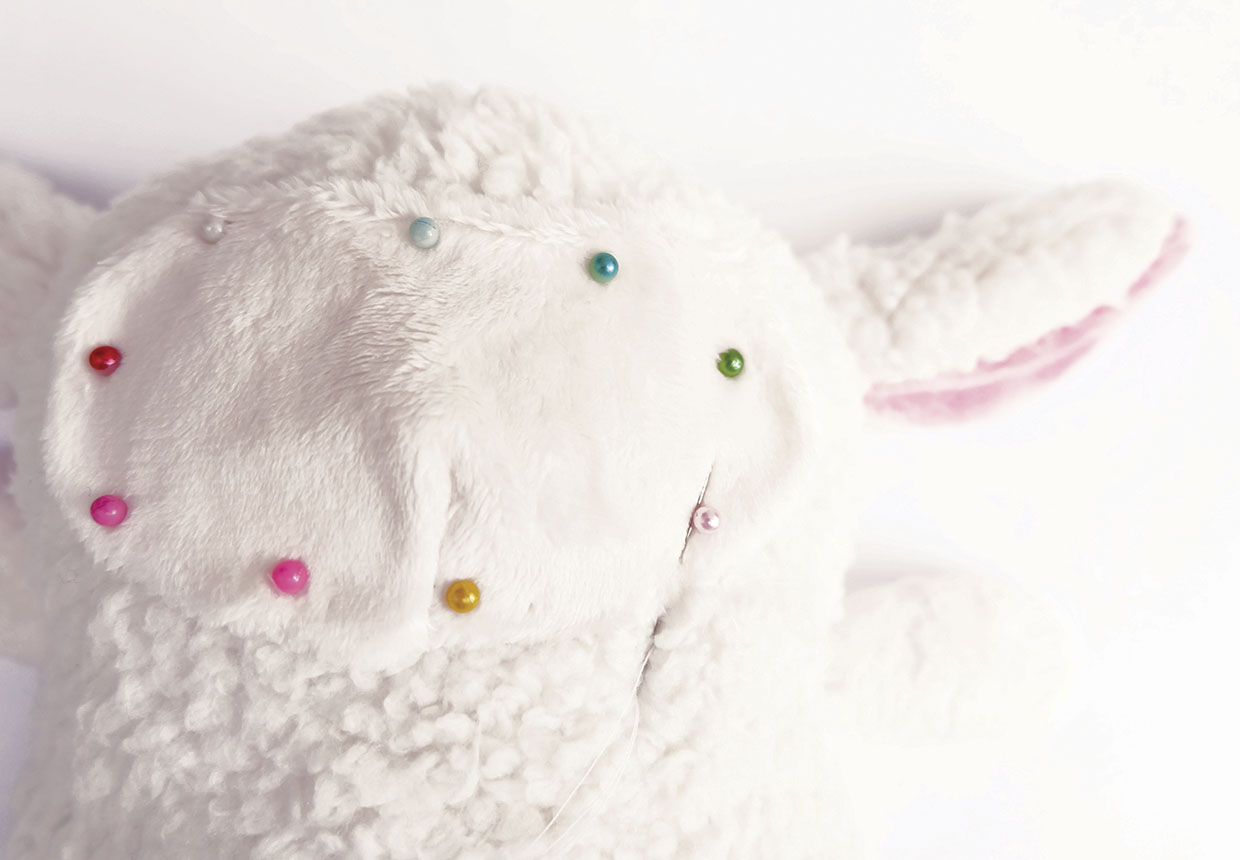
Step 5
Take a small amount of stuffing and poke it into the gap, pushing it carefully to the edges. Once the face has a good amount of shape and fullness, close the opening and fasten off. Carefully pull out and fluff any trapped fur from around the face outline using a bodkin.
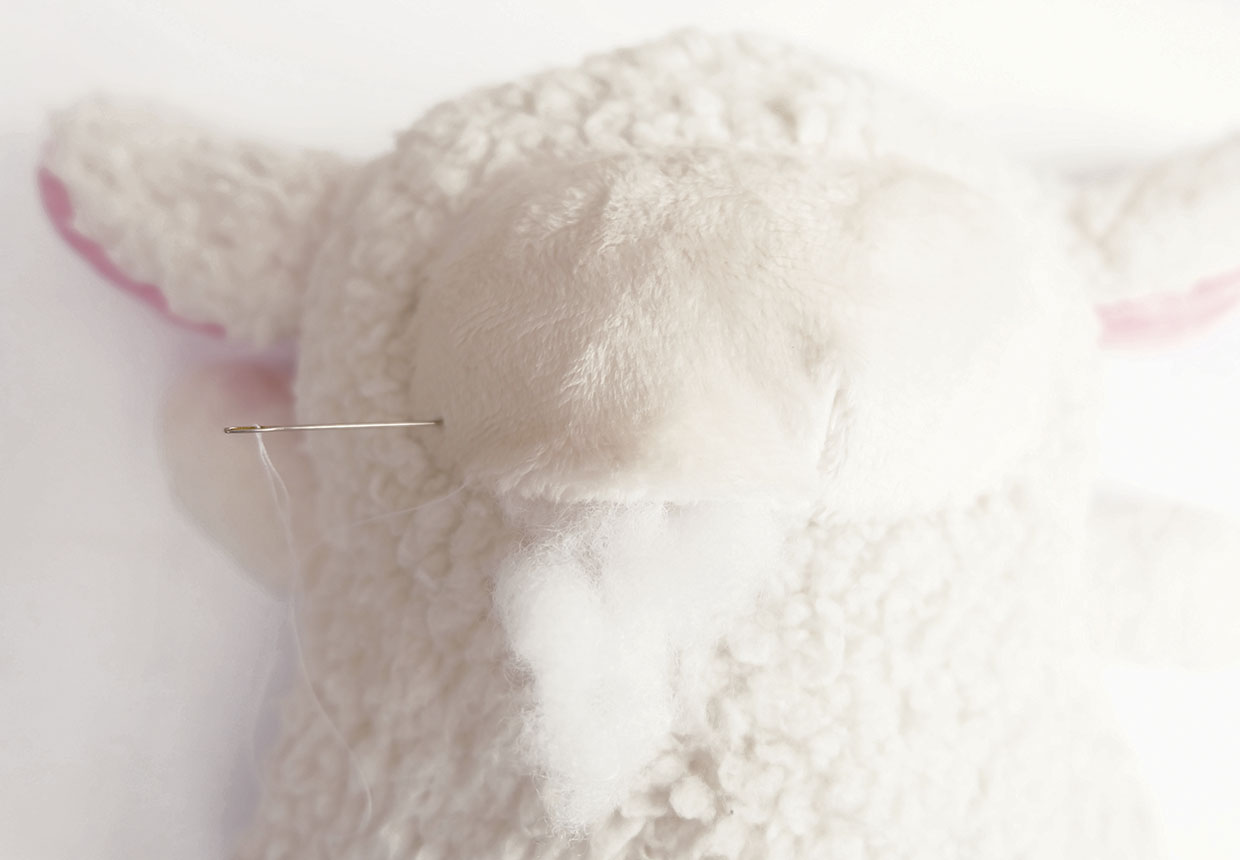
Step 6
Using the template as your guide, mark the eyes and nose out with pins, a pencil, or disappearing pen. Using four strands of stranded cotton, sew the eyes using small satin stitches or French knots and the nose using long back stitches. When fastening off, finish by taking the thread right through to the back of the lamb's head before snipping it.
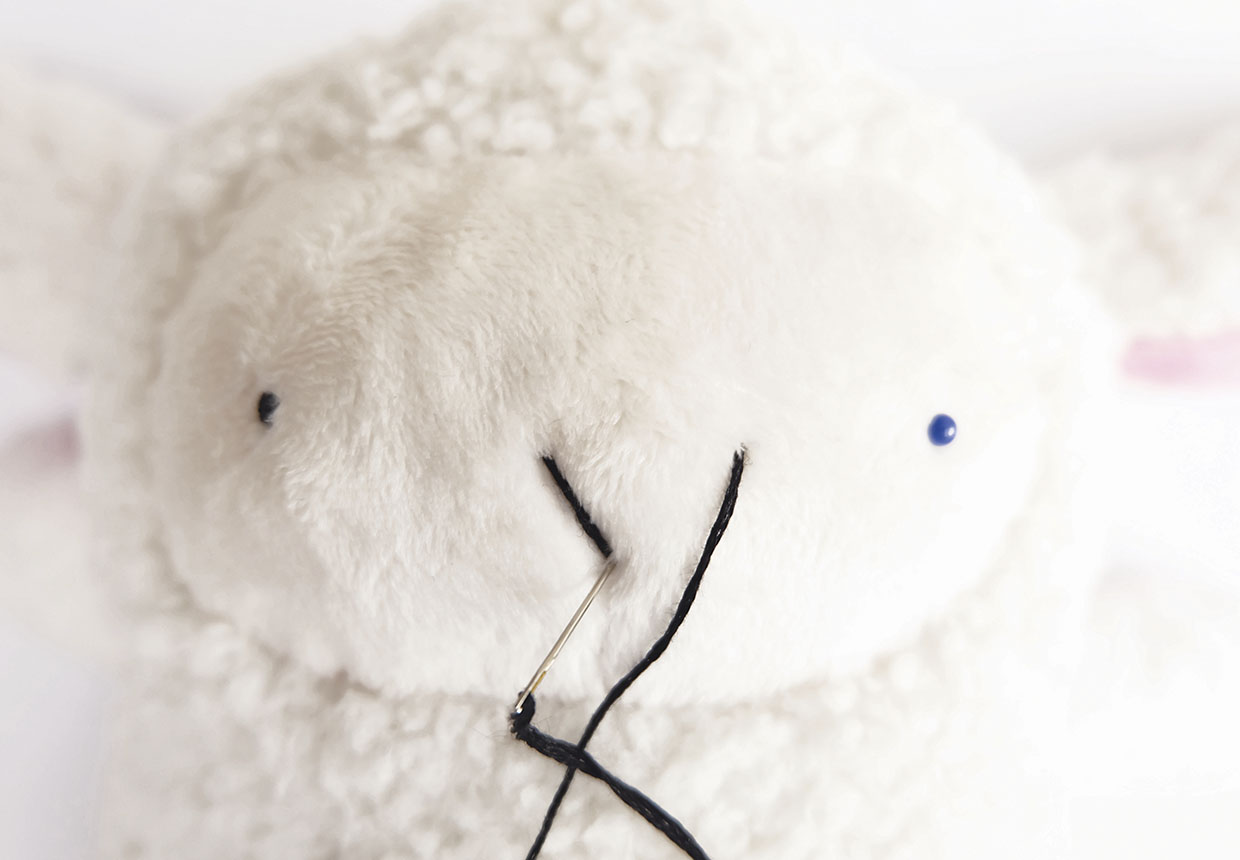
Making the bow tie
Step 1
Fold the bow tie fabric in half RS together, along the short side. Press with an iron. Sew around the edges, leaving a small gap for turning. Turn RS out, clip the corners and trim the seams, then press.
Step 2
Fold along the longer length five or six times to form a concertina. Pinch with your fingers or pin together and secure in place with a few hand stitches.
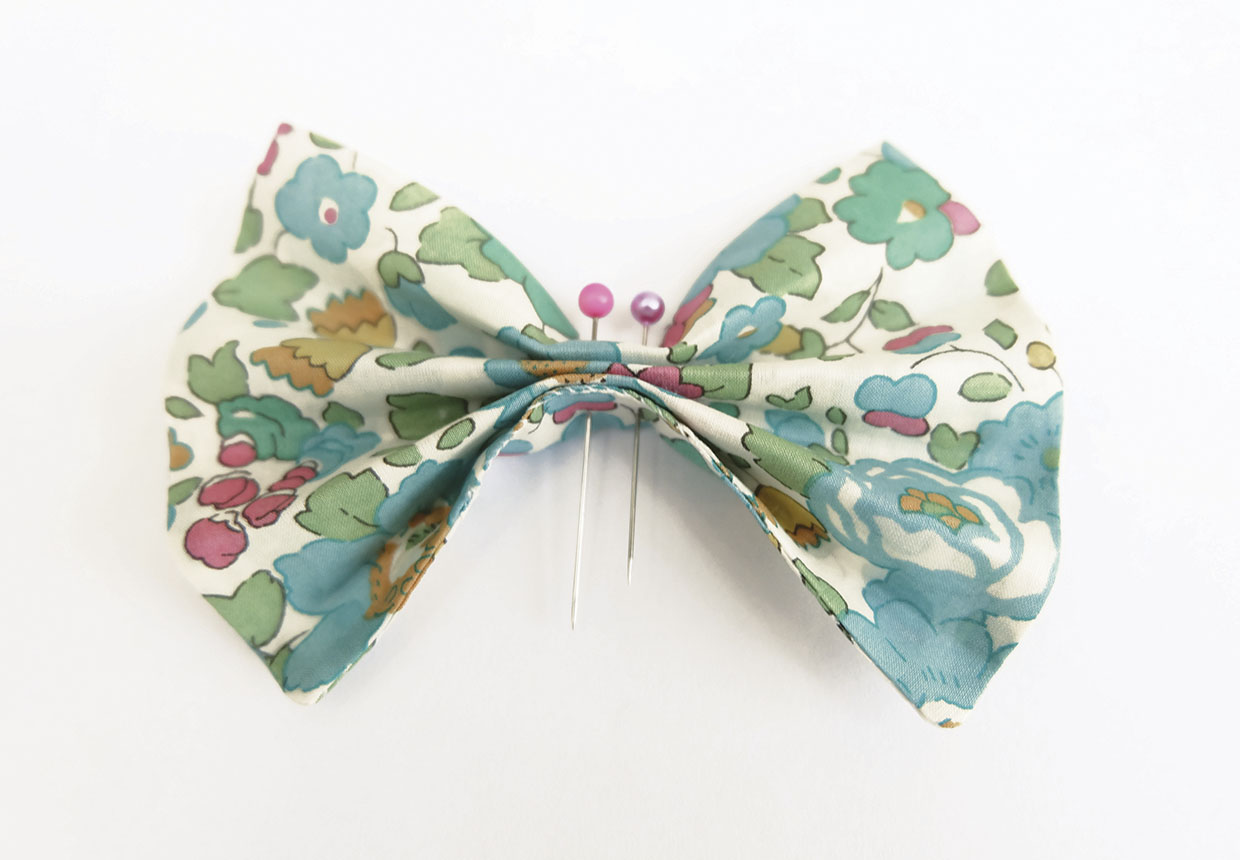
Step 3
With RS together, fold the bow middle in half lengthways and stitch only along the long side, leaving the ends open. Turn RS out and tuck the ends under by a 5mm (¼in), then press. Wrap around the centre of the bow and secure at the back with some hand stitches.
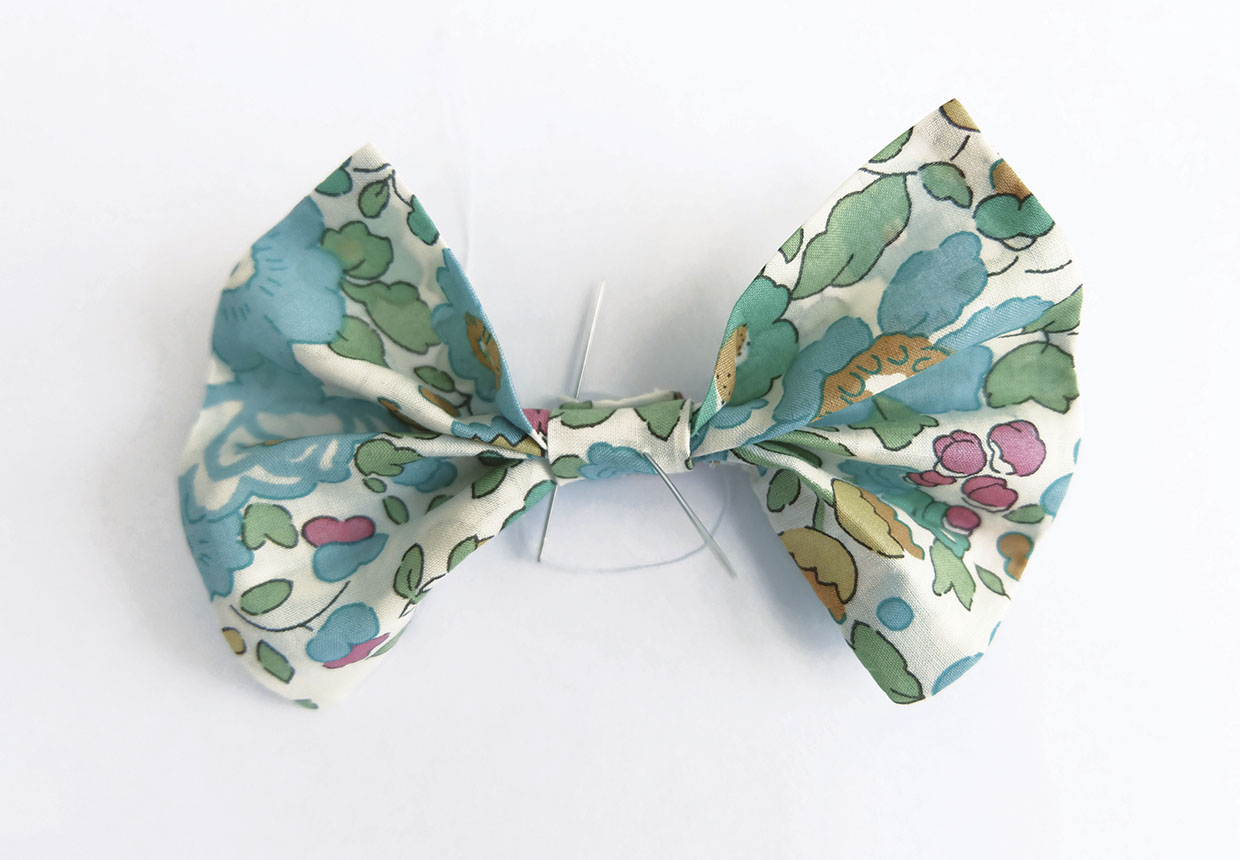
Step 4
Hand-sew the bow onto the piece of velvet ribbon, slightly closer to one end, then wrap the ribbon around the lamb's neck, before hand stitching the ends together. To make a removable collar, Velcro or a piece of elastic could be added to the ends instead.


