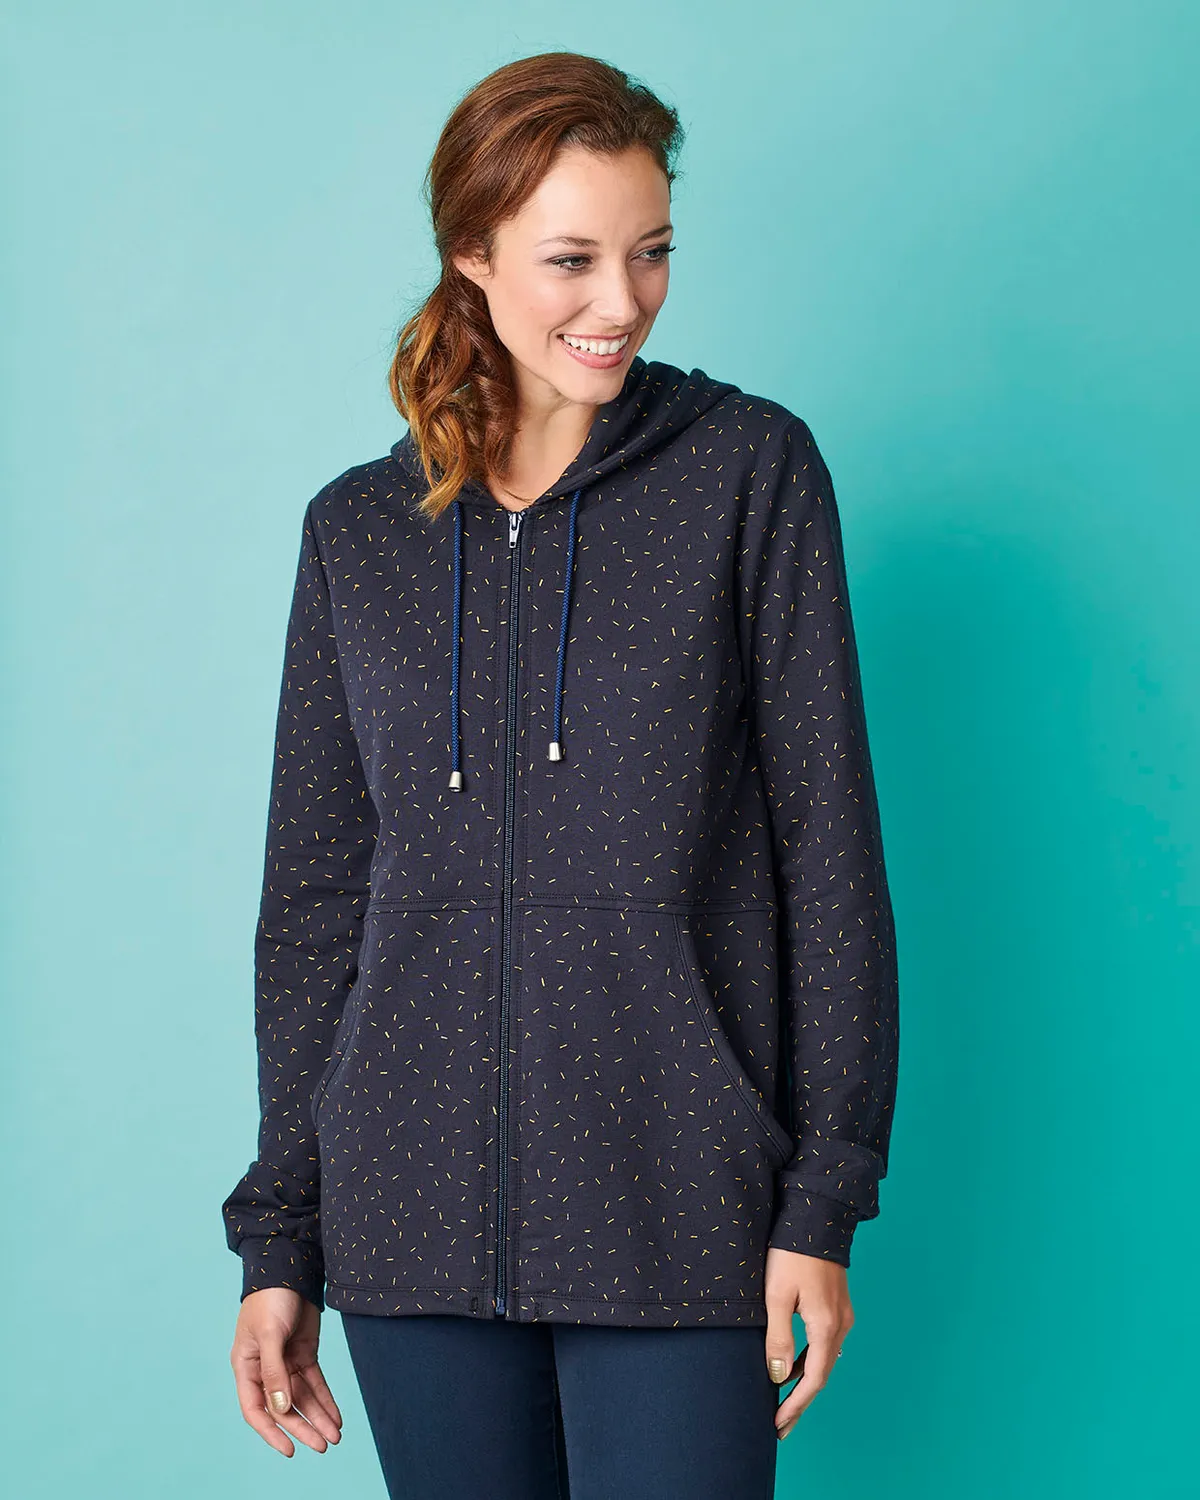
If you have sewn with jersey fabrics before you will know that they can be tricky to master. Skipped stitches, wavy seams and laddering are common occurrences when the wrong tools or techniques are used. Our expert guide will show you the correct presser feet, needles and stitch settings to use to get a flawless finish. We've also shared some simple, inexpensive tips below.
If you're new to sewing, take a look at our handy how to sew jersey fabric for beginners guide for more useful tips and advice. For more sewing tips to help you get started, check out our guide to sewing for beginners, sewing patterns for beginners, and our roundup of the best sewing machines for beginners.
Read on to discover how to tackle common problems with our jersey fabric sewing masterclass.
Top tips for sewing jersey fabric
There are many easy (and free!) hacks to make sewing with jersey easier. Keep these tips handy for stress-free sewing.
- Cut along the exact grain on a flat surface and make sure your fabric isn’t hanging off of a table when cutting.
- Straight stitches will rip out easily when the fabric is stretched. Instead, use a narrow width and length zigzag stitch or lightning stitch.
- Sew with your seam sandwiched between two pieces of tissue paper to prevent the jersey from stretching and then tear it away afterwards.
- Tacking first will ensure one layer of fabric doesn’t stretch as you sew.
- Interfacing will help to prevent stretching as you sew, press 5mm (¼in) strips of bias-cut interfacing along the edges to prevent stretching.
- Some other essential tips that are relatively inexpensive or may already be a part of your sewing kit include using ballpoint or stretch machine needles, specialist presser feet and using an overlocker to finish the edges.
Common problems when sewing with jersey fabric
Sometimes your fabric and machine aren't cooperating and you won't realise that there's actually a simple solution – with the right tools sewing with jersey can be a breeze. Here are some common issues and their easy fixes…
Skipped stitches
Skipped stitches can be caused by using the incorrect needle or by using a blunt or bent needle, they can also be a symptom of incorrect stitch tension. Refer to your manual for ideal stitch settings and then gently adjust the tension dial depending on the adjustment advised.
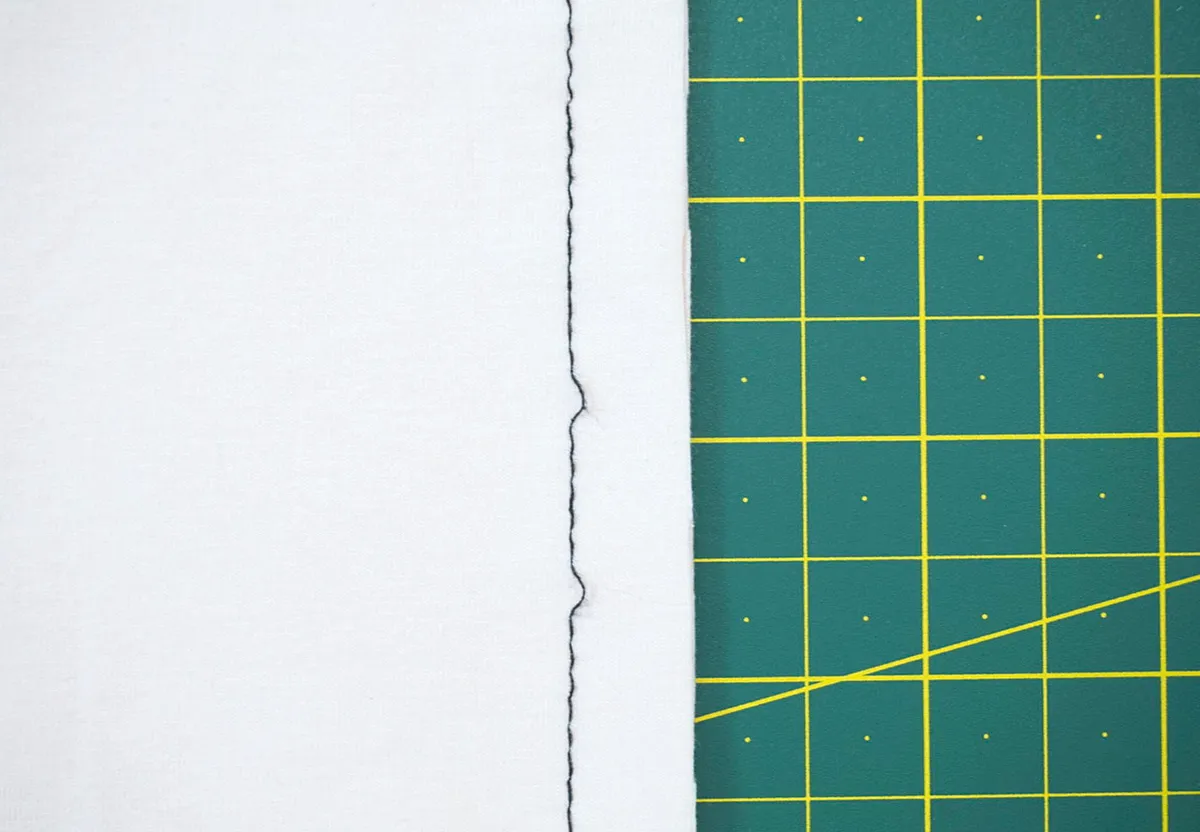
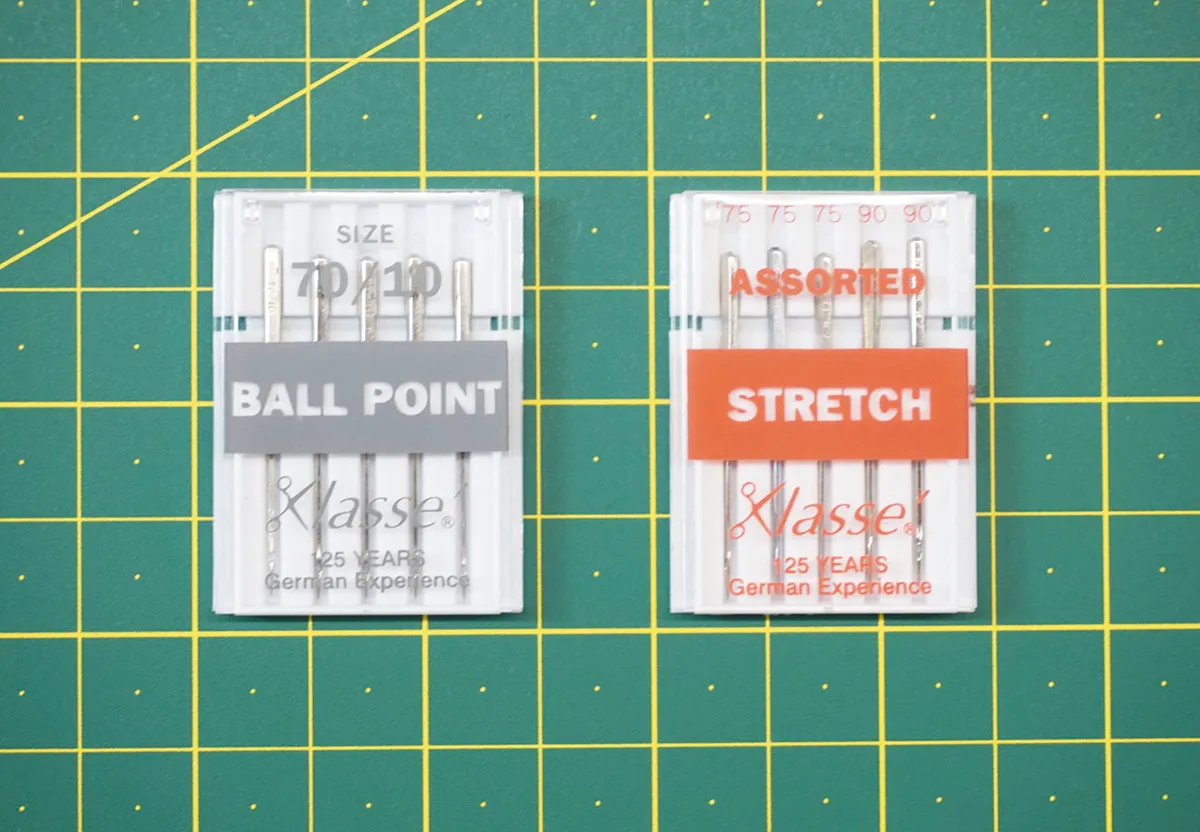
Prevent skipped stitches by using the correct the correct needle for your fabric. Stretch or ballpoint needles are great for sewing jersey. The ballpoint tip slides through the fabric weave rather piercing the fibres, reducing the risk of snagging and stitches not interlocking with each other, which causes the looped effect shown in the image.
Always use thread that cooperates with the fabric. It’s always worth spending just a little more to get quality threads – Gutterman, Coats, Aurifil and Madeira are a few of the many reliable thread brands. All-purpose thread works well with most fabrics and is a great place to start.
Holes appearing in the jersey fabric
If holes are appearing in your fabric this may also be due to your needle choice. Even if you are using the correct needle type, make sure the needle is straight and clean – it is recommended to use a new needle for each sewing project for best results. Ballpoint needles and pins are a must when working with jersey fabrics. Using blunt, rusty or jagged pins could snag your fabric.
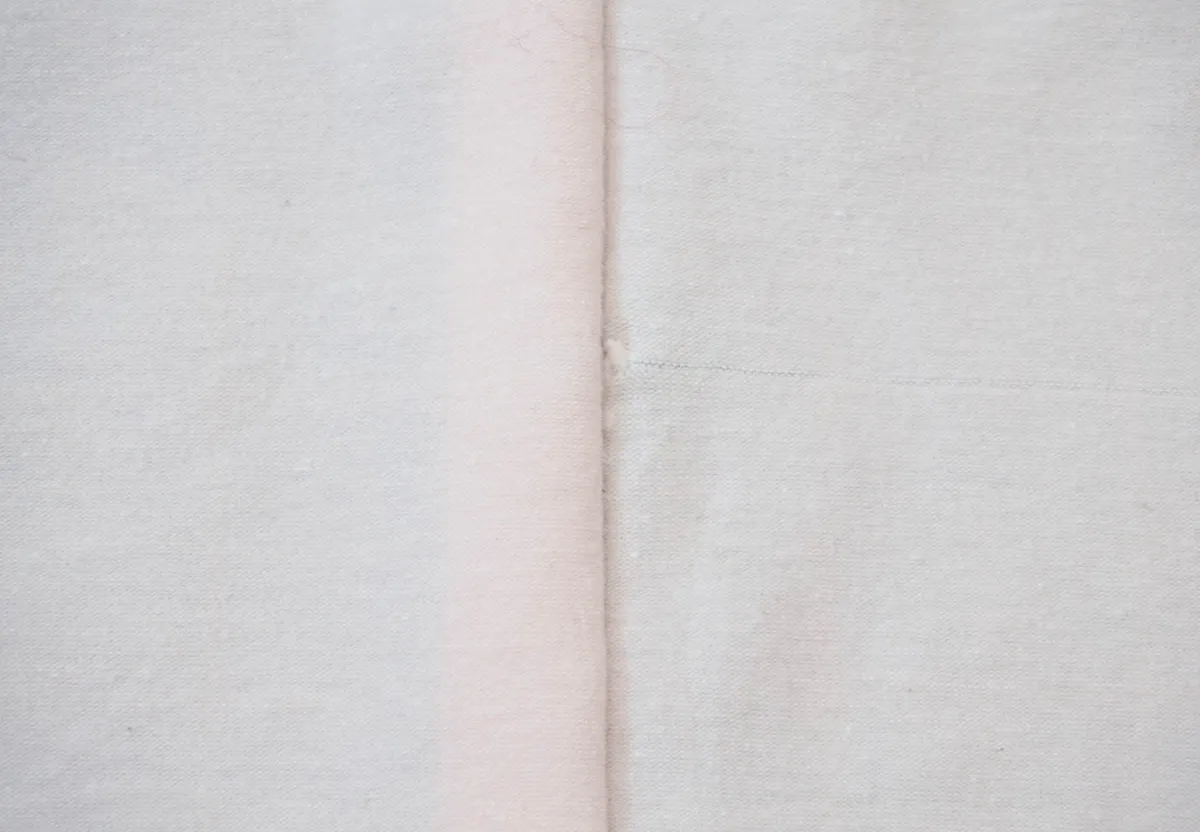
As jersey fabrics are knitted, they will ladder if snagged or snipped in the same way a pair of tights would, not a good look for your sewing project! Be extra careful with unpickers and thread snips as a hole in jersey can be difficult to rectify. As you can see in the image a small hole can lead to a ladder forming across your fabric which is unfortunately not fixable once formed.
Stretching
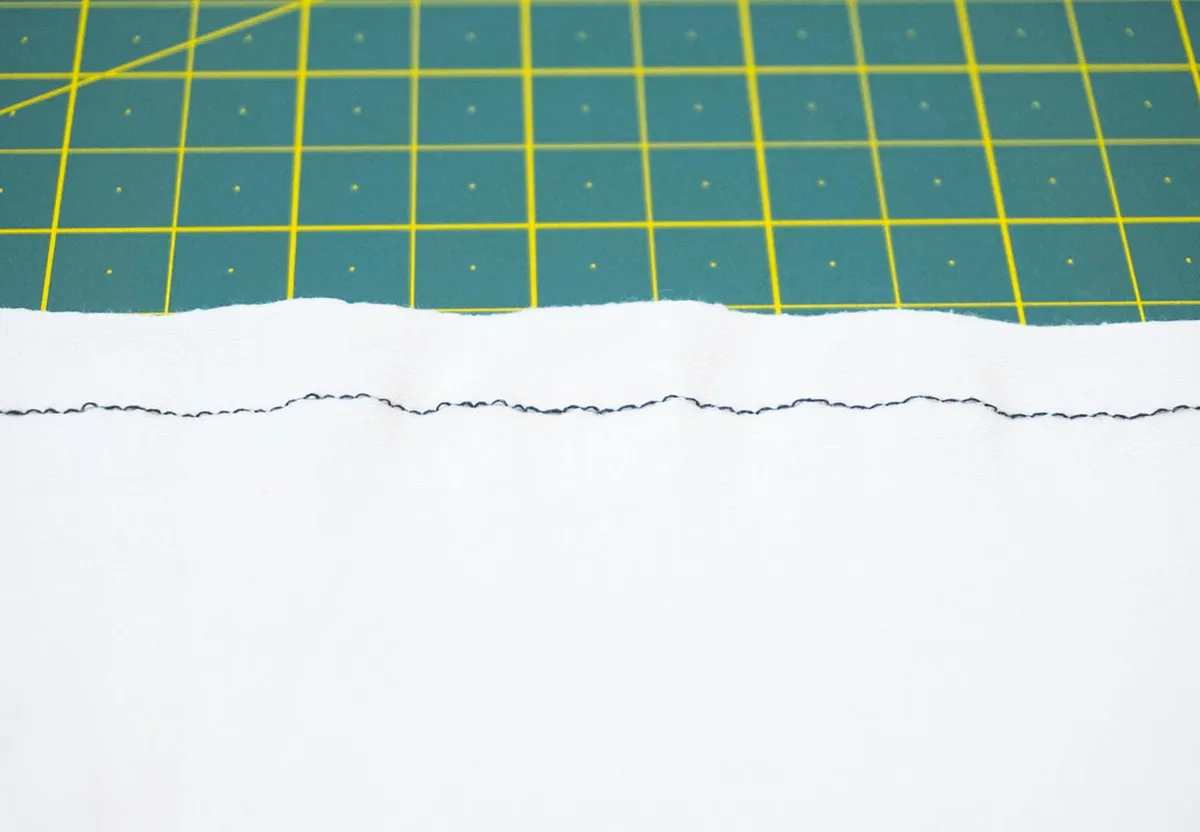
If your seams look wavy like the image then the problem is that the fabric is stretching as you sew, this could be due to you pulling the fabric through the machine, using the incorrect presser foot or presser foot tension.
Using presser feet
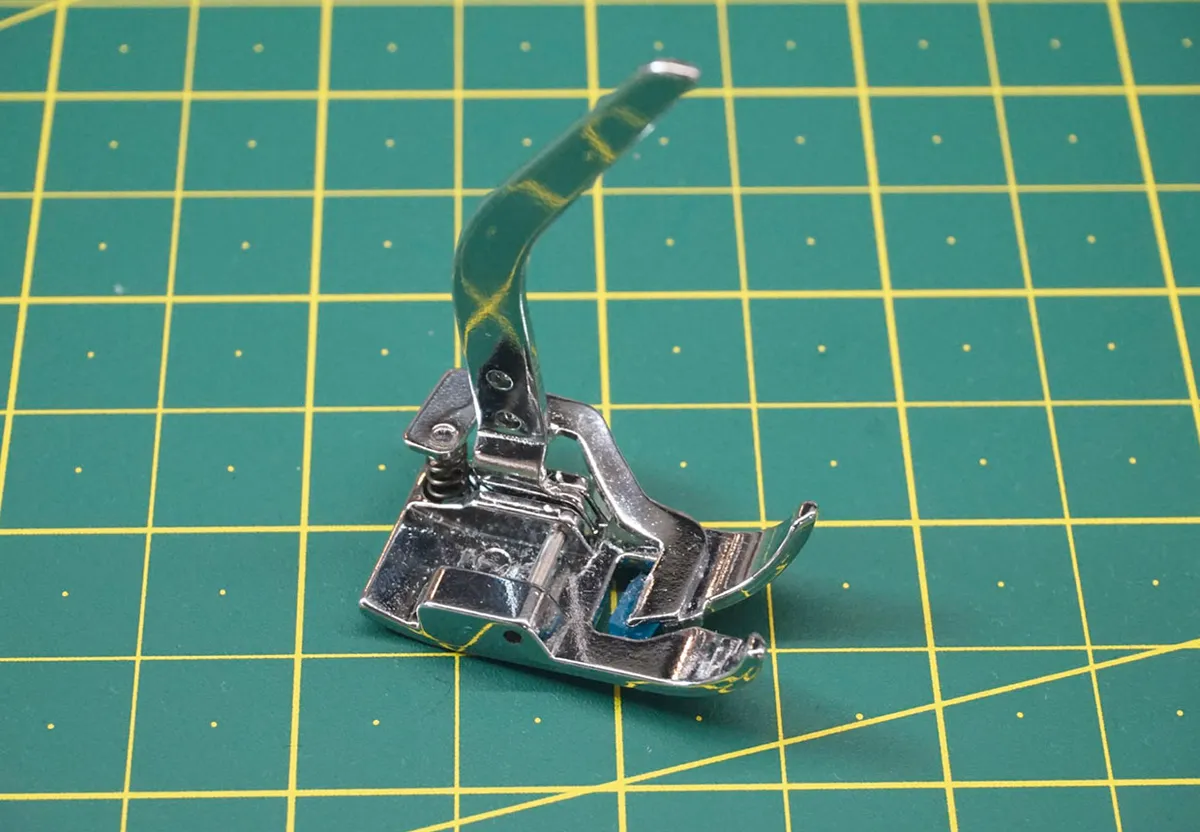
A walking foot can be used to prevent fabrics from stretching – the foot works by evenly feeding the layers of fabric through the machine. While the feed dogs control the movement of the bottom layer of fabric, the walking foot has its own jagged feed dog-like base. The base also grips the top layer of fabric, ensuring that the two layers of fabric are fed through the machine at the same rate. The walking foot can also be used to match tartans and stripes as it pulls the fabric through at an even rate, preventing layers from shifting as they are sewn.
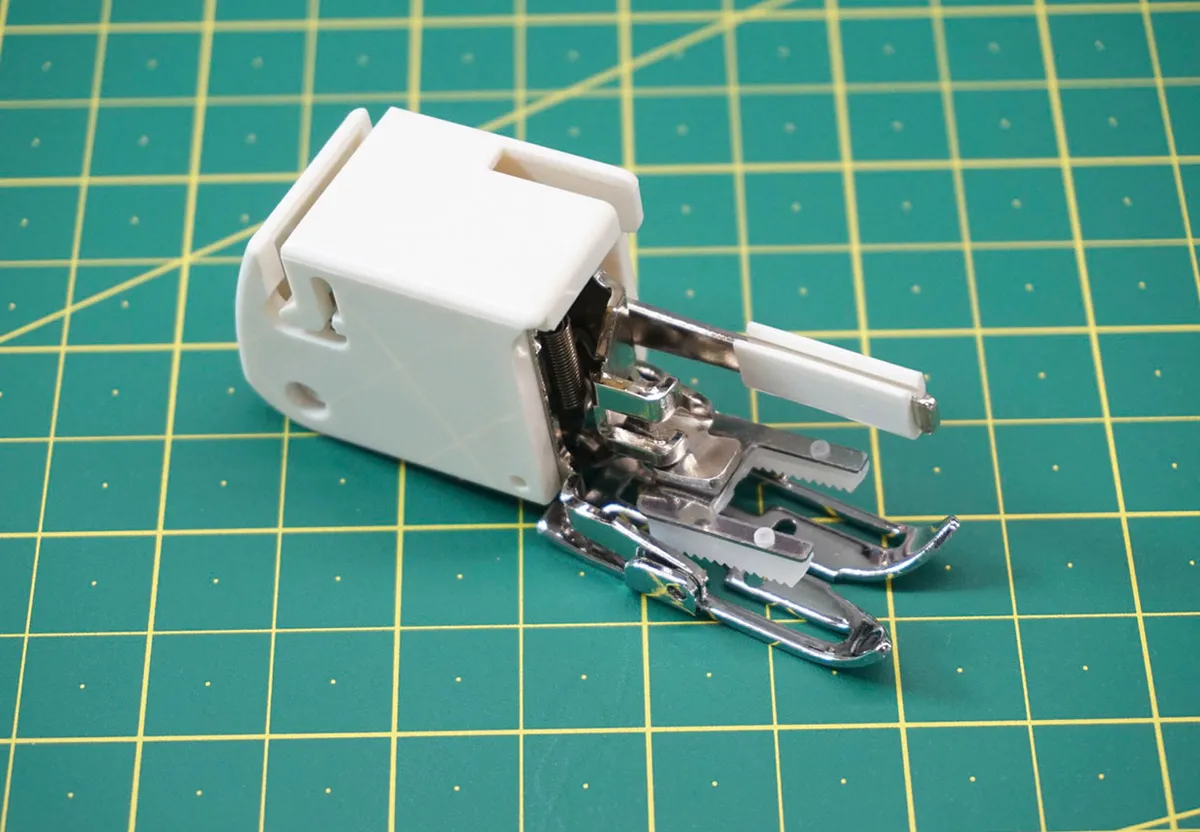
A knit foot is another specialist foot that prevents knit fabrics stretching when sewn. This foot works in a similar way to the walking foot but is smaller and simpler in design. It's designed to reduce the pressure on the fabric as the needle raises and lowers. The foot has a rubber bar attached so that as the machine applies pressure to the foot, the rubber bar grips the fabrics and feeds the top layer of fabric through the machine.
Specialist tapes
Place your hand on your fabric simply to guide it through the machine and do not pull or push the fabric at any point. If your machine is stitching slowly, even when sewing at a moderate speed, try increasing the stitch length. To avoid the dreaded wavy finish, you can stabilise seams with clear elastic, a specialist seam tape, or with strips of interfacing.
Vlieseline Stretchfix
Stretchfix is our favourite product when sewing with jersey. It is an iron-on paper backed web that is elasticated, so will stretch with your fabric, helping to avoid stitches ripping out during wear. The tape can be used for hemming stretch fabrics but is also great to use in areas where some stretching is essential, such as on the colour block seams of the Carmen Hoodie. Stretchfix is available on a roll or in handy tape form which can also be trimmed down. We have tested Stretchfix on many projects and have found that not only does it stretch with the fabric, it also washes well and doesn’t gum up your needle, a sewist's dream!
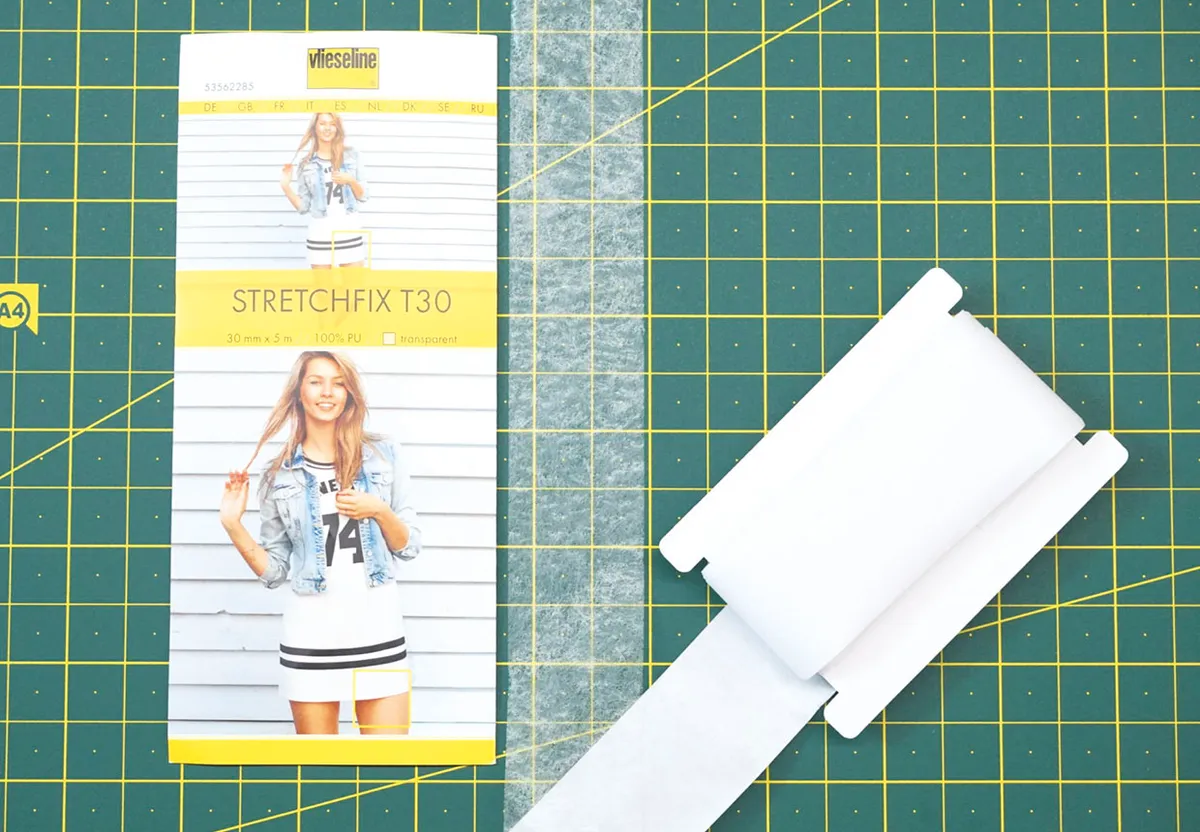
Stretchfix is by Vlieseline and available from Lady Sew and Sew, www.ladysewandsew.co.uk.
Burnt fabric
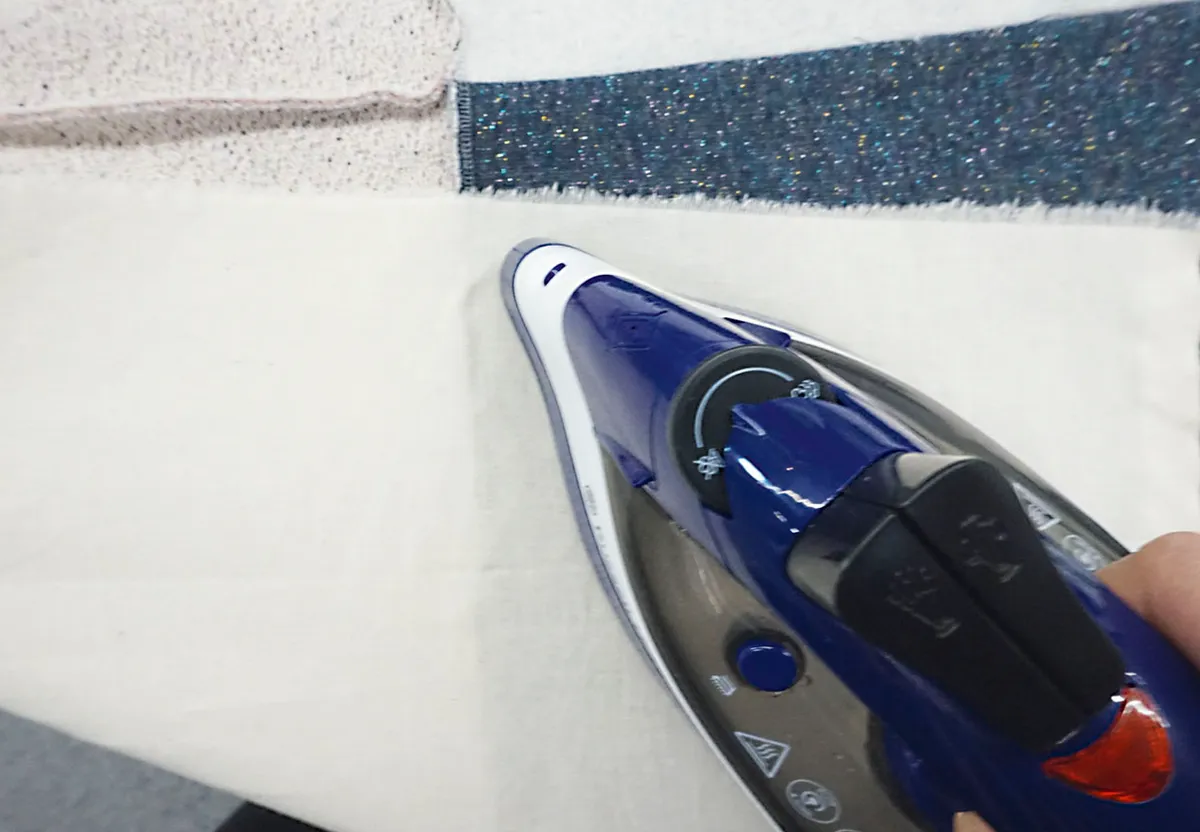
Scorching your project with a hot iron will leave tell-tale shiny marks along the seams, a shiny print of your iron, or even worse, a charred hole! To avoid the upset and expense of scorching your fabric, always press a scrap of your fabric with a low heat and gradually work up to a medium heat if the fabric is responding well. Use a pressing cloth and always press your garment from the wrong side. A large scrap of neutral coloured fabric such as calico or cotton would make a great reusable pressing cloth.
Looking for some jersey fabric sewing projects to try out your new skills? Try our wrap dress pattern, maxi dress pattern, or t-shirt sewing pattern. You could also have a go at stitching our easy pyjama sewing pattern.
