Topstitching is usually one of the final steps when completing a garment, so it’s vital that our topstitching is neat and accurate.
Wonky stitching on the outside of a garment, although endearing (to a certain extent), will take away from the professional finish we aim to give our garments. In this workshop we’ll walk you through some of the best techniques for achieving a perfect line of topstitching. These tips can be applied to any fabric, any garment, collars, cuffs, hems, necklines... you name it!
Read on to learn how to top stitch…
What is a top stitch?
A top stitch is a stitch that shows on the top (or right side) of your work. You can sew topstitching in matching thread so it blends in, or alternatively, you can use a contrasting thread. This is often seen on jeans where a golden coloured thread is used along seams, pockets and the waistband.
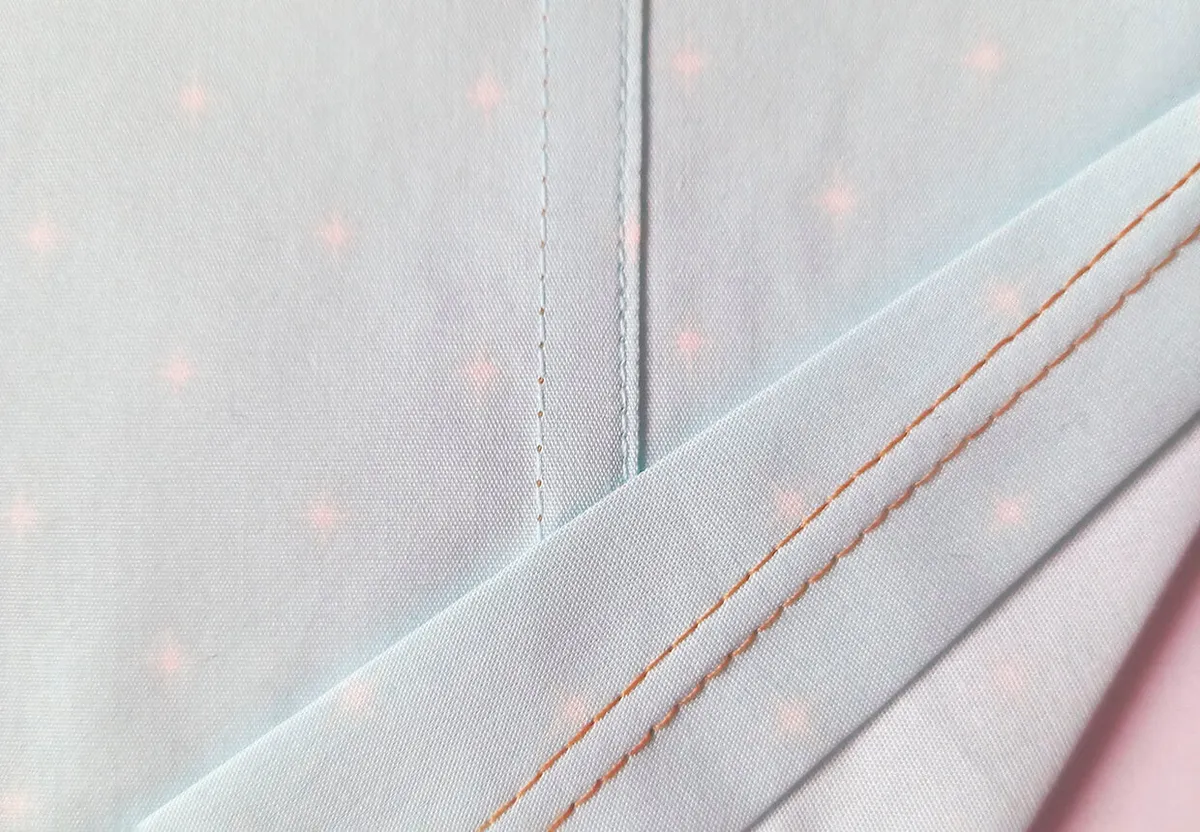
You can buy specialist thread for topstitching; this is advised if you are making a feature of your topstitching such as when making a denim jacket, shirt, jeans or dress. You can also sew a double row of topstitching for a welt seam effect (welt seams are commonly used when working with denim as they are strong and can withstand wear and tear).
Tools for topstitching
There are a few basic tools you will need for topstitching, but as is usually the case when making clothes, you can have the bare minimum and still achieve good results.
Specialist topstitching threads are readily available from haberdashery stores, and you can buy them in a range of colours to match your project. Needles with larger eyes such as topstitching needles are also handy to have, but as long as you can pass your thread through the eye of the needle, a larger sized universal needle (or ballpoint if working with stretch fabrics) will work fine for most topstitching.
There are a range of presser feet available that can help to achieve neat topstitching, too. The edgestitching foot is a Simply Sewing favourite!
How to testswatch
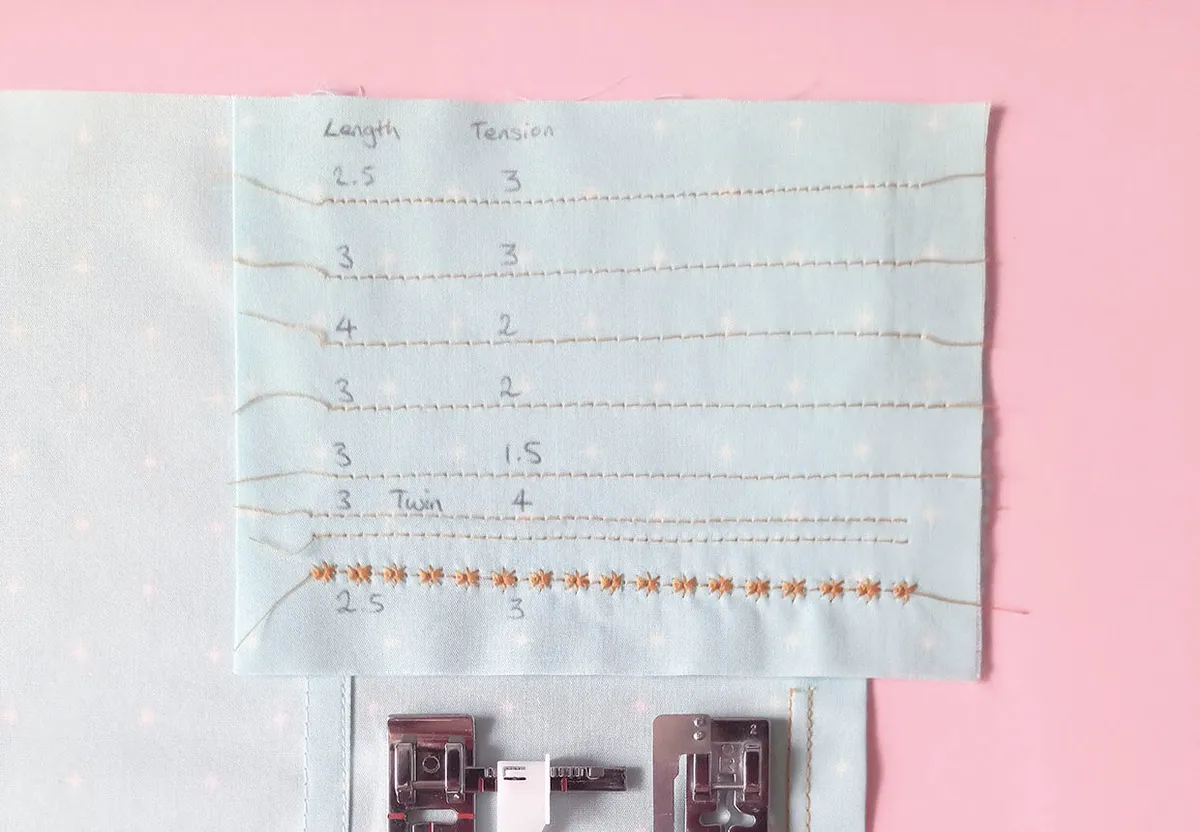
Take a small swatch of the fabric you are using to practice your stitches on. Make sure to test your stitches on the same amount of layers you’ll be sewing on your garment.
You could run up a sample seam (such as a welt or double fold hem) to see what effect your stitches will have when in place on the garment, and how your machine copes with the number of layers; the tension required to sew on one layer of fabric, in comparison to three layers, will differ and could negatively affect your final garment if you don’t sample your stitches first.
It can help to keep a scrap of your fabric beside your machine as you begin your project so you can test your stitches throughout.
Topstitching thread
Topstitch weight thread is thicker than regular thread and looks great on heavier weight fabrics such as denim. For lightweight fabrics, a regular weight thread might be preferred as topstitching thread could appear too bulky. Sew a row of test stitches on your swatch to find out if you are happy with the finish.
You will need to use topstitching thread on your spool holder and regular sewing thread in the bobbin. Therefore, you will always need to topstitch with the right side of your project facing up.
Topstitching needles
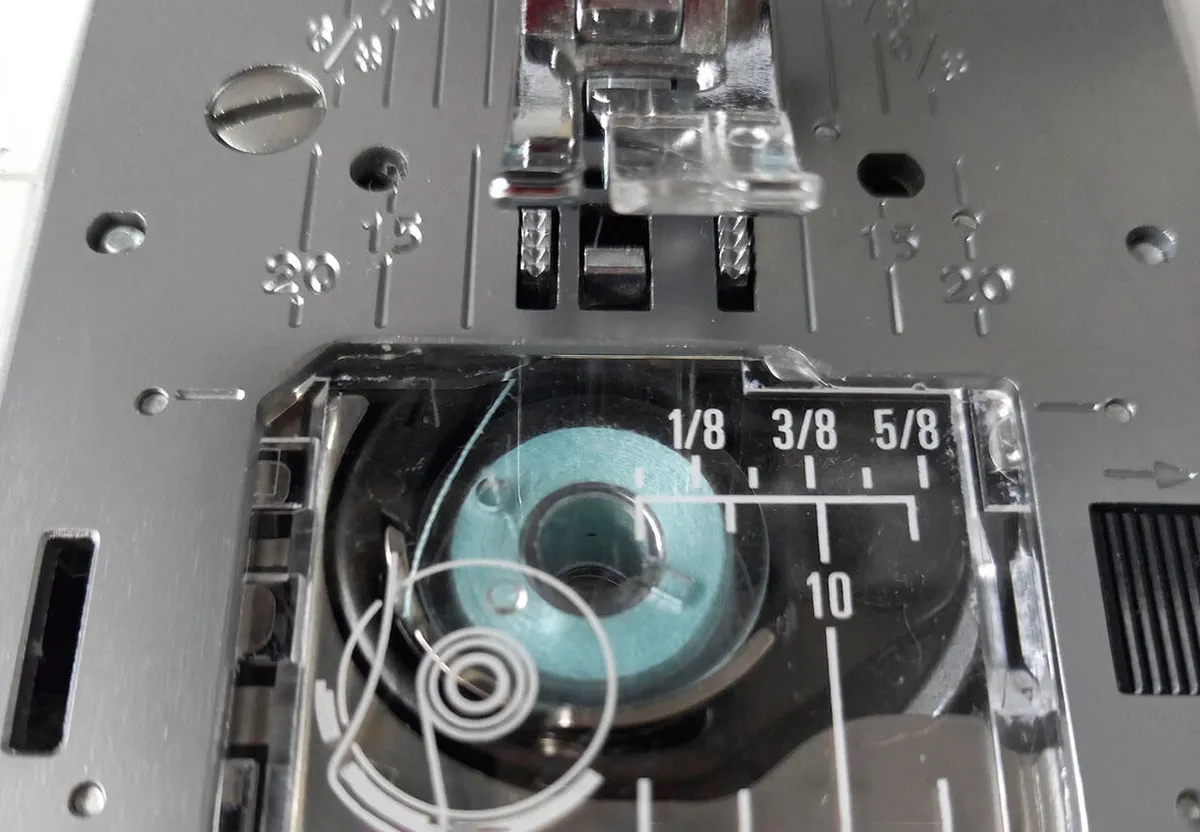
Topstitching needles have wider eyes so will allow the heavier weight thread to pass through more easily. Twin needles (and even triple needles!) are also available and can give your work a professional finish. Always use a new needle for your project as a blunt needle can cause a multitude of headaches!
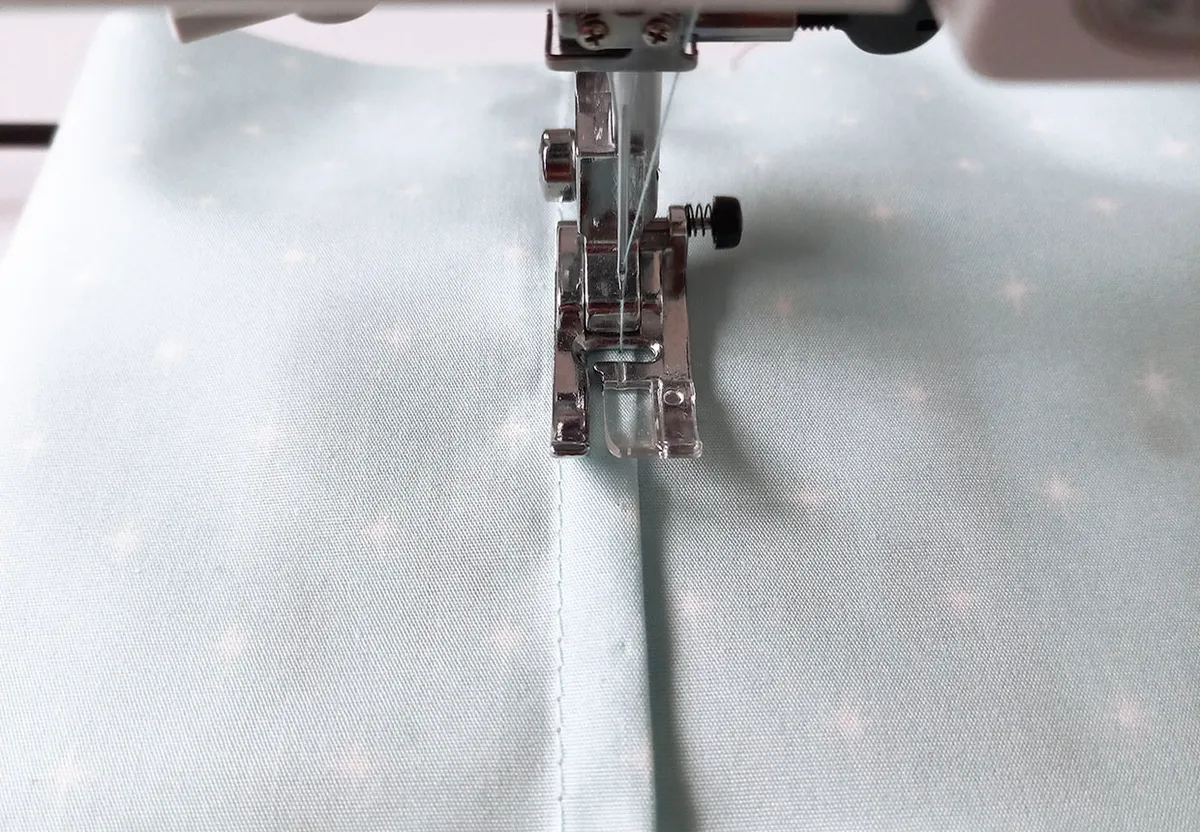
Twin needles are ideal for achieving a really professional finish and are particularly useful for sewing hems. If you don’t have a twin needle you can align the edge of your presser foot with your first row of stitching and sew a second row, parallel to the first.
Tension
Your test swatch is a good way to play around with tension to see what works best for your fabric. If your bobbin thread is visible on the right side of your stitching, then your tension may be too high. If the tension is too low, the inverse happens, and you will see little flashes of the topstitching thread on the wrong side of your fabric. An ideal balance tension connects the threads in the centre of the fabric layers so neither is visible on the other side. Use your sample piece to test tension before beginning.
Spacing your stitches
Try to sew at an even width from your seam as it will be very noticeable if you stray from the set distance. There are lots of ways you can make this easier for yourself; first of all, make sure the seam allowances have been pressed in the correct direction so that they are caught in the topstitching. You will be able to feel with your fingers if the seam allowance underneath has twisted or isn’t laying flat.
As you won’t be able to see the markings on your machine when you are topstitching, use the edge of the foot as a guide. When working the second row, line the edge of the foot up with the first row of topstitching. If you can move your needle you can use this as a way to set a custom distance from the seam. Alternatively you can use a specialist presser foot as we explain in the next section.
Specialist presser feet
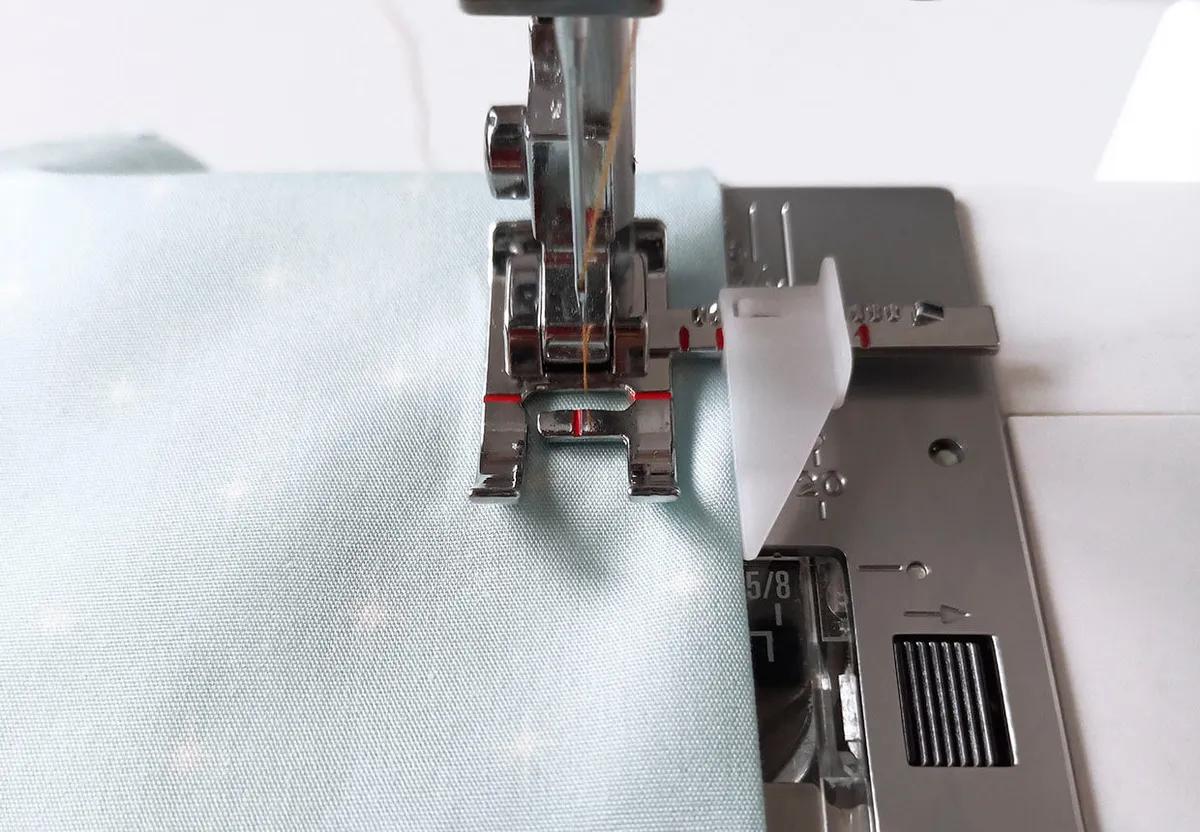
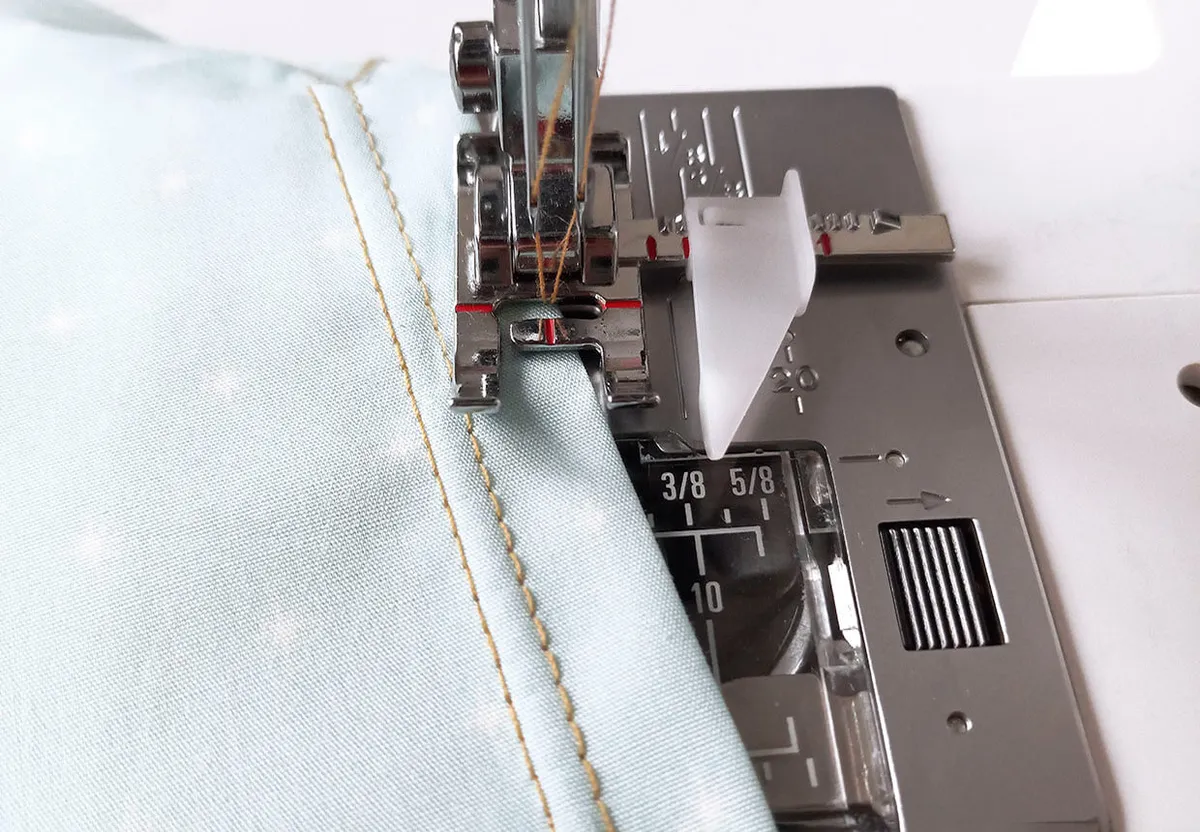
An edge stitching foot can also be useful when lining up stitches as it has a guide that sits in the seam and ensures you keep a set distance away from it. Line the central guide up with your seam, move your needle to the right (this foot can unfortunately only be used if you are able to move your needle) and start sewing. We used a specialist foot to sew a hem in our example where the guide aligns with the folded hem to give you a perfectly spaced line of topstitching. We also used a twin needle.
Looking for sewing machine recommendations? Check out our best sewing machines for beginners to get started. If you're new to sewing, you might find it useful to take a look at our how to use a sewing machine guide for lots of tips and advice. We've also put together a sewing for beginners guide, which covers everything you need to get started.
This article was published courtesy of Simply Sewing Magazine. Simply Sewing is a practical magazine for anyone who sews or wants to start. It's packed with beautiful projects to sew and expert advice to help you improve your sewing skills.

