Step 1
Before you begin, you’ll need to learn how set up your bobbin – take a look at our how to thread a bobbin guide to learn the technique.
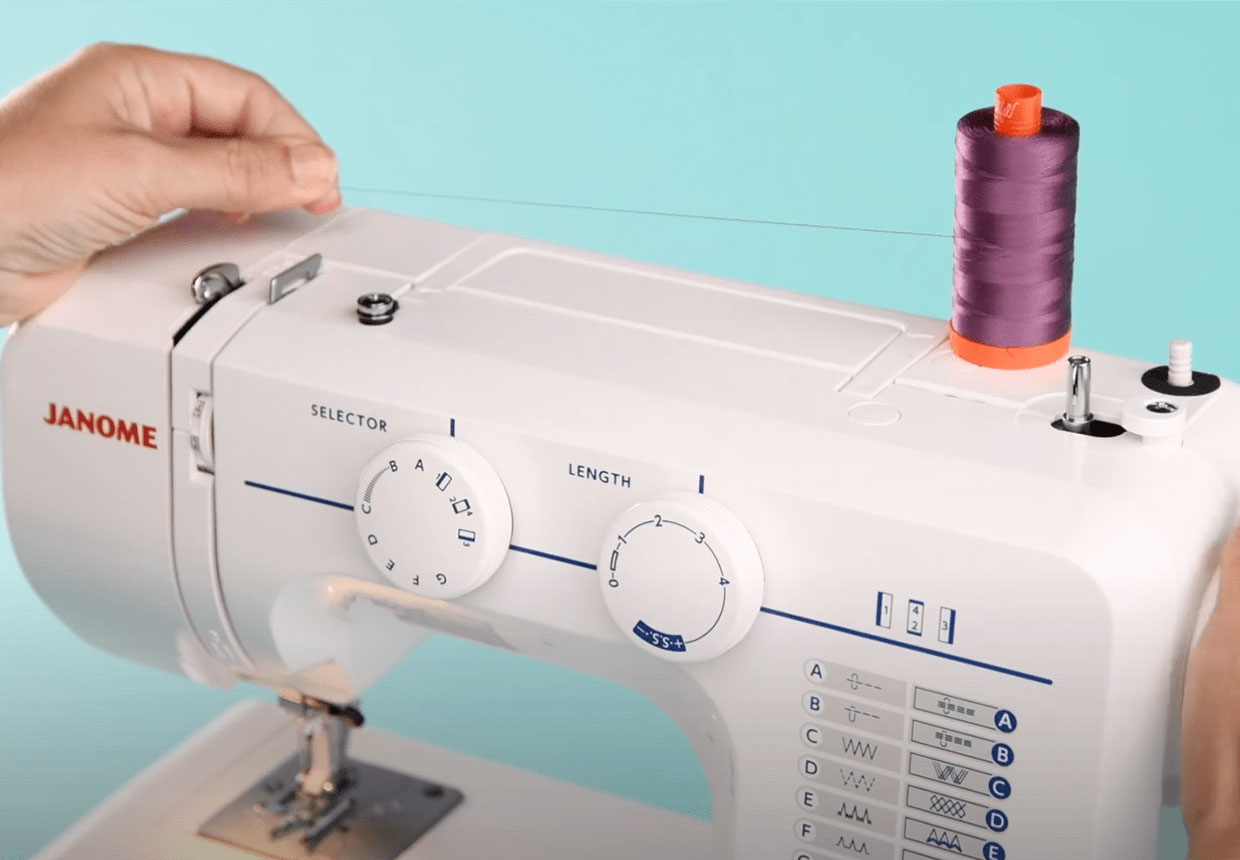
Now it’s time to add your top thread. Put a spool of thread on to the spool pin. Pull the thread across and around the thread guide.
Step 2
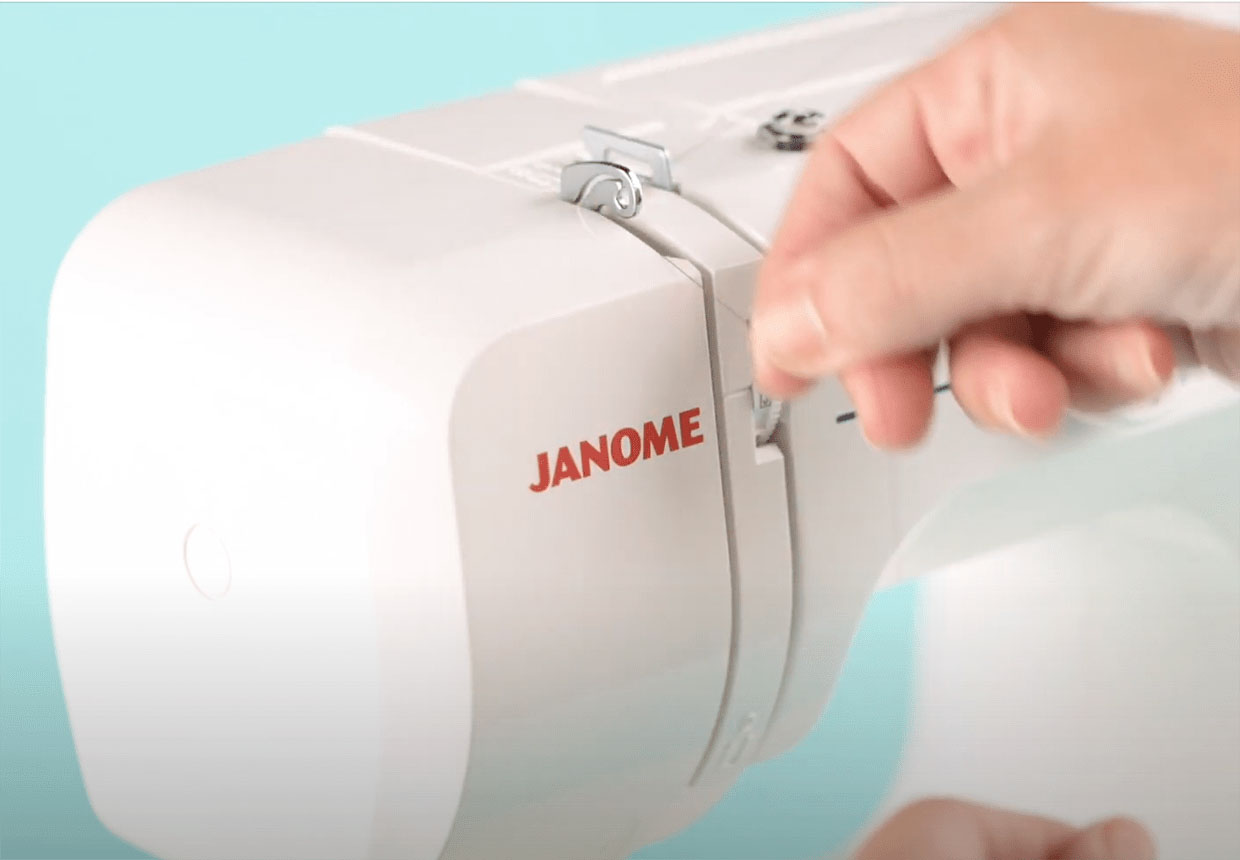
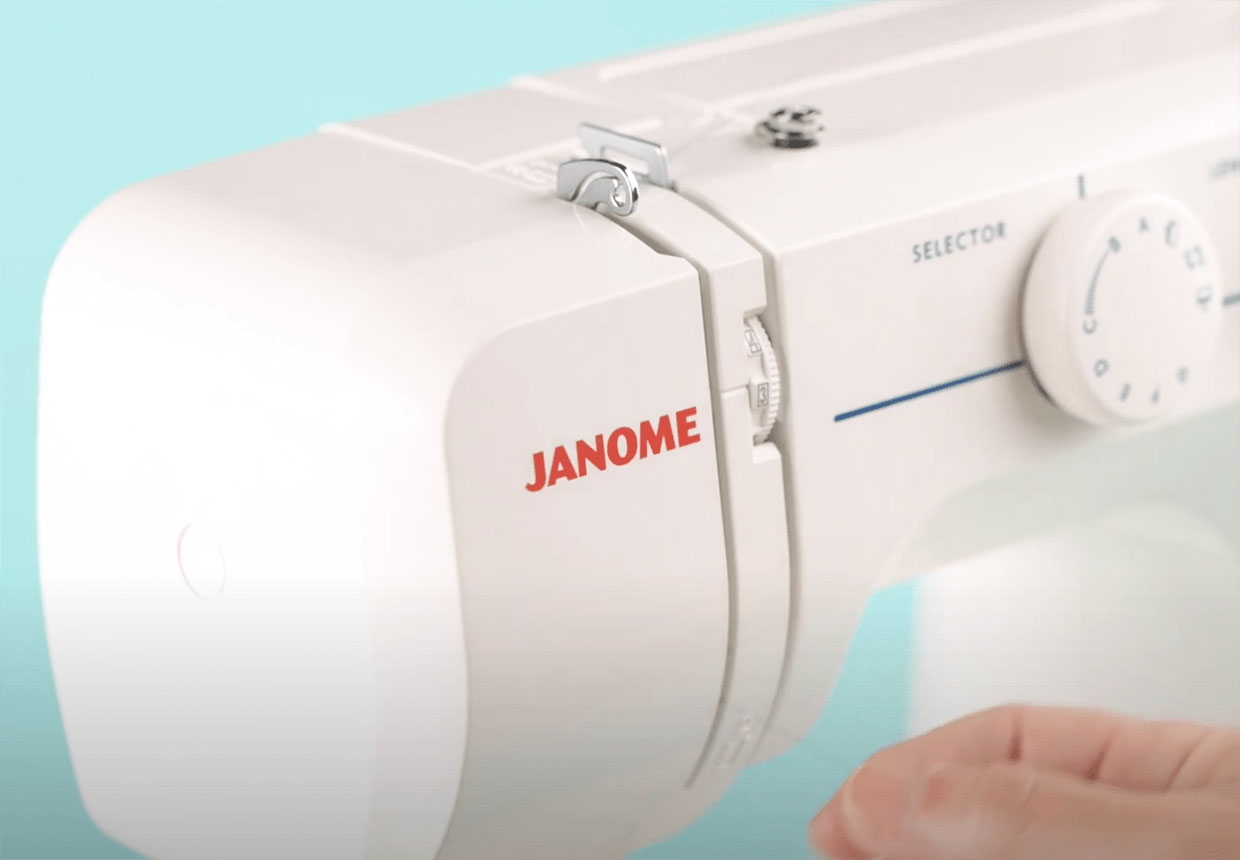
Bring your thread around your machine’s thread guide, and over the take up lever – this usually has a hook element to the design – loop the thread around the take up lever, then back down into the channel below.
Step 3
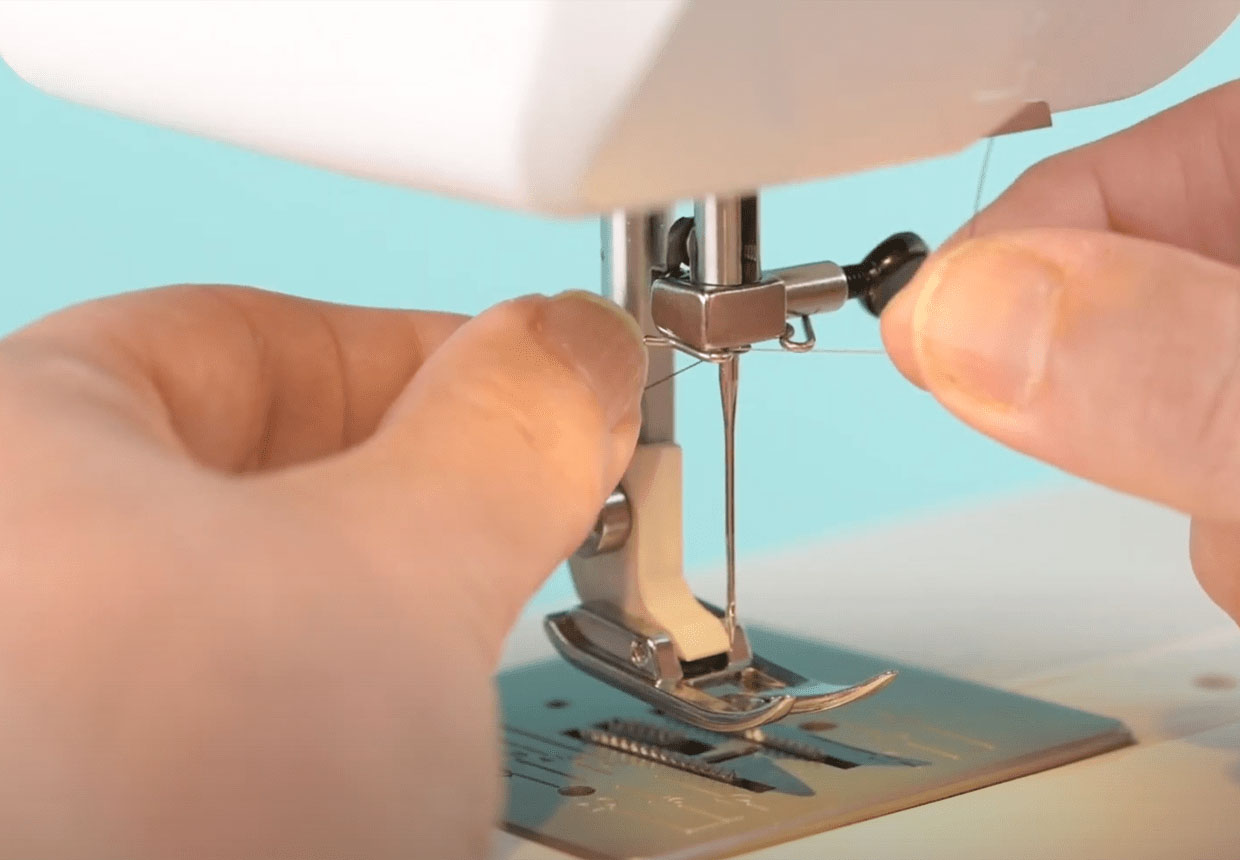
Bring your thread down to the needle and loop it into the needle guide next to the needle.
Step 4
Before you thread the needle it needs to be in it’s upmost position. If you need to, turn the hand wheel towards you to bring the needle up manually into this position. Now insert the thread into the needle, from front to back.
Step 5
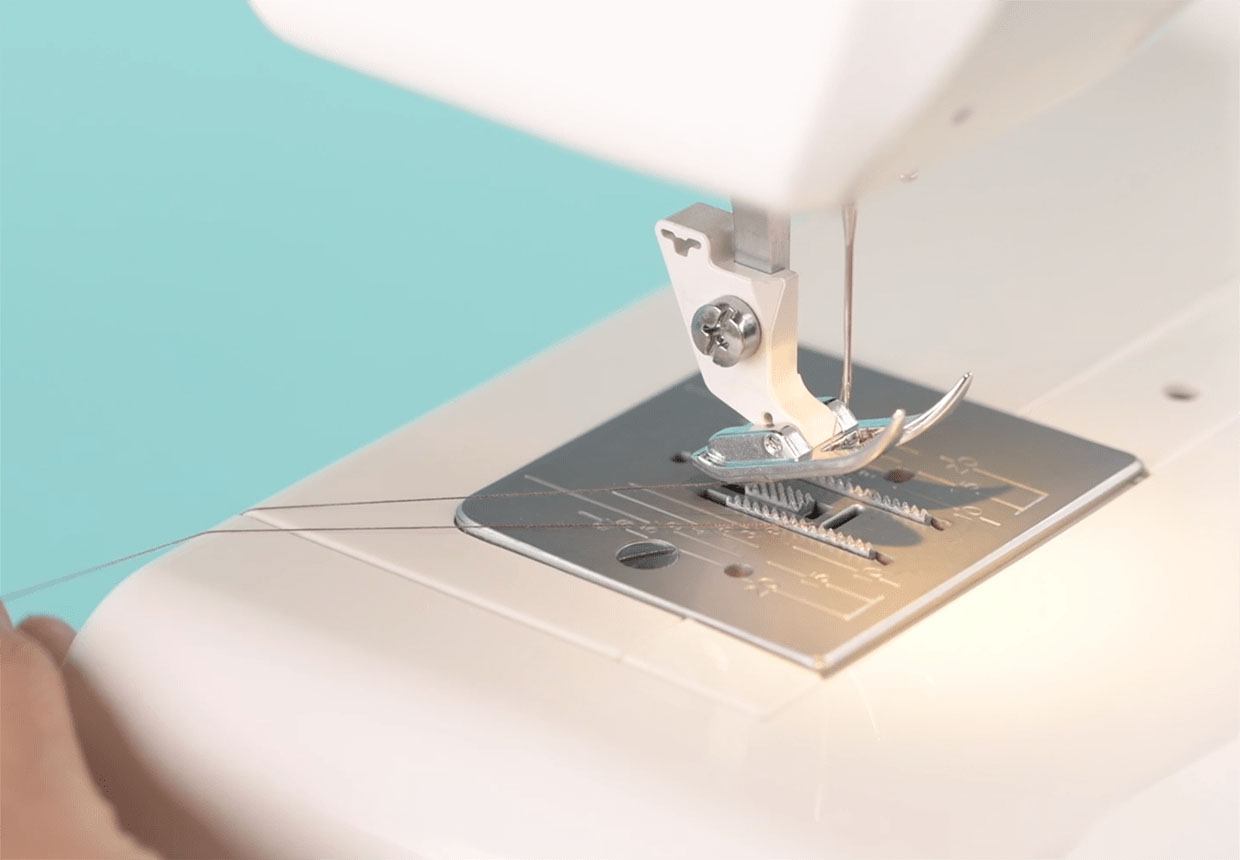
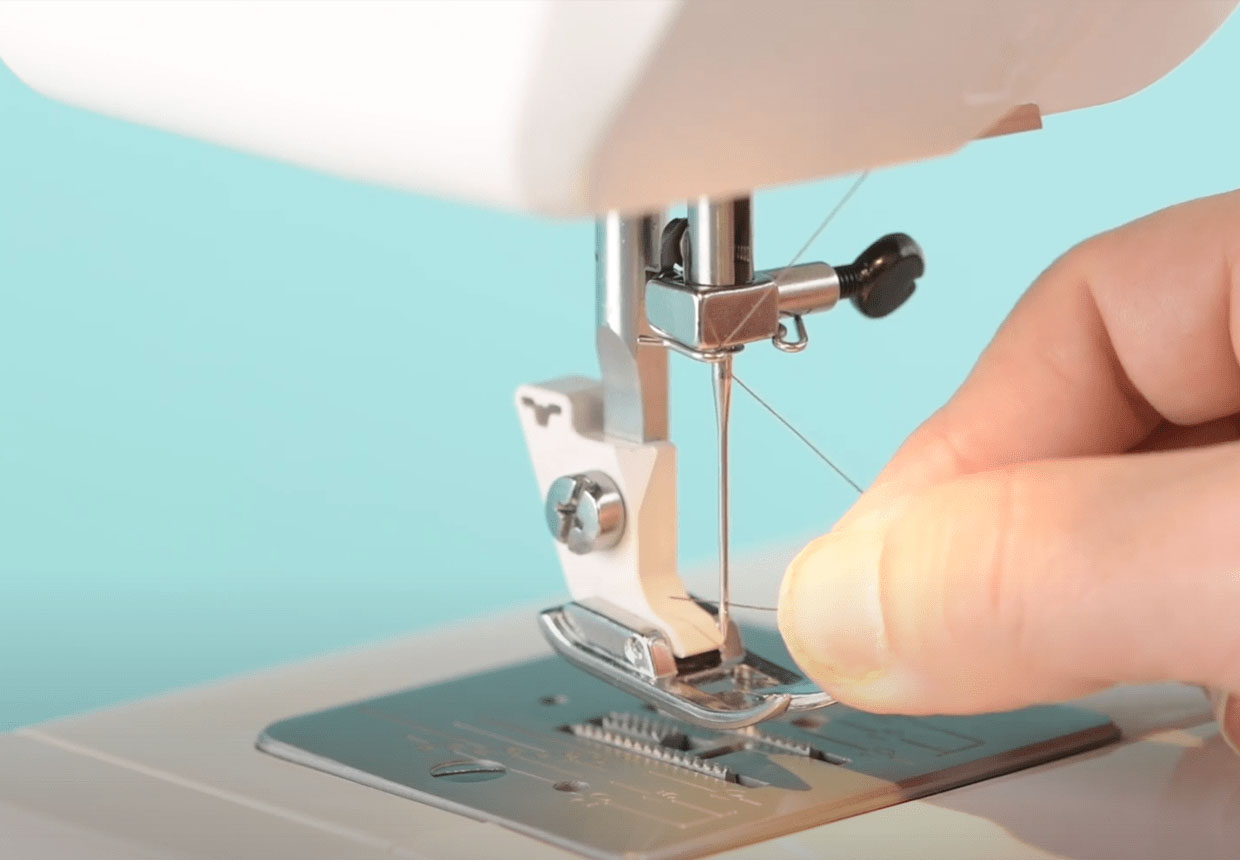
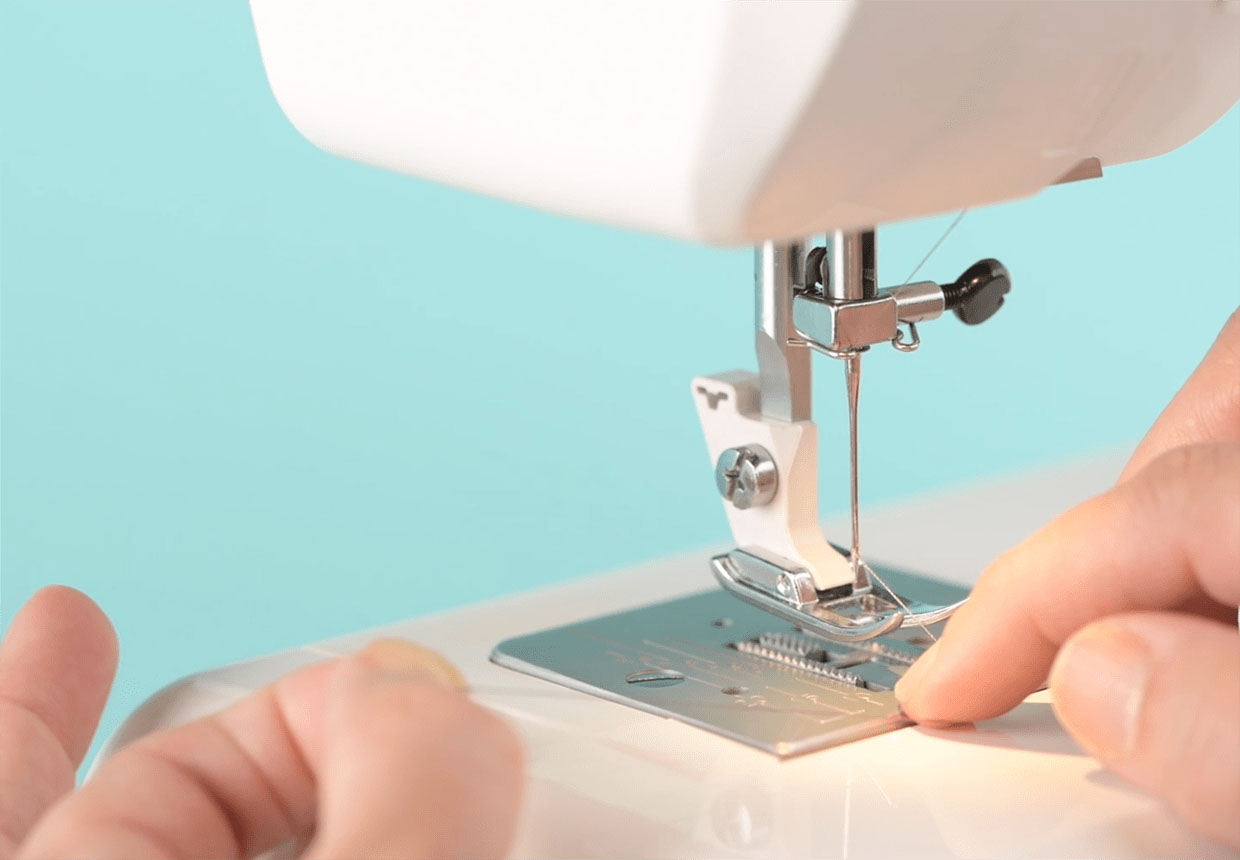
Now you have threaded your needle, bring the thread down in between the two forks of the presser foot, under the foot, then back towards the back of your machine with your hand.
How to bring up the bobbin thread
Step 1
Now your top thread is threaded, and your bobbin is in place below the machine, it’s time to connect the two threads, ready to sew. Slowly turn the hand wheel to bring the needle down and back up again – one full rotation.
Step 2
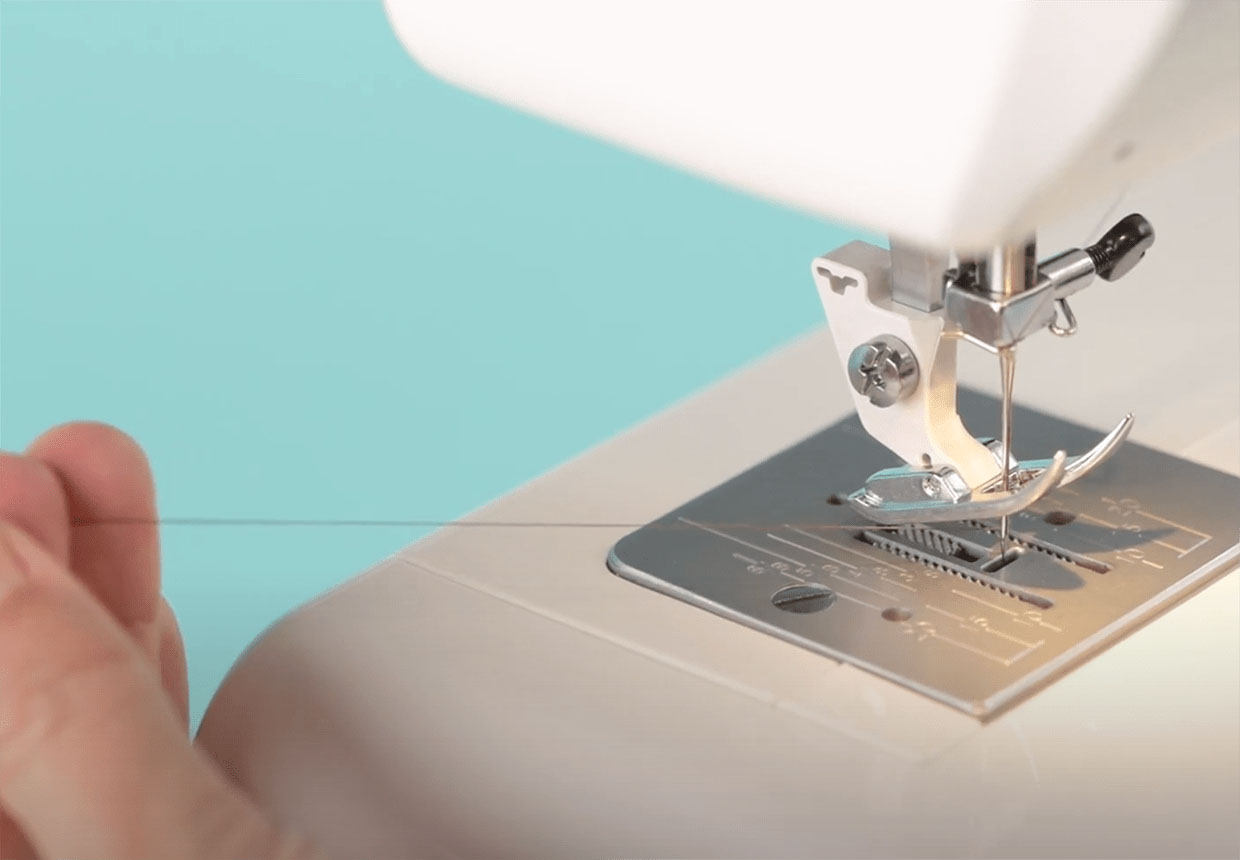
When the needle goes down into the machine, it will hook the bobbin thread and bring a loop back up above the plate of the machine. When you see the loop gently pull it out to release the loose end of the bobbin thread. Pull it out to reveal and back towards the back of the machine to release the full thread.
You should now have two threads – the top and the bottom. When you start to sew in the next step, hold them both for a second with your left hand to stop them being pulled into the machine as the needle moves.
