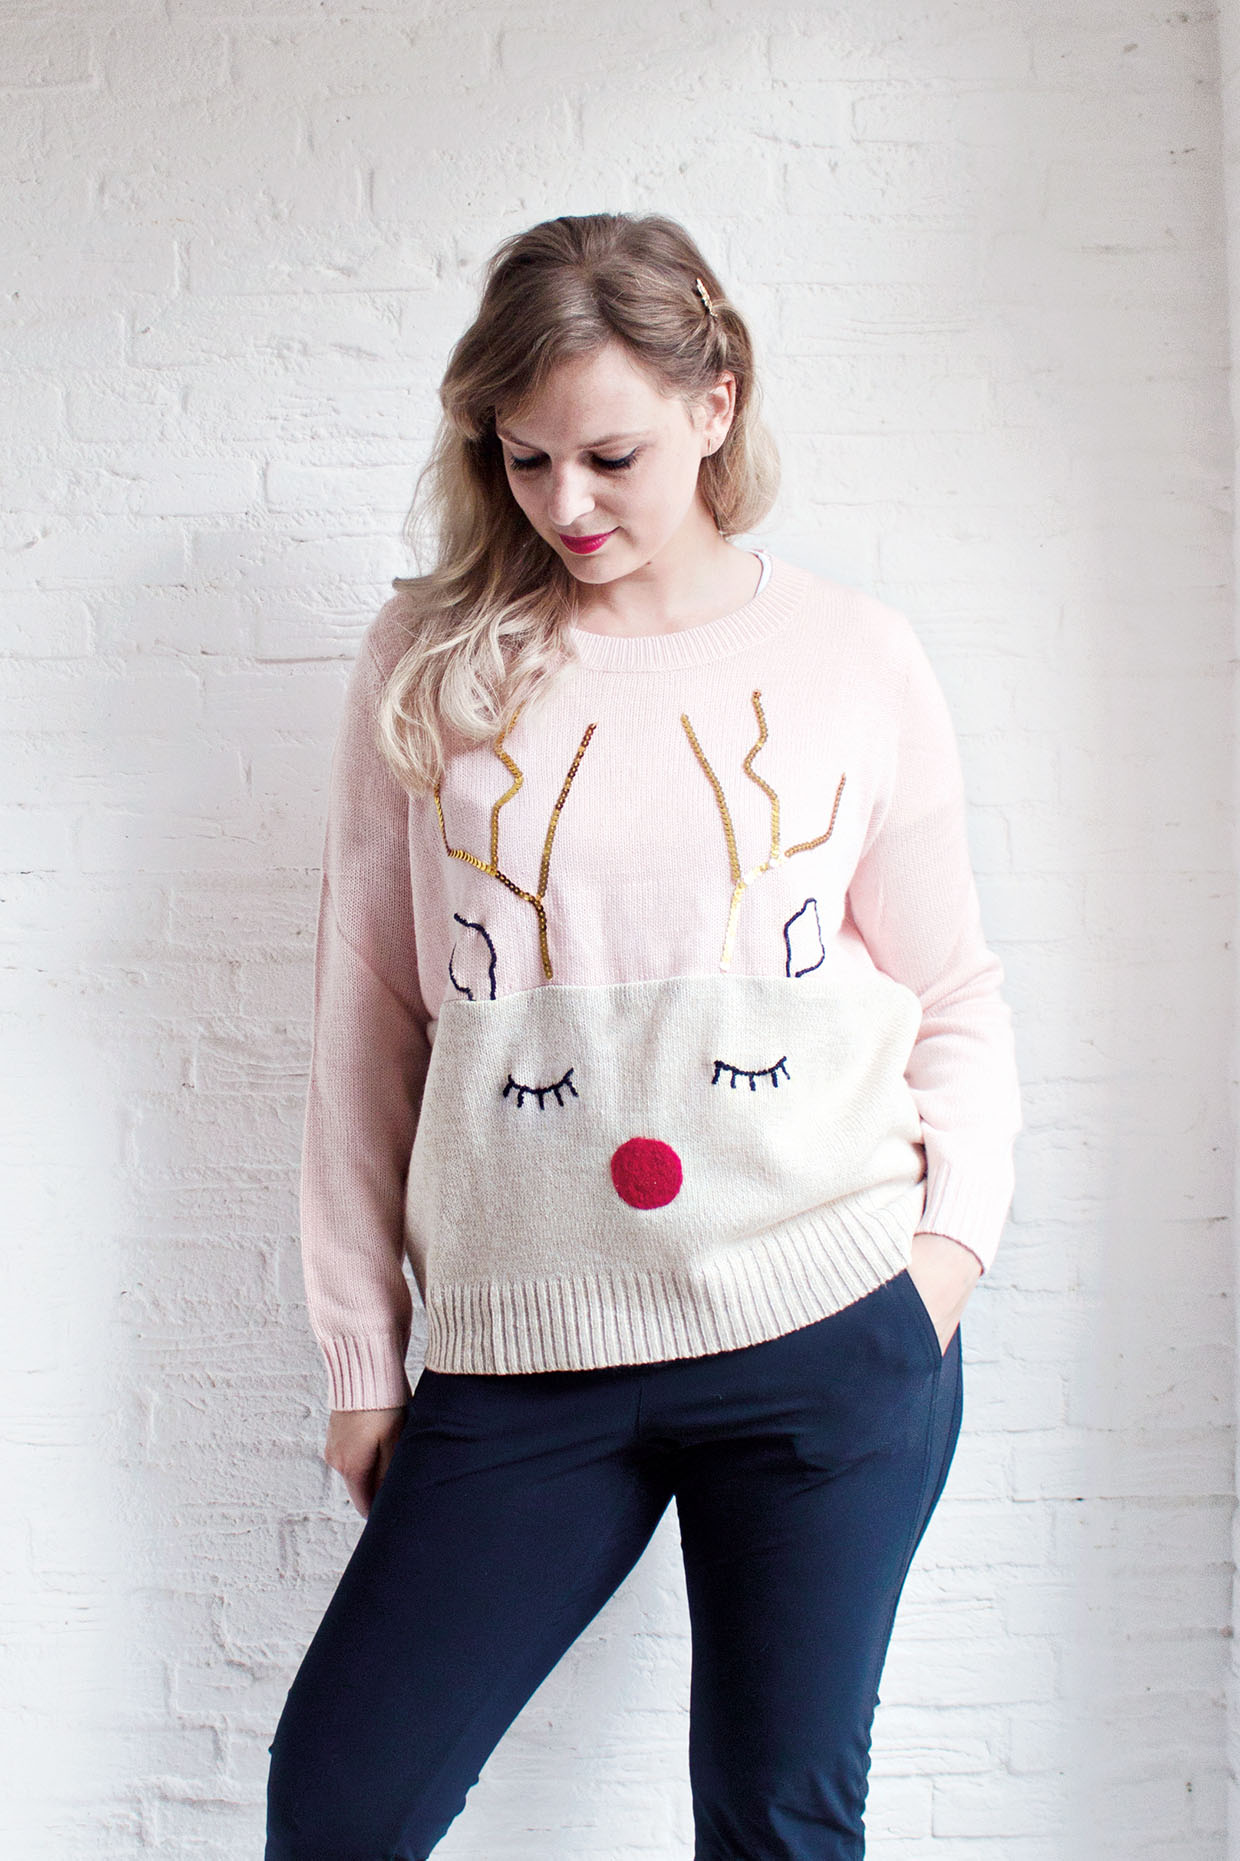
Joining the jumpers
Step 1
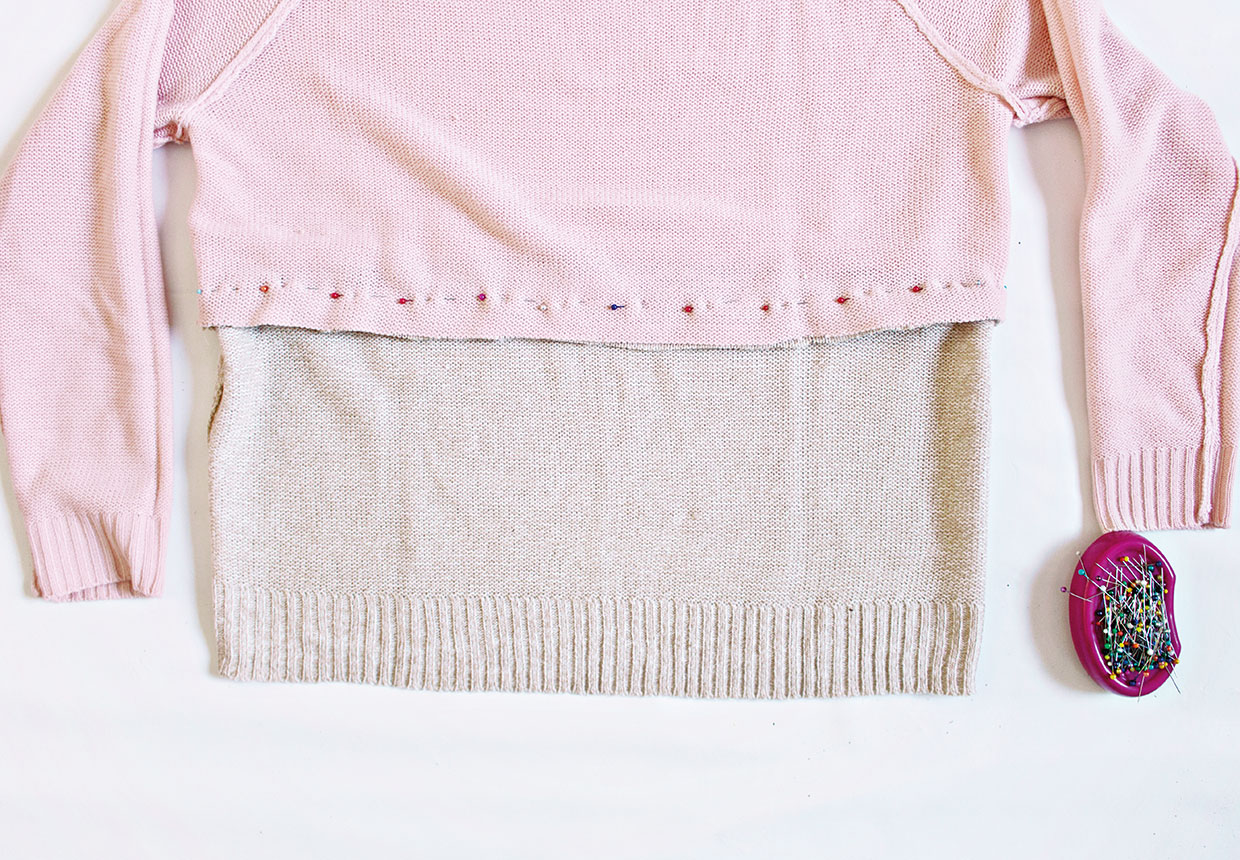
Take your two jumpers and decide which one will be the top and which one will be the bottom piece. Calculate where you would like the seam to be and then mark a line across the width of the jumper.
Step 2
Cut the jumper 1cm (3⁄8in) below the line and repeat for the other jumper to cut the bottom piece, this time cutting 1cm (3⁄8in) above the marked line. Be careful when handling the cut jumper pieces as knitted fabric will unravel easily. Try not to stretch the cut edges or pull at any loose threads as this could create a ladder in the fabric.
Step 3
Turn both jumper pieces inside out. With wrong sides (WS) facing, pin the cut edges together and then sew in place. Finish the seam using an overlocker or zigzag stitch on your sewing machine.
Embroidering the ears
Step 1
Place the jumper right side (RS) out on your work surface and draw the placement and shape for the ears with tailor’s chalk.
Step 2
Attach an embroidery hoop to the drawn shape.
Step 3
Thread your needle with two strands of black stranded cotton and neatly embroider the chalk line in a small satin stitch.
Step 4
Repeat to embroider the other ear.
Embroidering the eyes
Step 1
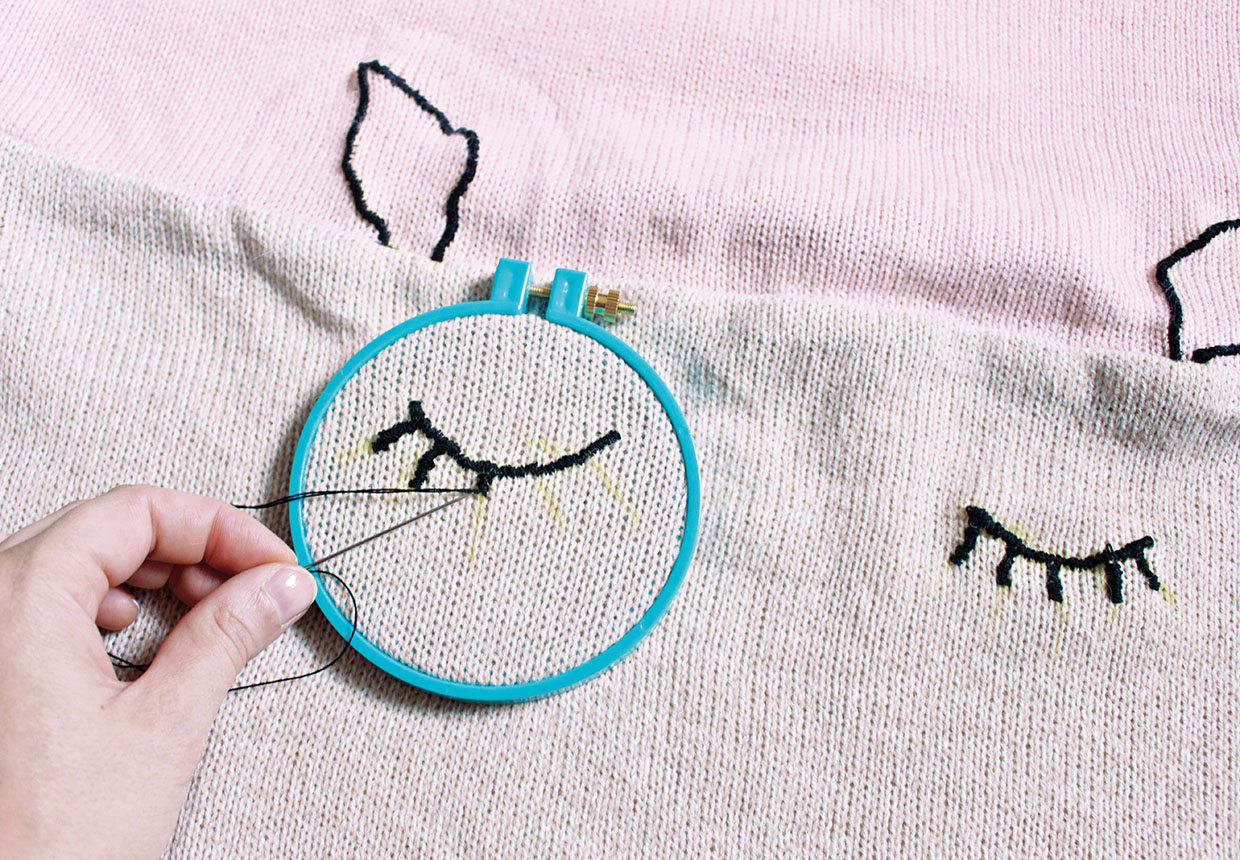
Mark and draw the eyes with tailor’s chalk on the bottom part of the jumper.
Step 2
Using an embroidery hoop, embroider the eyes with two strands of black stranded cotton with a satin stitch.
Adding the nose
Step 1
The nose is created with needle felting. To do this, first place a felting mat inside the jumper, slightly underneath the eyes, in the centre of the bottom part of the jumper.
Step 2
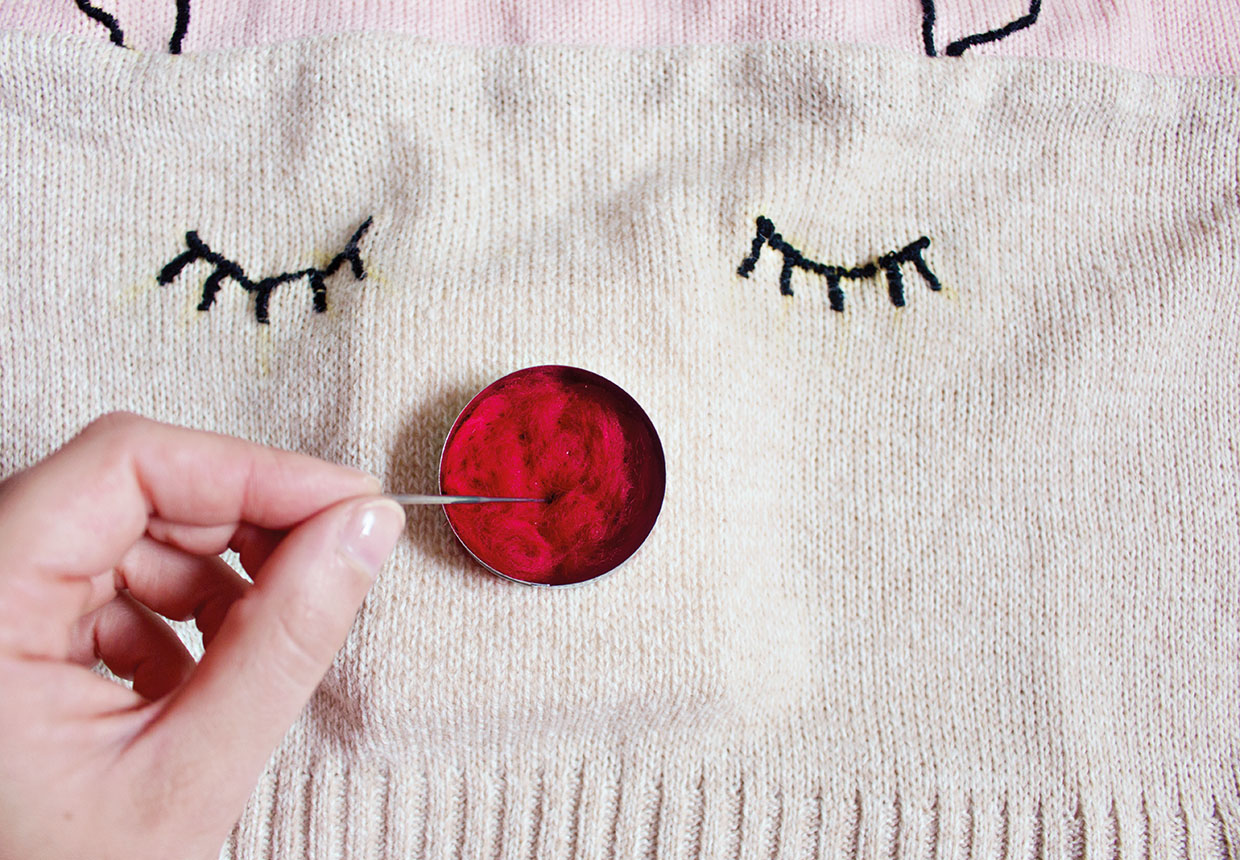
Place the circle cookie cutter in the centre of the mat on top of the jumper. Peel off a tuft of fibres from the merino wool and place them inside the cookie cutter.
Step 3
With a felting needle, start punching the wool into the jumper. Punch the wool until it is all attached to the jumper and the circle cookie cutter is filled.
Stitching the antlers
Step 1
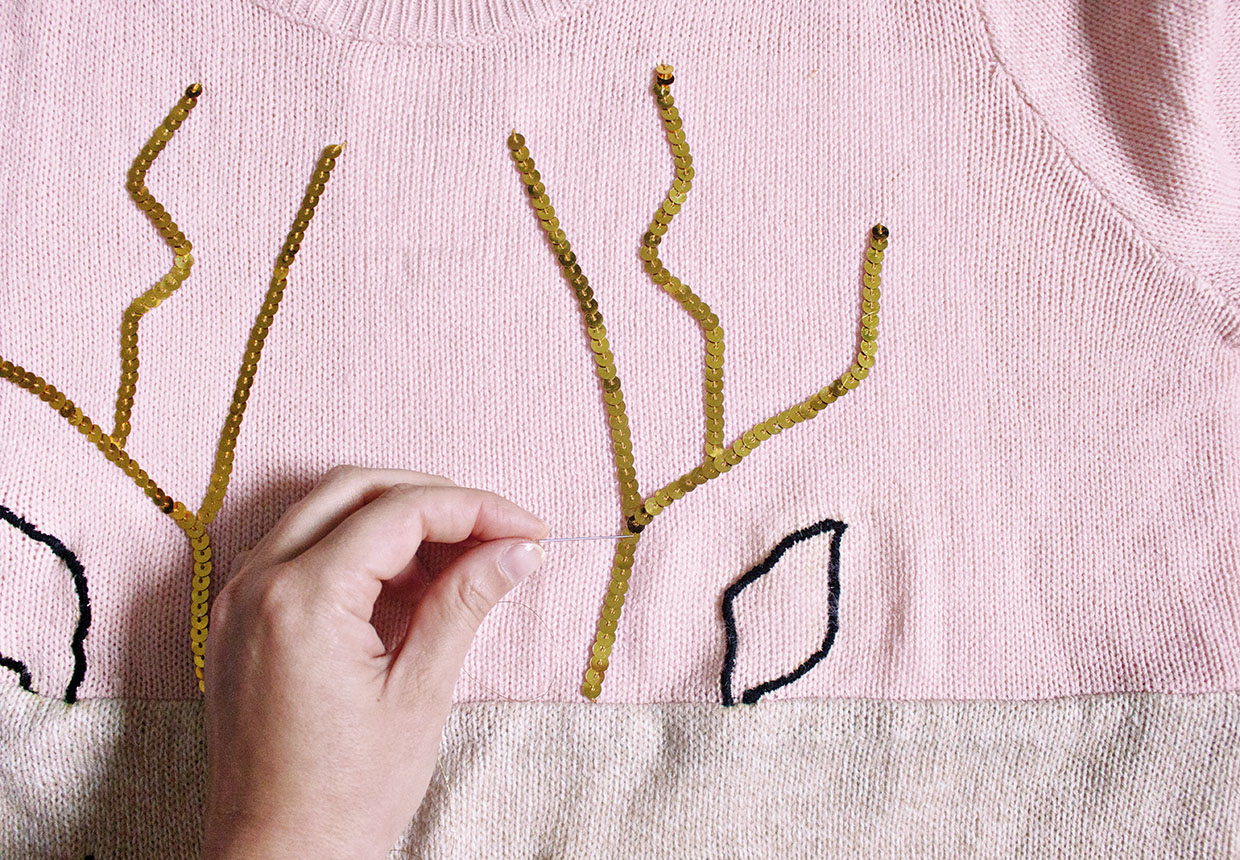
Pin sequin trim onto the jumper by inserting the pin through the hole of one of the sequins and into the jumper.
Step 2
Pin three pieces of trim on each side of the top of the jumper to create the antlers.
Step 3
When you’re happy with the placement of the antlers, stitch the trim into place by hand to secure.
