When working with commercial sewing patterns, you will often be instructed to ‘finish the raw edges’ before or after sewing the seams. The stitch type you choose to finish the raw edges of a garment with will affect the appearance of a seam, the garment’s overall life-span and its comfort when worn. There are many ways to finish a raw edge – pinking shears, zigzag stitching and binding are just a few – but overlocking has become a firm favourite as it provides a quick-to-sew, long-lasting and professional-looking finish. While overlockers were once the preserve of clothing factories, in the last 50 years domestic overlocking machines have become widely available and more affordable, making them appealing to home sewists. For many stitchers, however, deciding whether to purchase an overlocker in addition to a sewing machine is a tough choice. Before diving in, explore the stitches on your sewing machine, as often it will be jam-packed with clever finishing stitches.
3 top tips for how to finish seams without an overlocker Finish your seams like a pro with these ‘faux-verlocking’ tips – no overlocker required!§
- Test the stitch before tackling your final garment, as you may need to adjust the tension and stitch width settings. Refer to your machine manual for guidance regarding the presser foot and stitch settings required.
- Once you have found a stitch that works well for you, be sure to note down the stitch width, length, presser foot and tension settings you used. Complex stitches can be difficult to be recreate a second time!
- Some machines have hundreds of stitches to choose from, others have just a few. No matter how many stitches your machine has, there will be at least one stitch that can be used or combined with other stitches to finish an edge.
Whichever seam-finishing method you try, make sure you use a stretch or jersey needle on stretch fabrics.
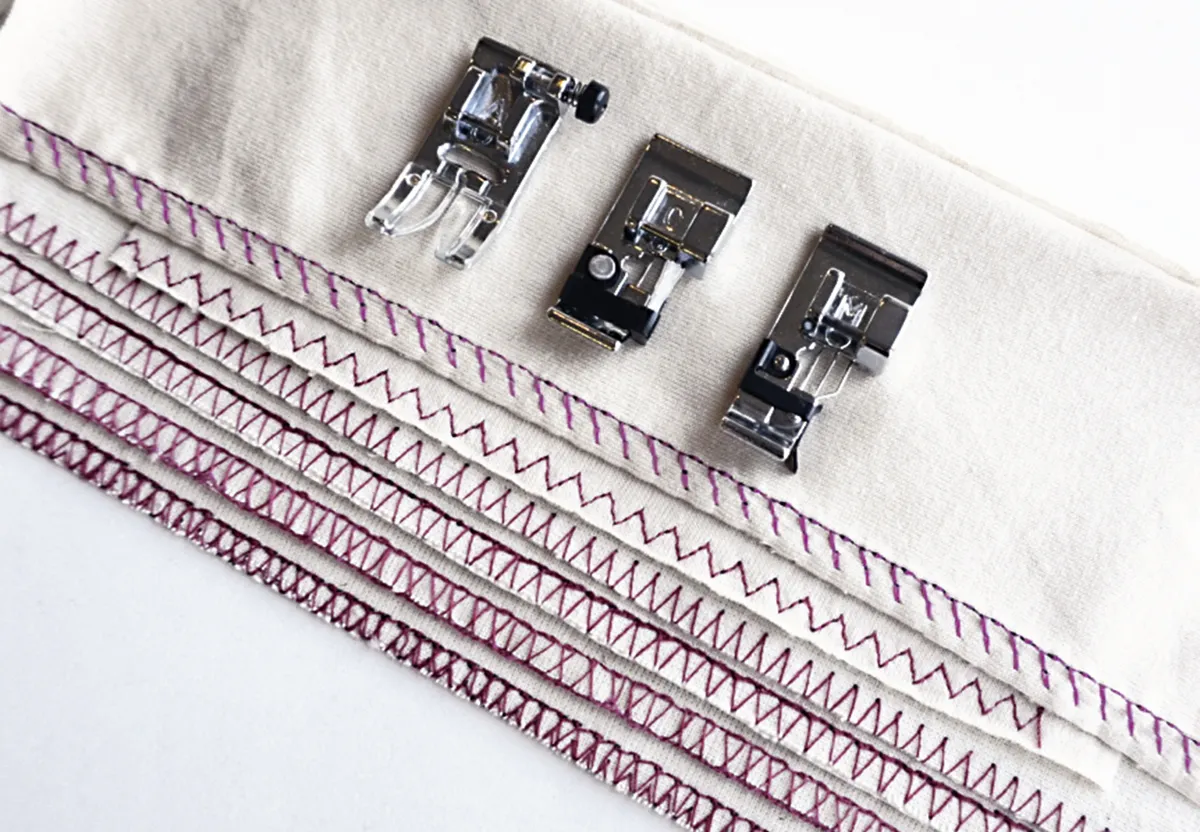
Which presser feet do you need?
The three main presser feet required for edge finishing stitches will be the zigzag foot, the overcasting foot and the overedge foot. Some other speciality feet could be available to aid with the stitches on your machine, so check your manual for guidance. You will need to use the correct foot for each stitch as the wrong foot could risk the needle breaking or the stitch failing. It is important to also use the correct sewing machine needle for the fabric type you are working with. For example, you will need to use a stretch or jersey needle when finishing the edges of a stretch fabric or a sharps needle for fine fabrics. Always test a stitch on a scrap of fabric with the correct presser foot and needle before starting on your main project.
How to sew seams without an overlocker – 6 ways to try
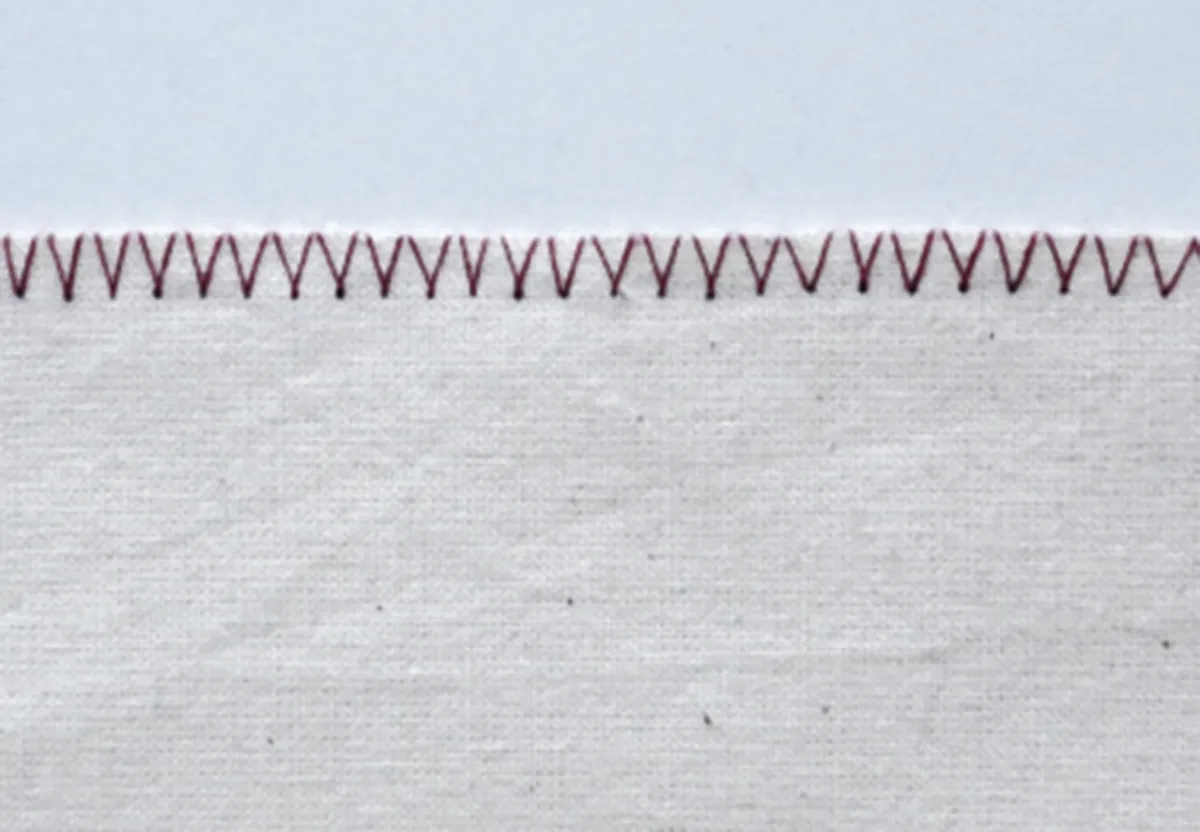
Zigzag stitch
Presser foot: zigzag foot or overedge foot With the overedge foot, simply sew along the raw edge of the fabric, aligning the guide on the presser foot with the raw edge. Alternatively, if you are using a zigzag foot you can stitch close to the edge and trim any excess if necessary.
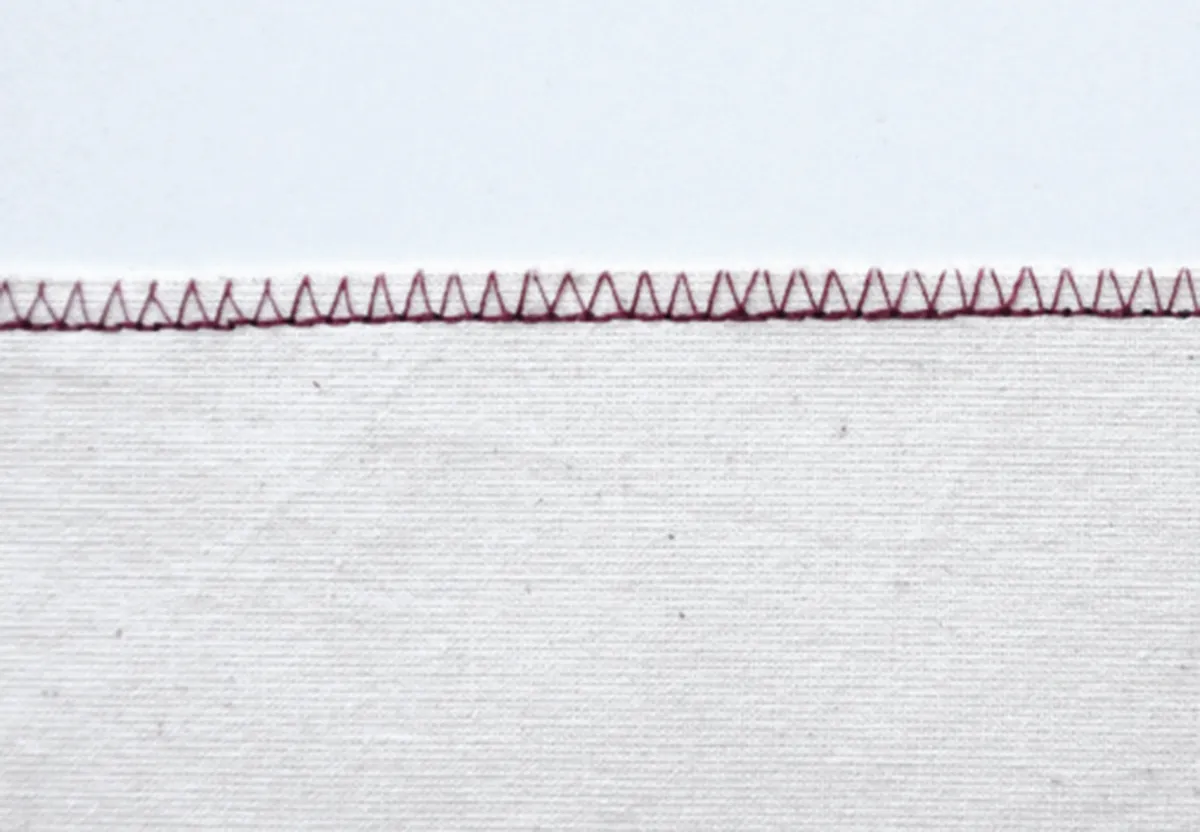
Overcasting stitch
Presser foot: overedge foot This stitch can be used to simultaneously sew a seam and finish the raw edges. It is ideal for seams that need to be pressed flat rather than open as it sews the seam allowances together. The combination of zigzag and straight stitch prevents fraying and creates a stable seam.
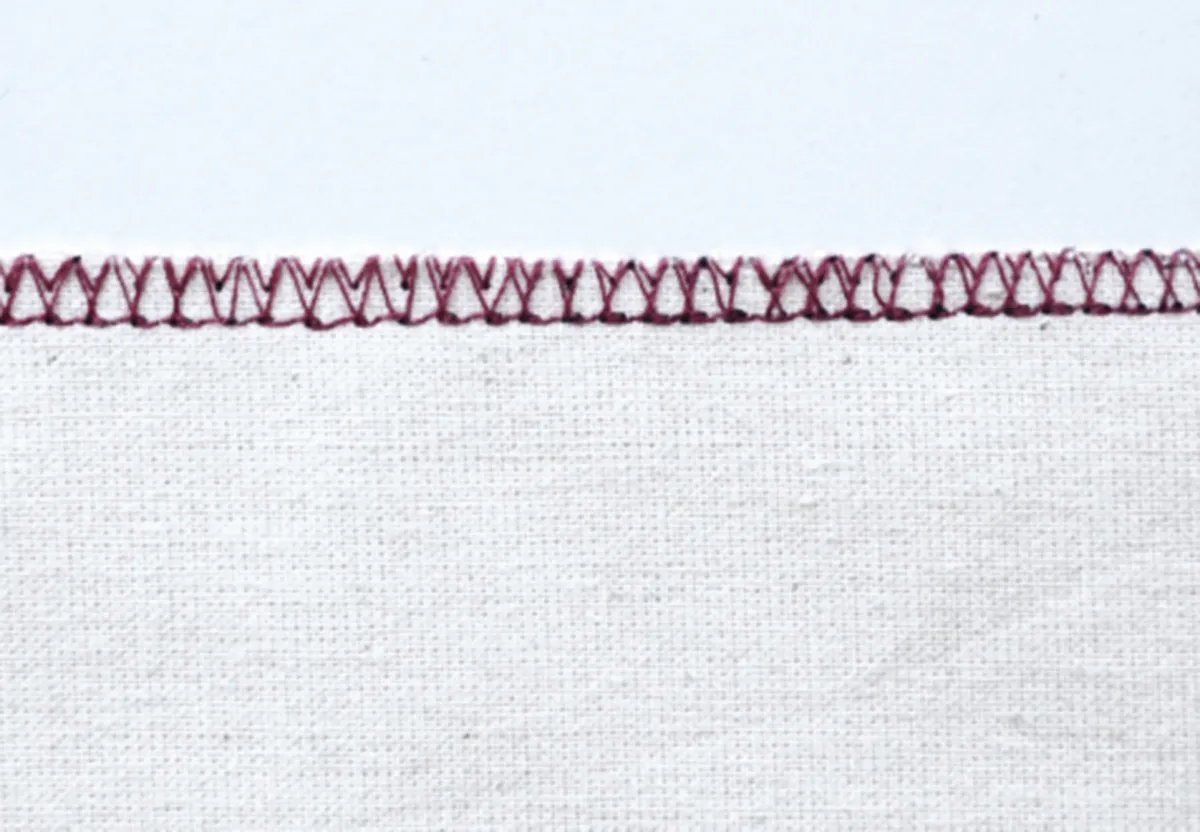
Double overedge sttich
Presser foot: overedge foot This stitch sews a double row of zigzag stitches, one on the edge of the fabric, and connects to a straight line of stitching. Like an overlocker, this stitch could be used to both sew and finish a seam in one go. This is perfect for fabrics that fray heavily.
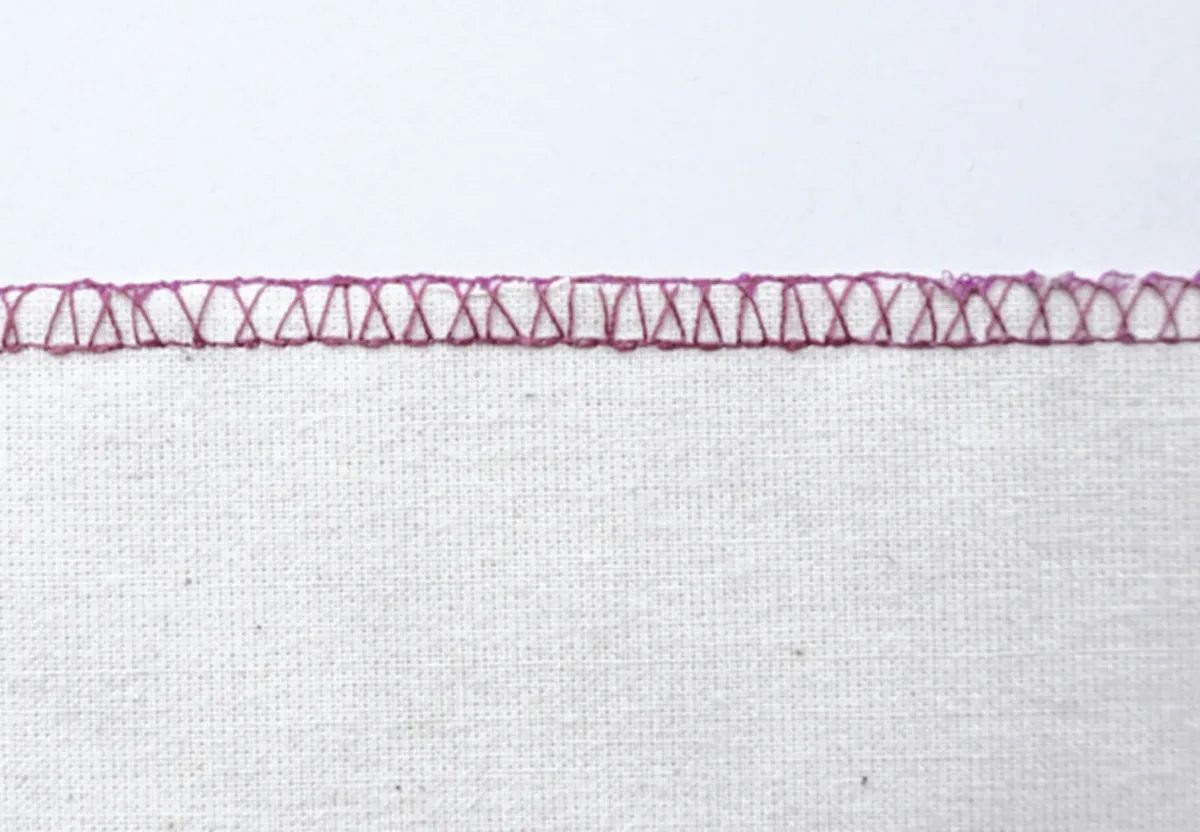
Overlock stitch
Presser foot: overedge foot This type of stitch gives a similar finish to an overlocker. It has a straight stitch just off of the raw edge with a criss-cross stitch connecting it to the inner straight stitch. This is another stitch perfect for fabrics likely to fray a lot as the edge stitches will prevent shedding.
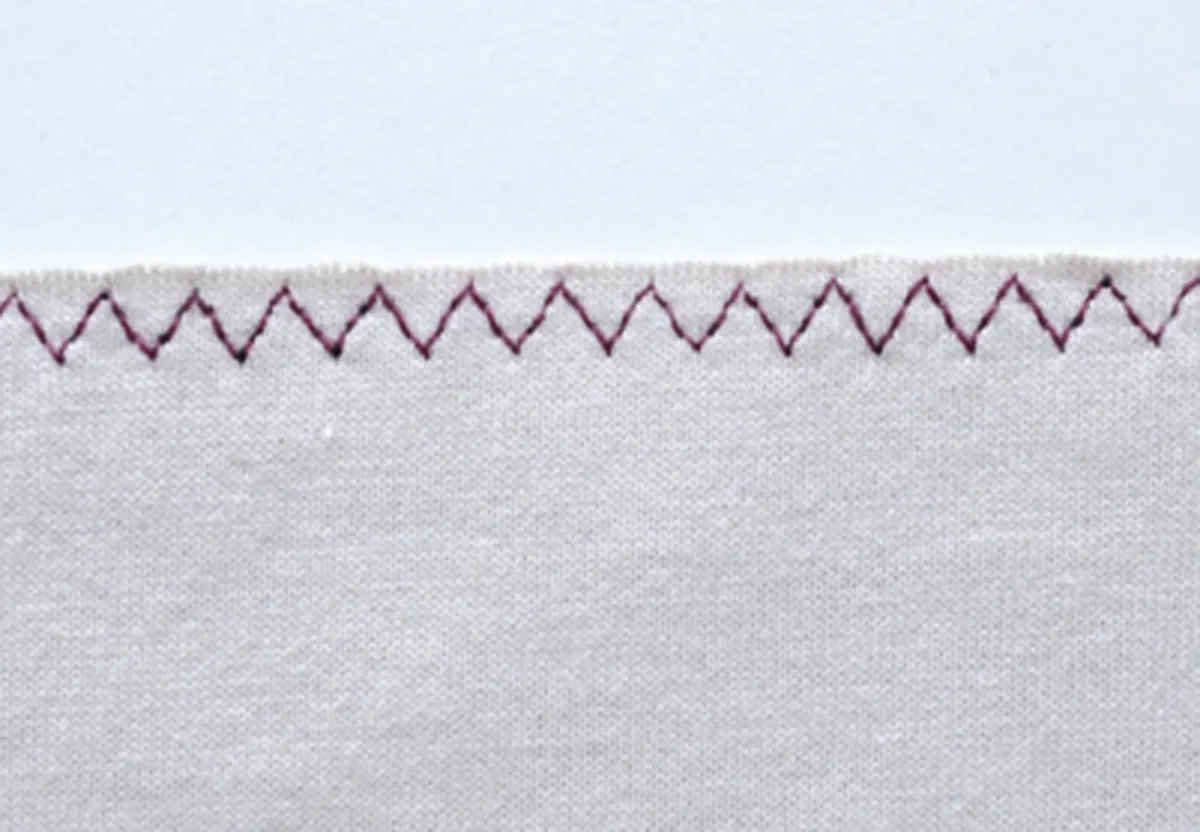
3-step zigzag
Presser foot: zigzag foot This stitch can be used to finish the raw edges of stretch fabrics. The three diagonal stitches in each section will allow the fabric to stretch comfortably and protect the raw edges from fraying. This stitch provides more elasticity than zigzag stitch, making it great for jersey fabrics.
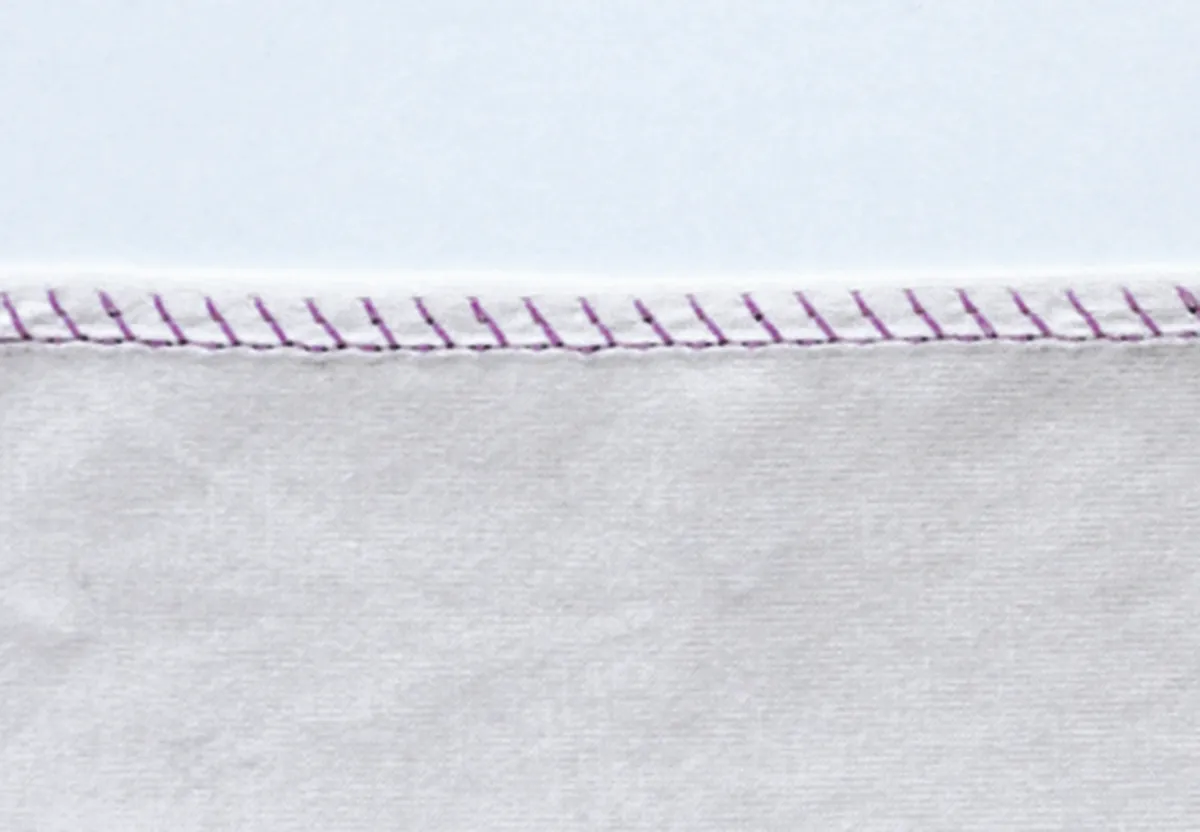
Knit stitch
Presser foot: zigzag foot This stitch is great for sewing knit fabrics as it is a strong stitch that provides a lot of elasticity. Stitch close to (but not on) the fabric edge, leaving an adequate seam allowance. Trim the seam allowance close to the stitches. This stitch will provide a durable, long-lasting seam finish.

