
Add star quality to your table with these twinkly place holders, wrapped in twine so you can add your own name cards.This free step-by-step tutorial will help to make your Christmas table sparkle! See more of Anna Alicia's designs over on instagram @aalicialondon
How to make your own Christmas table place settings
You will need...
For one star
- Cotton fabric: 20x40cm (8x16in)
- Polyester fibrefill
- Pretty twine or cord: 1m (1yd)
- Thin card: 3x5cm (11⁄4x2in)
- Gold machine embroidery thread
- Matching thread
- Basic sewing kit
- Gold gel pen (optional)
Notes
- Download our free Christmas Decorations sewing patterns here
- Use a 1cm (3⁄8in) seam allowance throughout.
Cutting out
Step one: Download and trace around the star template and cut it out.
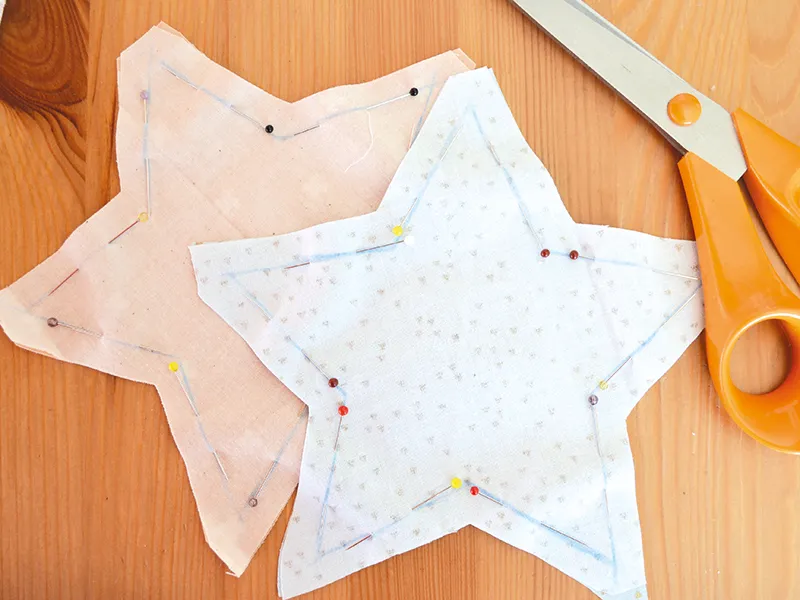
Step two: Fold the fabric in half with right sides (RS) together.
Step three: Place the template on top and draw around it using an erasable pen or chalk.
Step four: Pin the fabric together along the drawn lines through both layers.
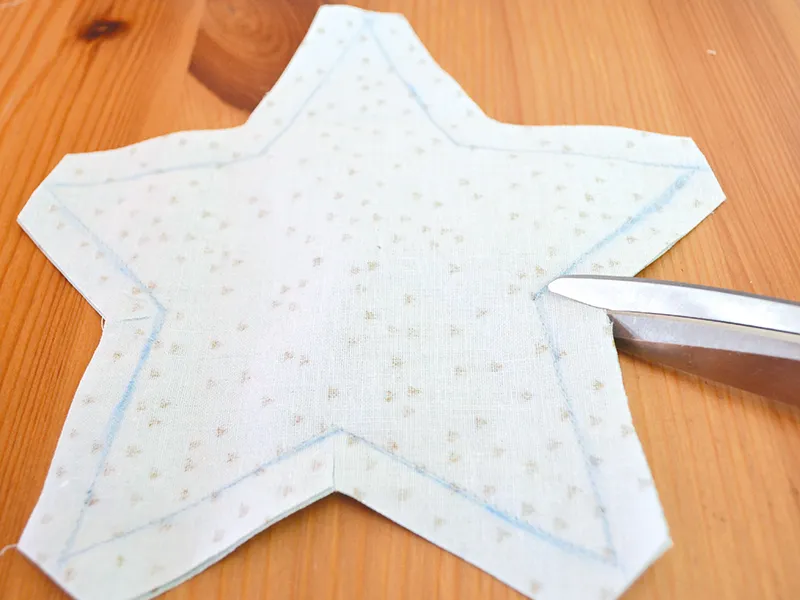
Step five: Cut out the star 1cm (3⁄8in) outside the drawn lines all the way around.
Making the star
Step one: Sew the two layers of fabric together along the drawn lines, leaving a 4cm (15⁄8in) turning gap at the end.

Step two: Trim the outer corners and snip the inner corners about 1-2mm (1⁄16in) from the stitching, taking care not to cut through any of the machine stitches.
Step three: Turn the star RS out through the turning gap.
Step four: Fold the edges of the turning gap to the inside.
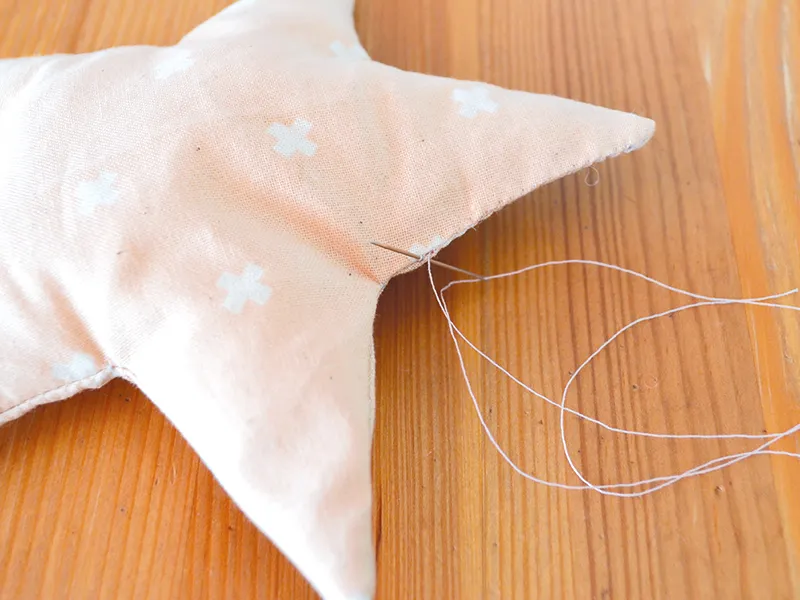
Step five: Stuff the star lightly with polyester fibrefill through the gap. It should be slightly puffy and not very full.

Step six: Slip stitch the turning gap closed.
Finishing off
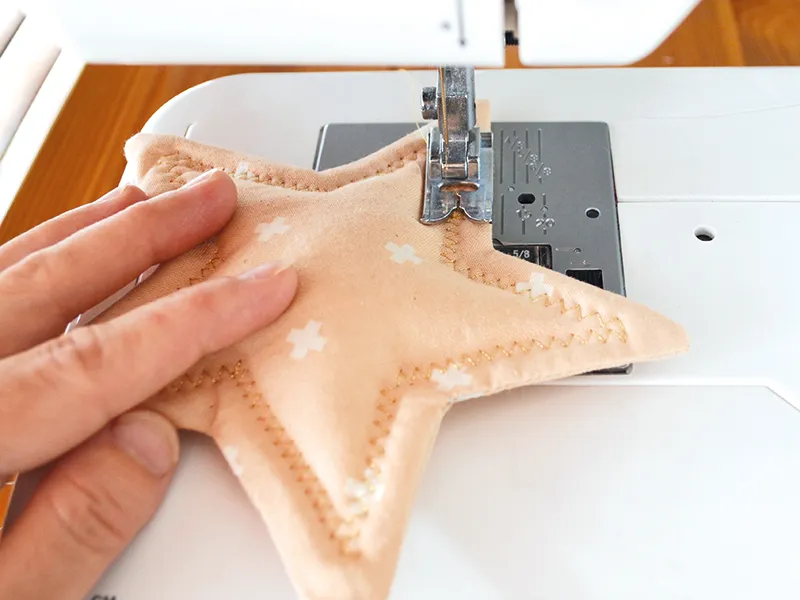
Step one: Using gold thread and a machine zigzag, stitch around the star 1cm (3⁄8in) in from the side seams to decorate.
Step two: Wrap twine or cord around the star several times, making sure you finish with both ends at the back.
Step three: Tie the ends together and trim any excess.

Step four: Write your guest’s name on the card in gold gel pen and tuck it into place amongst the twine crisscrossing the star.

