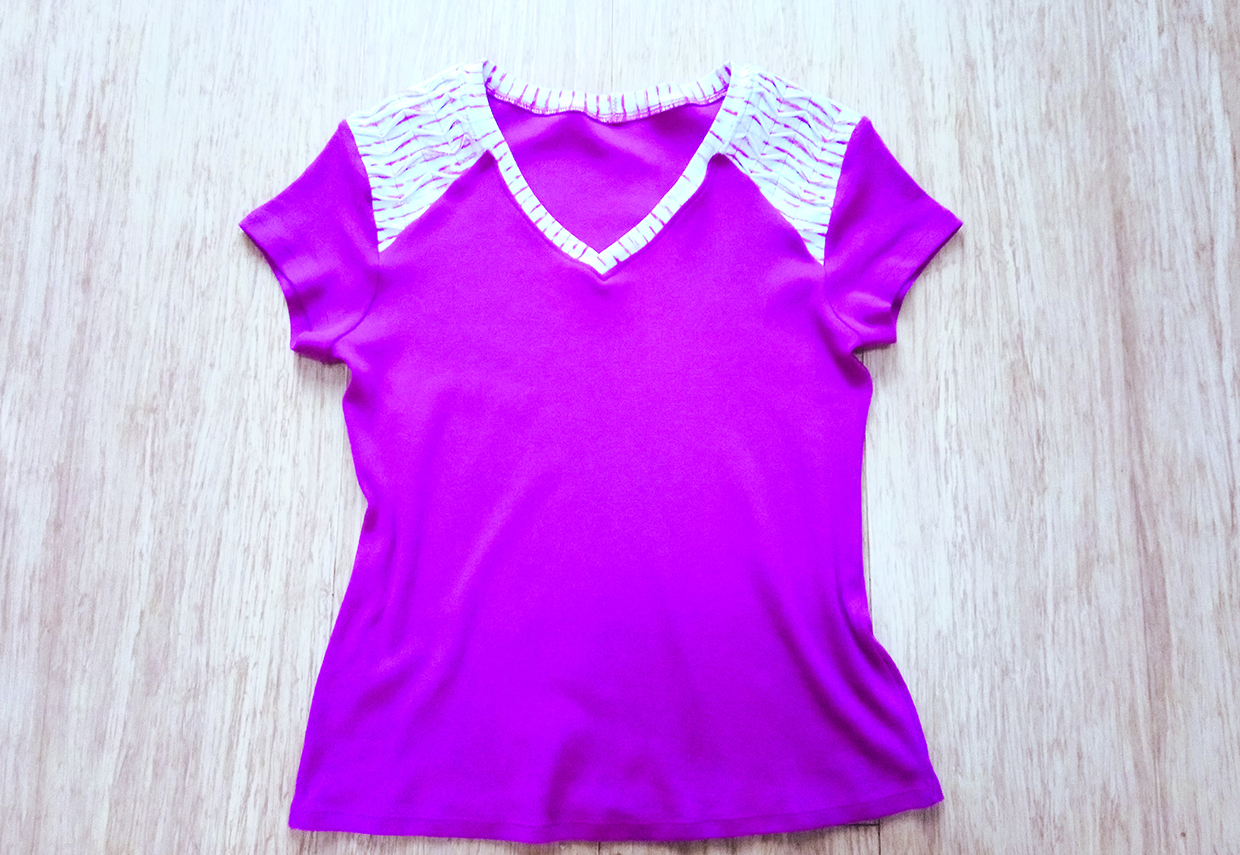
Pintucks are parallel folds of fabric which can be used to provide fullness in a garment or added to both garments and home projects as a decorative finish. Pintucks only have a few millimetres of fabric in them so you will need to allow a little extra fabric to the finished piece to allow for this.
How to sew pintucks
Learn how to sew pintucks and put your new skills to the test with our T-shirt workshop!

You will need:
- Fabric (T-shirt: short-sleeved to fit you, for inserting panels, and a second T-shirt to cut up and use for panels)
- Sewing kit (matching thread)
Stitching with jersey
Step 1
Using a ballpoint or stretch needle, practice sewing your jersey fabric on a remnant first to get the feel of how much stretch it has.
Marking the fabric
Step 1
- If your fabric is striped and you want to follow the stripes then they act as a useful guide for your sewing lines. Cut out a bigger fabric piece than you need for working the pintucks on as it’s easier to cut it down to fit the pattern piece.
- If you’re sewing pintucks into a plain jersey, mark lines on your fabric with a fabric marker or chalk. Lines spaced 4.5cm (17⁄8in) apart work very well for pintucks sewn 1cm (3⁄8in) from the folded edge.
- Mark the lines for all your pintucks on the wrong side (WS) of the fabric.
Stitching pintucks
Step 1
Fold the fabric with the WS together, matching up the two lines you’ve drawn. Tack and then press into place.
Step 2
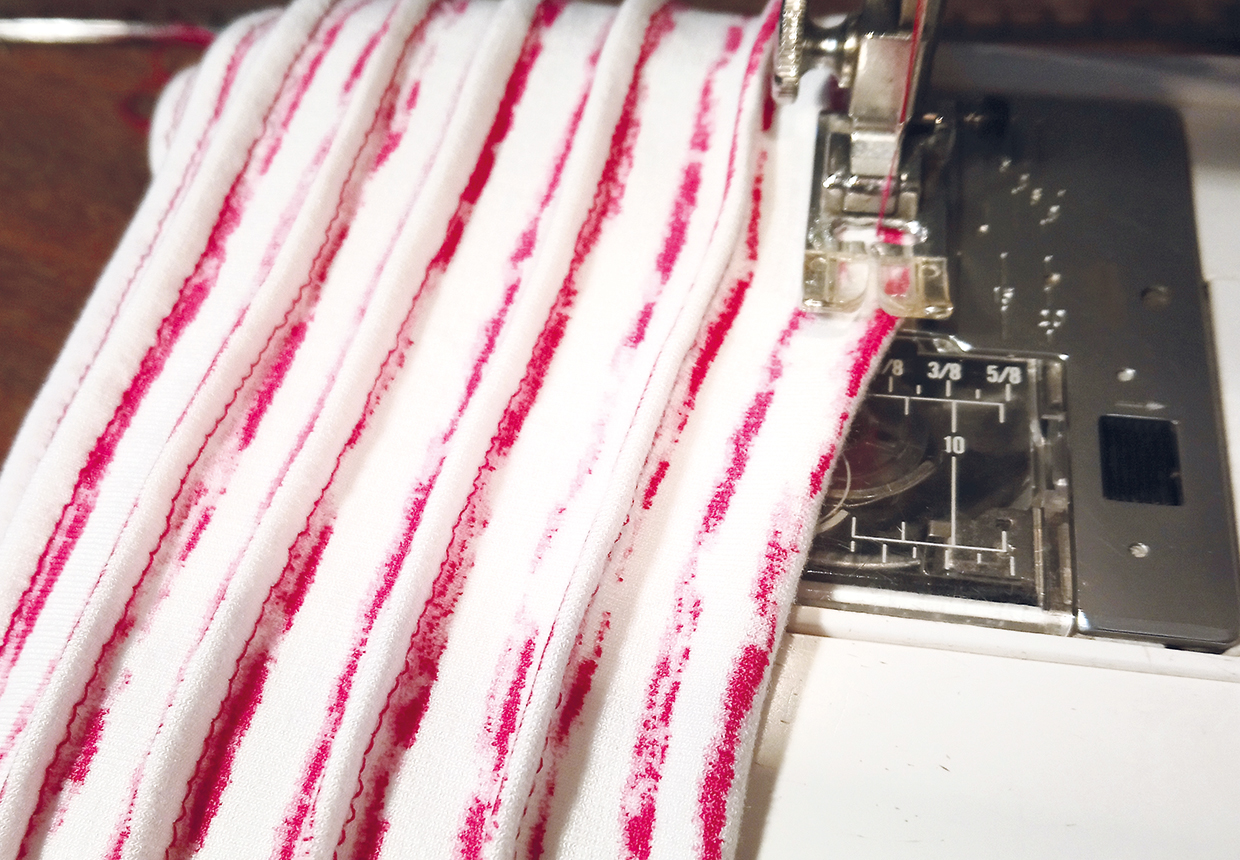
Stitch the fabric together 1cm (3⁄8in) from the folded edge to make one tuck or follow the stripes if you prefer.
Step 3
Continue to fold the fabric with WS together and sew parallel rows of pintucks until you have a piece of pleated fabric large enough to fit your desired pattern piece onto.
Pressing the pintucks
Step 1
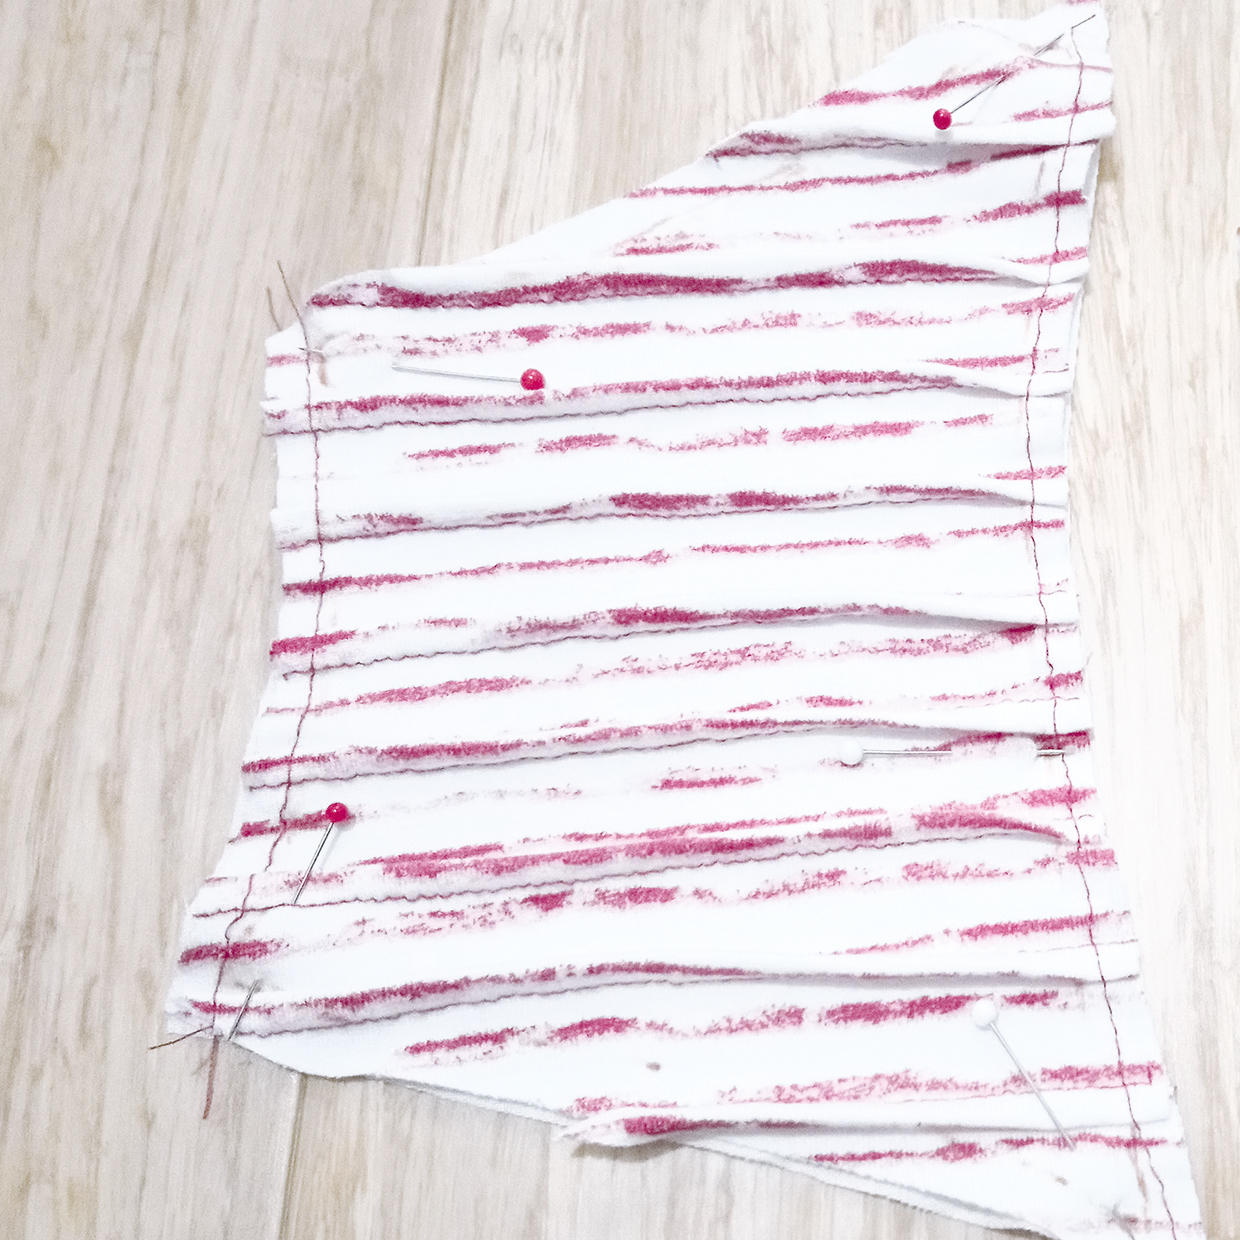
Press the pintucks and tack them in place in opposite directions on each side so that they form a twist in the middle.
Step 2
You can do this by machine, but make sure you stitch within the seam allowance so that these stitches won’t be seen later when you insert the panel.
Adding detail
Step 1
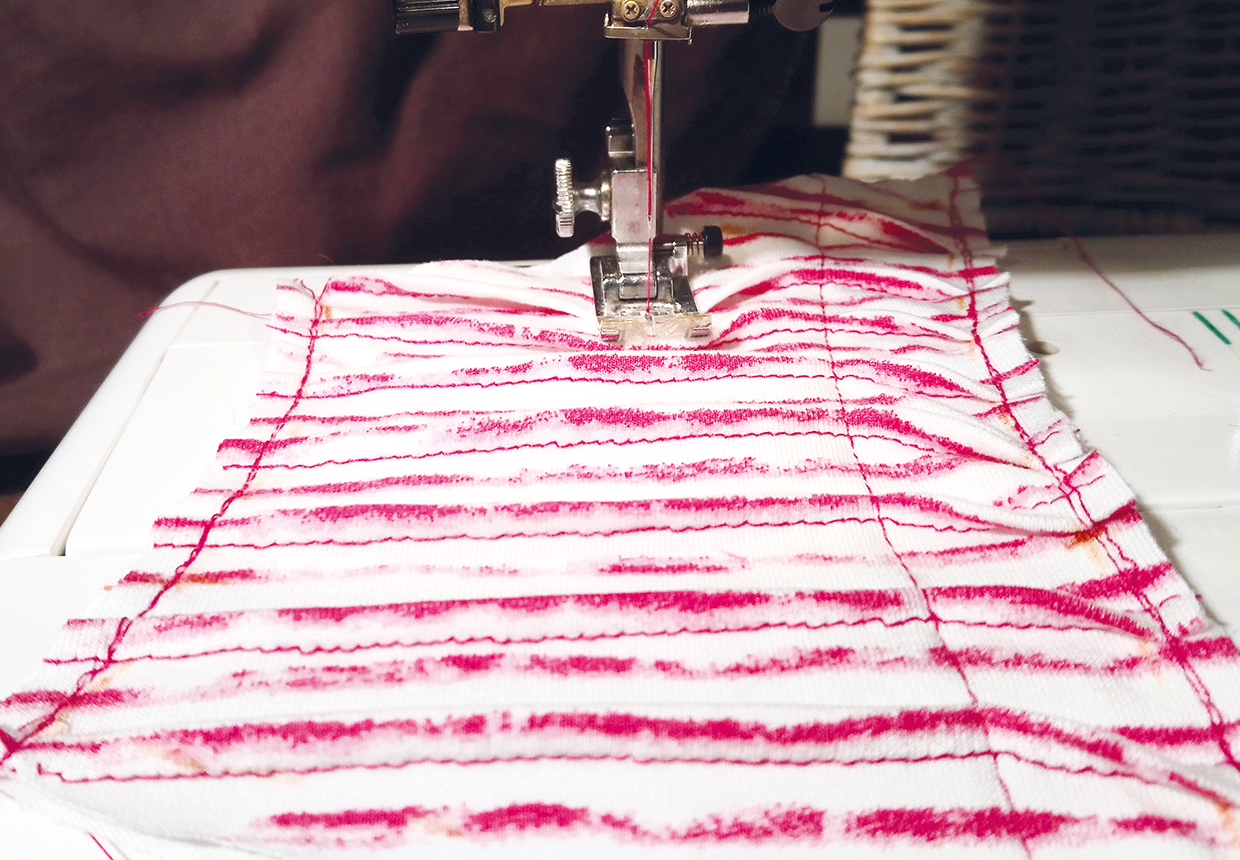
For an added textured effect, sew lines of straight stitch from the top to the bottom of your pintucked fabric. Stitch slowly and carefully to make sure that the pintucks lie flat as you stitch over them and that they’re facing in the direction you want them to.
Step 2
Fold the pintucks in opposite directions on each row as you go to keep the twisted effect.
Making a pintuck tee
Making a pattern piece
Step 1
With your T-shirt either on a body or dress stand, mark your desired shoulder panel seam lines with chalk or a fabric marker.
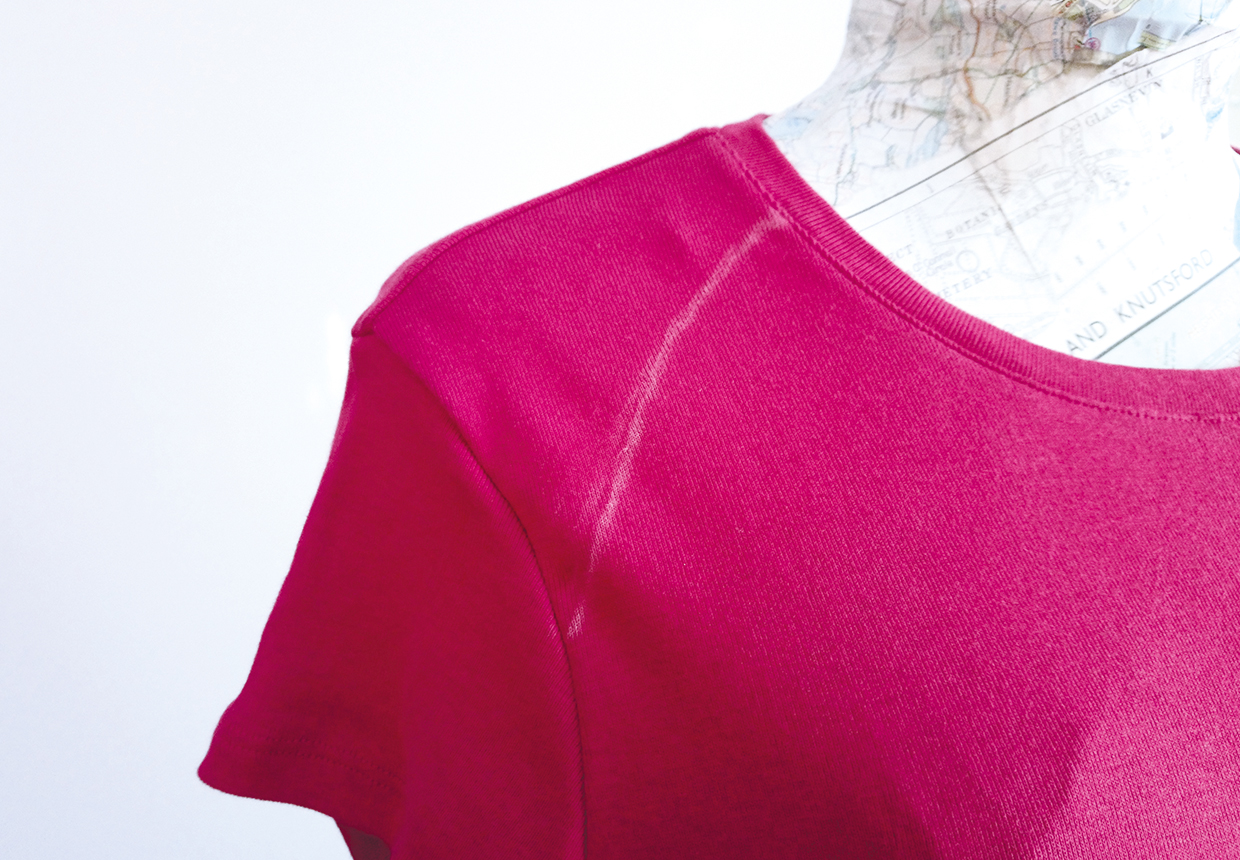
Step 2
Place the T-shirt on a flat surface and with pattern paper on top, trace off the seam lines of the existing neckline and sleeve seam.
Step 3
Trace off the new seam lines you've marked onto the T-shirt.
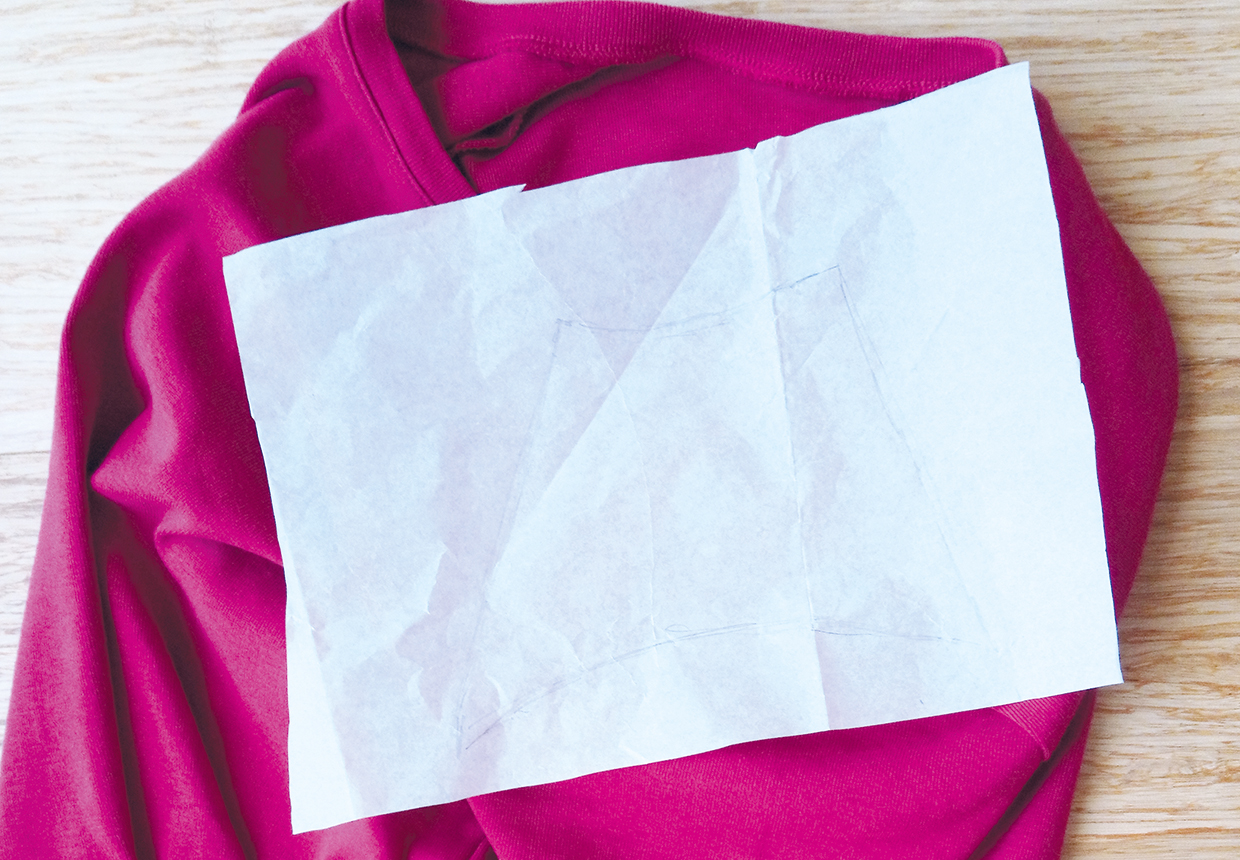
Step 4
Make a mark at the sleeve head position. This mark will match to a mark you make on the shoulder panel where the original shoulder seam was.
Cutting the T-shirt
Step 1
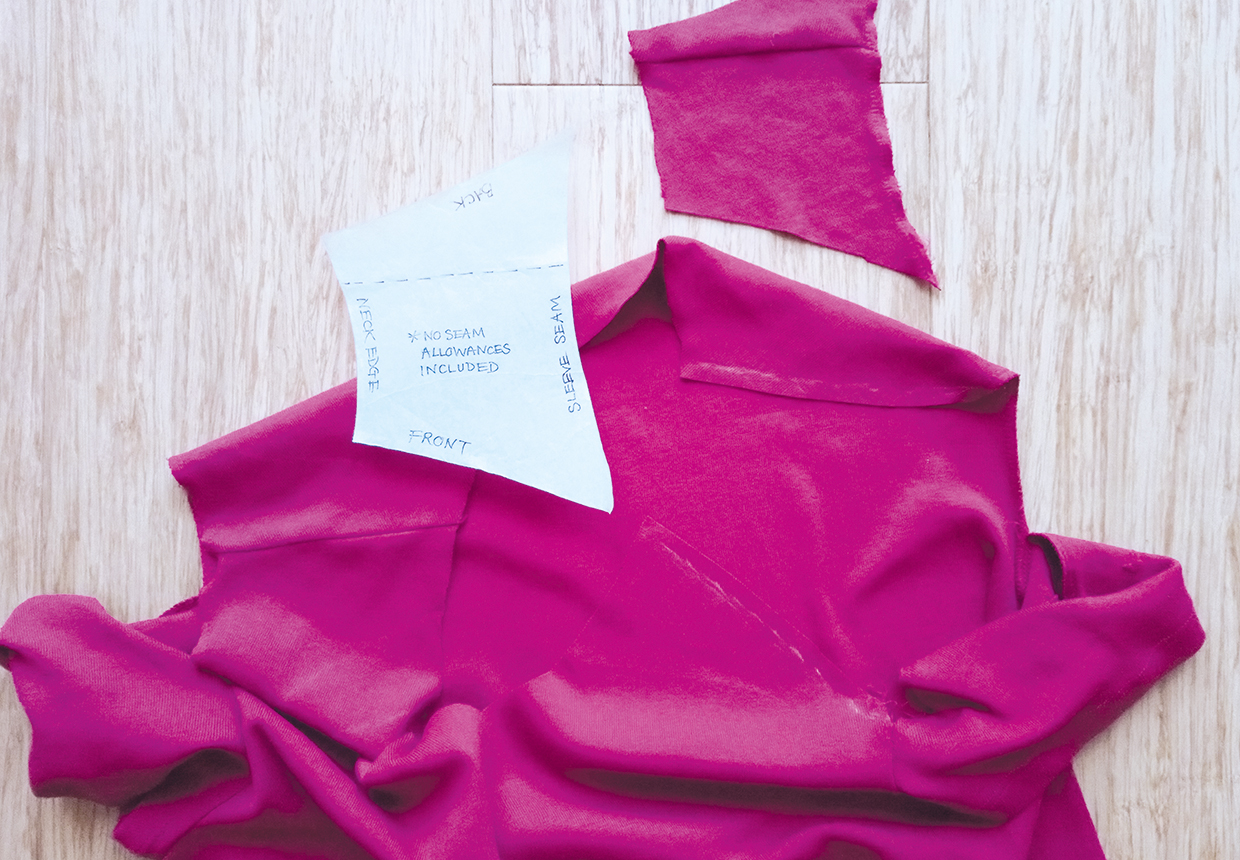
Unpick the seams of the sleeve and neckline just beyond where your new shoulder panel will be inserted. Most factory-made T-shirts are constructed with a four-thread overlocking stitch. A quick way to unpick this is to snip and pull out the two straight stitches, so the looper stitches will then come undone.
Step 2
Depending on the way your existing T-shirt neckline has been made, you may find it simpler and more stylish to cut a new neckline instead of doing a lot of unpicking.
Step 3
Fold the T-shirt in half, matching the centre front (CF) and centre back (CB). Cut your new neckline.
Step 4
Adjust the shoulder panel to take into account a new neckline if you're changing it.
Step 5
Place your paper pattern on top of the shoulder area of the T-shirt and mark around it. Cut 1cm (3⁄8in) inside your marked lines.
Making the pintuck panel
Step 1
Cut a piece of jersey from the other T-shirt which you want to use for the inserted pintuck panel and work a series of pintucks in it following the instructions above. A sleeve is ideal for this.
Step 2
Place your pattern piece for the shoulder panel on top of the pintucked fabric and mark around it. Cut 1cm (3⁄8in) away from the marked line – this is your seam allowance. If your fabric has a two-way stretch, adding a piece of lightweight fabric as a backing will give it stability and make it easier to sew.
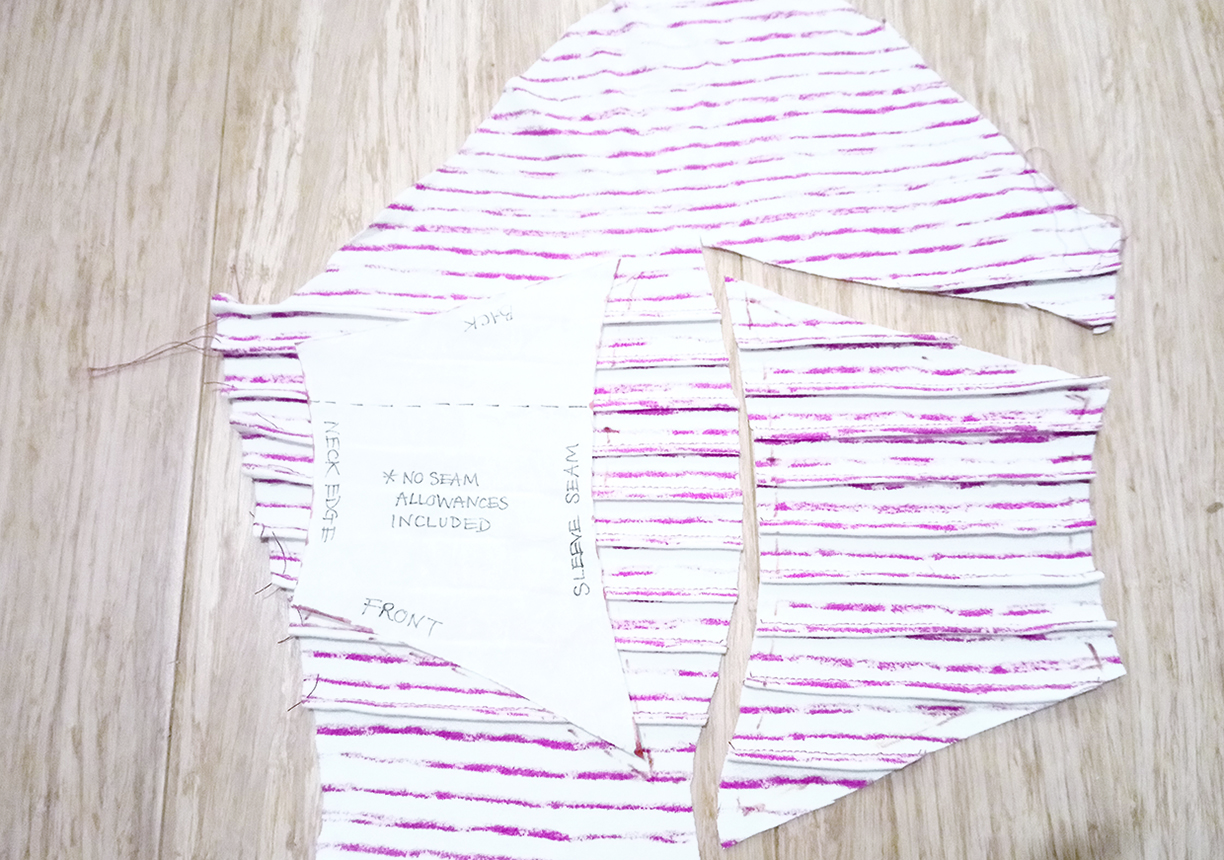
Step 3
Machine tack all the way around the edge of the pintucked shoulder panel, folding the pintucks in opposite directions on either side as you sew.
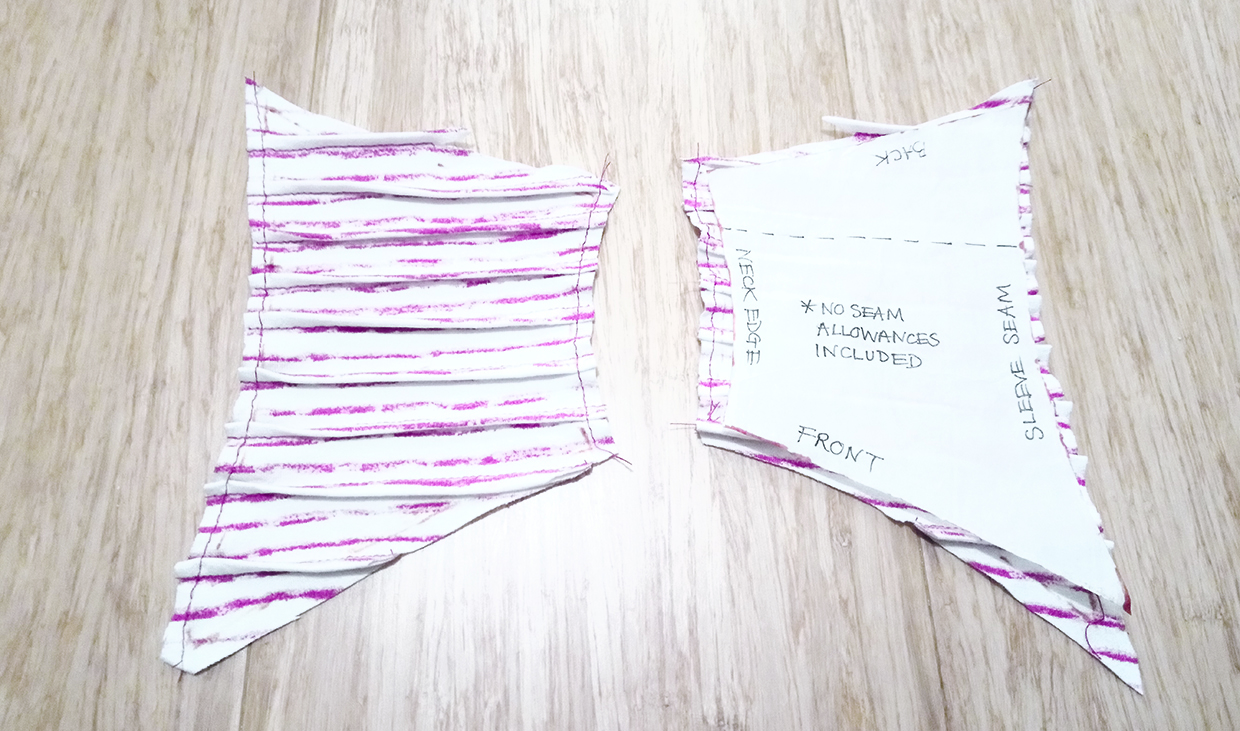
Step 4
For an added, textured effect, sew additional lines of stitching through the pintucks, again folding the pintucks in opposite directions as you sew.
Inserting the panel
Step 1
Sew the pintuck panel into the T-shirt with right sides (RS) together and matching the corresponding front and back seams using a 1cm (3⁄8in) seam allowance.
Step 2
Neaten the seam with a machine zigzag stitch or an overlocker.
Step 3
Re-insert the sleeve then re-attach the neck band.
Step 4
You can add a new neck band if you prefer using a strip of contrast fabric stretched to fit. Tack this in place first before sewing with stretch stitch and neatening to finish.
