How to sew buttonholes

How to sew buttonholes

Buttonholes can make or break the look of handmade clothing, but gone are the days of messy thread nests, as many machines offer special stitches that make sewing buttonholes stress-free.

Try 3 issues of Simply Sewing magazine for £10!

Published: May 13, 2020 at 8:00 am

Many beginner sewists shy away from buttonholes but they are really very simple to sew once you get the hang of them. The key, as with any technique, is practice! As buttonholes are often the last step in finishing a garment, it is important to test out the stitch several times before you add them to your project. Here are some essential tips and techniques to get neat, professional-looking buttonholes on a variety of different garments.

Anatomy of a buttonhole

Buttonholes are made from four lines of zigzag stitching which create a box. The zigzag stitches have a long width and narrow length meaning that they sit close together, creating a dense border. Newer machines may have one-step automatic buttonhole stitches built in which allow you to sew a buttonhole in one go with the correct foot and setting. Other machines may offer a four-step buttonhole which requires a dial to be moved in order to create the long and short sides of the hole separately. Older machines without specialist buttonhole stitches may require you to manually work the buttonhole using zigzag stitch. This involves using two width/length variations; always remember to practice on a scrap of fabric before working the buttonhole on your final garment!

If you want to build up your sewing skills, take a look at our guides and learn how to sew a button, how to make your own buttons or have a go at our best sewing patterns for beginners.

Read on to learn how to sew buttonholes.
You will need:

  • Button
  • Fabric (matching thread)
  • Tools (seam gauge (optional), erasable pen or chalk, buttonhole cutter or a seam ripper)
  • Sewing machine

Step 1

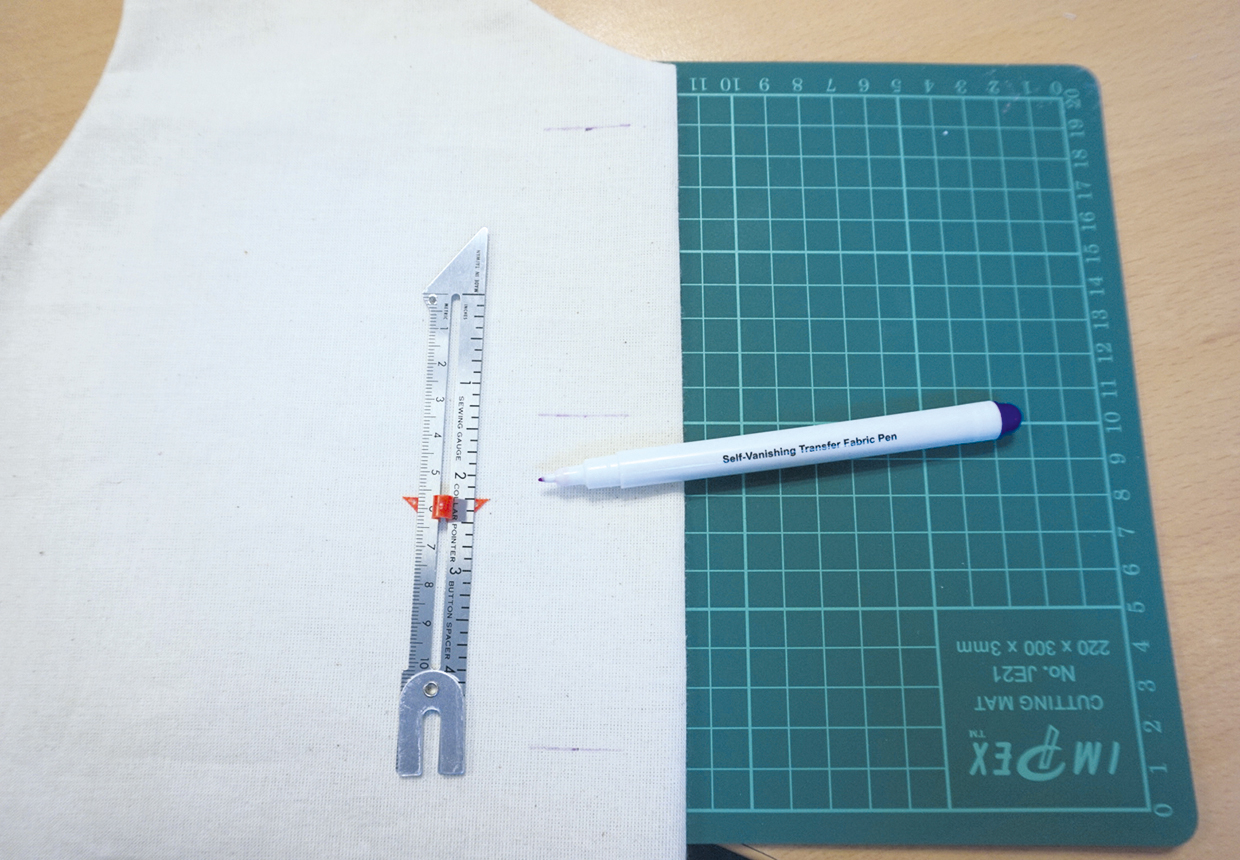
Seam gauges

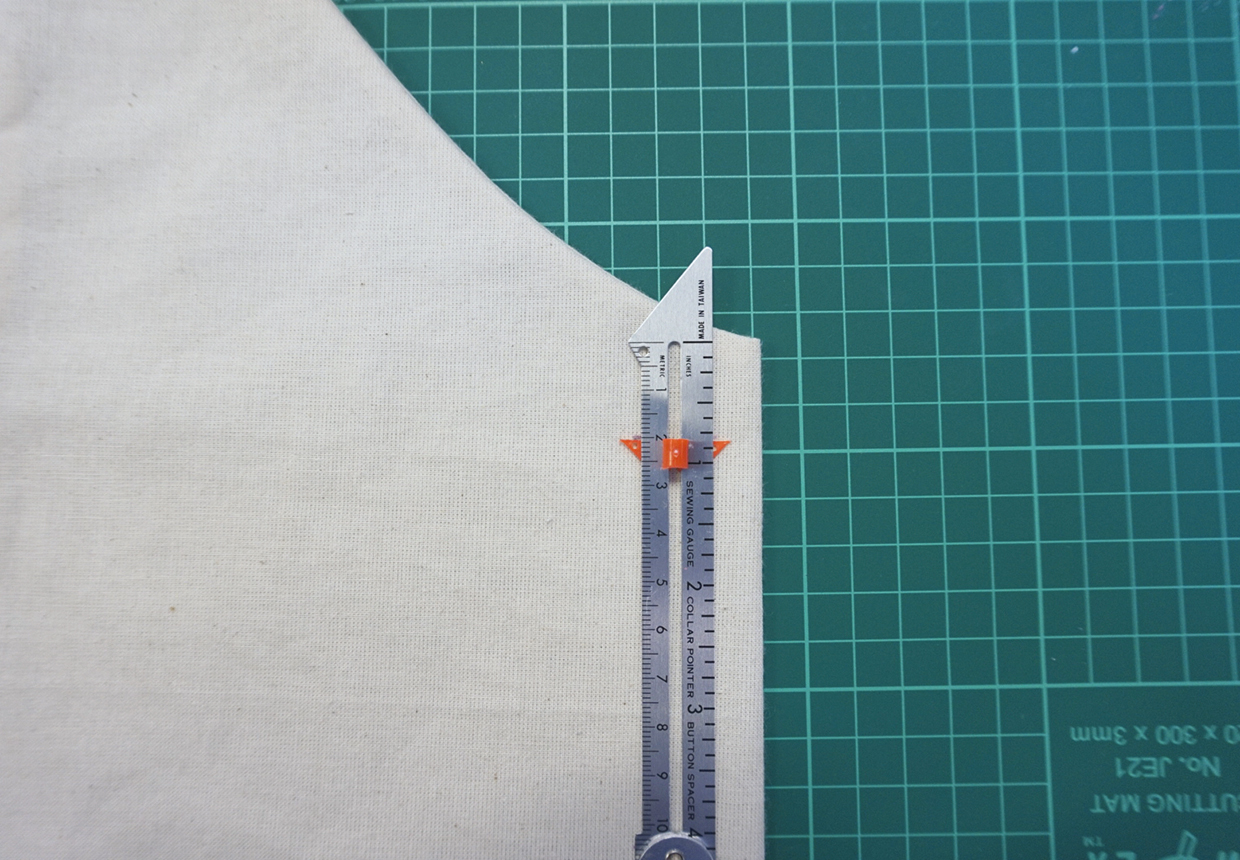
Seam gauges can be used to measure equal distances between buttonholes. We marked our first buttonhole 2cm (¾in) from the neckline edge and the other two buttonholes 8.5cm (338in) apart. You can also use a gauge to measure in from the fabric edge so that the positioning is equal along the centre front/centre back.

How to sew buttonholes step 1

Erasable pen or chalk

Step 1

Use an erasable fabric marker to mark out the centre position of the buttonhole. Mark the buttonhole length on the fabric, too. This is calculated by measuring the domed cap (and the flat sides) of the button and adding 3mm (18in) extra. Another way to determine the size of the buttonhole that will be needed is to insert your button into the buttonhole foot and sew a test buttonhole, then measure the length of this stitch. This is also a good way to work out your desired stitch width.

 How to sew buttonholes step 2

One-step buttonholes

Step 1

If your machine has a one-step buttonhole stitch and you have a specialist buttonhole foot you can sew buttonholes that are automatically the right size and length.

Step 2

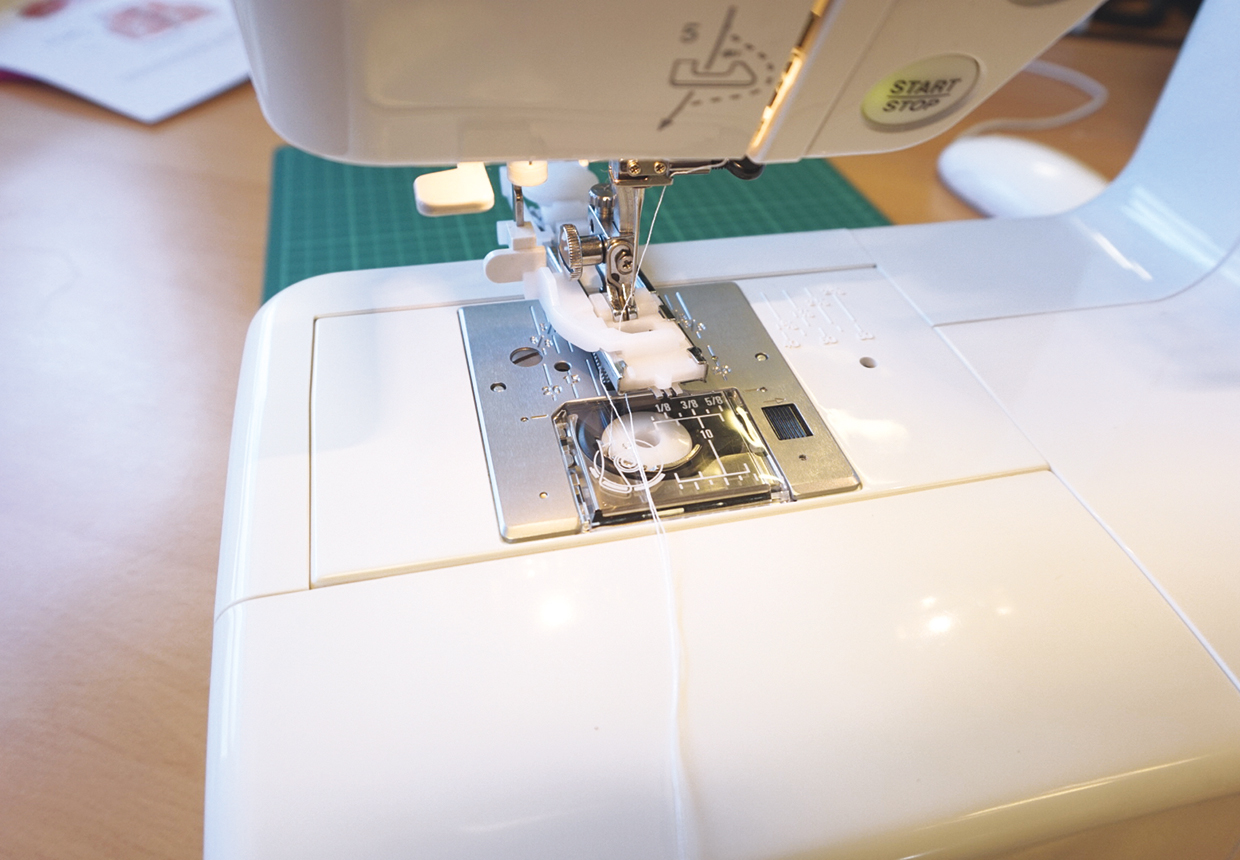
Check you have enough matching thread in the bobbin and top thread before beginning and then attach the buttonhole foot to your machine.

How to sew a buttonhole using a machine

Step 3

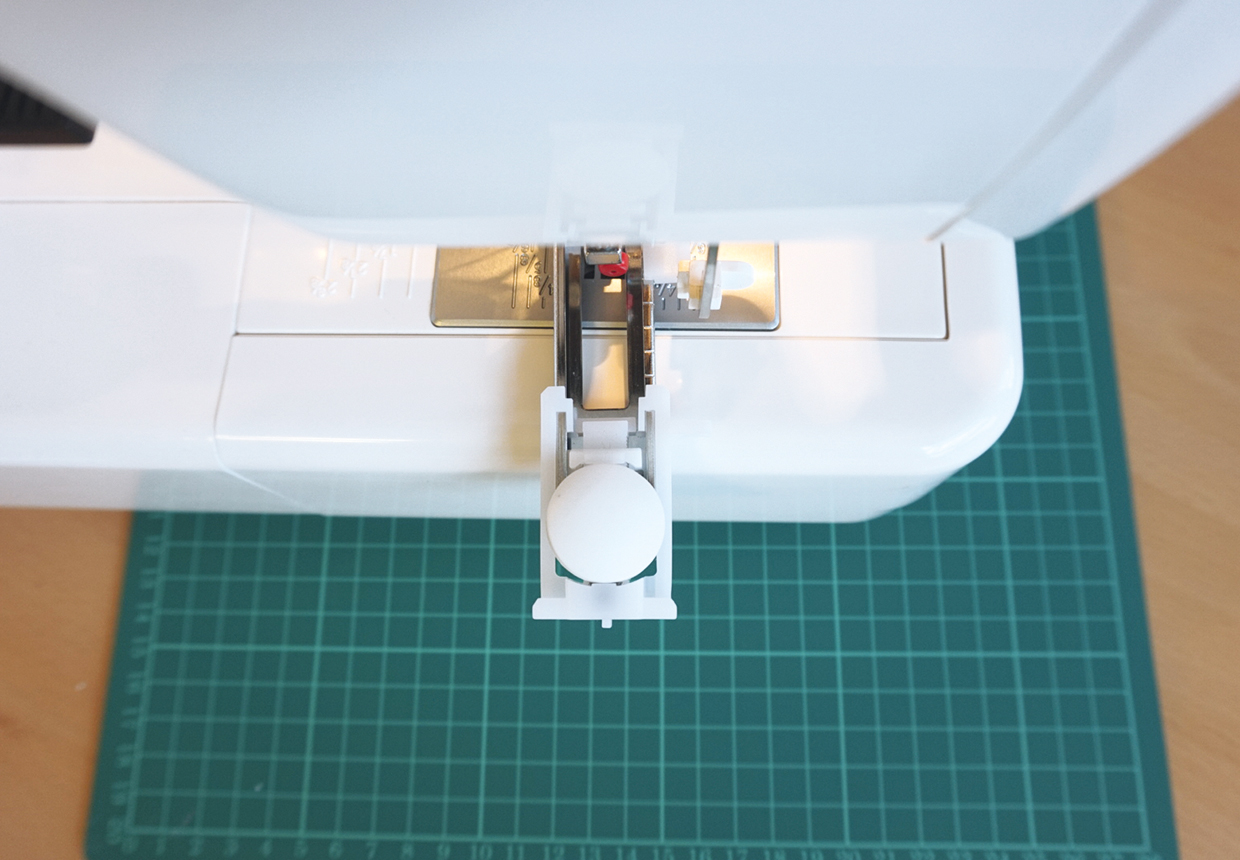
Place your button in the back of the attachment as shown. The spring mechanism holds the button in place and determines the buttonhole size.

How to sew buttonholes with a machine

Step 4

Select the machine setting for a straight buttonhole – other shapes may be available depending on your machine.

Step 5

Test the stitch on a scrap of fabric first to see how your machine positions the buttonhole. Following the marked position of the buttonhole on your garment, align the needle over the start of the marking and ensure the foot is at the correct angle for your buttonhole to prevent a wonky stitch.

Step 6

Lower the presser foot and start sewing. The machine will sew the buttonhole itself, you will just need to guide the fabric with your hand. Do not pull or push the fabric at any stage of the stitch.

Step 7

The machine will automatically stop when the buttonhole is finished. Raise the presser foot and trim the threads.

Buttonhole cutter

Step 1

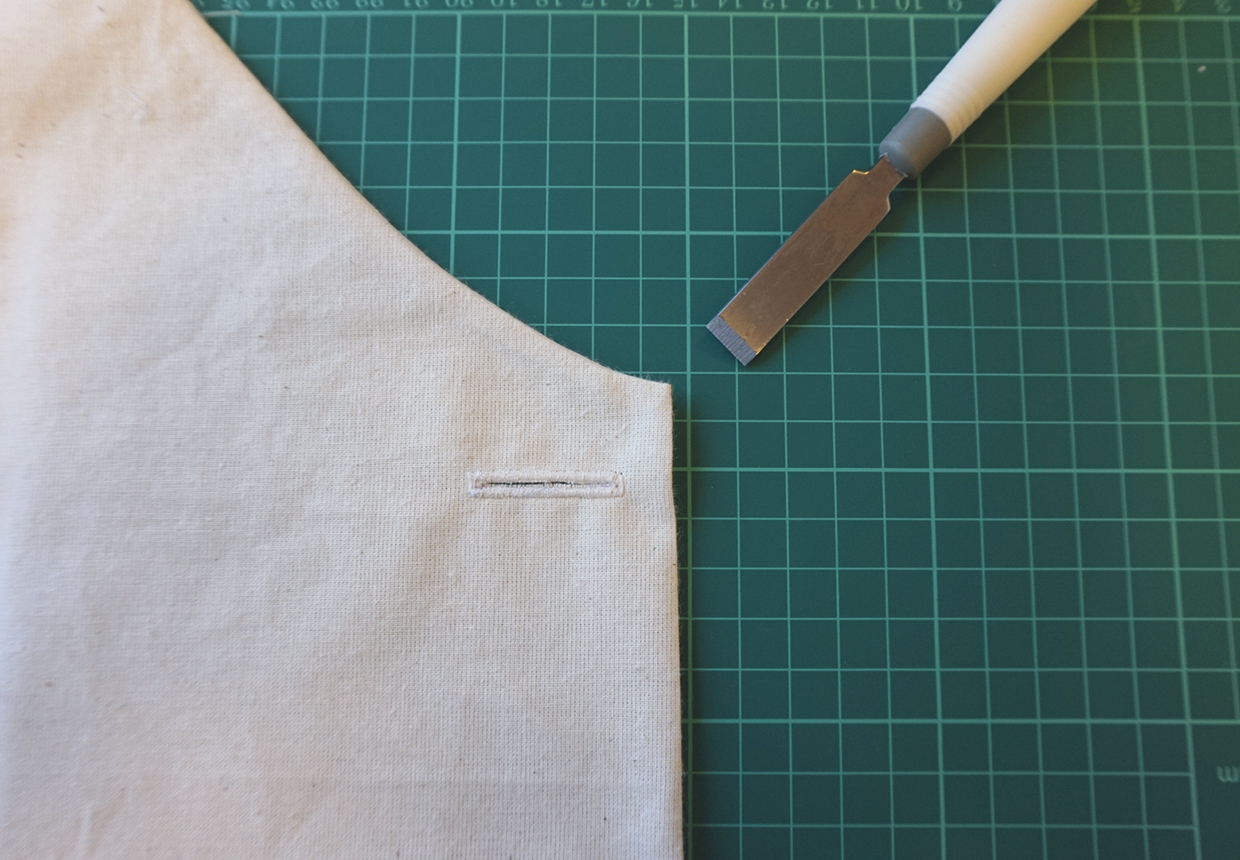
A buttonhole cutter is a sharp, chisel-like blade that will cut a neat, straight line along the buttonhole without the fear of cutting into stitches. Use the tool with a cutting mat to protect your work surface from the blade.

Step 2

Place the tip of the cutter in the buttonhole centre, making sure no threads are caught under the blade.

Step 3

Use a hammer or press down firmly by hand to cut the fabric.

How to sew buttonholes step 5

Seam ripper

Step 1

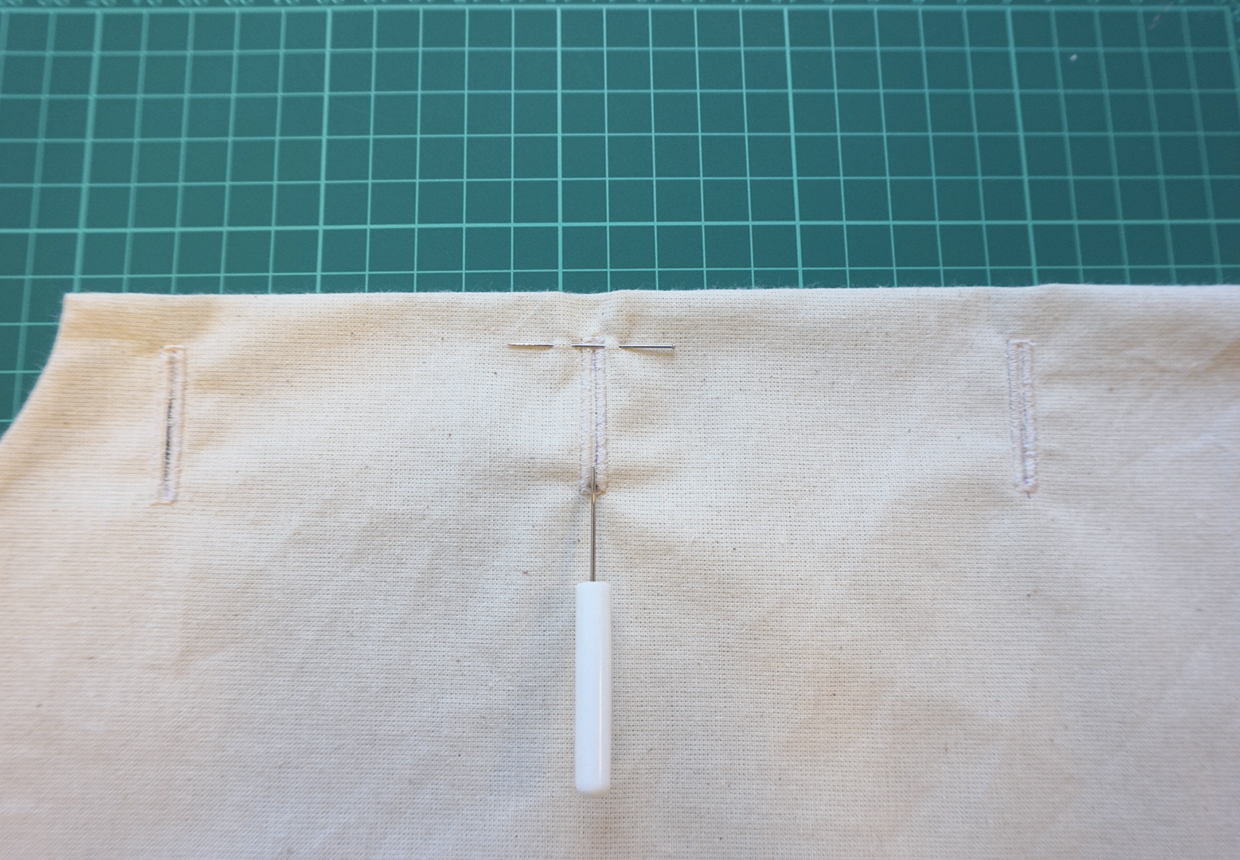
If you don’t have a buttonhole cutter a seam ripper can be used to open up the buttonhole.

Step 2

Place a pin at the end of the buttonhole inside the stitching, as shown in the image. The pin will prevent you from slitting too far along the hole.

Step 3

Use your unpicker to slowly slice the hole open.

How to sew buttonholes