Learn how to sew your own bias binding with our workshop from tips from Simply Sewing Magazine and Alexandra Smith. To begin, we'll take you through what bias binding is and when you'll need to use it…
What is bias binding and when should you use it?
Seams, curves and edges would be unfinished without it. Our quick guide will help you choose single or double fold, and the best width and fabric.
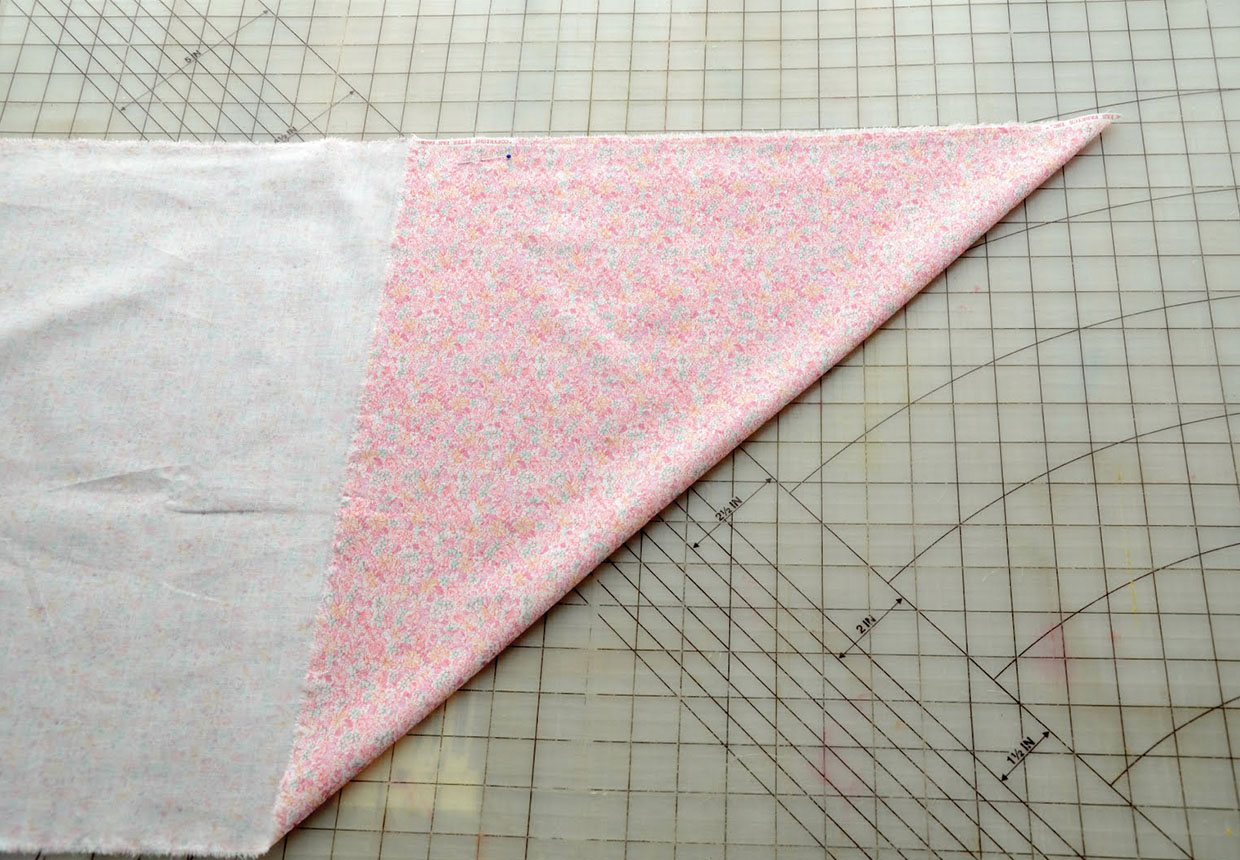
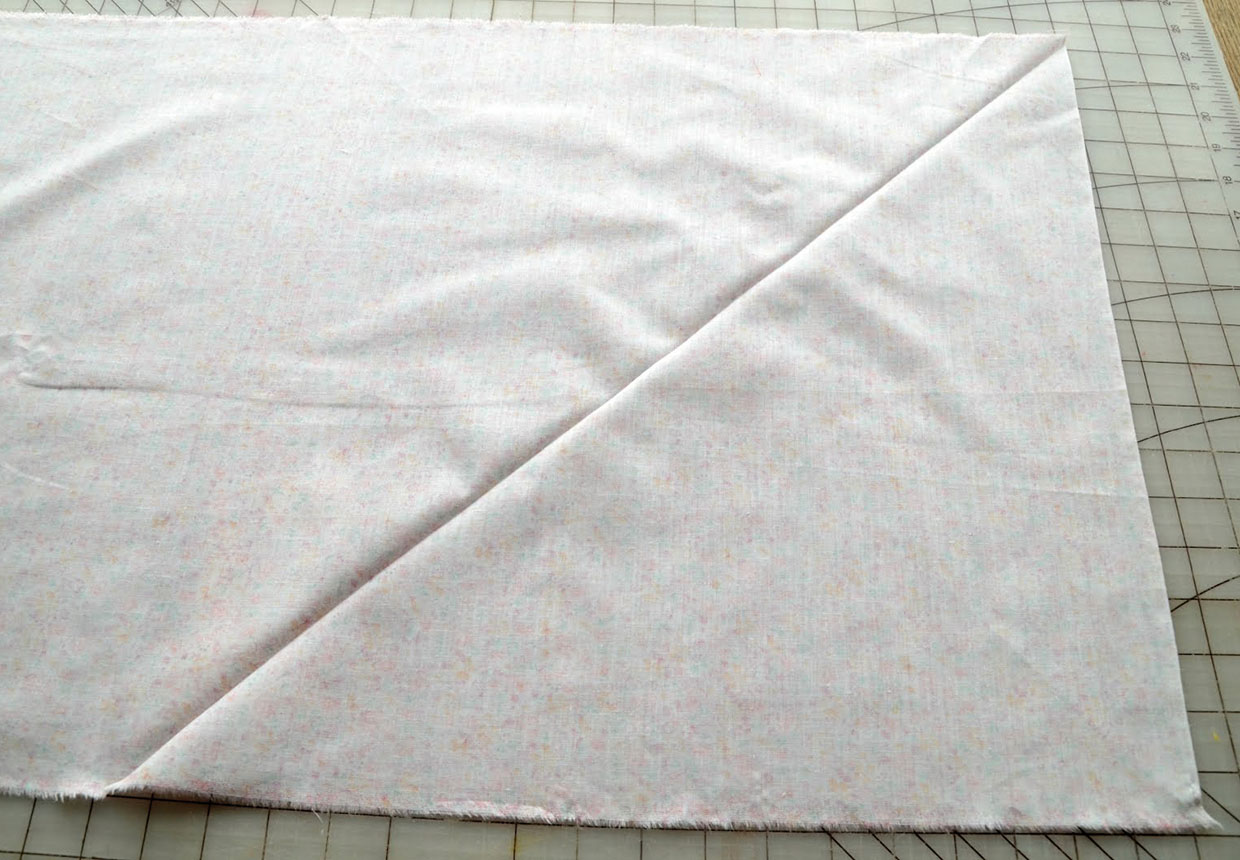
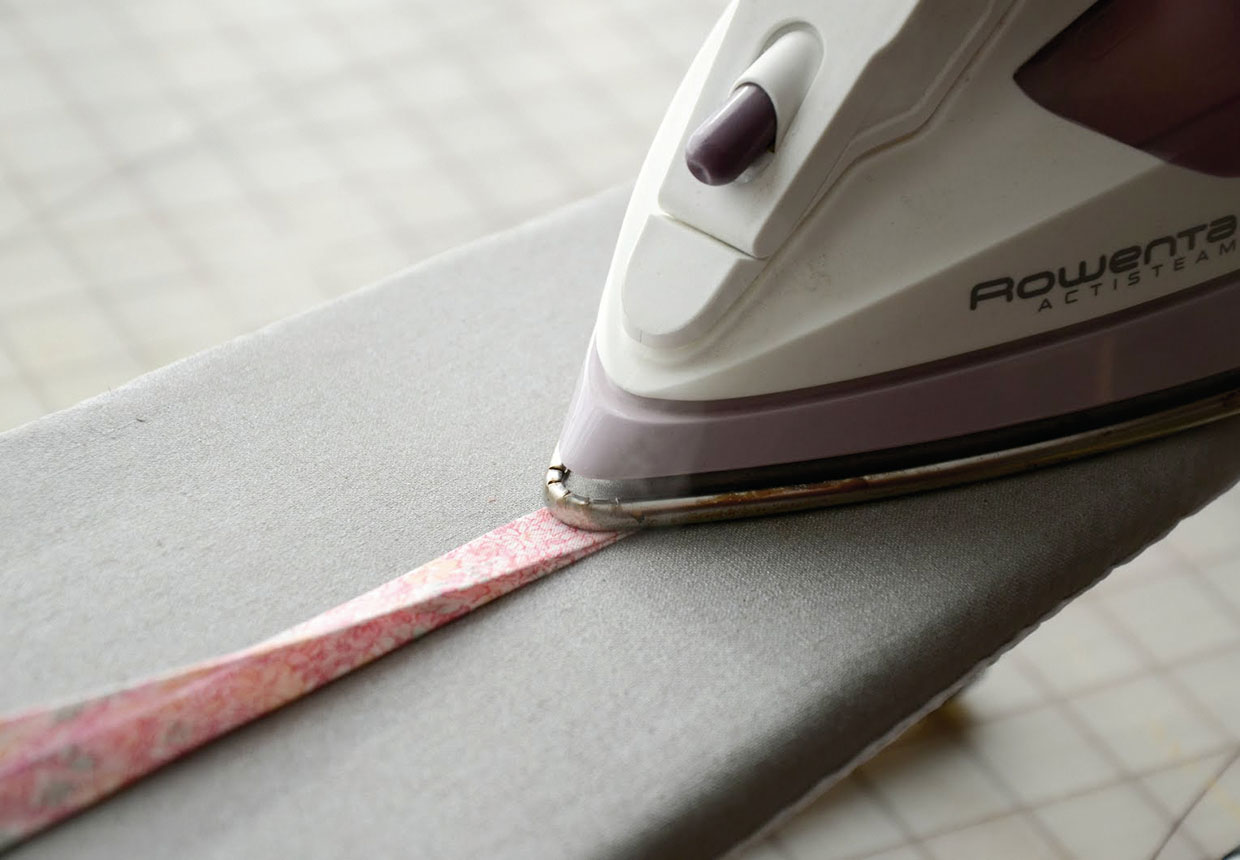
Bias binding is a strip of fabric that is cut ‘on the bias’, or the cross-grain, meaning it is cut on the diagonal at 45 degrees to the selvedge of the fabric. This strip is then folded inwards to the wrong side along both long edges and pressed. Several of these strips are sewn together to make one long tape, so you can buy it to the length you need. Cutting it on the bias gives the fabric strip a little ease, which means it can be stitched around curves neatly.
So when should you use bias binding? It’s usually used for binding seams and finishing raw edges, such as on quilts, table linen and in dressmaking. You can use it to stabilise curves and instead of making a facing to create a finished edge, for example, on a sleeve opening.
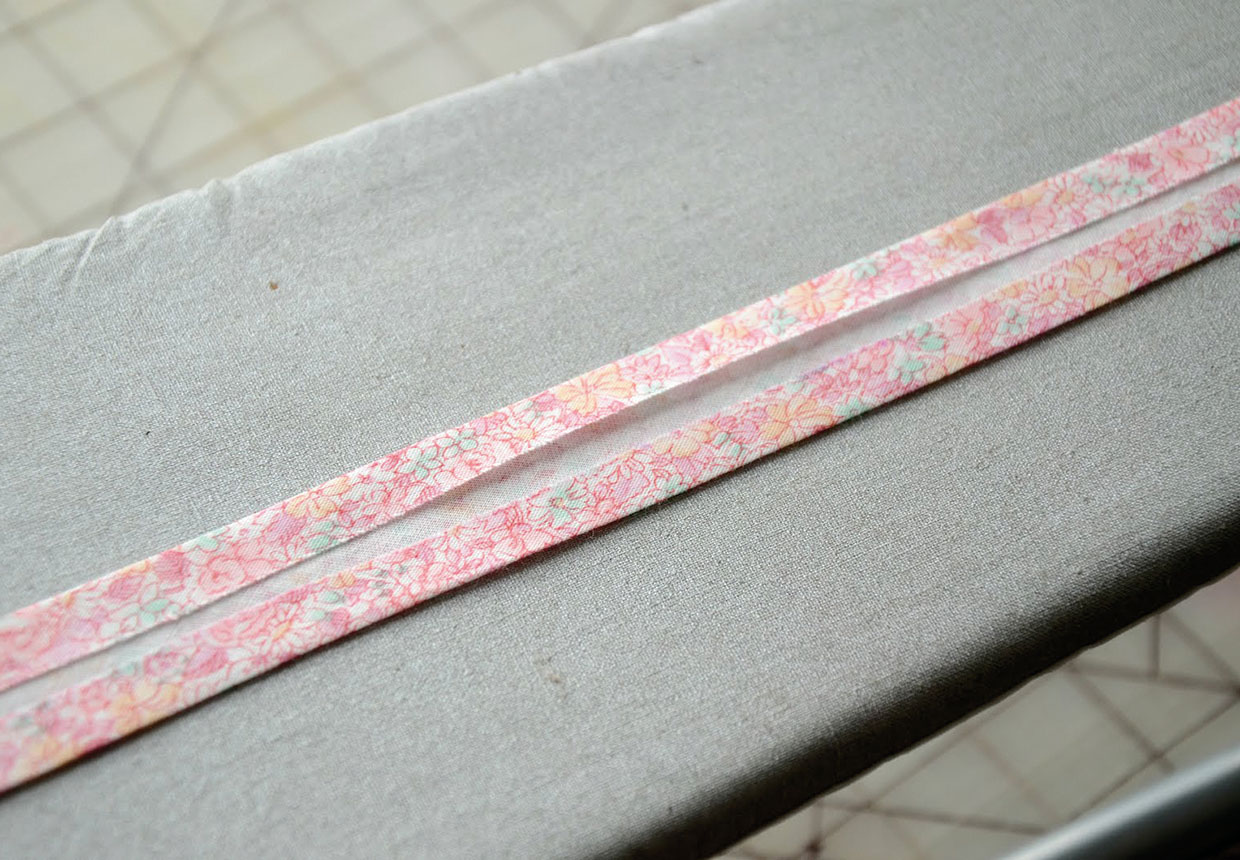
There are two types of bias binding. Single fold is the most common – this is a bias-cut tape that has both raw edges folded towards the centre and pressed. Double fold is made in the same way, but the tape is then folded almost in half again and pressed. One side usually slightly extends beyond the other side to make it easier and neater to attach.
How to match your bindings to your sewing project
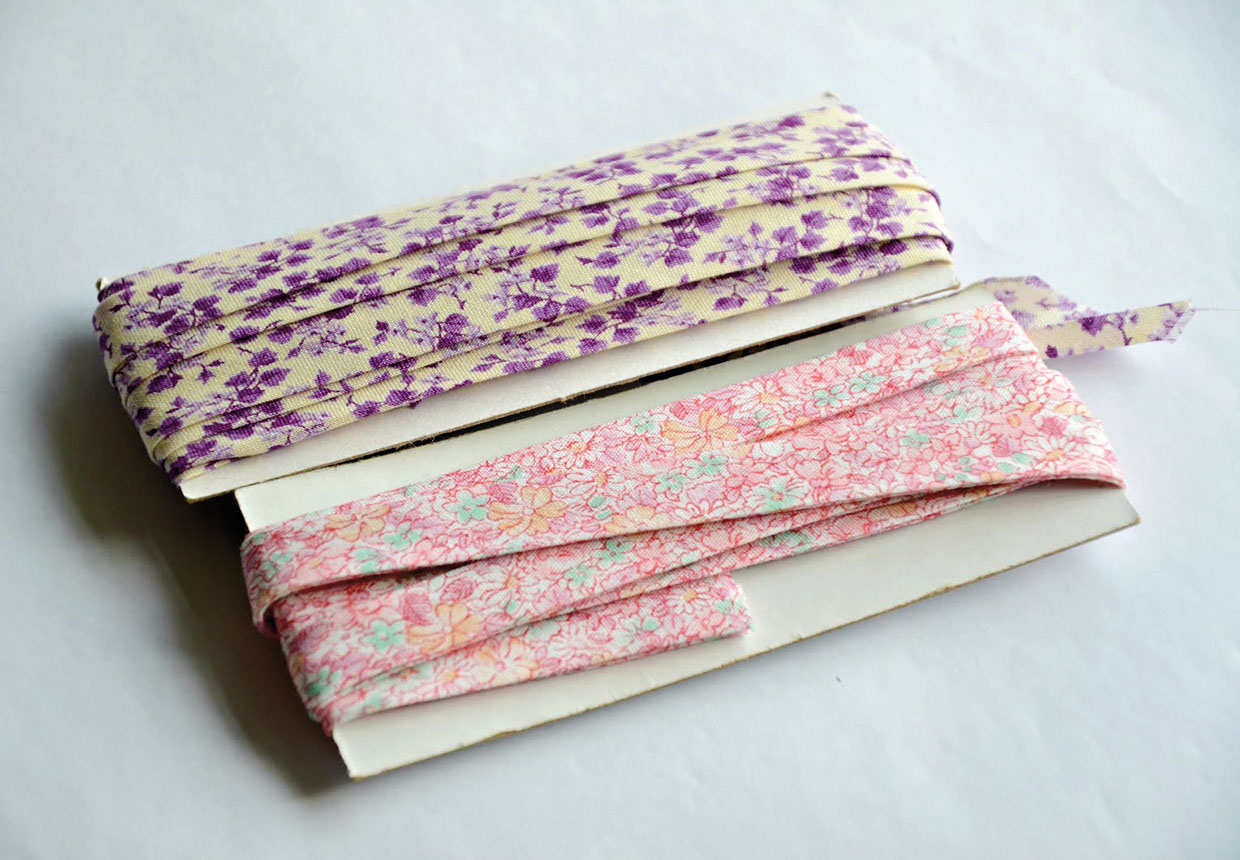
Bindings can be bought by the metre or in pre-cut packs. The width of the bias binding refers to the folded width, which you see once it’s sewn into place. It comes in a variety of sizes, most commonly from 12-60mm. You need to choose the width of bias binding you need according to the item you’re binding. A narrow 12mm binding will give a crisp edge to a hem or sleeve, while a 25mm binding gives a bold edge to a tablecloth or napkin. The wider 50-60mm bindings work well on blankets and quilts, holding the layers firmly in place and framing the finished item. Bias binding comes in a huge variety of colours and patterns, made from different materials.
If you can, it’s best to match the material of your bias binding to the material you are stitching it onto, so that it will wash and feel the same way, but you can choose a different binding as a contrast if you prefer. blends and cottons Polycotton binding is the most multipurpose because it can be easily laundered and won’t shrink when washed. It’s available in a very wide range of colours, patterns and widths, and you can use it for any type of dressmaking or home sewing.
Pure cotton binding is best used to bind cotton fabrics, but it can also be used on blankets and fleeces for a contrasting edge. Cotton binding is often pre-stiffened to make it less likely to fray and to give a crisp finish, so the feel may change after the first wash. A linen and cotton blend in natural colours is also available, which gives a lovely vintage feel.
How to make bias binding workshop
"Making your own bias tape might add a little extra time and effort to your project, but the finished look is well worth it", explains Alexandra Smith. You can buy a variety of ready-to-use bias binding, but making your own out of the same fabric type produces much better results.
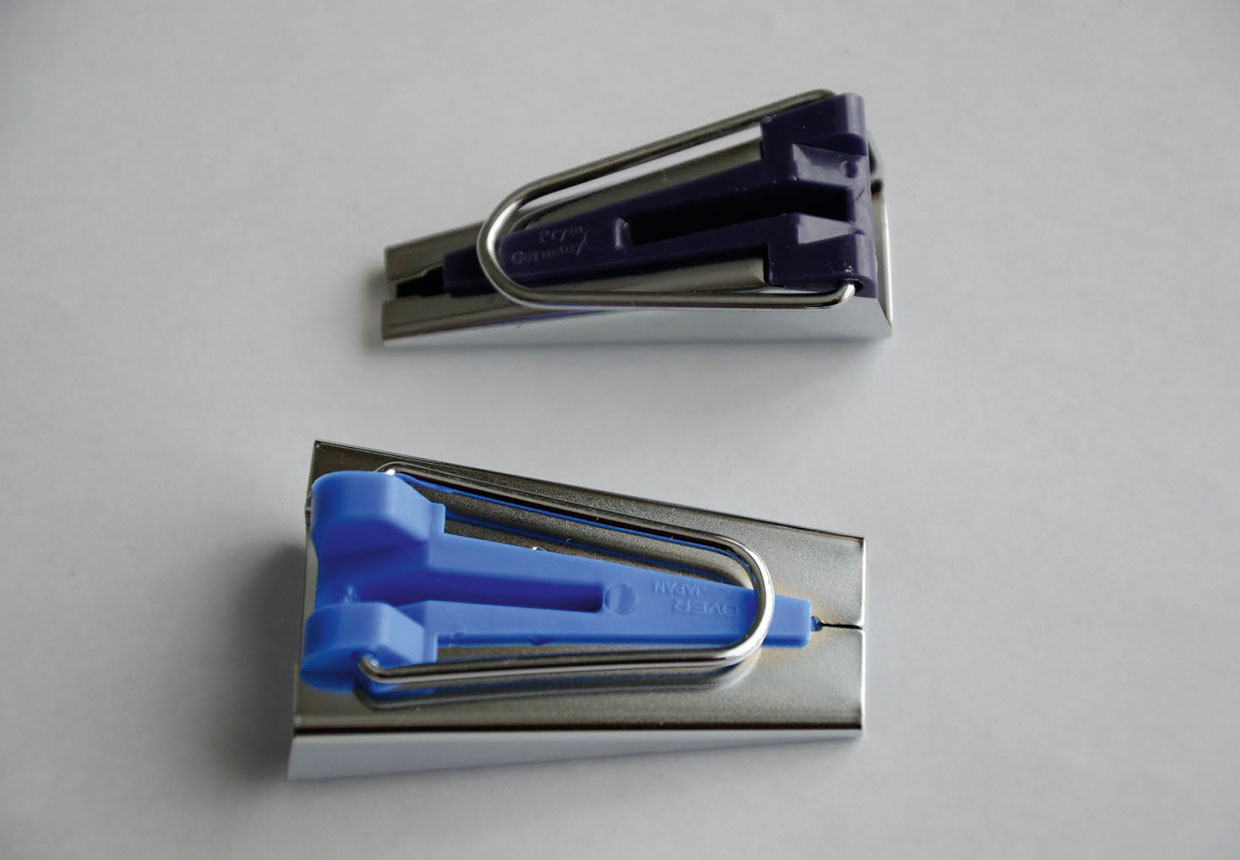
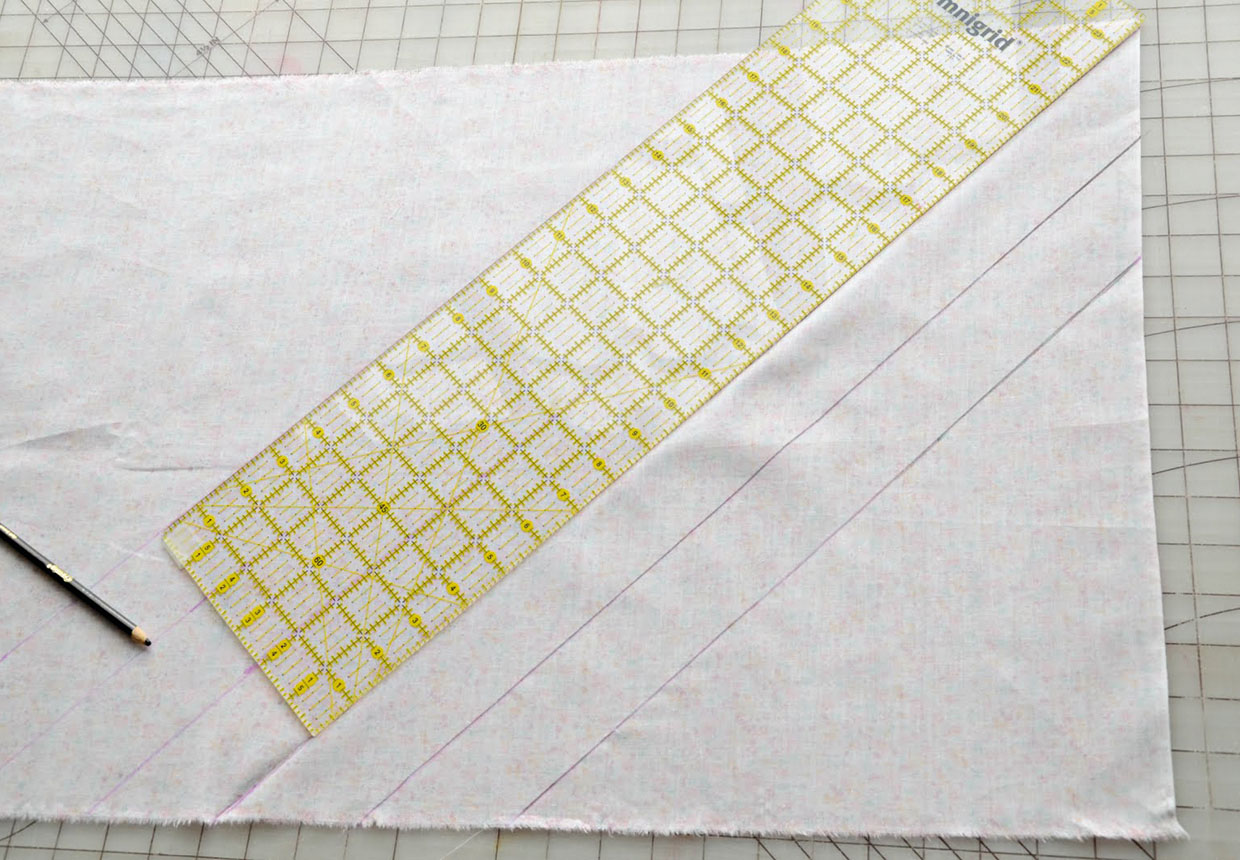
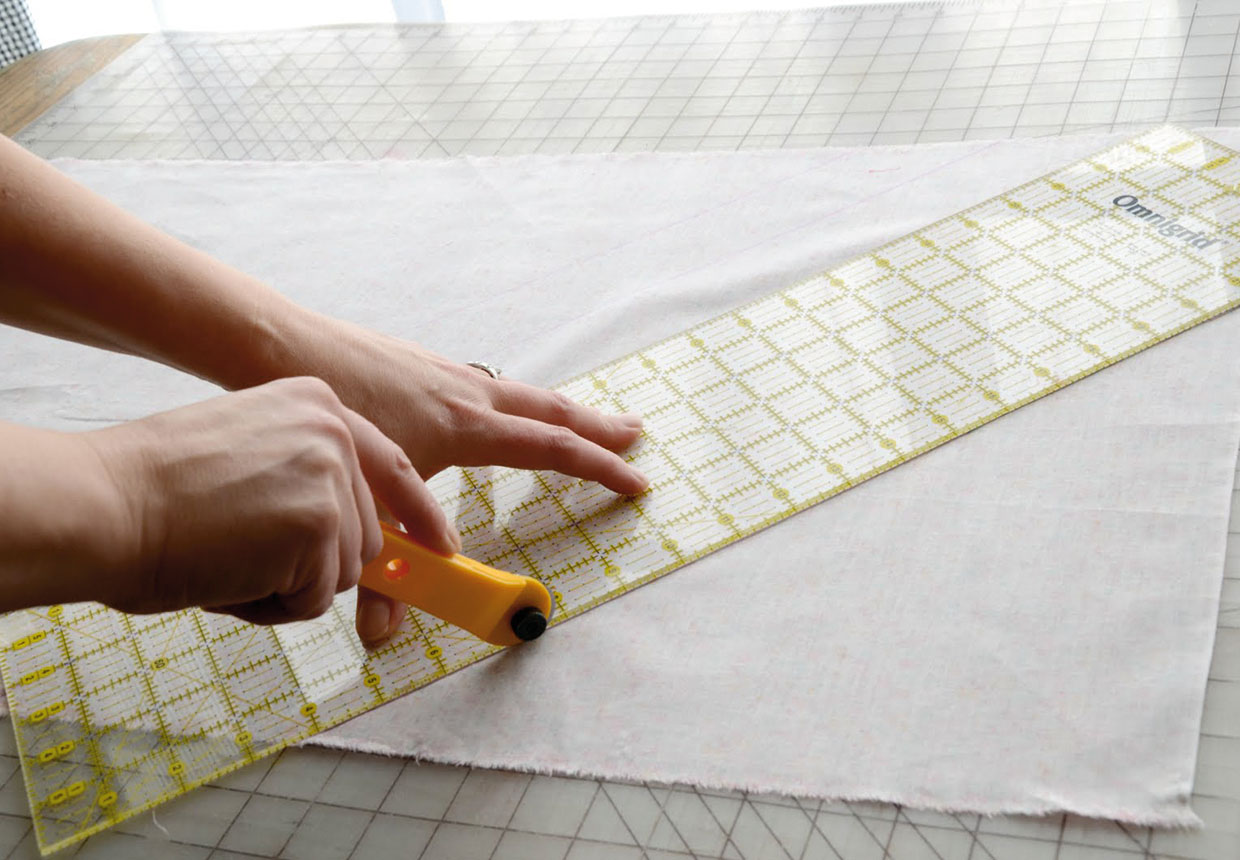
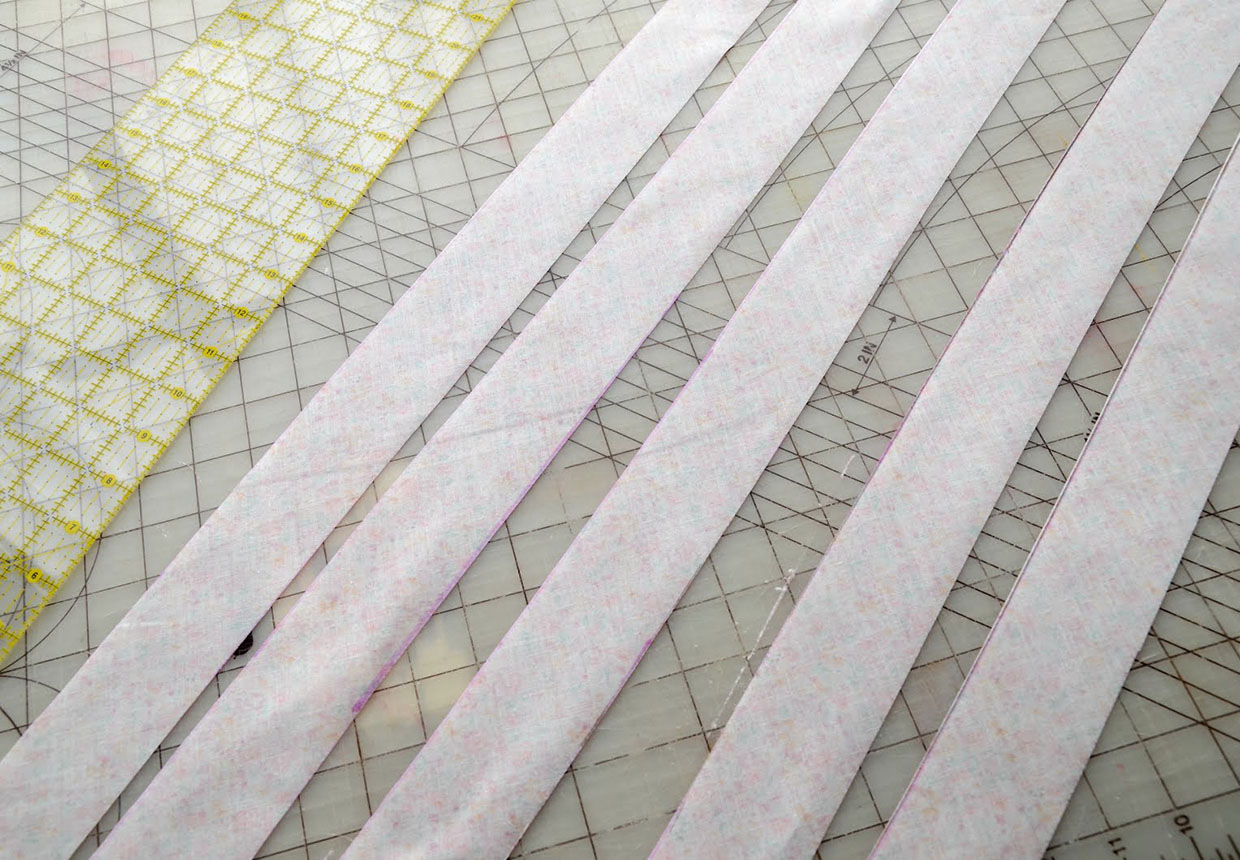
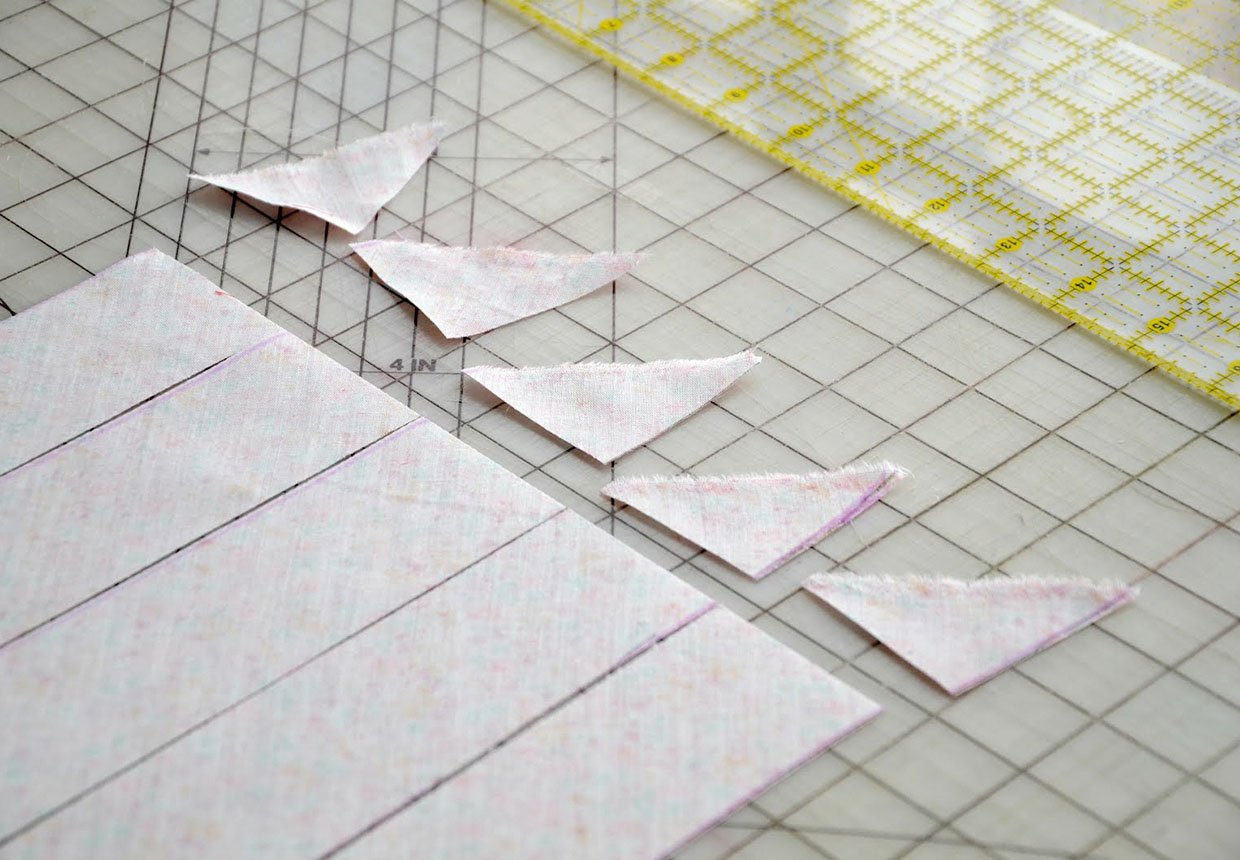
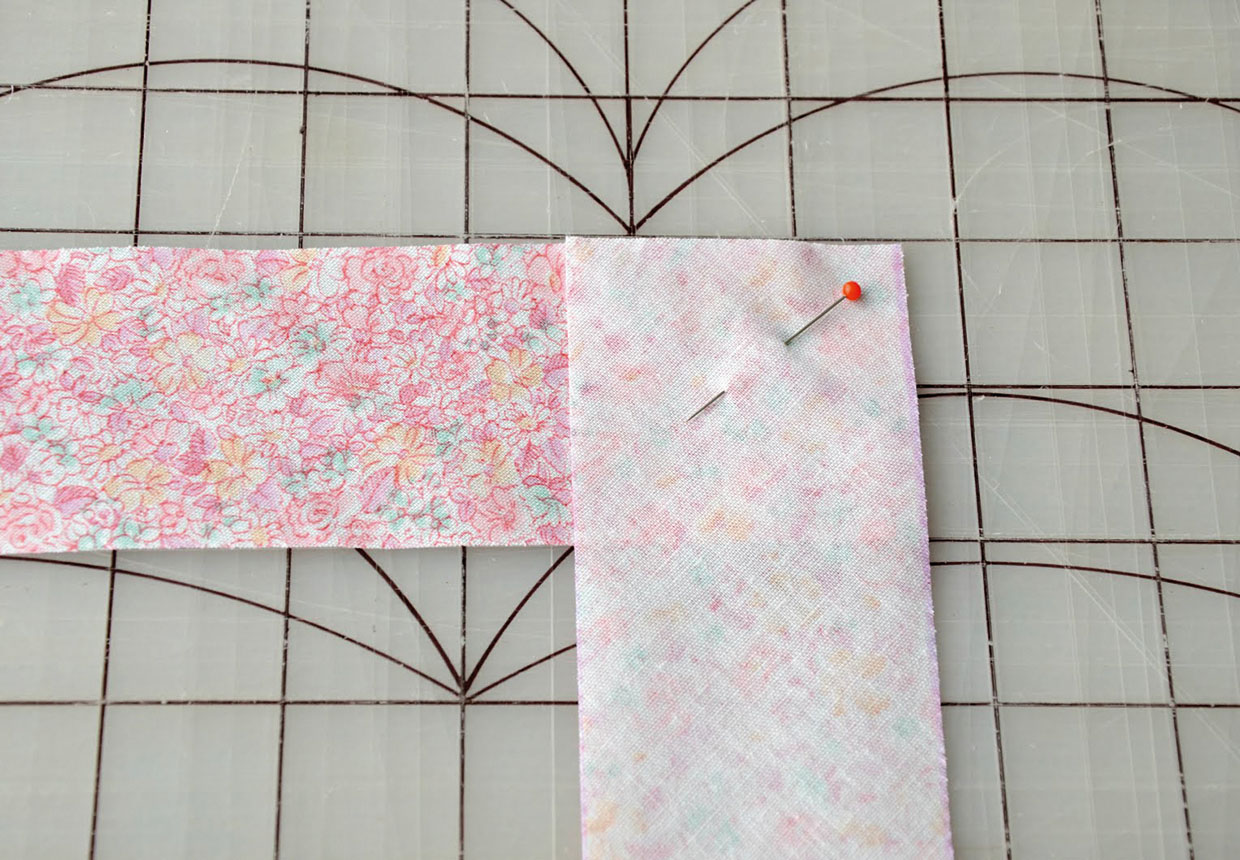
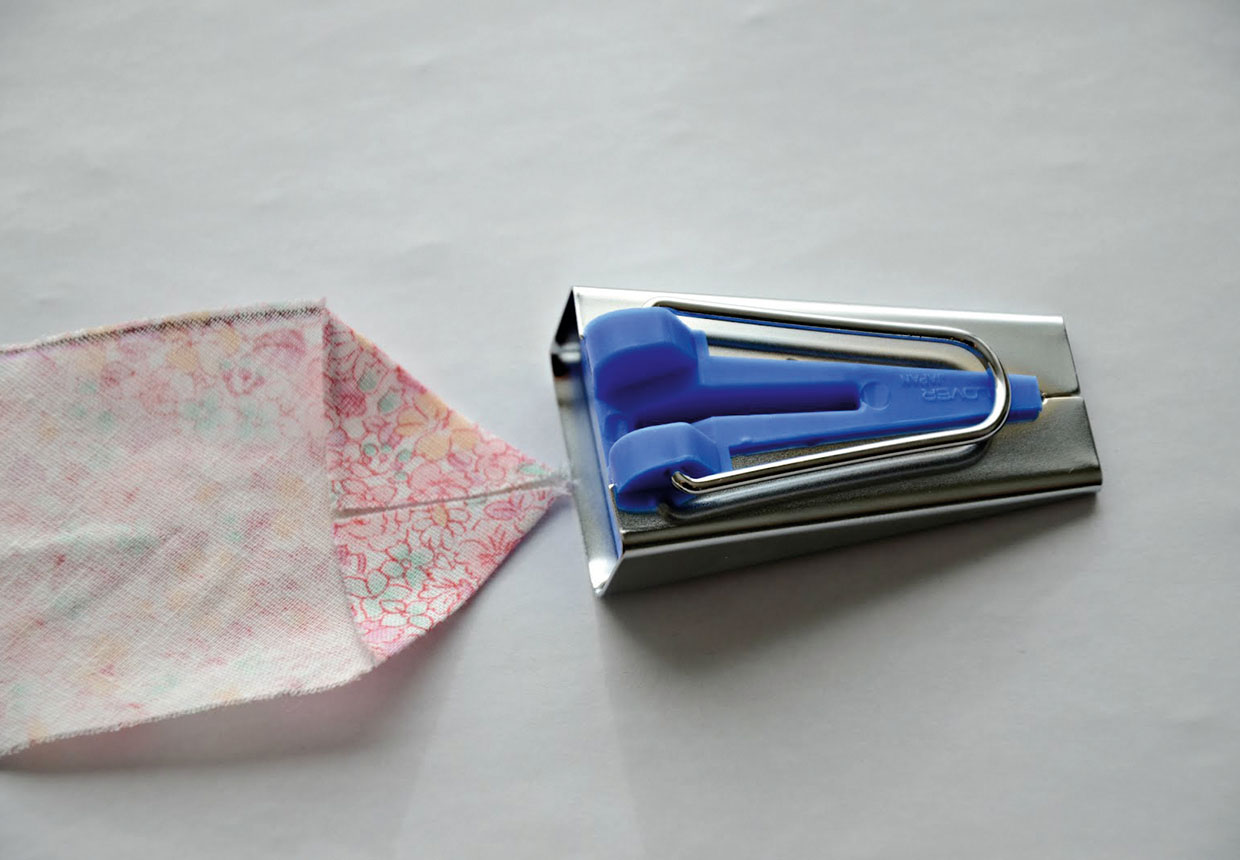
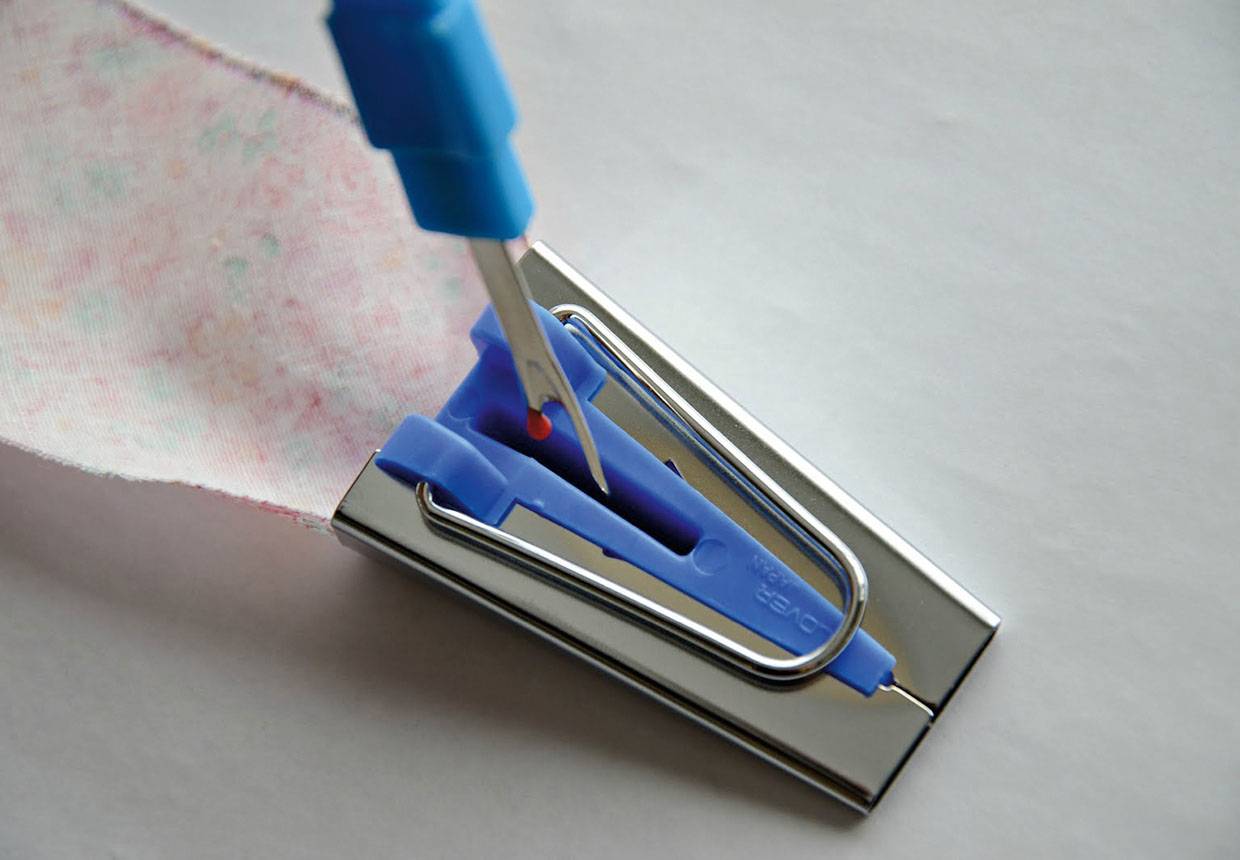
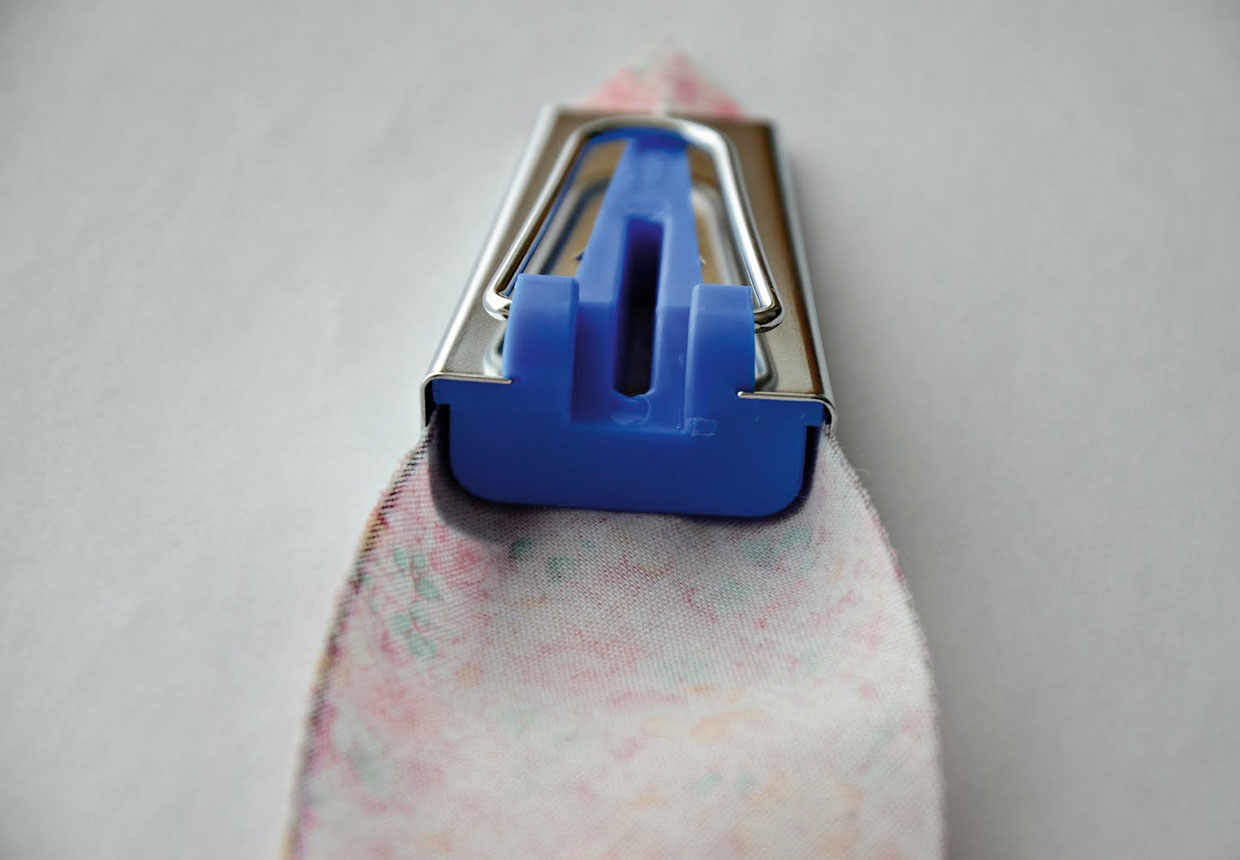
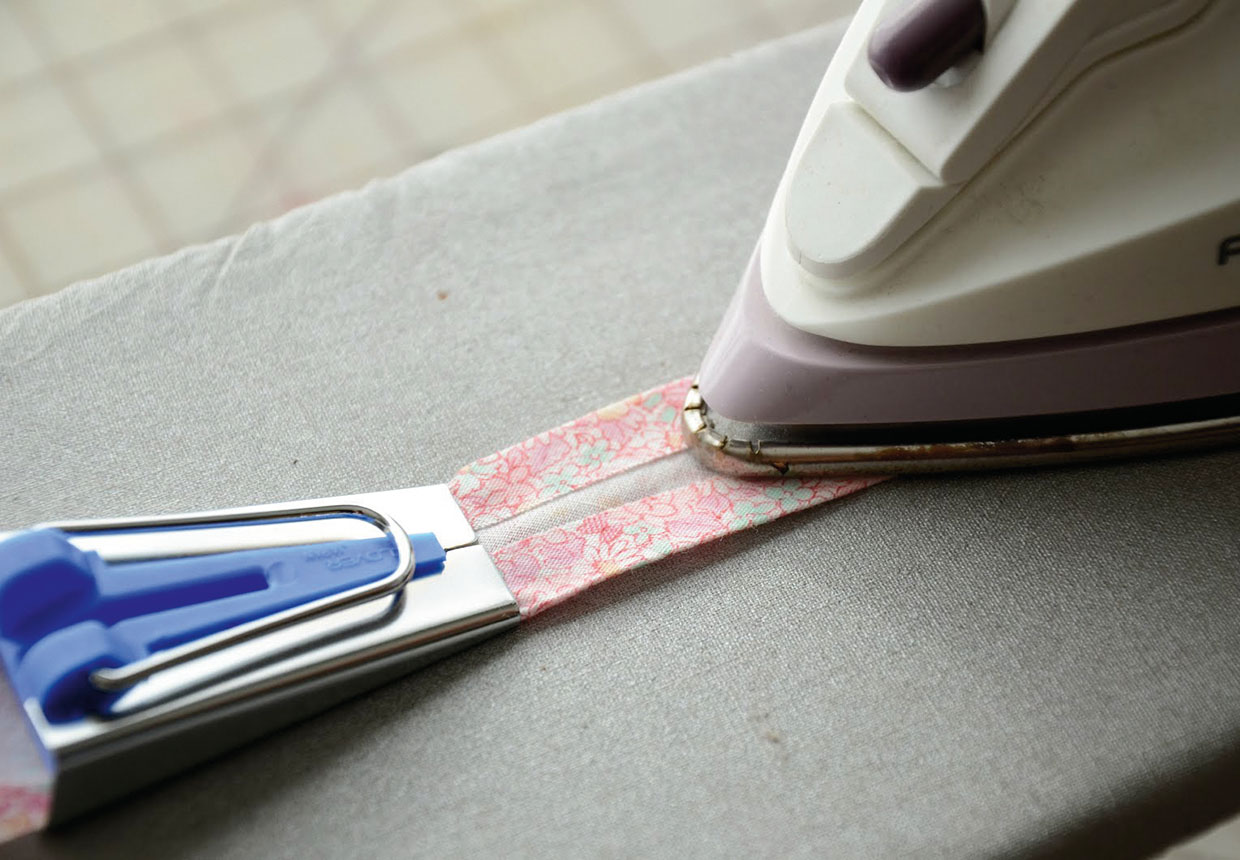
You can make a small amount of bias binding for each project as and when you need it, or make a large amount, ready to use at any time – it’s up to you how much you make at a time. There are a few different methods to making bias tape – we’ll show one way, but you can try other methods. Use a rotary cutter and bias tape maker tool to get oh-so-neat results. Bias tape making tools are nifty and inexpensive gadgets that come in a few different sizes from ¼in to 2in. The width marked on the package is for single-fold bias tape, so a 1in bias maker tool will make ½in double-fold tape.
How much bias tape will your piece of fabric make? First, multiply the length of the fabric by the width, then divide that by the width of your strips to give you a rough approximation. A half yard of fabric will yield a good several yards of bias binding of most widths. Now, go give it a try!
Notes
A good size rectangle of fabric (for this example, we used about 0.5m/0.5yd of cotton print, but you can use a smaller rectangle with no problem); a fabric marker, pencil, or tailor's chalk; a long ruler (clear quilting type works great!); rotary cutter and self-healing mat or fabric shears; bias tape maker tool (not essential, but highly recommended); thread; an iron and ironing board.

