Piecing the outer case
Step 1
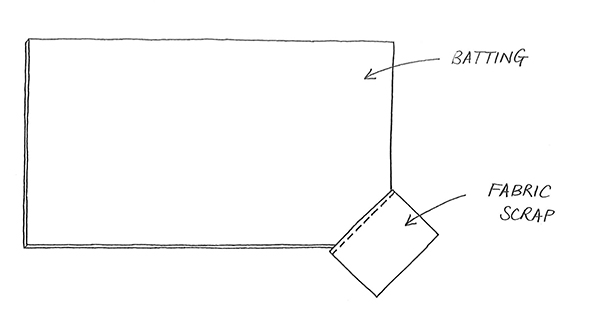
Take your piece of batting and assortment of selvedges. Place a miscellaneous fabric scrap across the bottom right hand corner of your batting and secure with a diagonal seam about 1⁄8in from the raw fabric edge (Fig 1).
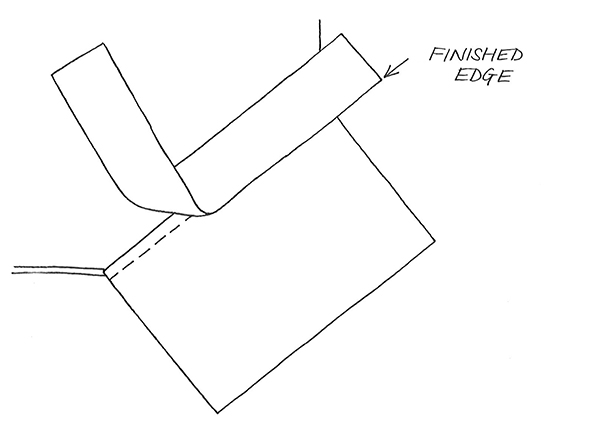
Select your first selvedge and place over the fabric scrap, at a 45 degree angle, overlapping the raw fabric edge by ¼in (hiding the seam that holds the fabric scrap in place). Stitch down by edge stitching along the finished selvedge edge (Fig 2).
Repeat this process, working your way diagonally across the batting until it is totally covered in selvedges. Trim to measure 7½in x 13in.
Preparing the pocket panel
Step 1
Take both Fabric A pieces, and one of the remaining selvedges. Trim the selvedge to 61⁄2in x 21⁄2in (you may need to piece
with additional fabric strips to achieve the correct width).
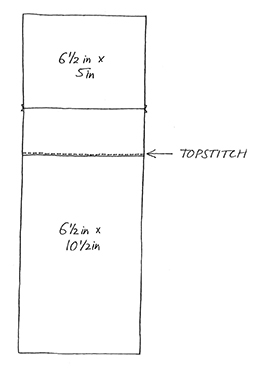
Align the smaller Fabric A piece RST with the raw edge of your selvedge. Sew together and press the seam open. Then position the finished edge of the selvedge overlapping the larger Fabric A piece by 1⁄4in and topstitching in place (Fig 3).
Step 2
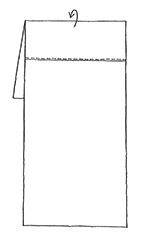
Fold and press the smaller Fabric A piece to the back of the selvedge so the seam is along the top edge (Fig 4).
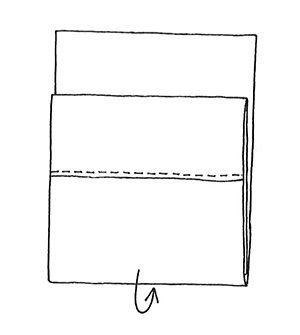
Measure 7½in up from the bottom edge of the lower, larger Fabric A piece and also press this to the back of the selvedge side (Fig 5).
Step 3
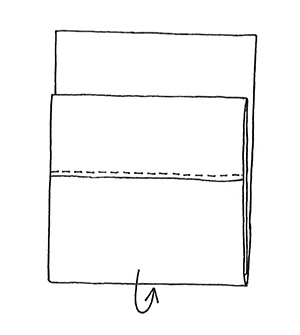
Take a removable fabric pen and mark a line down the centre of the selvedge, to the base fold of Fabric A. Mark two more lines approximately 2in in from either edge (Fig 6).
Step 4
Stitch along these lines, starting from the bottom edge and sewing up to the top of the selvedge. Then turn and stitch back down along the existing stitch line for reinforcement. This will form the inner pocket panel.
Step 5
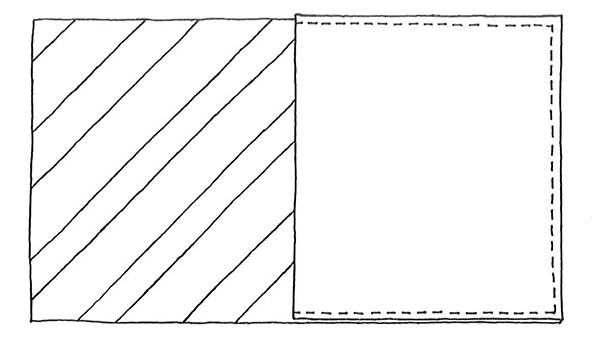
Place your pieced selvedge needle book outer right side up. Then place the inner pocket panel right side down, aligned with the right hand side. Stitch around the three outer sides, reinforcing your stitches at the beginning and end (Fig 7).
Making the zipperedd pouch
Step 1
Take your selvedge needle book top, one Fabric C pouch lining piece and your zipper. Layer them so that the selvedge top is right side up, the zipper is right side down, closed and the closed end is properly aligned with the edge of the pouch on the right. Place the pouch lining on top, right side down (Fig 8).
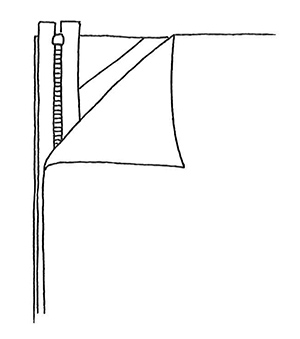
Using a zipper foot stitch the layers together. As you approach the end of your seam stop with the needle in the down position, raise the presser foot and open the zip, then lower the presser foot and finish sewing. Press each piece away from the zip.
Step 2
Place your Fabric B piece right side up, and place the remaining side of the zip right side down on top. Place the remaining Fabric C piece on top, aligning the edges and using a zipper foot stitch your layers together. Press each piece away from the zip.
Step 3
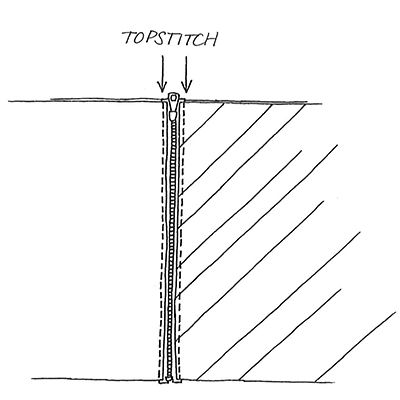
Trim any excess length from the top and bottom of the zipper tape and then topstitch along either side of the zipper as shown (Fig 9).
Step 4
Lay your pouch out so that the two exterior panels are right sides together on one side of the zip, and the lining pieces are right sides together on the other side. Stitch around all outer edges, leaving just the bottom edge of the exterior pieces unstitched – this will act as a turning gap.
Step 5
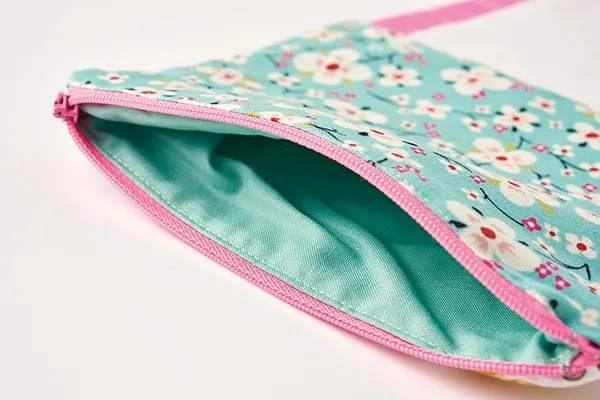
Reach in through the unstitched edge and open the zip. Keep the lining outside of the pouch for now.
Finishing
Step 1
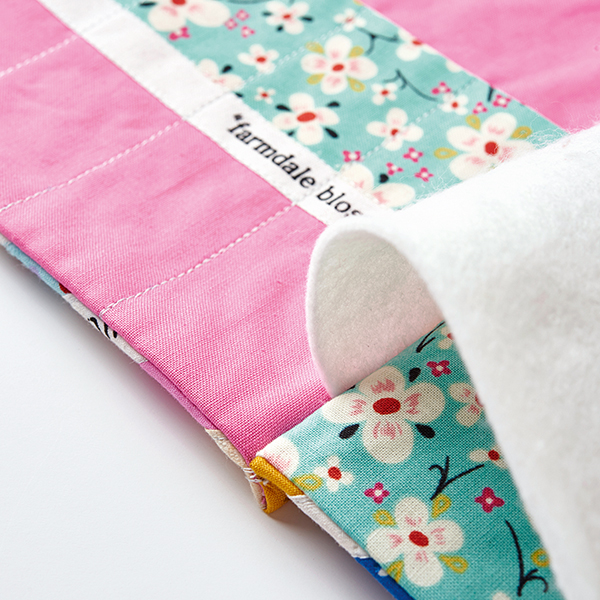
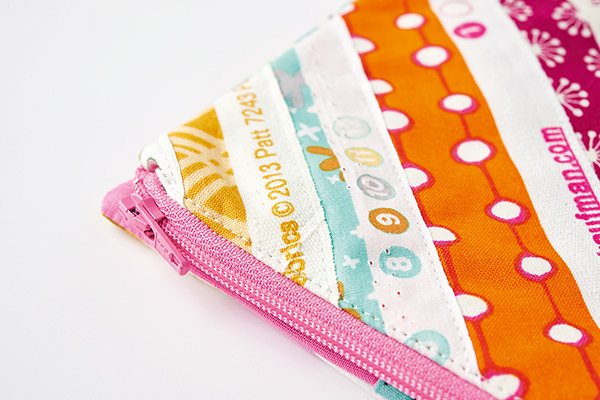
Turn the front pocket piece right sides out. Place the piece of felt with one edge along the unfinished pocket seam. Fold the needle book in half along the centre. Ensure that all the raw edges are properly encased in the middle of the fold and that the pouch lining is not. Stitch down your needle book with a double row of top stitching to ensure that all raw edges are properly secure. Push the pouch lining to the inside to finish.
