How to sew a lace overlay midi skirt
Add an on-trend lace overlay to a plain skirt with this simple skirt upcycle tutorial from The New Craft House.
This quick and easy refashion is perfect for beginners as there's no need for a sewing pattern – just follow our step-by-step instructions using a plain skirt that fits you, some lace fabric and your sewing kit. You'll have a swishy new skirt in no time!
You will need
- Skirt with a waistband, back zip and a gathered waistline
- Embroidered tulle or netting: see instructions for details
- Matching thread
- Basic sewing kit
Shortening your skirt
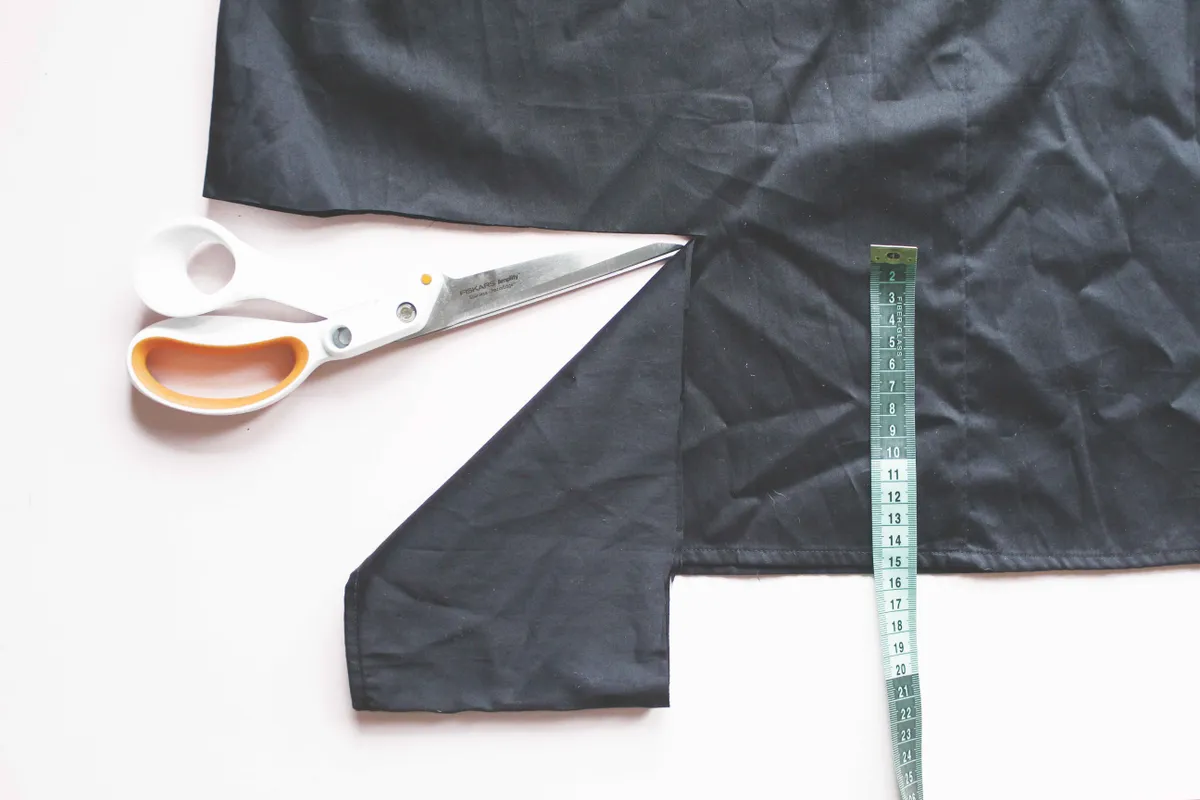
Step 1
Try your skirt on and mark where you would like the finished length to be. Remember your tulle will be slightly longer than the skirt. Step two: Cut 2cm (3⁄8in) down from this marked line to allow for the hem.
Step 2
Cut 2cm (¾in) down from this marked line to allow for the hem.
Step 3
Turn the raw cut edge under by 1cm (3⁄8in) to the wrong side (WS), then 1cm (3⁄8in) again and press.
Step 4
Stitch the hem into place.
Cutting the overlay
Step 1
Measure around your skirt’s waistband. Take this measurement and double it to find the tulle width measurement.
Step 2
Measure from the bottom of the skirt’s waistband, where the skirt gathers start, to the hem of the skirt. Add 7cm (2¾in) to this for the tulle length measurement.
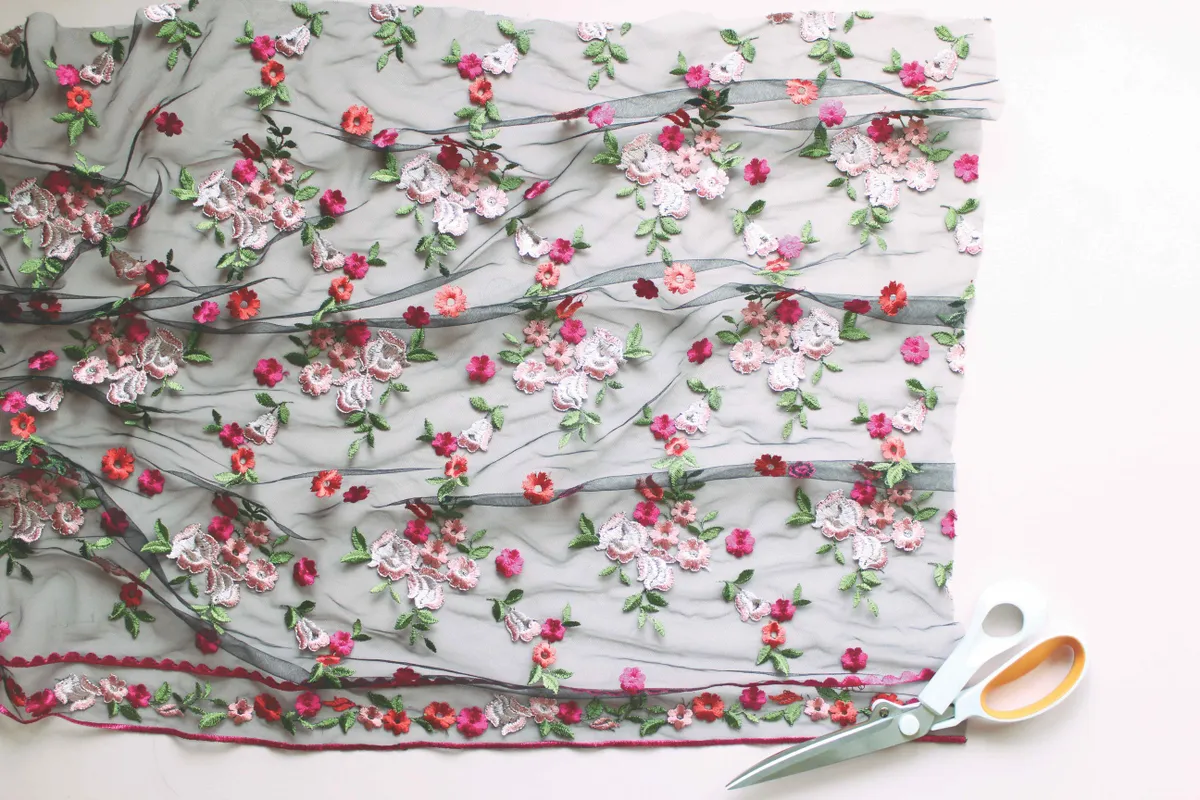
Step 3
Cut the tulle into a rectangle using these two measurements. If your tulle features a decorative border, make sure this is along the bottom edge. As the tulle won’t fray, you don’t need to hem the edge, just trim it neatly.
Gathering the overlay
Step 1
With your machine set to its longest stitch length, work two rows along the top edge of the tulle. Work the first 5mm (¼in) from the edge and the second 1cm (3⁄8in) from the edge.
Step 2
Carefully pull these gathering threads at each end until the top edge of the tulle measures the length of your skirt waistband plus 3cm (1¼in).

Stitching the overlay in place
Step 1
With right sides (RS) facing, pin the gathered overlay to your skirt around the waistband, overlapping the gathered section of the skirt by 1.5cm (5⁄8in). The overlay should be facing upward in the opposite direction to the skirt as shown, and should overlap the zip at the back of the skirt by 1.5cm (5⁄8in) on each side.

Step two: Set your machine back to its normal stitch length then sew the overlay to the skirt by ‘stitching in the ditch’. This means stitching on top of the the seam line between the skirt and the waistband. Don’t stitch over the zip.
Sewing the back seam
Step 1
With RS together, pin the back raw edges of the overlay together from the bottom up to where the base of the zip starts.
Step 2
Stitch together using matching thread.

Stitching around the zip
Step 1
Pin under 1.5cm (5⁄8in) to the WS along both edges of the section of overlay that is still open at the back, down each side of the zip.

Step 2
Topstitch or hand-sew the turned-under tulle edges into place around the edges of the zip to finish.

Sew a skirt with elegance
Making your own lace overlay midi skirt is a rewarding project that adds sophistication and style to your wardrobe. Once finished, you’ll have a versatile, handmade piece perfect for special occasions or dressing up everyday outfits.
Make trousers you’ll love
Use Portia Lawrie’s step-by-step guide to create well-fitting, handmade pants with a modern paperbag-waist detail.