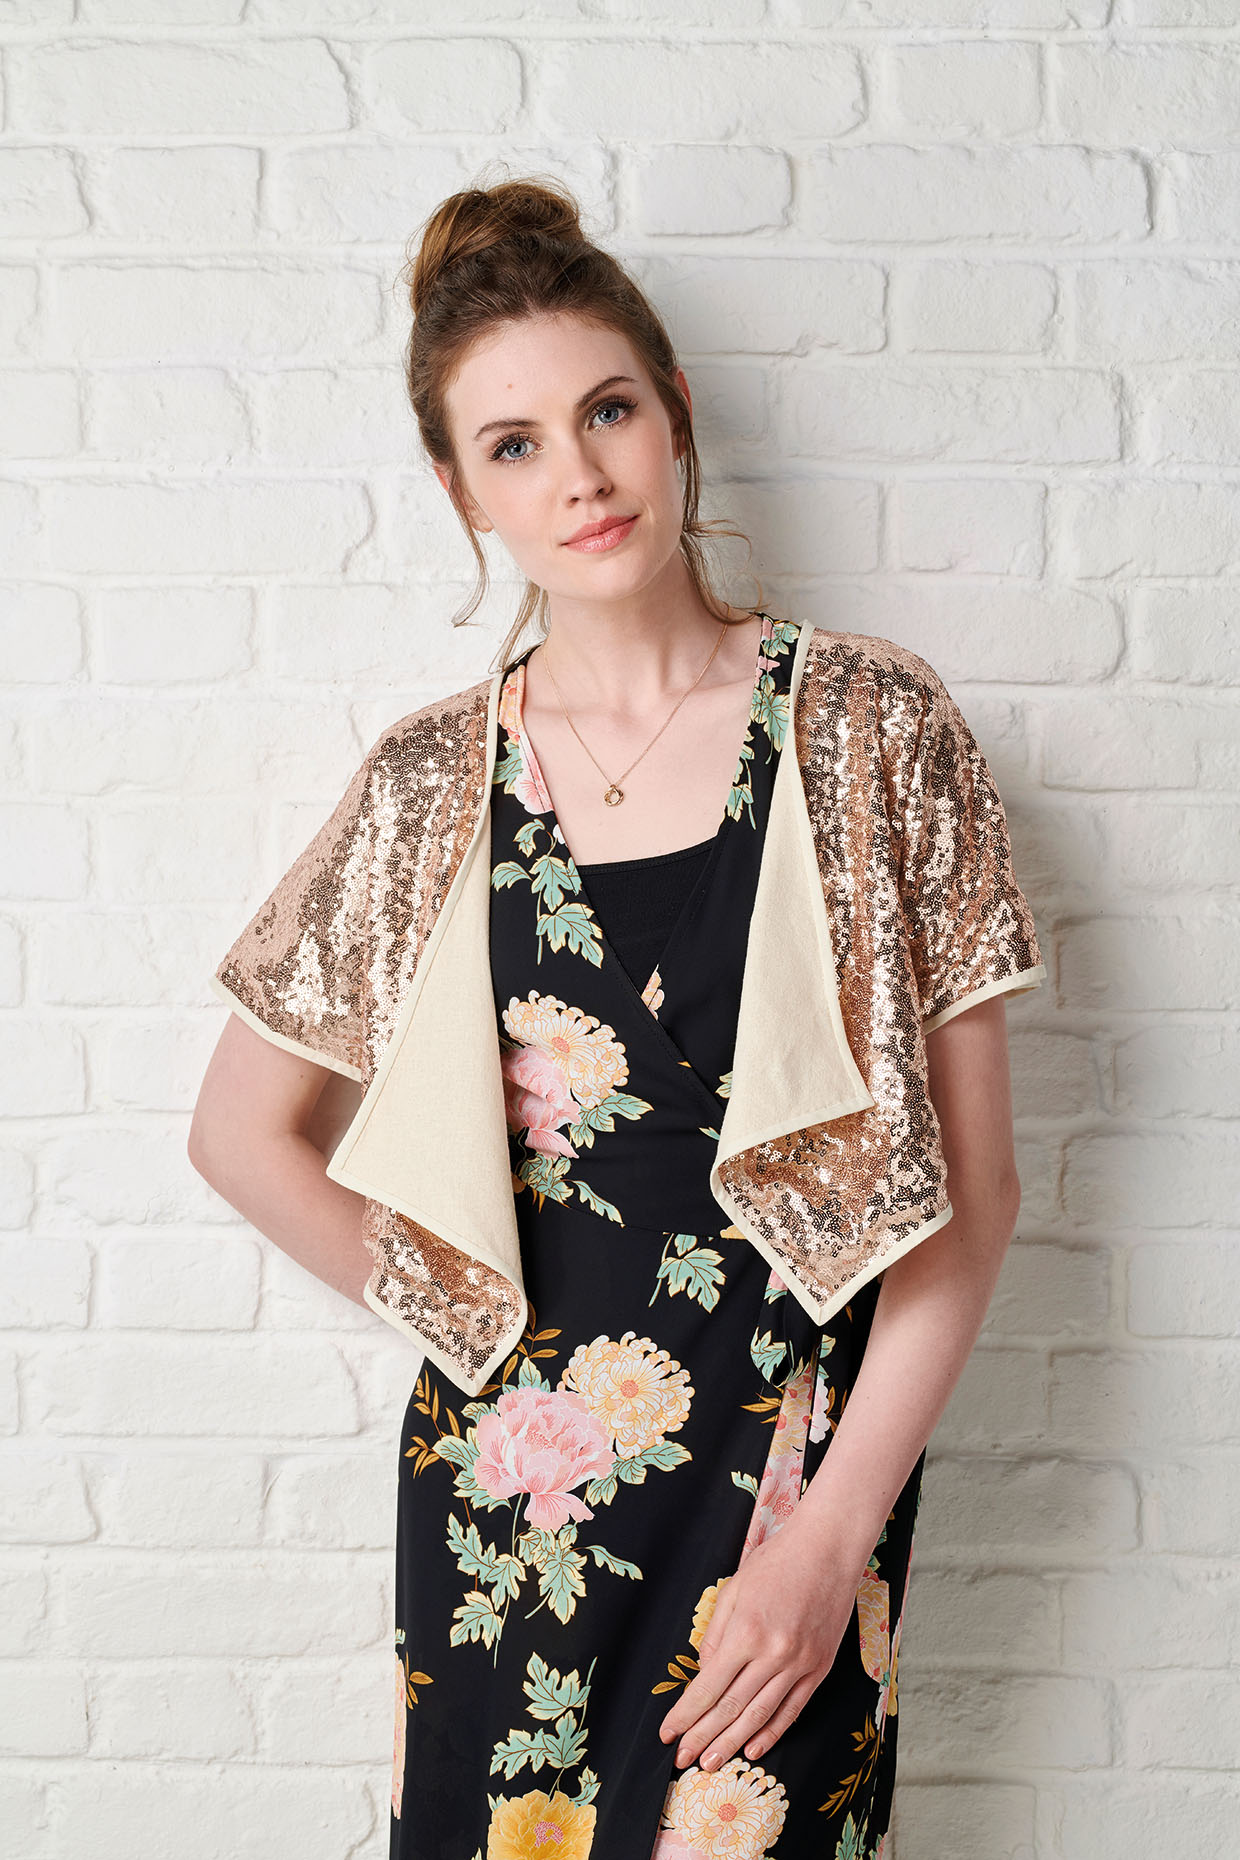
Taking your measurements
Step 1
Tie a length of ribbon around your waist and let it settle in the most comfortable position to determine your natural waistline.
Step 2
Take and write down the following measurements to use for making your pattern:
- Bust.
- Waist.
- Side neck to waist: this is measured vertically over the back, following the curves of the body and not pulling the tape measure too tight.
- Upper arm circumference: this is measured around your biceps.
Drafting the pattern
Step 1
Draw out your pattern in small scale on a sheet of A4 paper before making the full size pattern as shown in the diagram in step 4. This makes the pattern drafting stage much easier as whether small scale or full scale the principles are the same.
Step 2
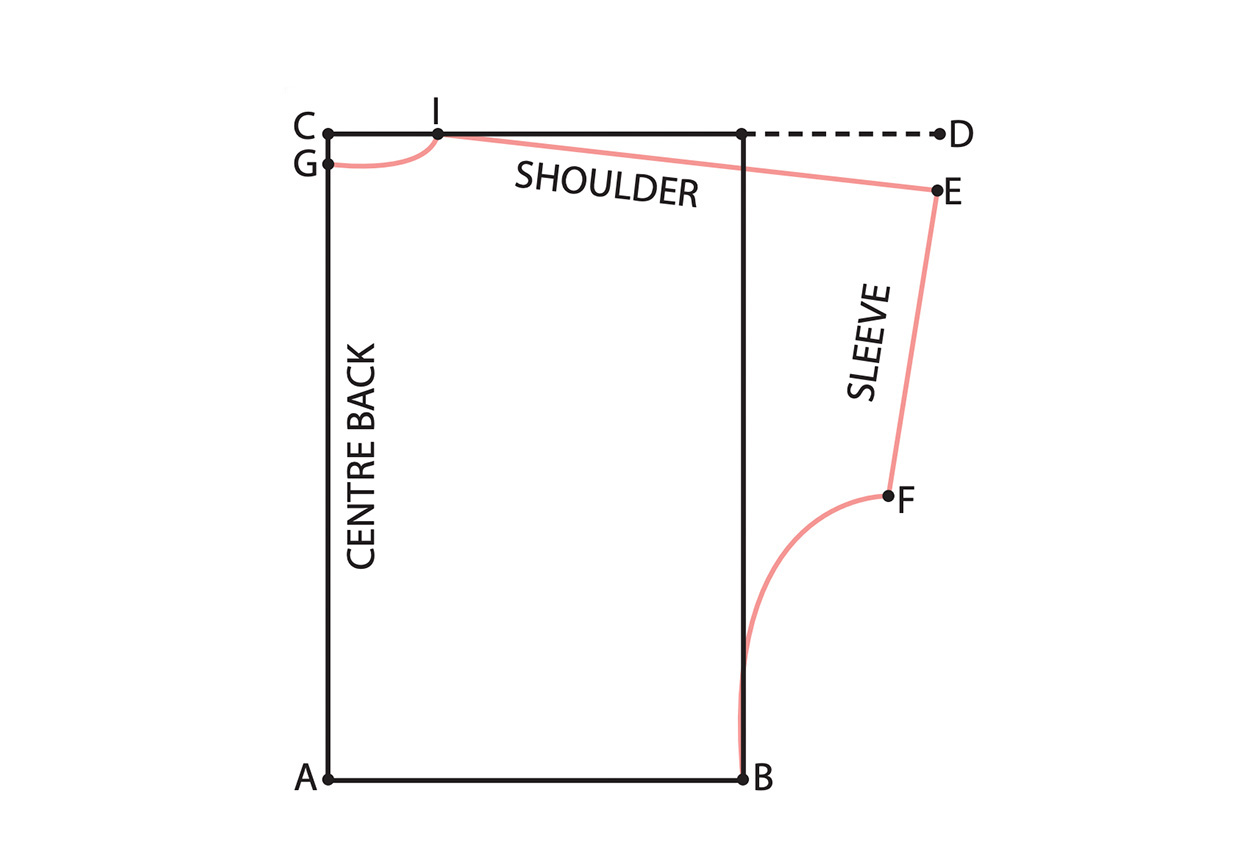
Draw a rectangle and plot a series of dots based on your measurements and the following guide and join these up.
- A-B: a quarter of your bust measurement plus 6cm (23⁄8in).
- A-C: side neck to waist, measured vertically at the back, over the shoulder blades.
- C-D: A-B plus 15cm (6in).
- D-E: 7cm (23⁄4in).
- E-F: half of your upper arm circumference plus 12cm (43⁄4in).
- C-G: 2.5cm (1in).
- C-I: 8.5cm (33⁄8in).
Step 3
When you’ve drawn out the measurements of the pattern in small scale, draw your full-scale pattern. Begin by drawing the main rectangle, then add the rest of the lines and measurements.
Step 4
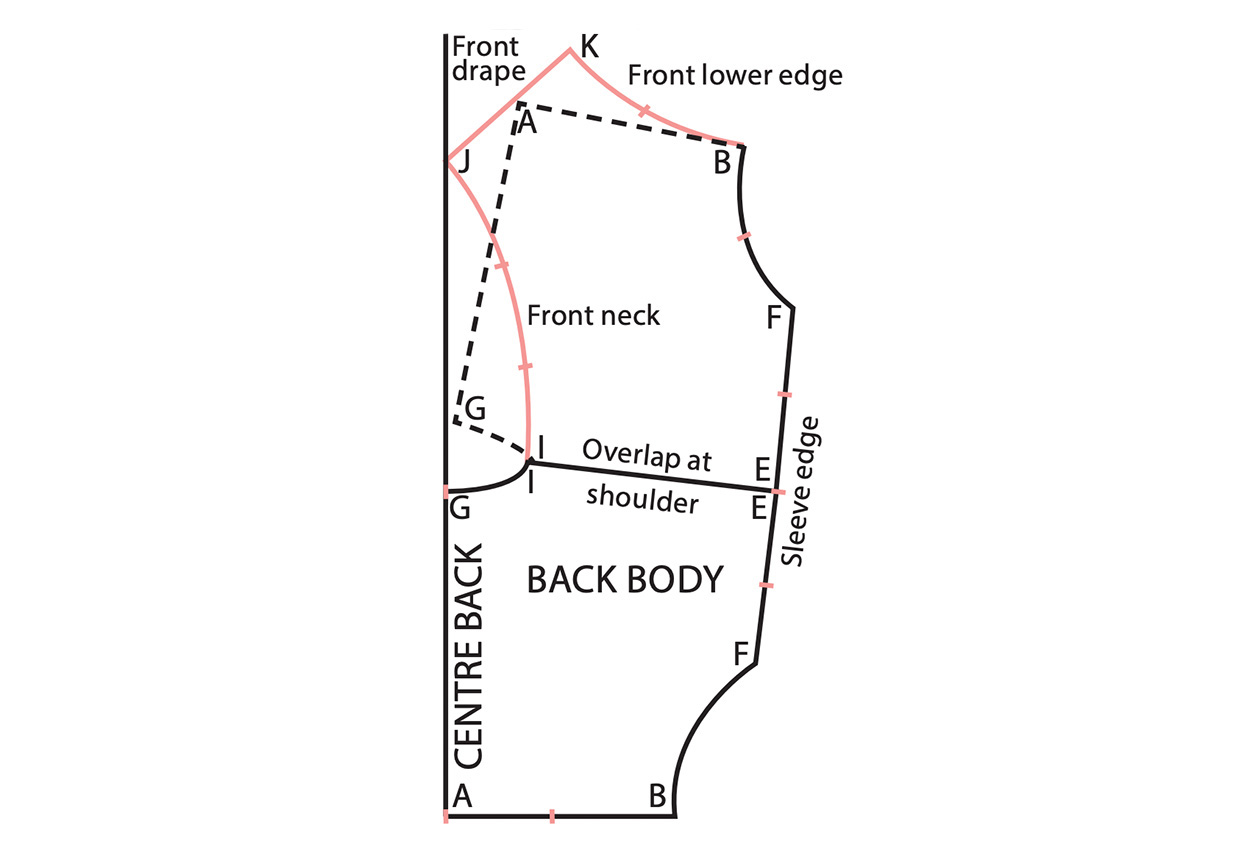
Once the back pattern piece has been created, trace over it, flip it over and attach it to the back body, at the shoulders, overlapping the pattern pieces by 5mm (1⁄4in). This eliminates the shoulder seams and creates one pattern piece. The front is based on the back piece, with the addition of an angled lower front.
Step 5
Draw a line from point A towards the centre for point J, so this forms a right angle at the centre line. Then, extend this line on the other side of point A by the same amount to create point K.
Step 6
Join point J to I, and point K to B, using gently curved lines and referring to the diagram. Make sure you form a right angle when you join Point K to B as this makes attaching the binding a lot easier.
Cutting out
Step 1
Using your drawn pattern, calculate how much fabric and bias binding you need. The binding needs to fit around all the edges of the shrug and both sleeve edges.
Step 2
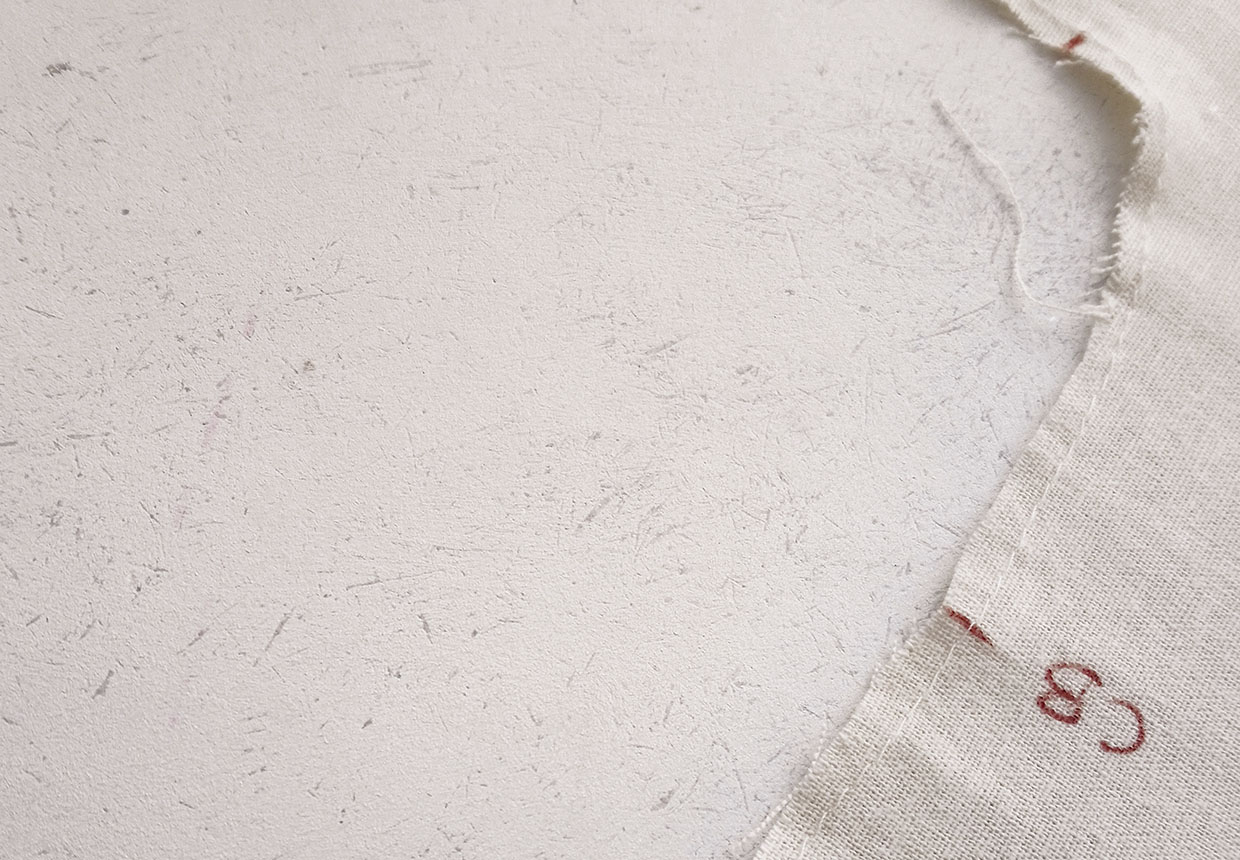
Fold the fabric in half and pin the pattern in place, matching the centre back to the fabric fold. Transfer all the notches to both layers as they will make sewing the outer to the lining much more accurate.
Step 3
Cut one piece from the main fabric and an identical piece from the lining fabric.
Assembling the shrug
Step 1
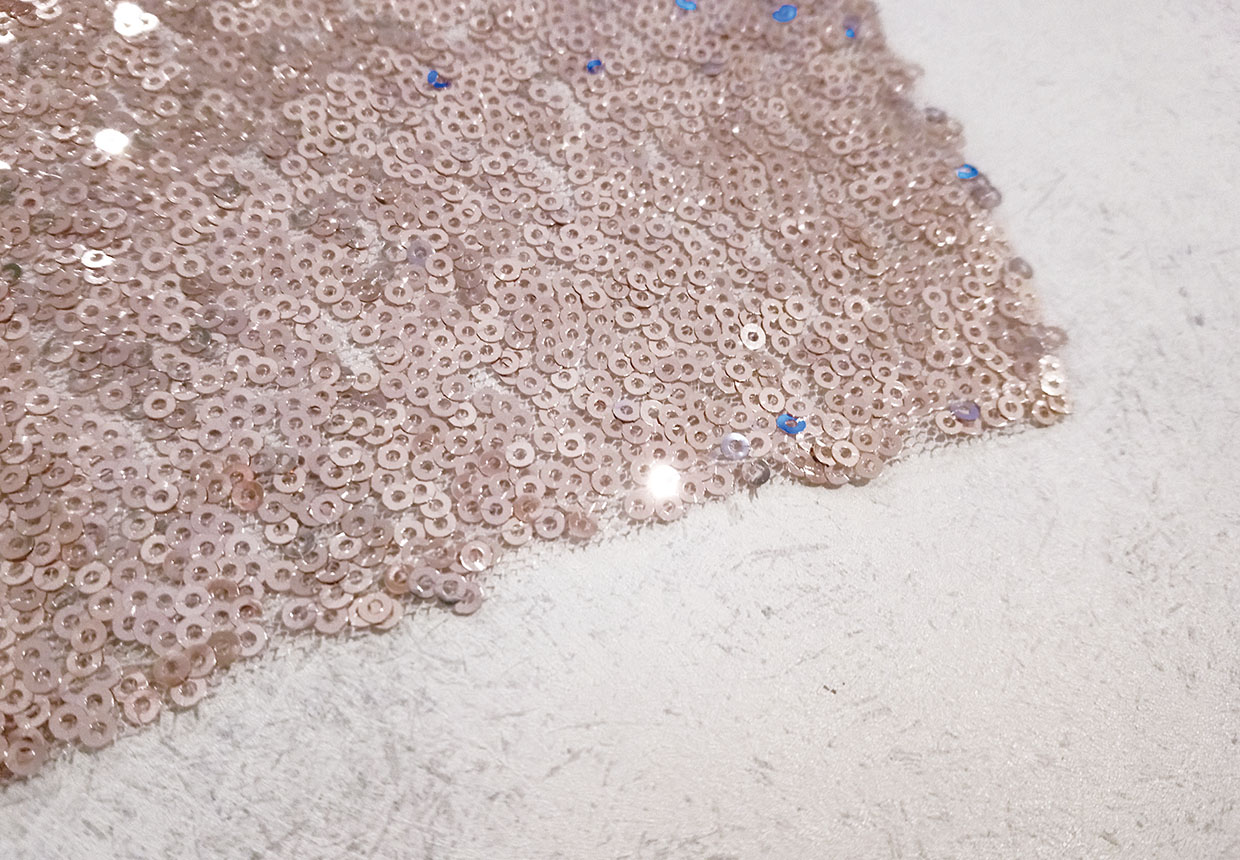
Staystitch around all edges of the outer and lining pieces. This is a line of stitching worked within the seam allowance to stabilise the edges. This is important when working with fabric that has edges cut on the bias.
Step 2
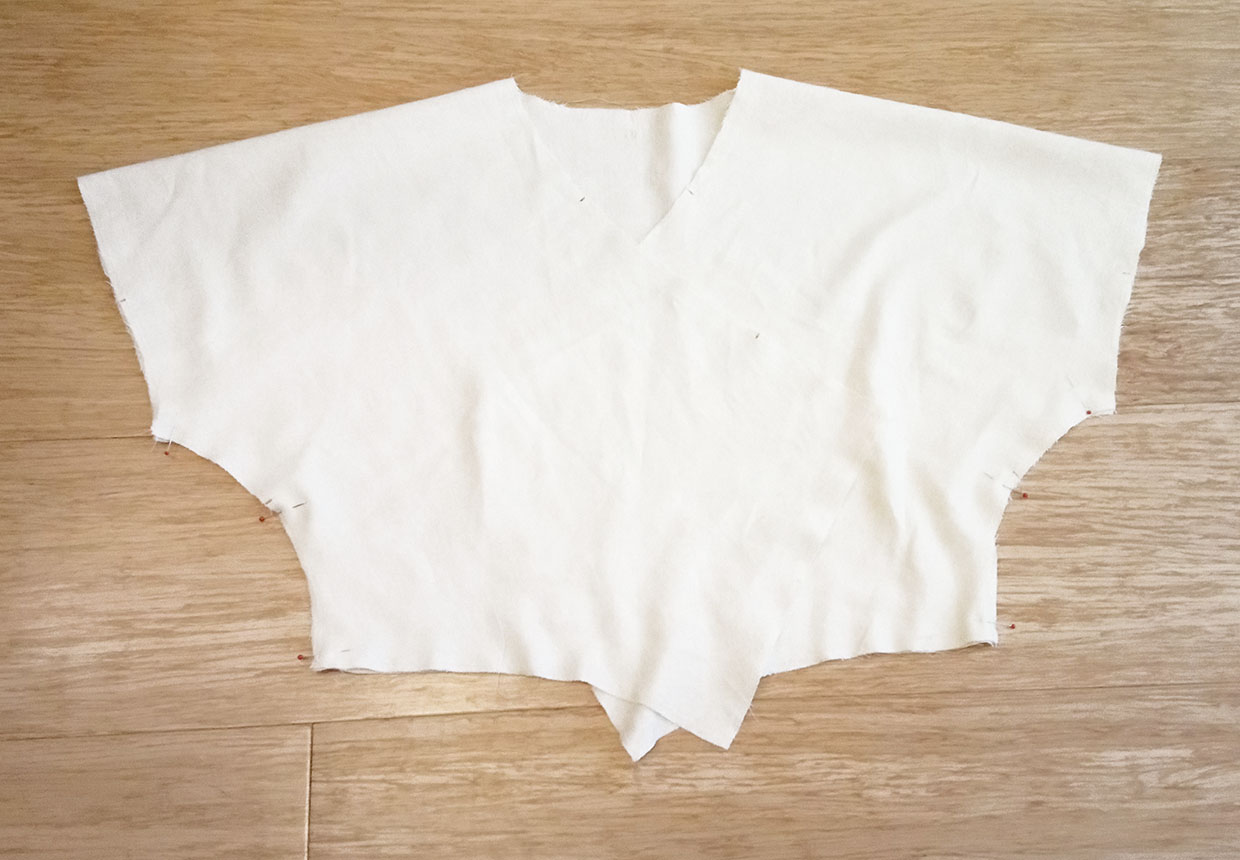
Fold the lining right sides (RS) together and sew the front to the back at the curved side seam.
Step 3
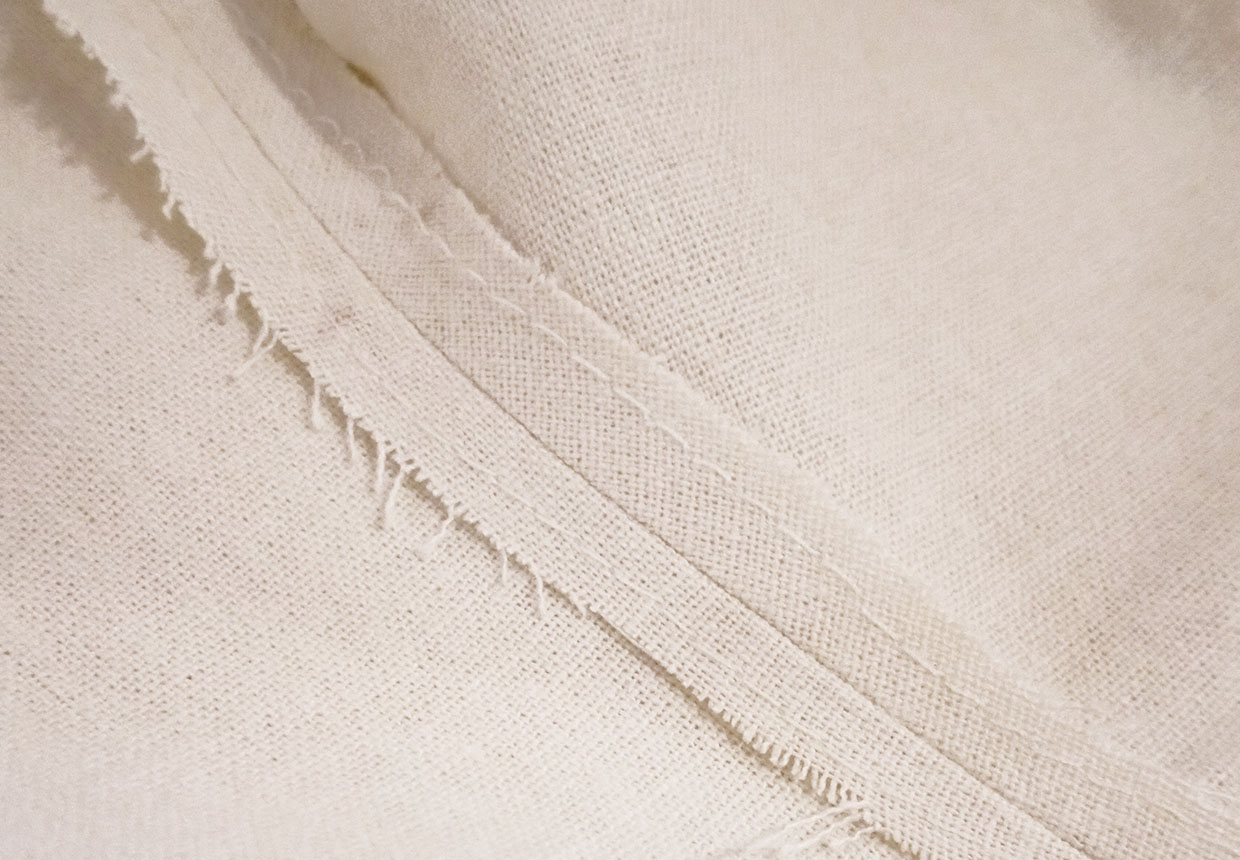
Press the seams open.
Step 4
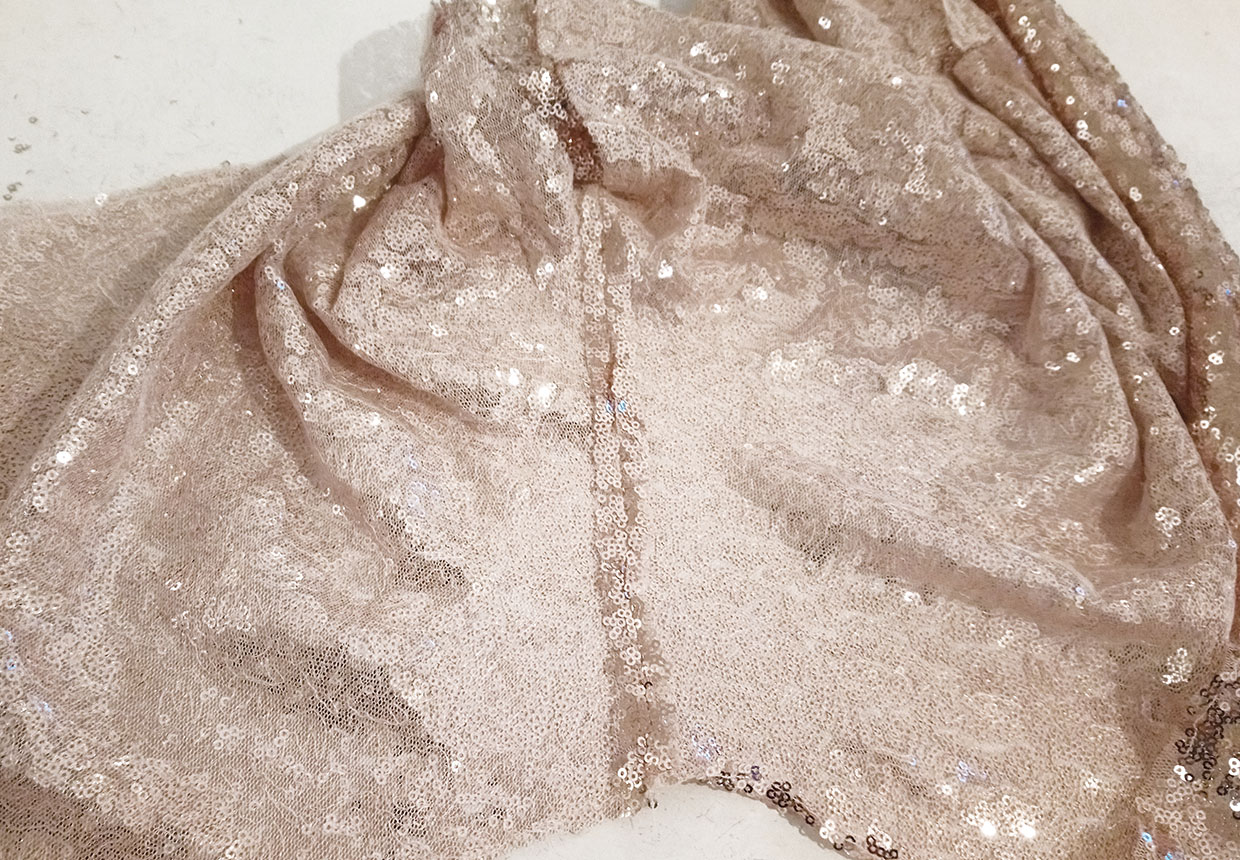
Repeat this to sew the side seams of the outer and press them open. When pressing sequin fabric, use a damp cotton cloth between the fabric and the iron to ensure it doesn't melt the sequins.
Step 5
With wrong sides (WS) together, pin the outer layer to the lining, matching notches.
Step 6
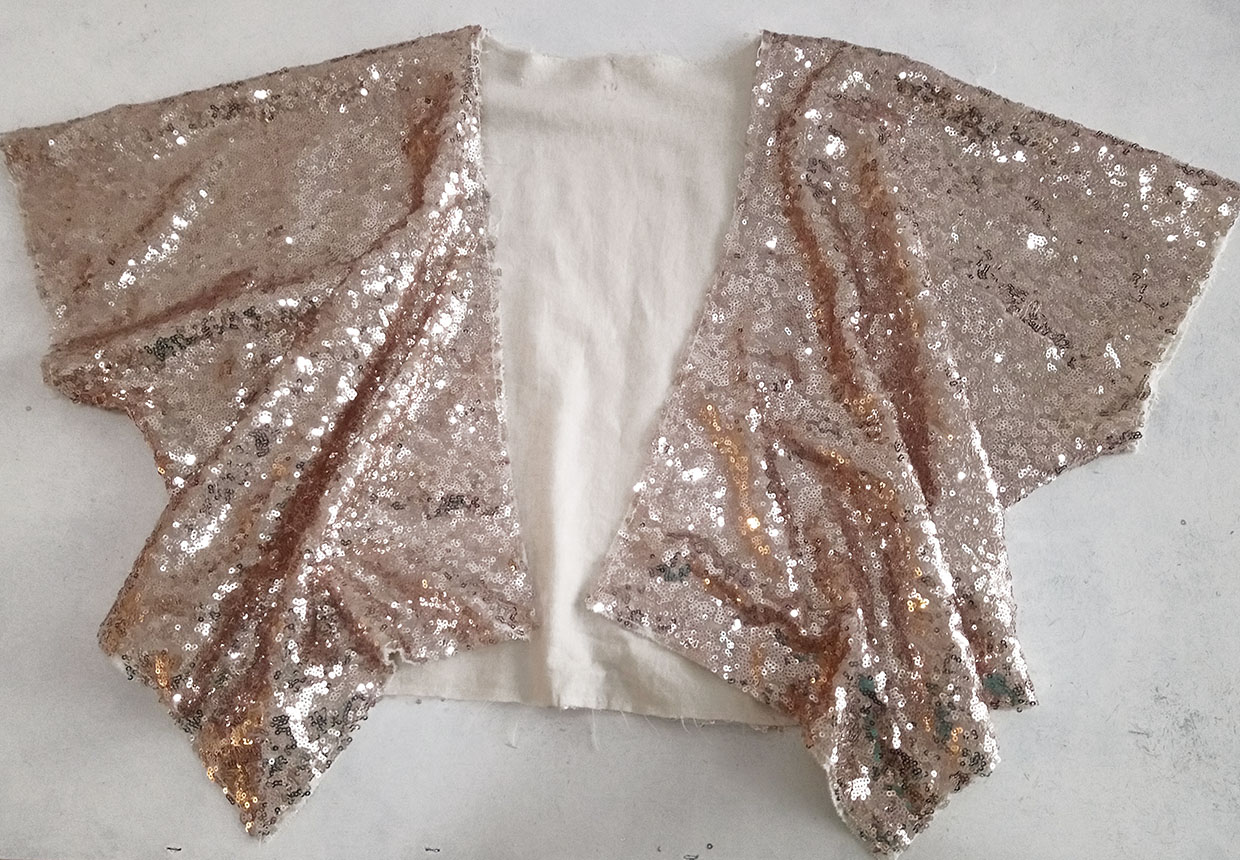
Tack together 5mm (1⁄4in) from the edge, using the staystitch line as a guide.
Binding the edges
Step 1
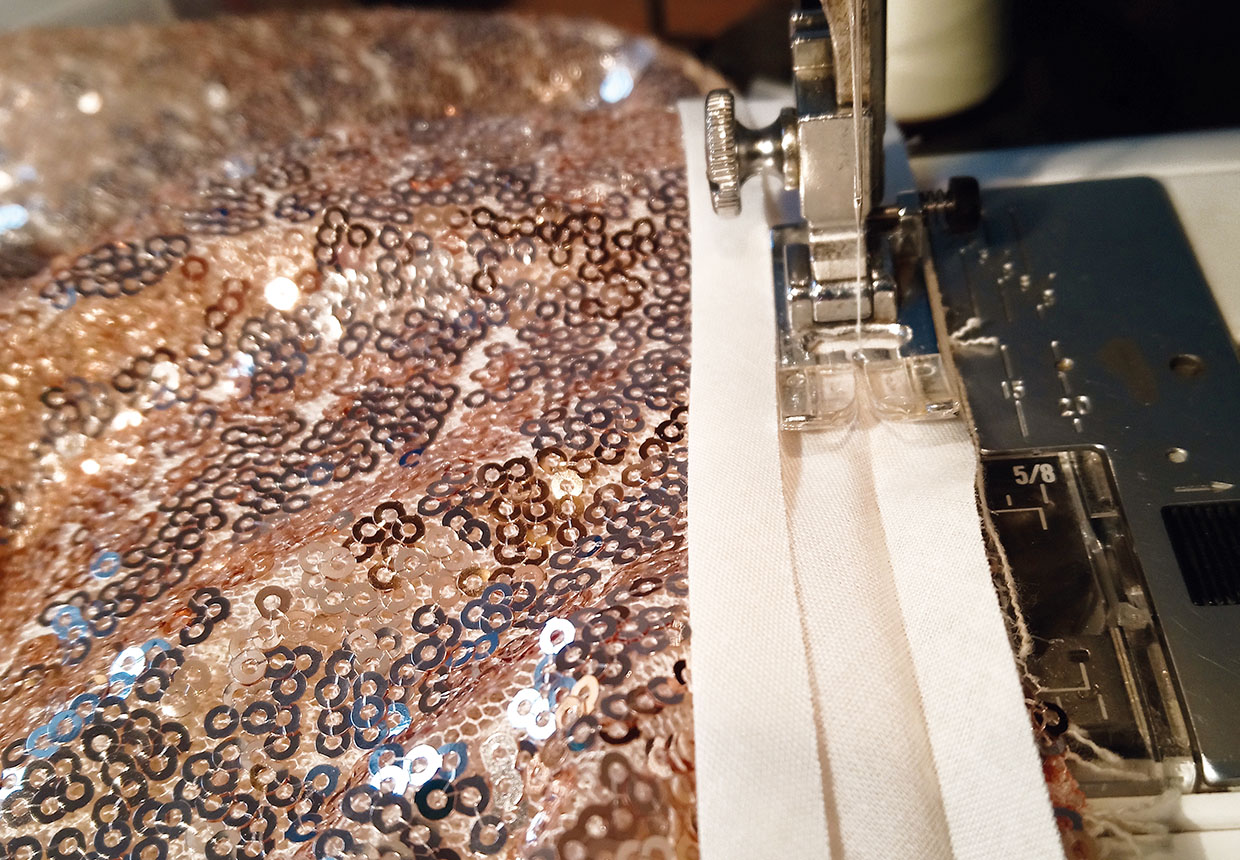
Open out one long edge of the bias binding tape and pin it RS together with the outer fabric, matching raw edges and starting at the left of the back neck.
Step 2
Pin it around the neck and along the front edge and up to the corner.
Step 3
Draw a line across the binding the same distance from the front edge as the width of the unfolded binding edge.
Step 4
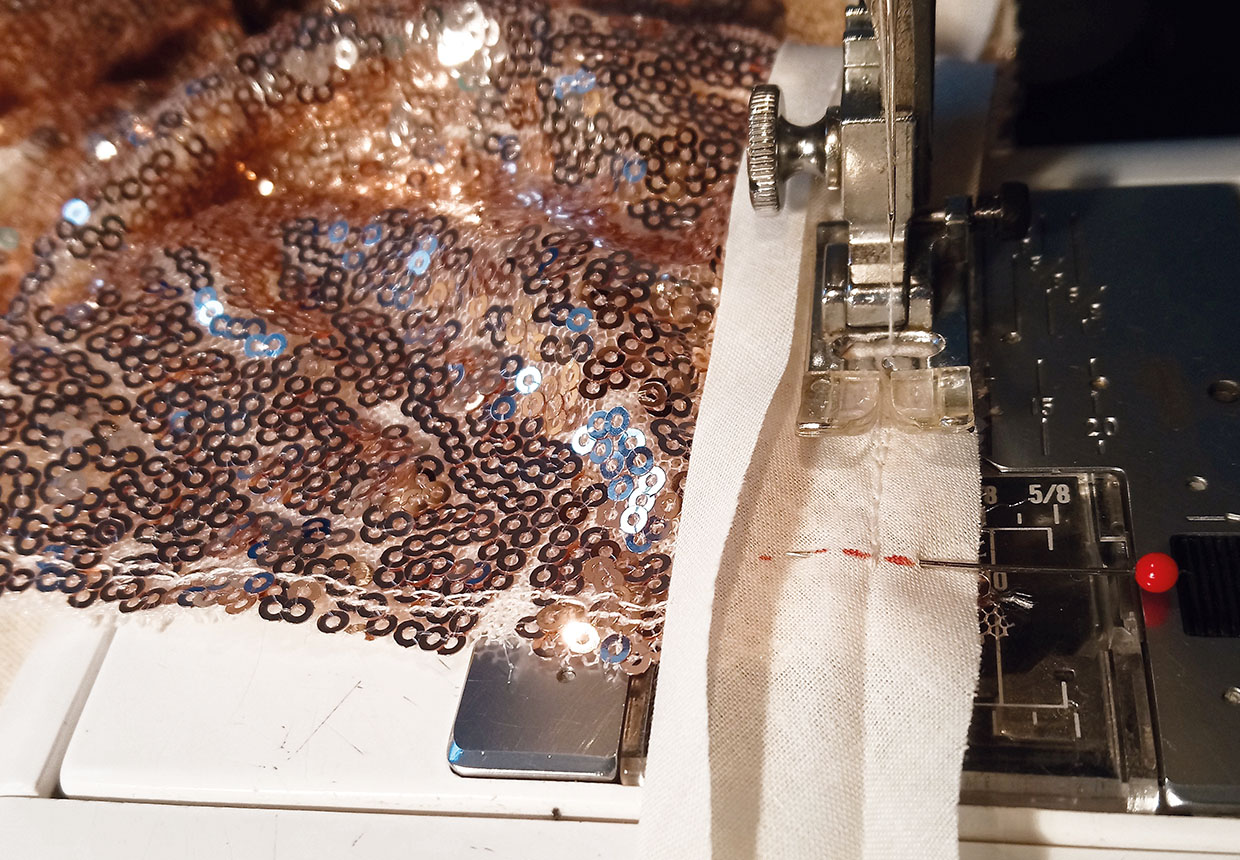
Stitch the binding into place along the crease until you reach the marked line, and backstitch to secure.
Step 5
To mitre the corner, take the fabric out from under your machine. Fold the binding up at a right angle where the stitching ends. Fold the binding back down along the bottom of the shrug and pin in place.
Step 6
Start sewing from the top edge, sewing over the folded corner and along the bottom of the shrug.
Step 7
Repeat this process to mitre the next corner in the same way.
Joining the binding ends
Step 1
Finish sewing about 10cm (4in) from the point you started. Overlap the ends of the binding to determine the sewing line for joining. Mark this position where they overlap on both pieces.
Step 2
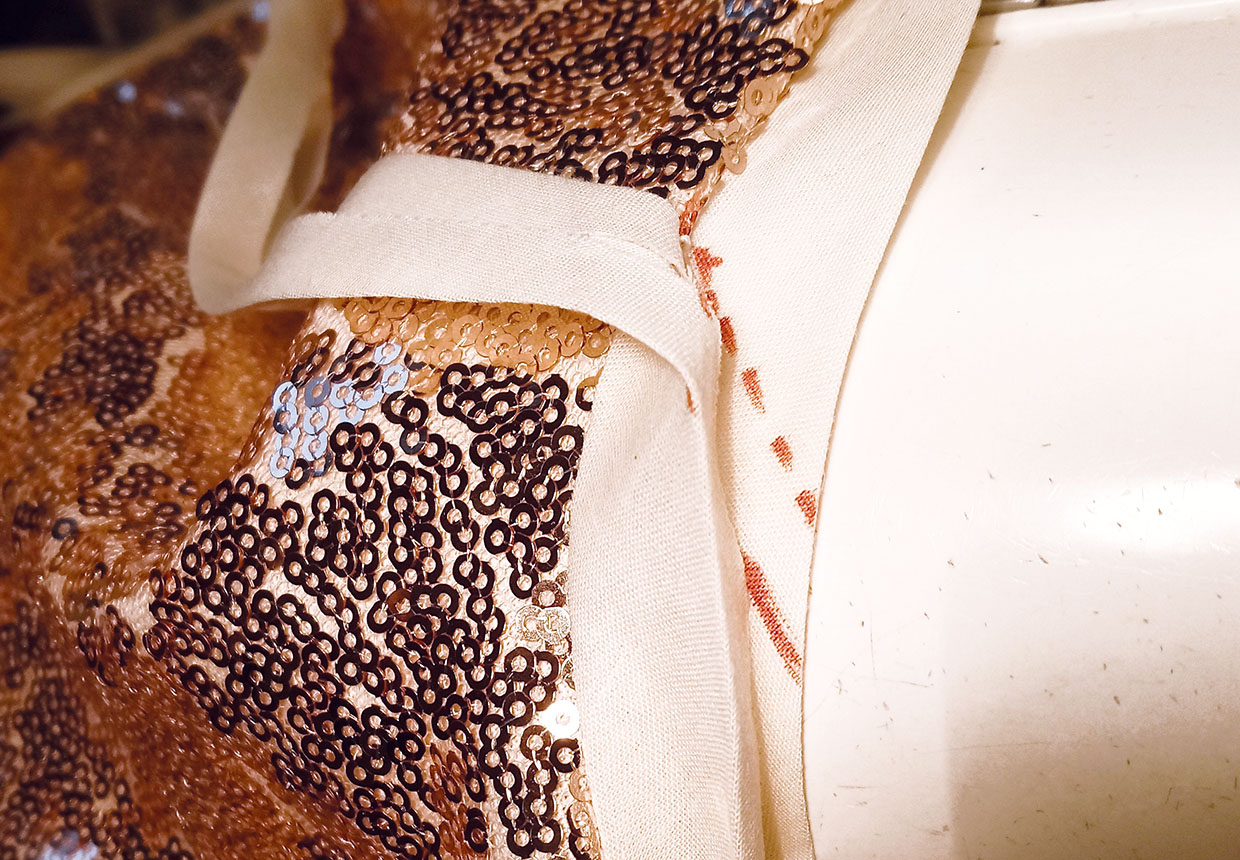
Cut both ends of the binding 1cm (3⁄8in) away from the sewing line.
Step 3
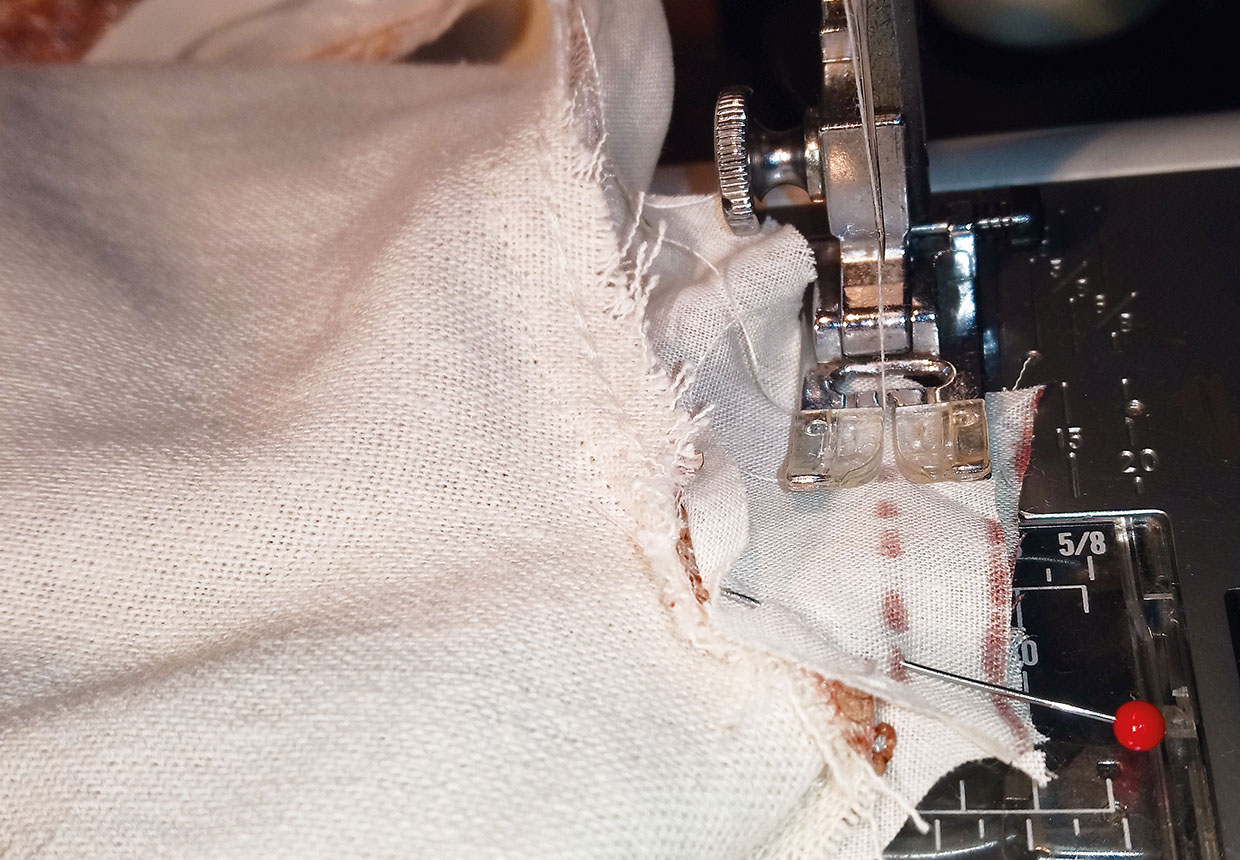
Place the two ends RS facing and stitch together along the sewing lines.
Step 4
Press the seam open and trim then pin back to the shrug edge and stitch into place.
Step 5
Fold the binding over to the lining side, tucking the other long edge of the binding under to completely enclose the raw edges and press with a damp cloth.
Step 6
Hand-stitch into place on the lining using small slip stitches.
Step 7
Bind both sleeve edges in the same way but place the join near the underarm seam.


