Before you begin
Step 1
You’ll need to double up ordinary sewing thread, so choose a sharp needle with a large eye so it’s easy to thread.
Step 2
Running your thread through tailor’s beeswax is optional but it will make your thread stronger and stop it from knotting.
Step 3
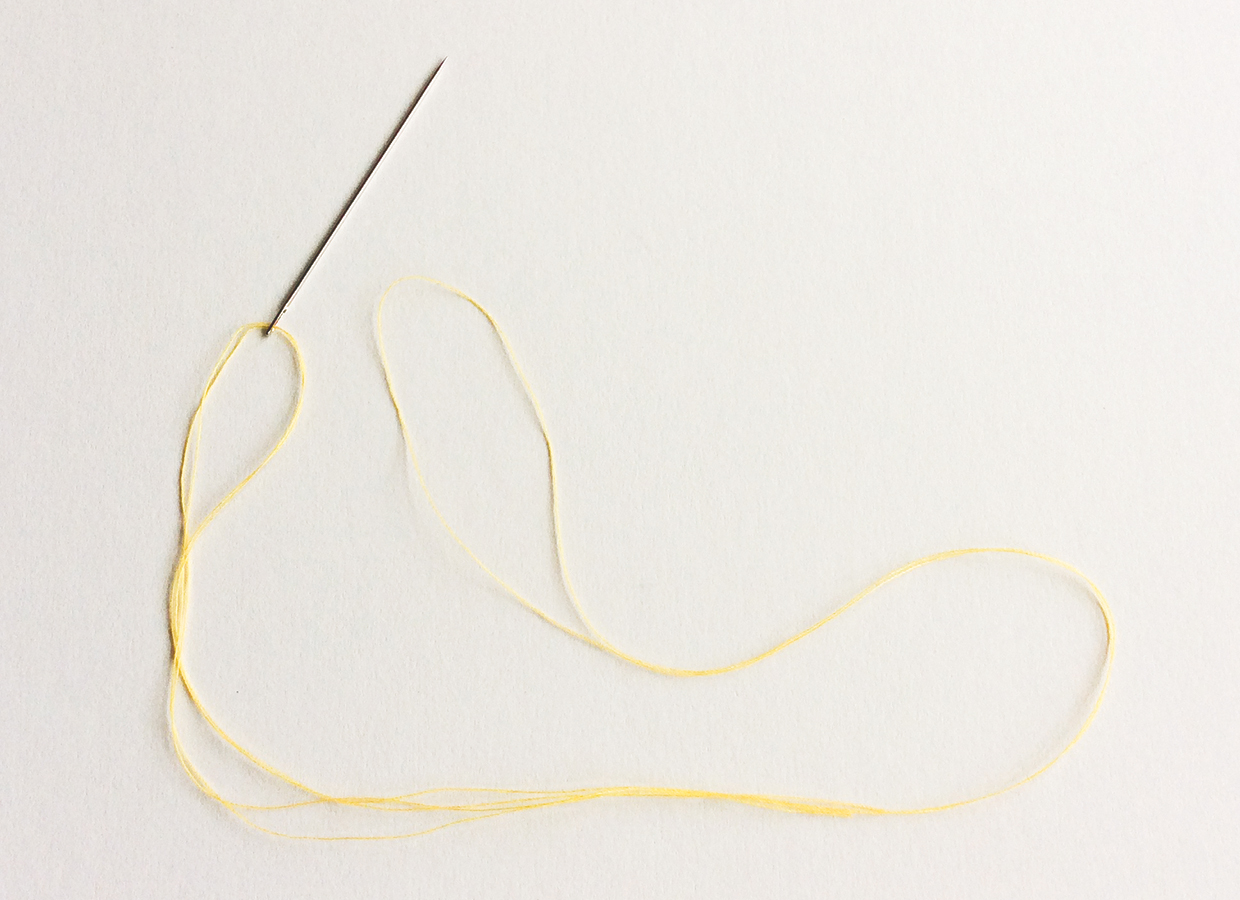
Cut twice the length of thread you need. Fold it in half and thread the two ends through the needle.
Step 4
If you’re replacing a missing button there will be a few loose threads or stitching holes to show you where to reattach it.
How to sew on a flat button
Step 1
Flat buttons have two or four holes in the middle and sit flat on the fabric. There are two ways to sew a flat button on, depending on the type of fabric you need to attach it to.
Attaching to thinner fabric
Step 1
Push the needle through the fabric exactly in the centre of where you want your button to be, then thread the point of your needle through the loop and pull. Your thread is now secured. Work a couple of small stitches on top of each other for strength.
Step 2
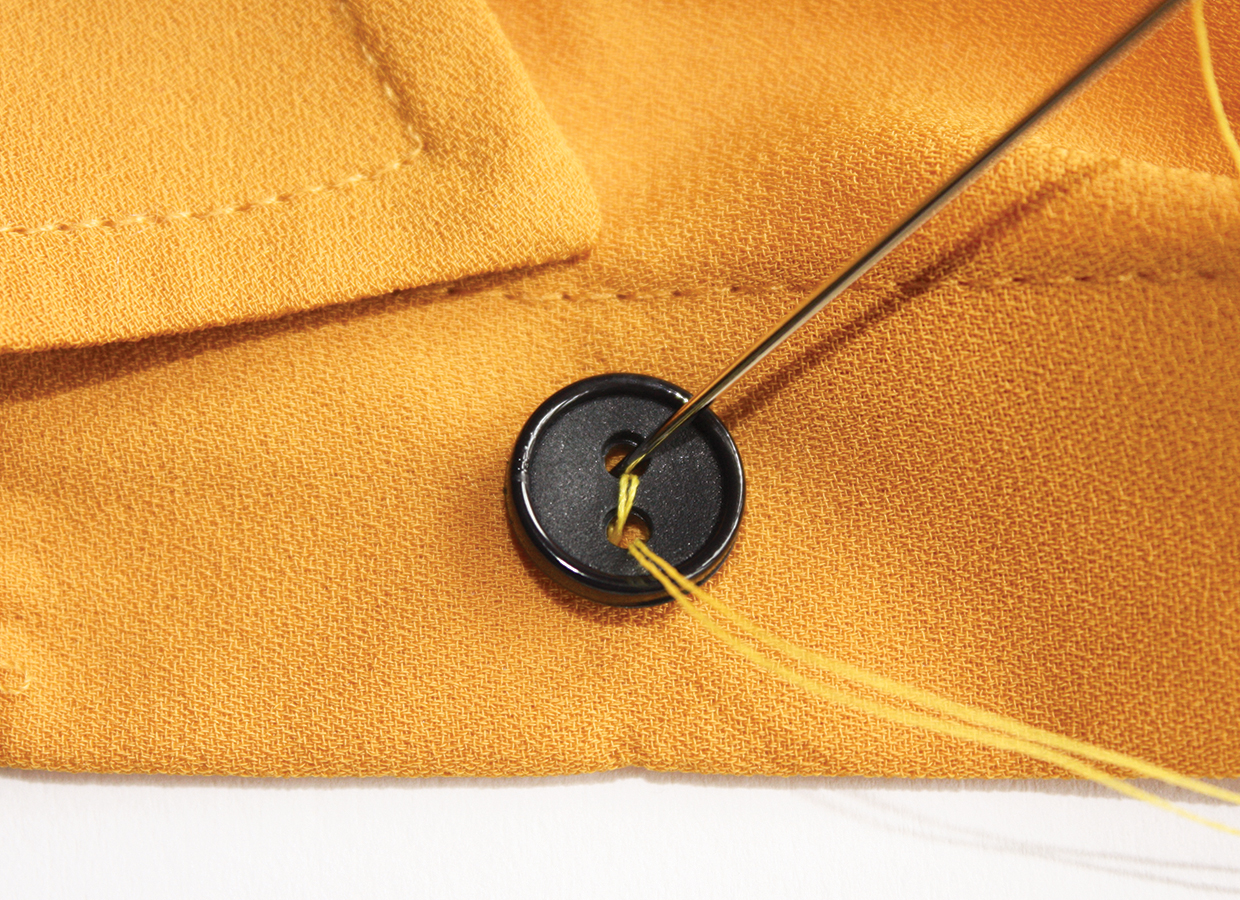
Pass your needle up through one hole of the button and down through the other into the fabric and repeat.
Step 3
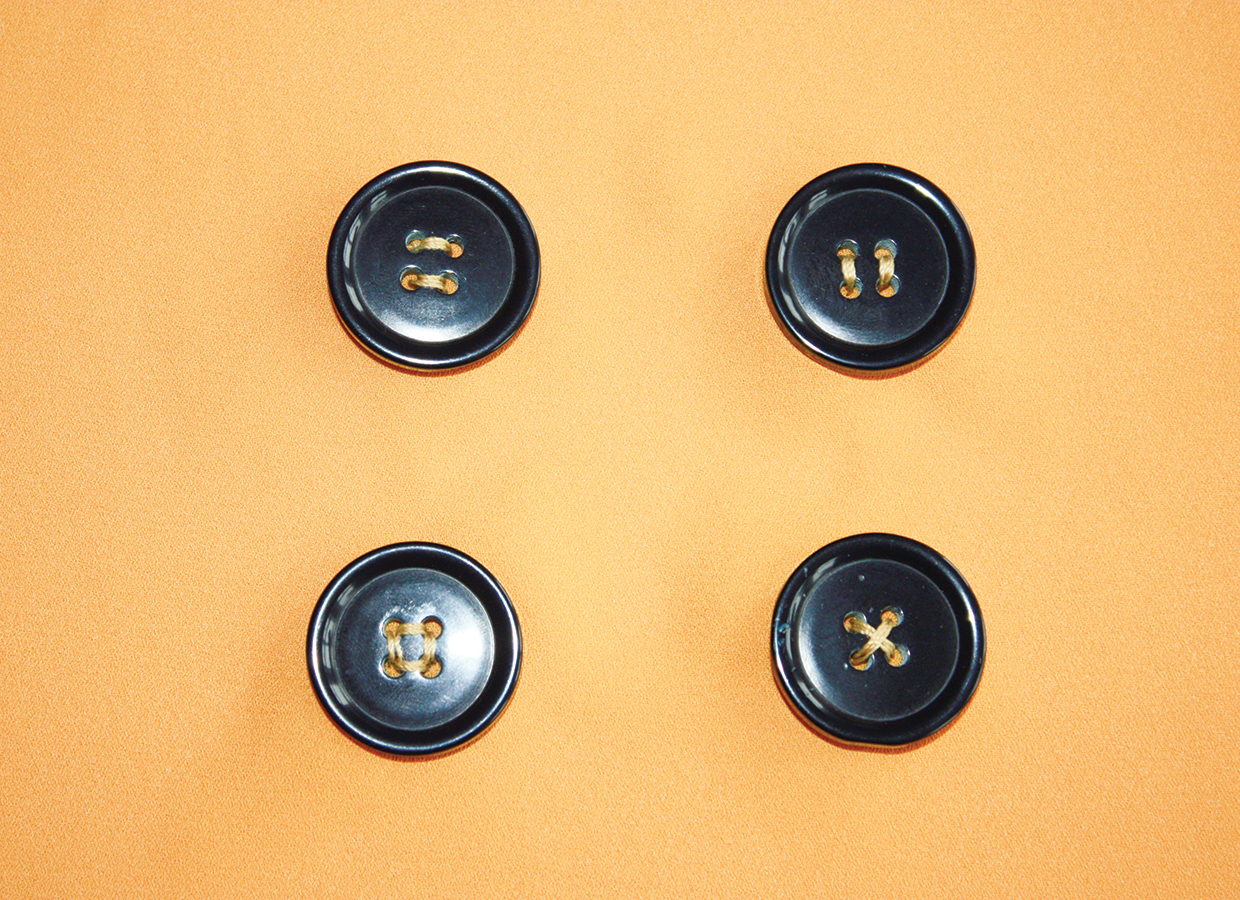
If your button has two holes, repeat this until your button feels secure. If your button has four holes then stitch it on in the same pattern as the other buttons on your garment for uniformity. There are a variety of ways to sew a four-hole button.
Step 4
To finish, work a few small stitches on top of each other on the back of the fabric to secure the end.
Attaching to thicker fabric
Step 1
You need to ensure the button sits slightly away from thicker fabric by creating a thread shank, so it has a little movement to allow it to be pushed through the buttonhole. This is particularly important with larger flat buttons.
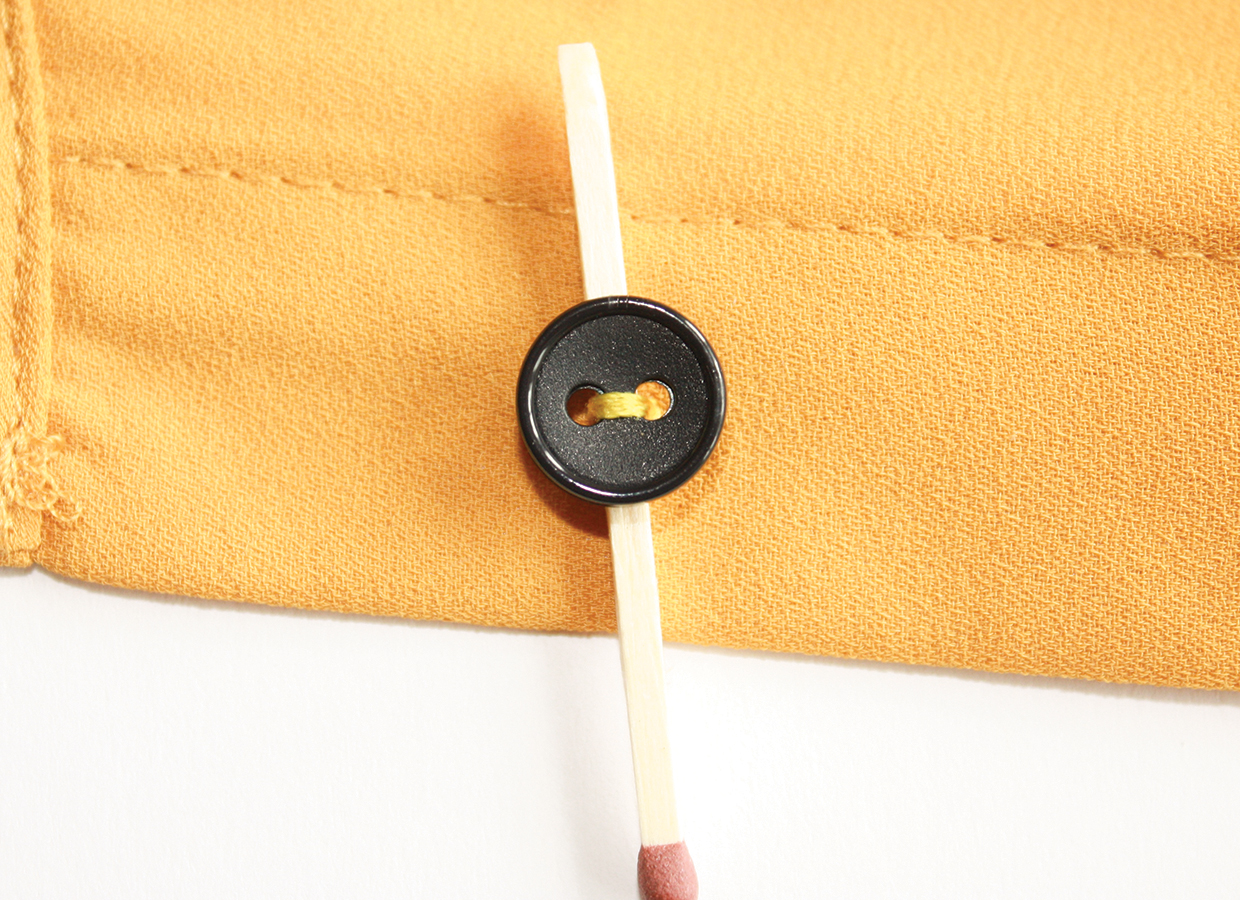
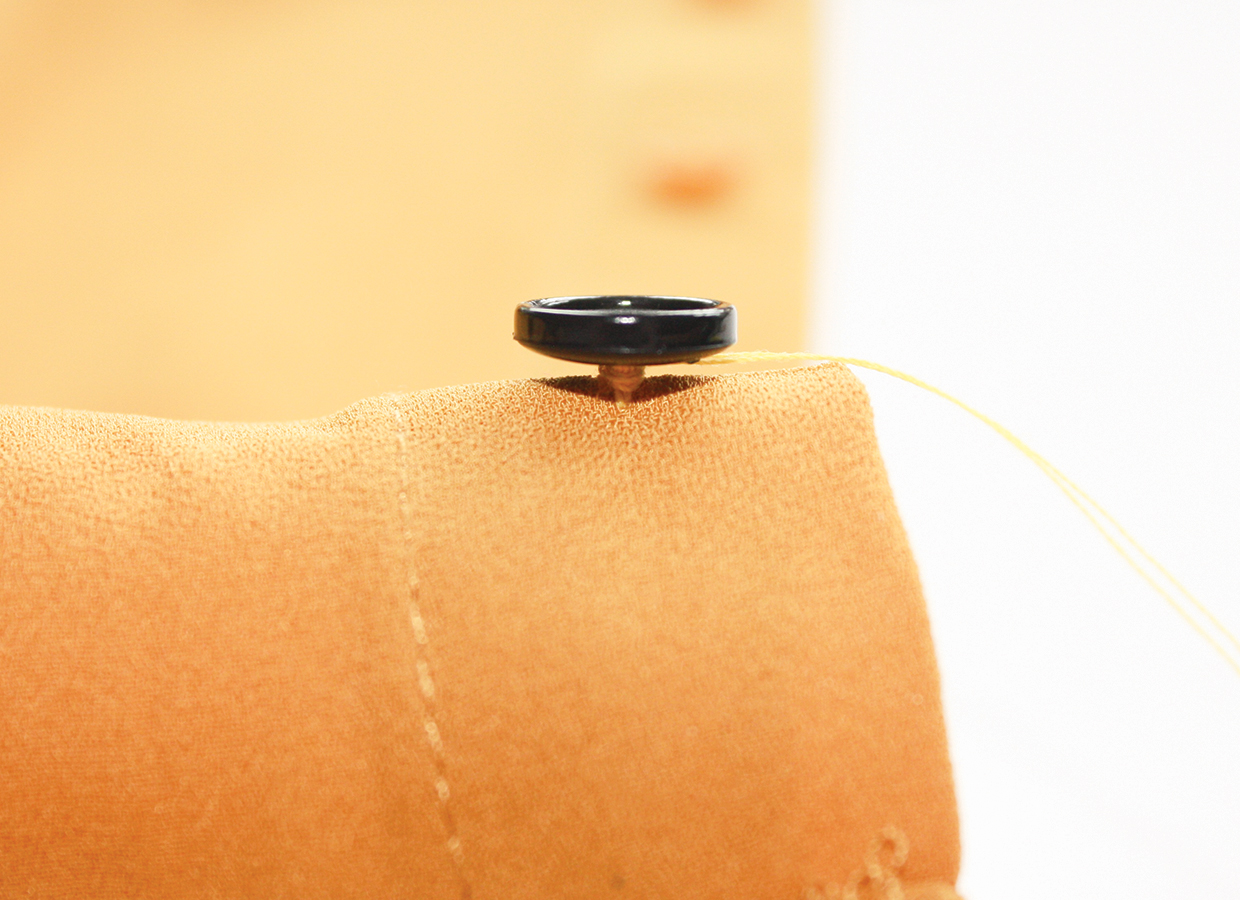
Begin to sew the button on as before, but after pushing the needle up through the button, slide a matchstick or cocktail stick underneath the button. Sew the button on as before, keeping the matchstick underneath – this will leave a small gap between the fabric and button so that it is sewn on a little more loosely.
Step 2
Remove the matchstick and wrap the thread three or four times around the loose thread underneath the button – this will create a thread shank. Take the needle down through the fabric, then fasten off.
How to attach a shank button
Step 1
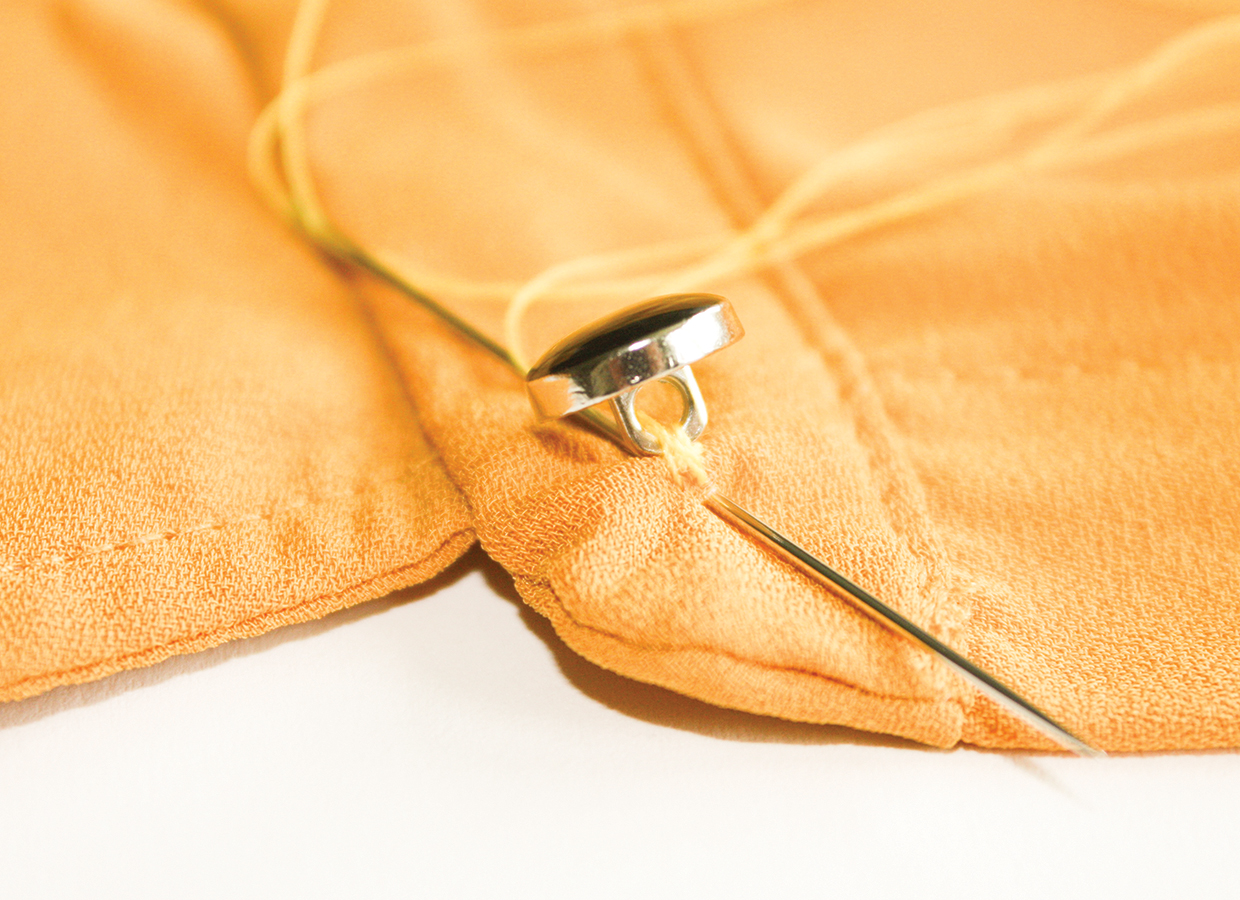
A shank button has a protruding shank at the back which keeps the button away from the fabric so that it sits flat when the button is through the buttonhole. Attach your thread to the fabric in the centre of where the button is to be placed.
Step 2
Stitch through the shank and into the fabric until it feels secure. Finish as before.
