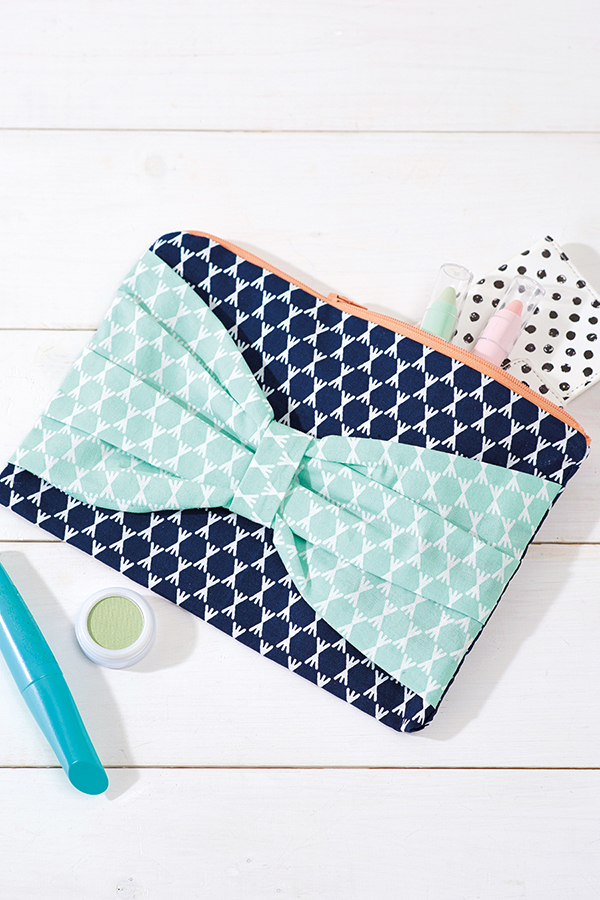
Cutting the pieces
Step 1
Cut one of the fat quarters to use for the bag outer to 27x38cm (105⁄8x15in).
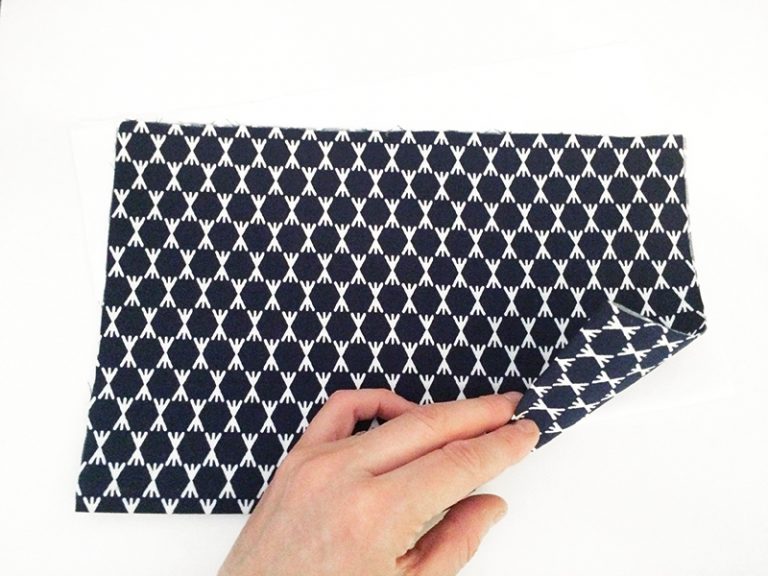
Step 2
Cut the other fat quarter into: a Main bow piece: 30x20cm (117⁄8x77⁄8in) and a Bow centre piece: 8x4cm (31⁄8x15⁄8in).
Making the bow knot
Step 1
Take the bow centre and fold it in half lengthways with right sides (RS) facing, then stitch together down the length.
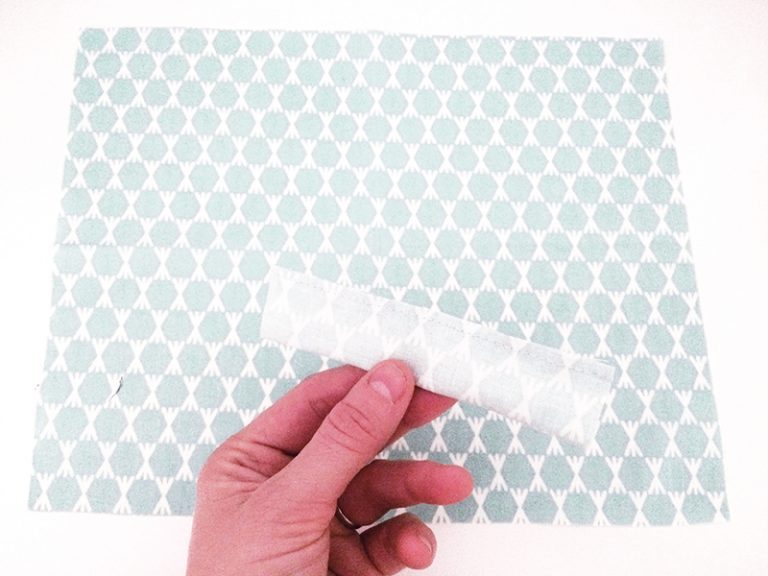
Step 2
Turn RS out and press.
Step 3
Turn one short end under by 1cm (3⁄8in) then slip the other short end just inside. Slip stitch closed all the way around to make a ring.
Making the bow
Step 1
Take the main bow piece and turn both long edges under by 5mm (1⁄4in) then the same again to the wrong side (WS). Stitch to hem.
Step 2
Feed the hemmed main bow piece through the ring.
Step 3
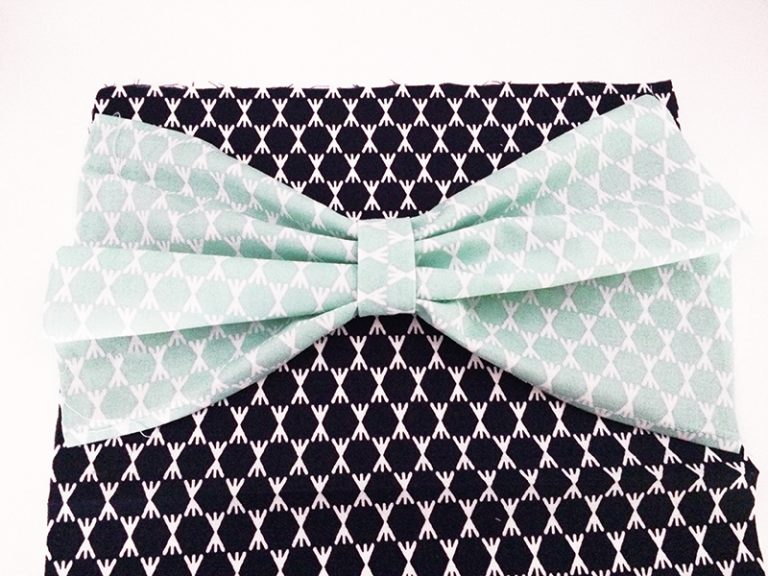
Place the bag outer RS up with the short edge running horizontally across the top. Place the bow RS down on top.
Step 4
Fold and pleat both edges of the bow piece so it measures 14cm (51⁄2in) wide then pin to the edges of the outer fabric with the top of the bow 3cm (11⁄4in) from the top short edge of the outer fabric. Tack into place.
Inserting the zip
Step 1
Place the bag outer RS up. Place the unzipped zip RS down centrally along the top edge, matching the raw edge of the fabric to the edge of the zip tape. Place the lining piece RS down on top, matching raw edges and sandwiching the zip between the fabrics.
Step 2
Using a zip foot, stitch the three layers together all the way along the top edge.
Step 3
Repeat this to stitch the other short end of the outer and lining fabric to the other side of the zip.
Assembling the bag
Step 1
Open the zip then pin the bag together so that the main fabrics are RS together and the lining fabrics are RS together.
Step 2
Pin the zip teeth towards the outer and the tape towards the lining.
Step 3
Stitch the fabric down both sides, enclosing the ends of the bow pieces as you go but leaving a gap in the centre of one side of the lining for turning.
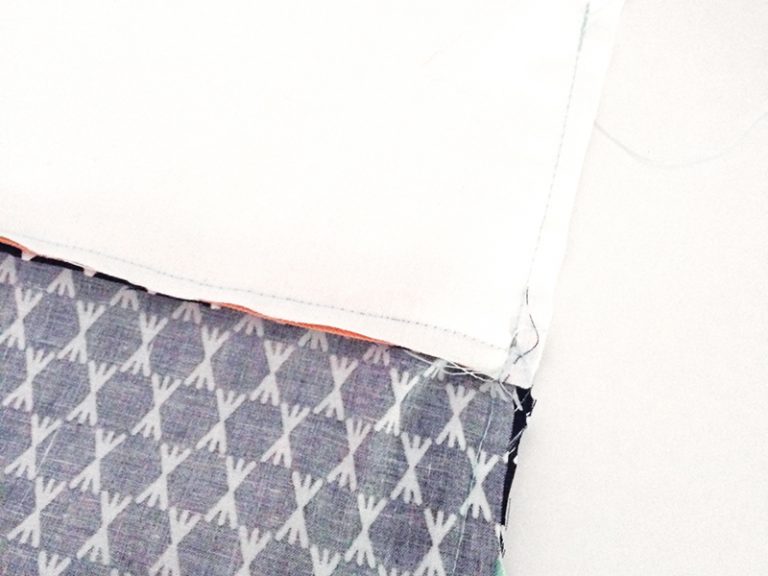
Step 4
Pull the bag RS out through the opening then slip stitch the gap closed.
Step 5
Push the lining inside the bag, press and close the zip to complete.


