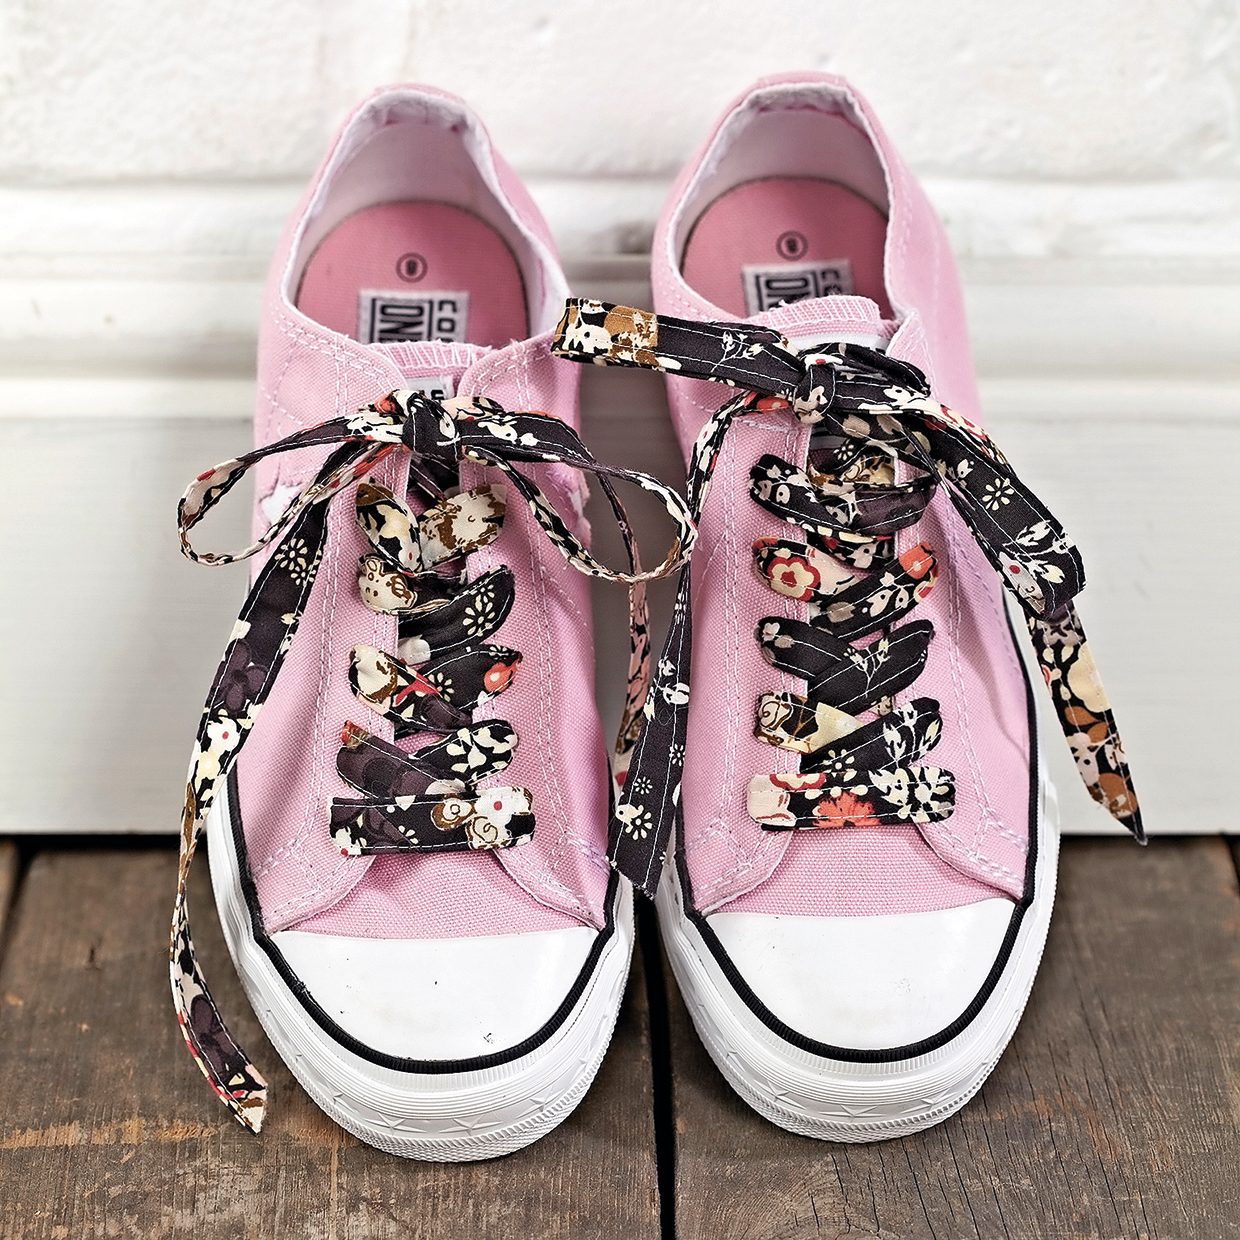
Cutting out and joining
Step 1
Cut the fabric strips into small pieces, as desired, and arrange into two rows of equal length.
Step 2
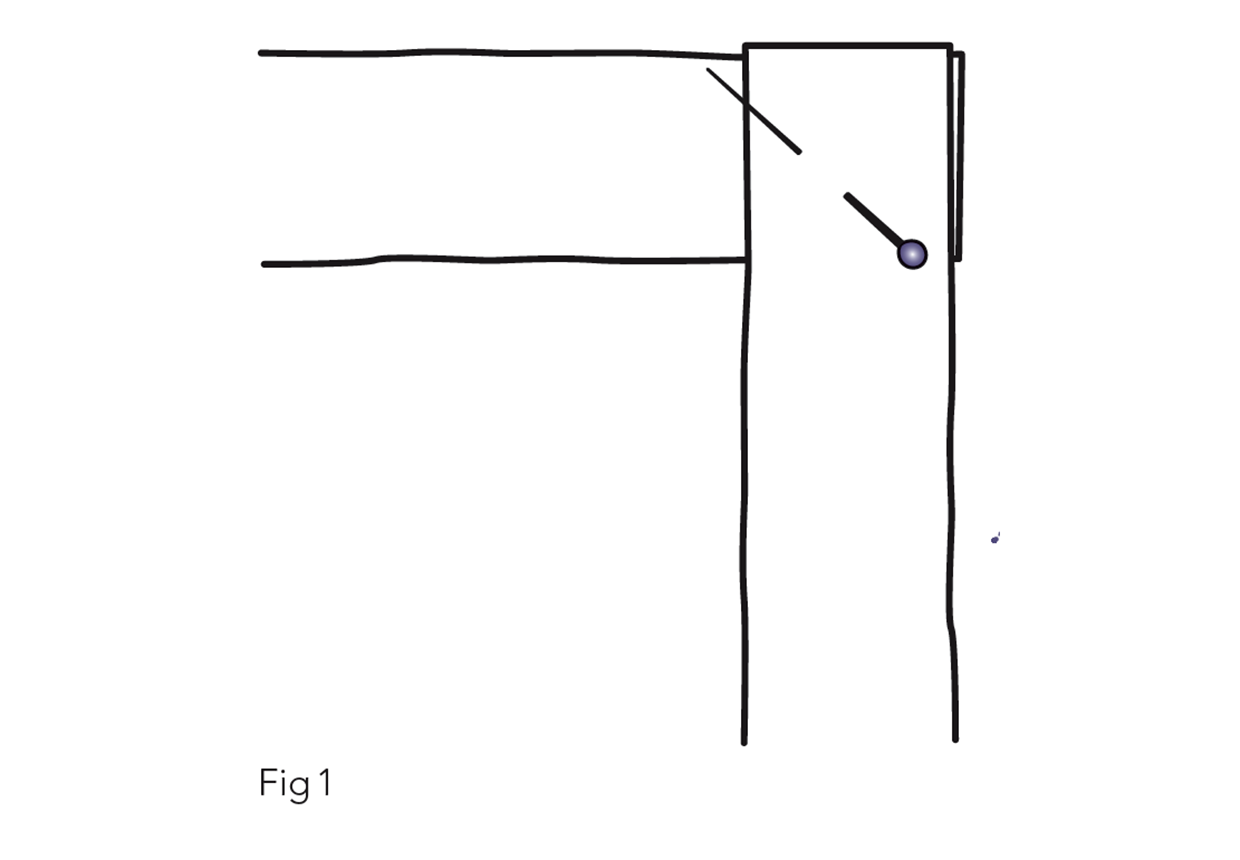
Sew the rows of fabric together, one at a time. Take two strips of fabric and place them right sides together at a 90-degree angle. Pin in place (Fig 1).
Step 3
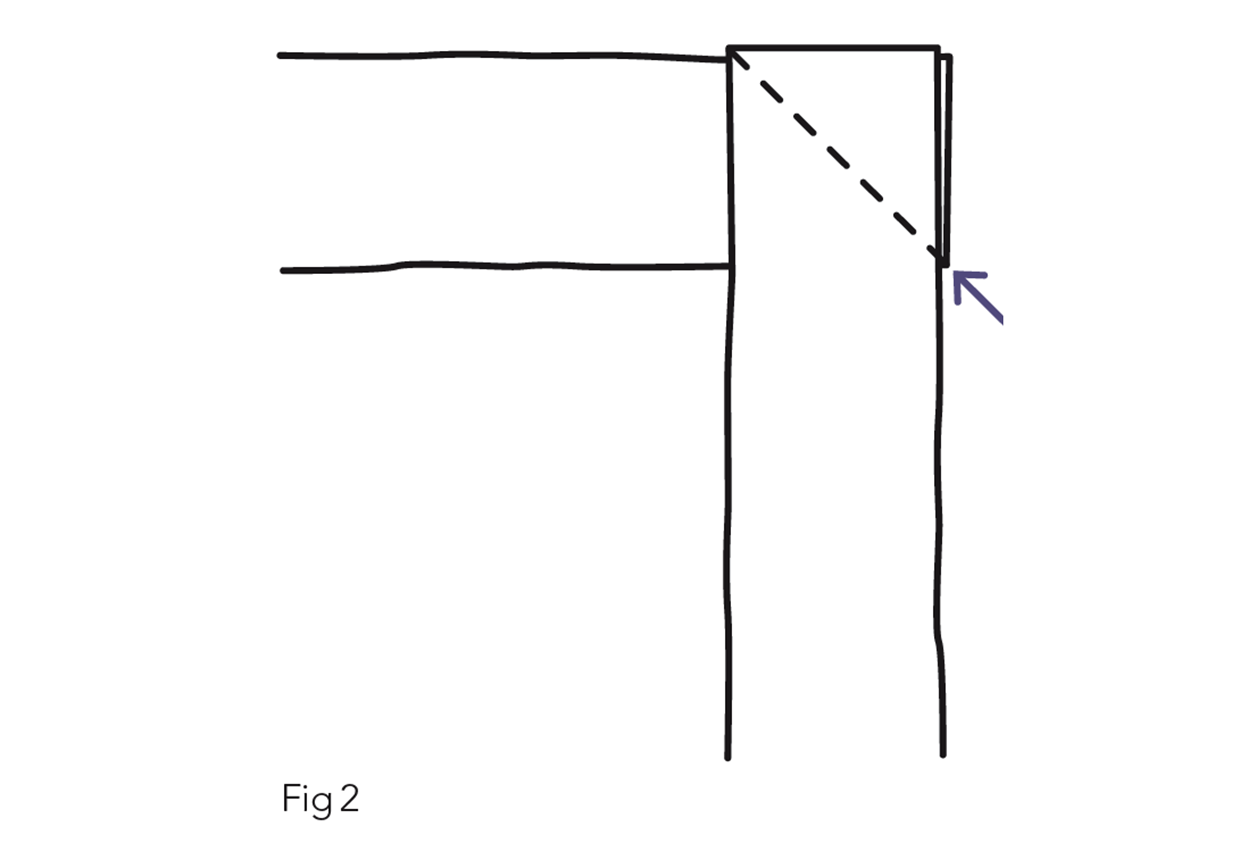
Sew the strips together on the diagonal, as pictured (Fig 2).
[pullquote quote="Top tip: You can use a disappearing ink pen to mark your lines before stitching." /]
Step 4
Trim away excess fabric to create a ¼in allowance. Repeat until all of the pieces in one row are joined. Press seams open and then press lightly all over. Repeat with the remaining row.
Folding the strips
Step 1
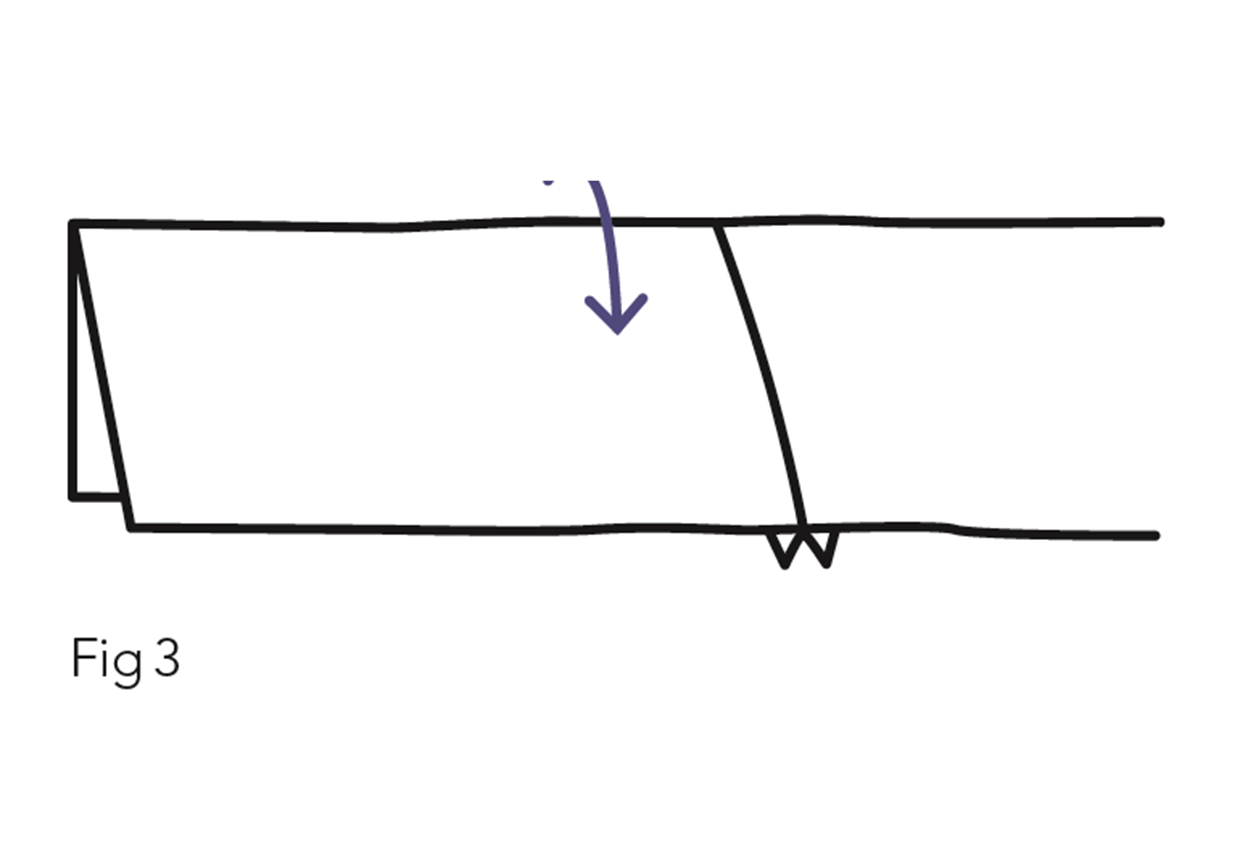
Take one of the pieced strips, fold in half lengthways so that it is 1in wide and press (Fig 3).
Open the lace out and fold each of the raw fabric edges in to meet the central crease (Fig 4).
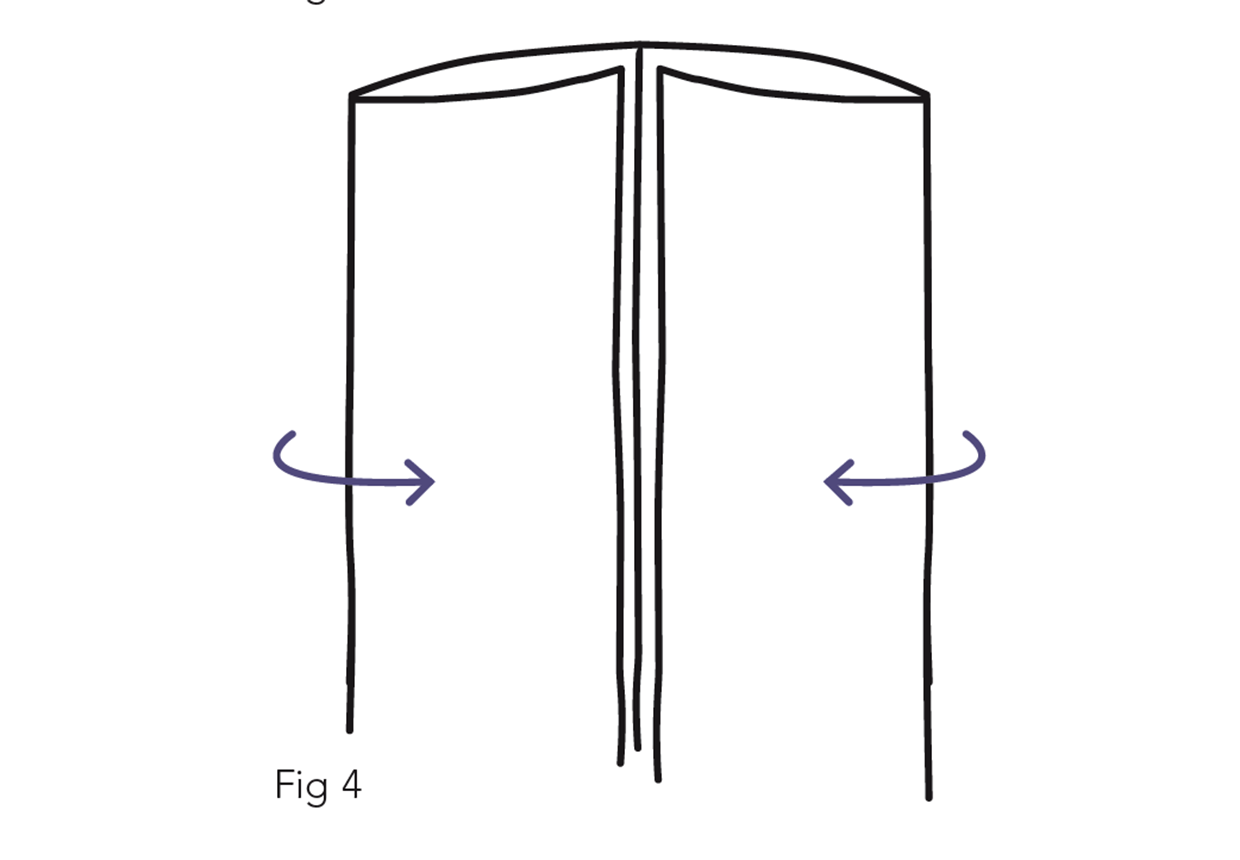
Press and then fold the lace in half and press again. The lace will measure ½in wide. Repeat with the other pieced strip.
Step 2
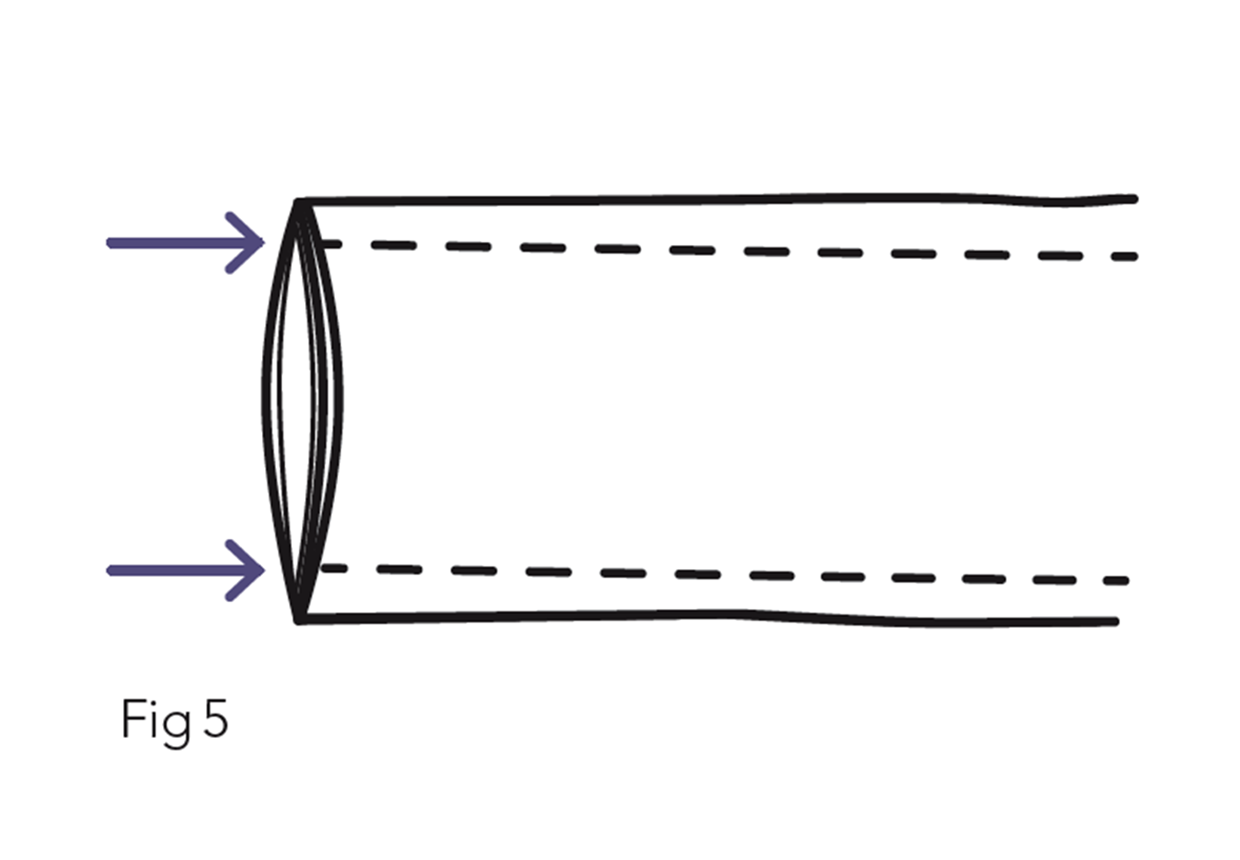
Sew down both sides of the fabric laces, starting with the long open edge opposite the fold. Leave both short ends unstitched (Fig 5).
[pullquote quote="For an even quicker project (that requires slightly bigger bits of fabric) make the laces from a single length of fabric to get the effect without the piecing." /]
Finishing off
Step 1
Pull one end of a shoelace through the opening of the darning needle and use to thread through each eyelet in the shoe. Repeat to lace the other shoe. Once laced, finish the ends of the shoelaces. Fold over the raw ends by ¼in and press (Fig 6).
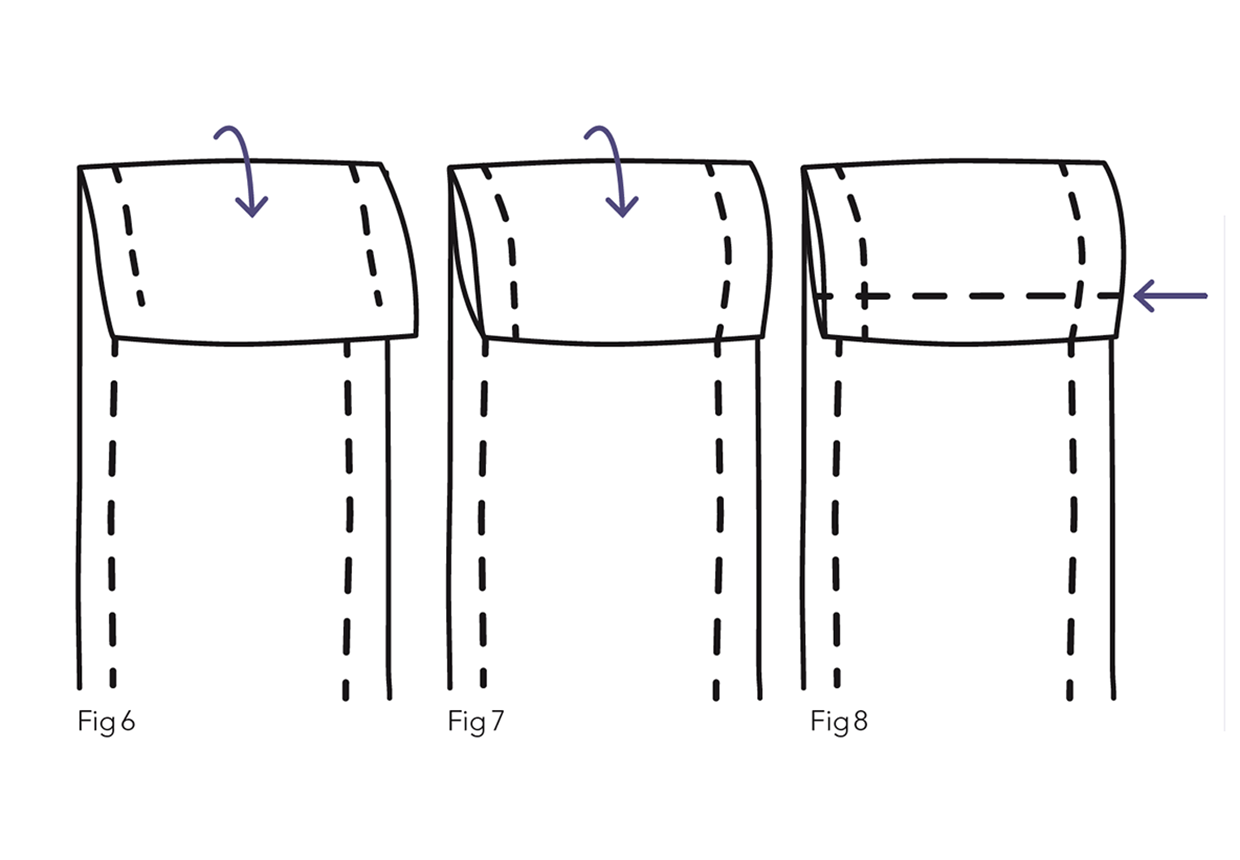
Fold by a further ¼in and press again (Fig 7) – this will hide the unfinished edges. Then sew in place by hand (Fig 8) or use fabric glue to secure in place.
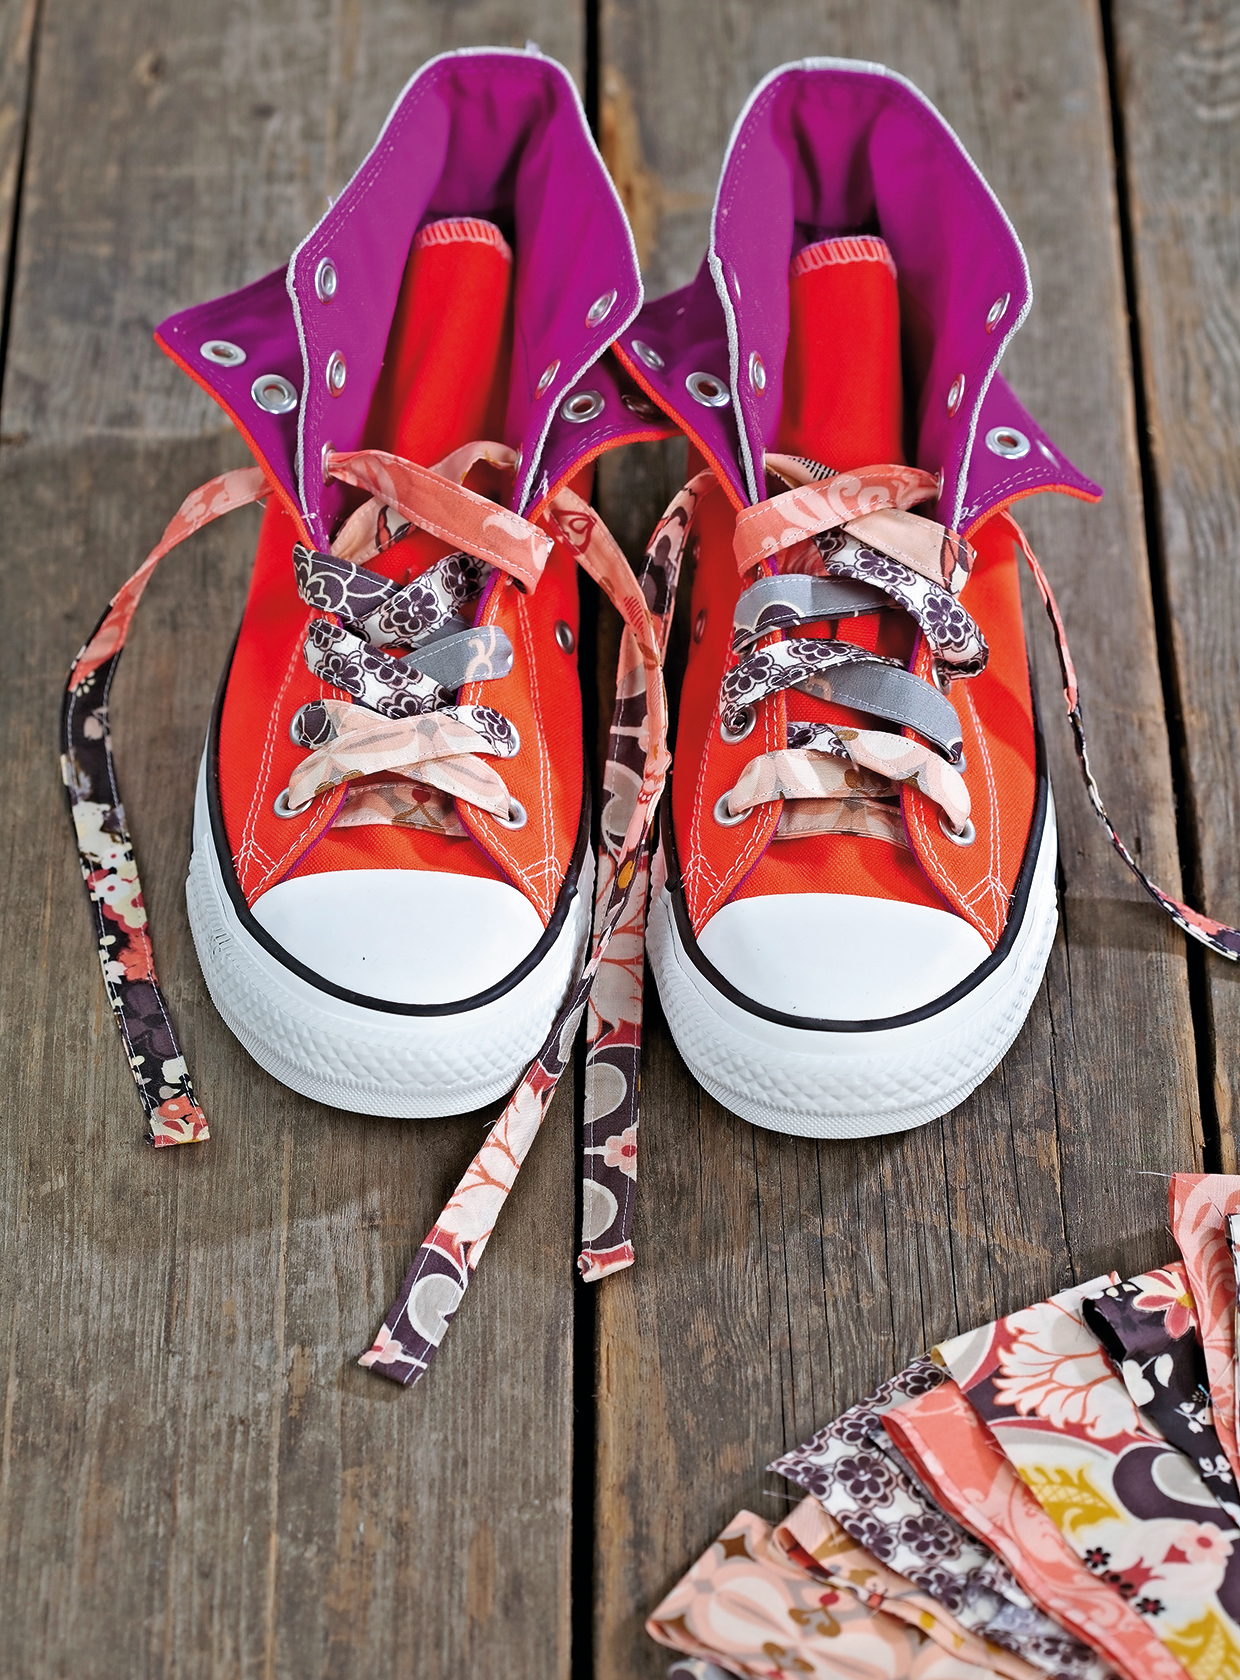
[pullquote quote="Top tip: With such a narrow area of print on show, a large pattern will be lost on these laces – use a ditsy print, or a very simple repeat pattern (like stripes!) for maximum impact." /]
