Making the pattern for the front
Step 1
Place your paper roll or a large piece of card on a large table. Mark a line down the centre of the length of the paper. This line will be where the side seam of the leggings will sit as you mark the pattern.
Step 2
Place your existing leggings on top of the paper with the right side (RS) of the leggings facing the paper, aligning the side seam with the line drawn previously. As the leggings are made from stretchy material you will need to move them a bit as you mark them on the paper.
Step 3
Start by marking around the lower leg opening. Make sure that the side seam stays aligned with your centre line. Mark close to the seam as we will add seam allowance later on. You will likely find that the side seam is not completely straight due to wear and washing. Align the side seam with the centre line as close as possible, but if the seam is uneven mark a little extra space rather than too little.
Step 4
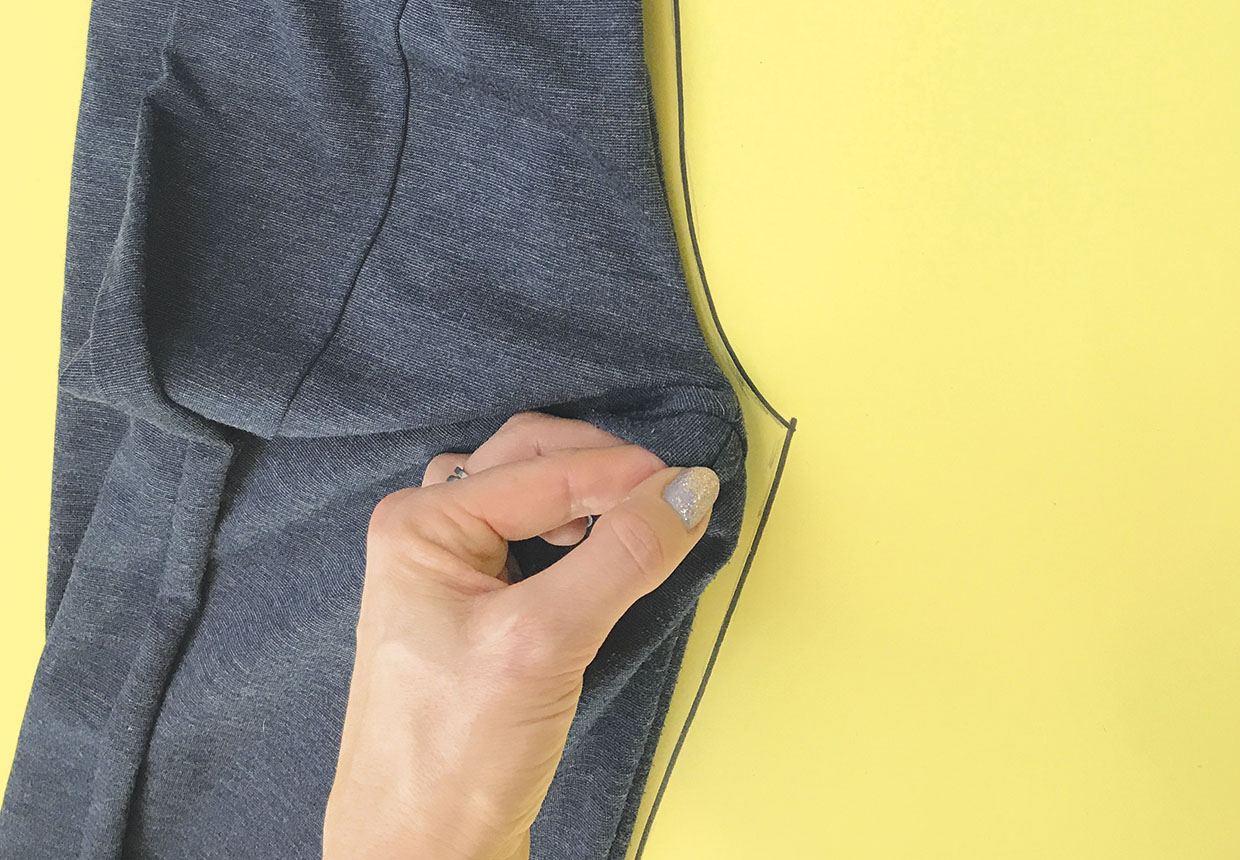
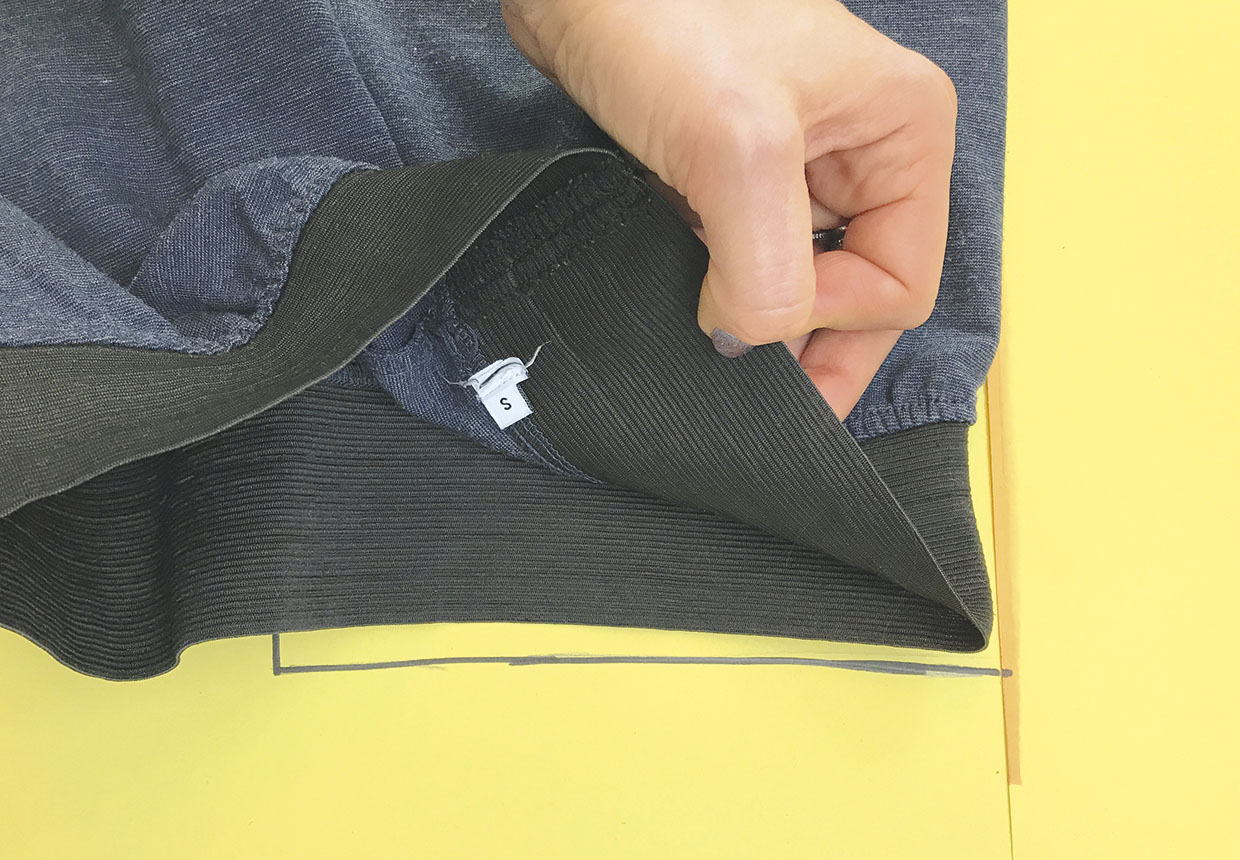
To mark the centre front seam, you will need to lift the leggings from the paper slightly to be able to mark underneath them. Mark the centre front, again straightening out any seam anomalies with your new line.
Step 5
Follow the top edge of the front of the waistband. Do your best to hold the fabric in place as it will shift about as you attempt to mark the paper. This completes the front of the pattern piece.
Making the pattern for the back
Step 1
Fold over the leggings so the side seam still follows the line and the back of the leggings is now facing the paper.
Step 2
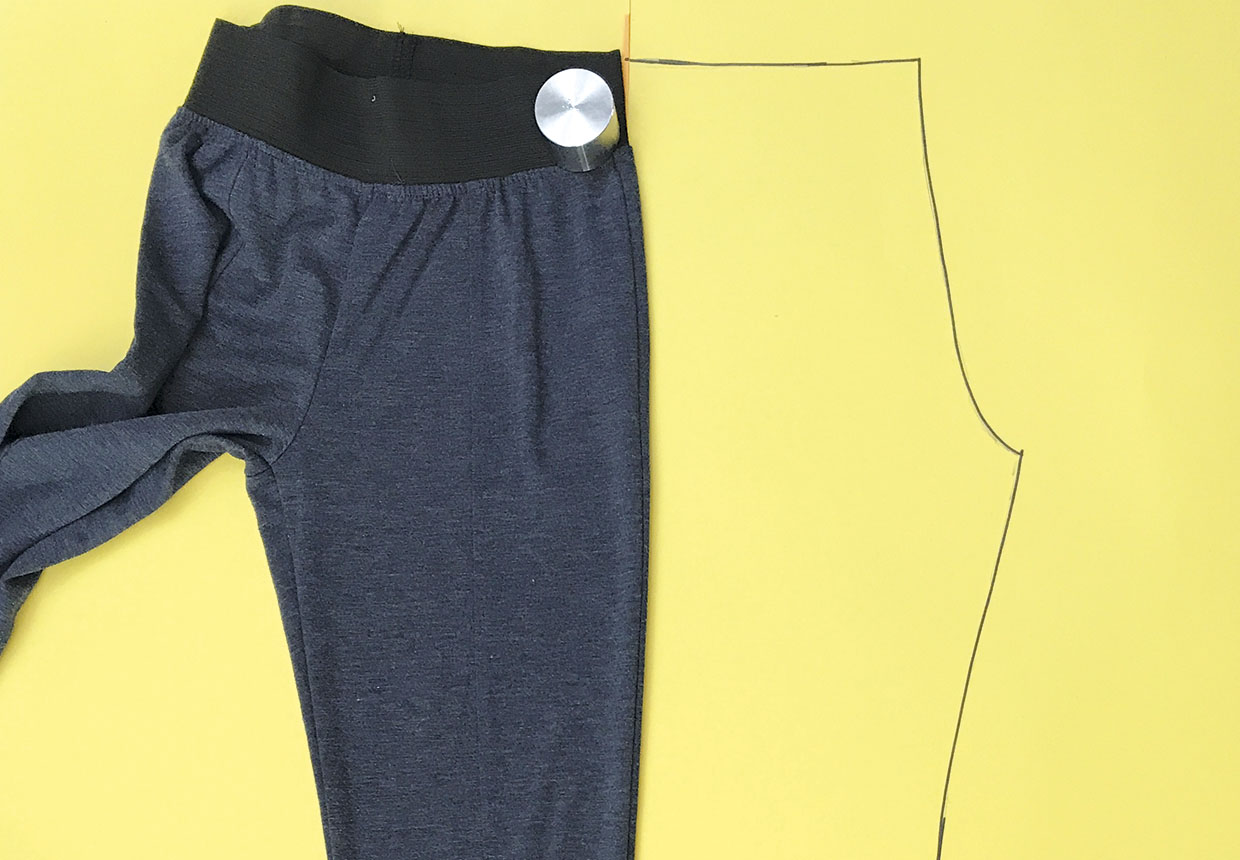
Repeat as before to mark the centre back seam, note that the crotch at the centre back will be slightly deeper than at the centre front.
Step 3
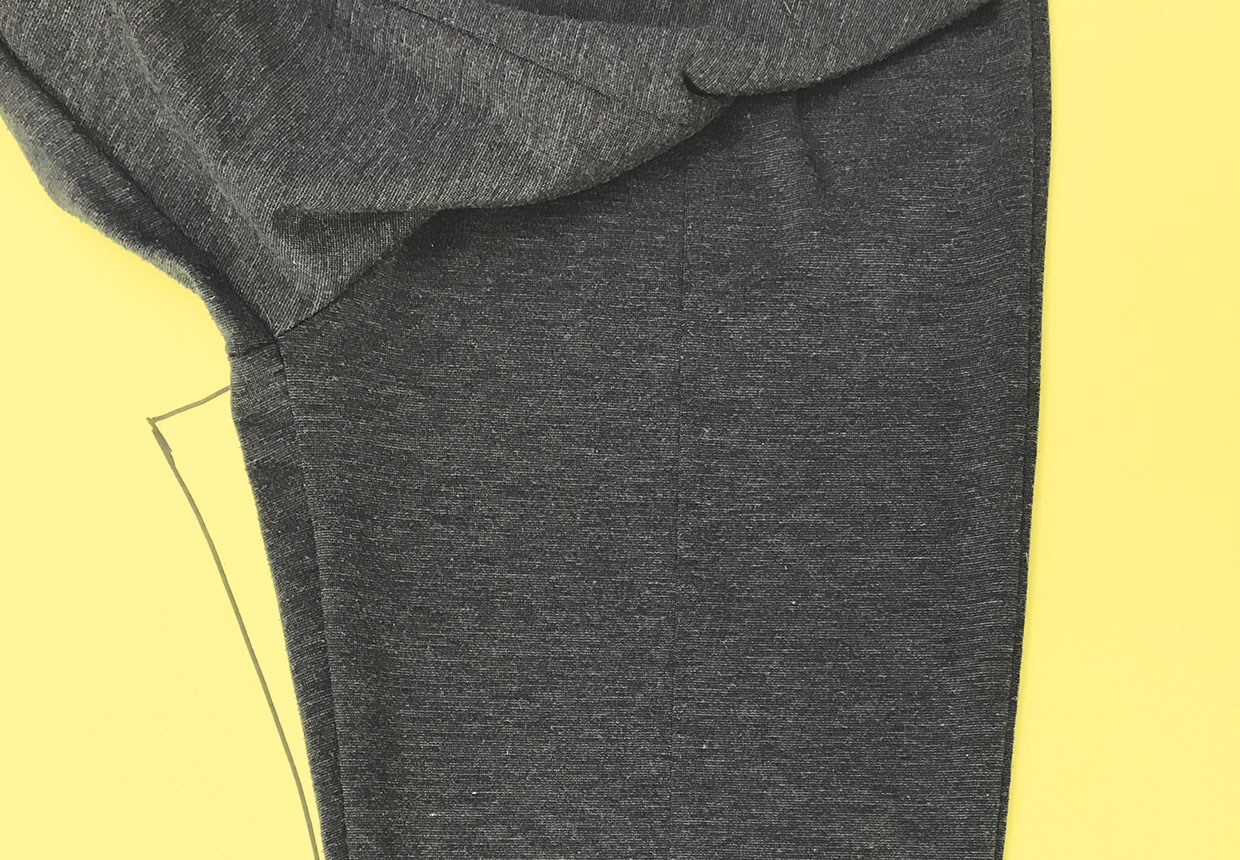
Mark the back waist (which will be slightly higher than the front) and the hem. This will now be the entire leggings pattern marked.
Step 4
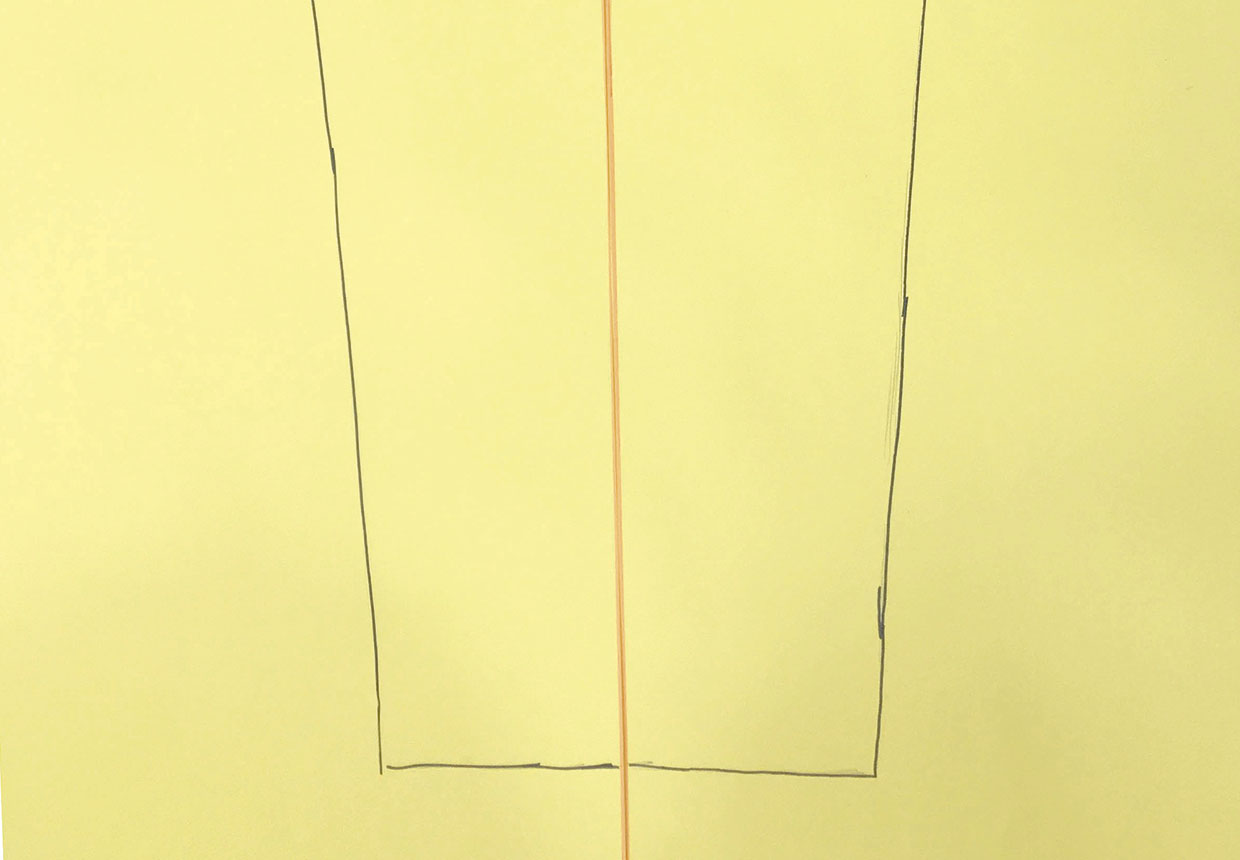
Mark 1cm (3⁄8in) of seam allowance along the centre front, centre back, and the leg seams. Add 3cm (1¼in) to the bottom edge for the hem but leave the top edge seam allowance free as we will add this later on.
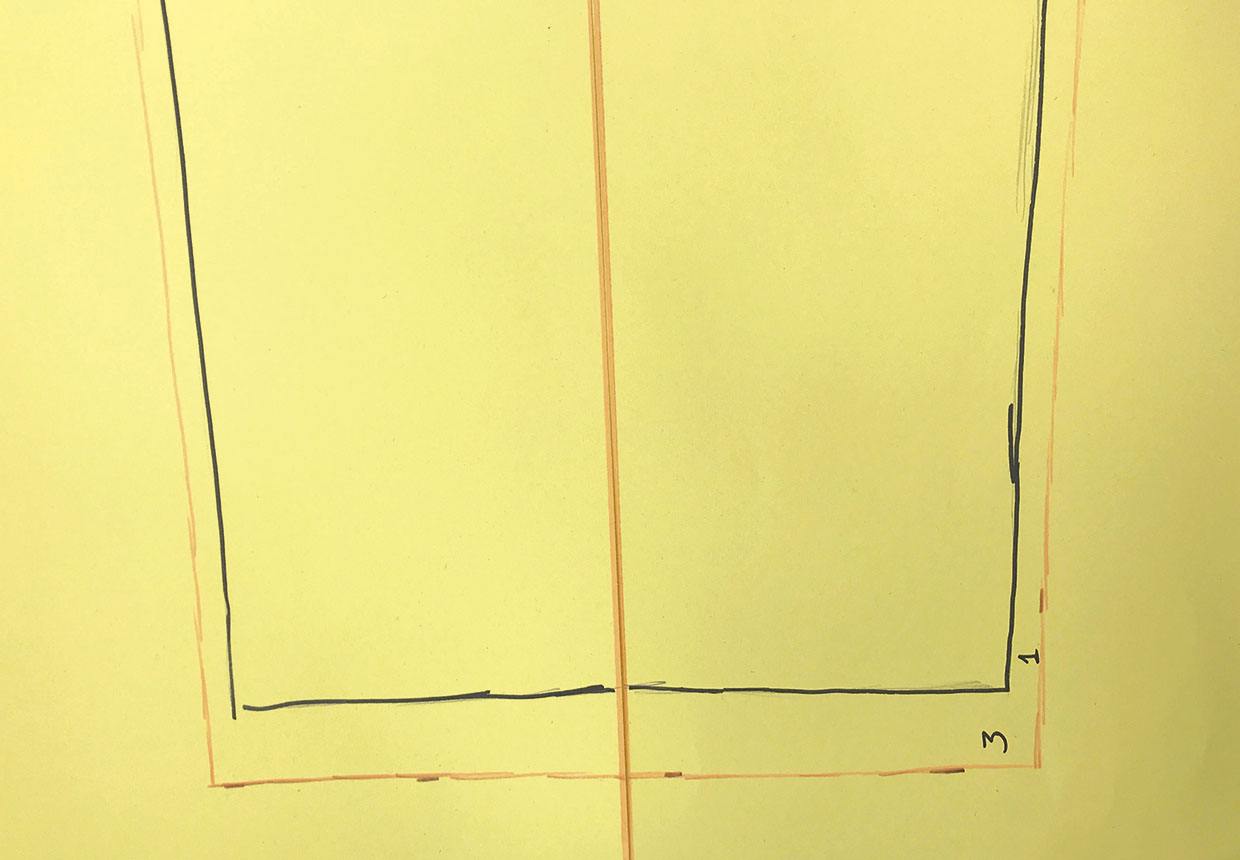
Step 5
Cut out the pattern piece all the way around.
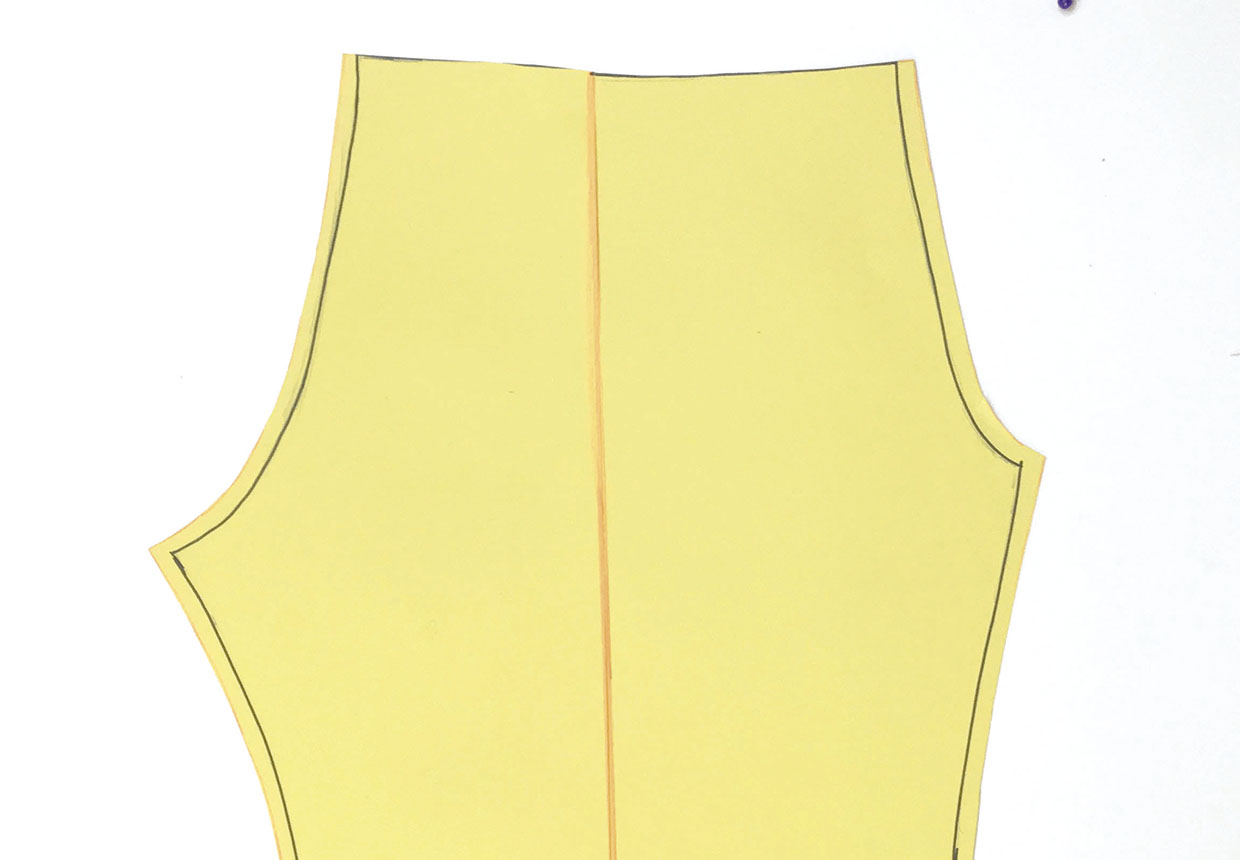
Cutting out
Step 1
Lay the fabric out on a large table or on the floor. Fold the fabric in half RS together. Place the pattern piece on top of the fabric.
Step 2
Marking directly onto the fabric, add 5cm (2in) to the waist edge using an erasable fabric marker. This will make sure there is enough fabric to fold down and use as a channel for the 3cm (1¼in) wide elastic tape. If your elastic tape is wider than 3cm (1¼in) adjust as necessary so that there is enough fabric to fold over the elastic.
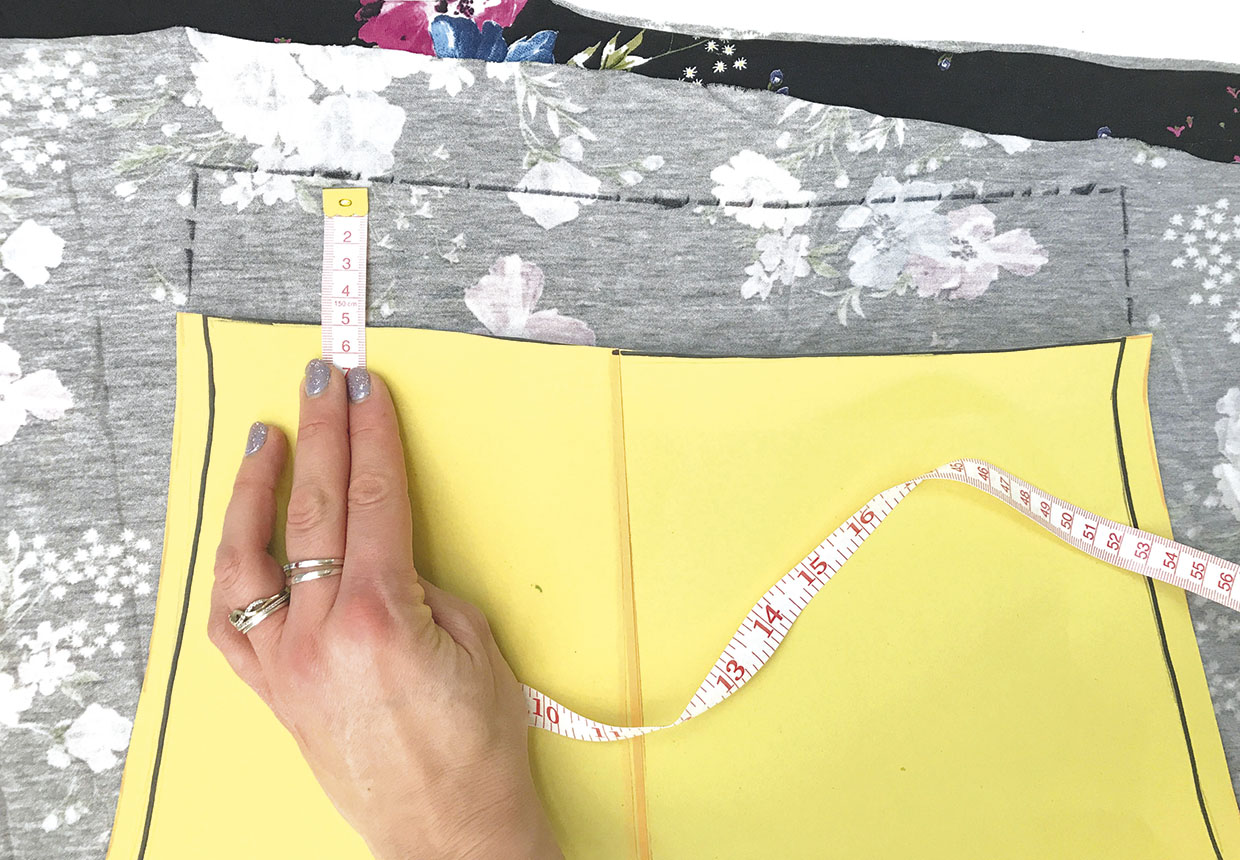
Step 3
You might like to add a little extra seam allowance – 1cm (3⁄8in) or so – all around to be sure you have enough width. Also please note that stretch fabrics have a different amounts of stretch in them depending on the elastane content, so be sure the leggings you measure from have the same stretch percentage as the fabric you intend to use. If your fabric isn't as stretchy as the original leggings you can make the pattern larger to compensate. If you would like the leggings to have a looser fit you can also add more seam allowance around the sides.
Step 4
Cut all around the newly marked top line and the rest of the pattern. By cutting through two layers of fabric you will be cutting out one pair. As mentioned in the notes section, each leg is one piece of fabric so once cut out you will have two pieces.
Sewing the leggings
Step 1
With RS of the fabric together, pin then sew the centre front and centre back seams together. The two short edges will make the front centre seam, and the two long edges will make the back centre seams.
Step 2
Align the centre seams just sewn and then sew the inner leg seams.
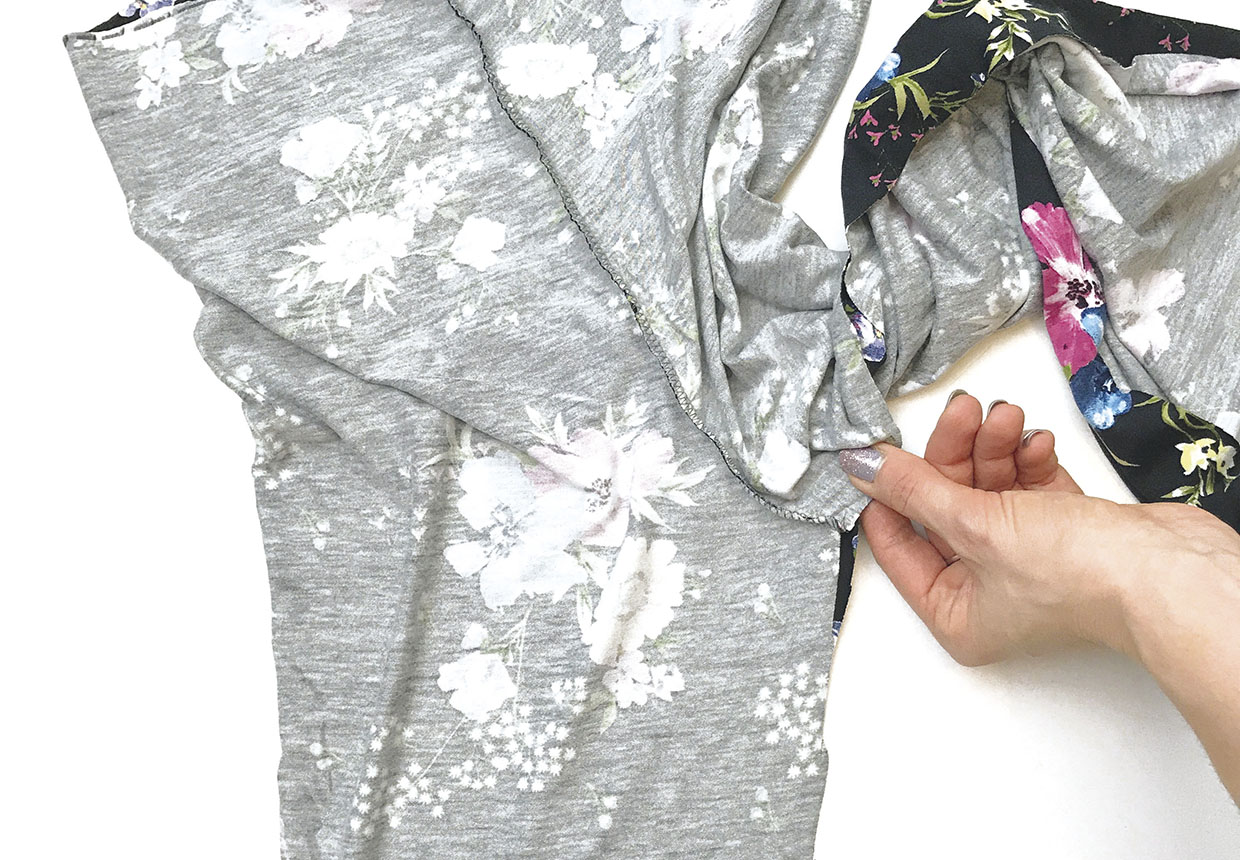
Step 3
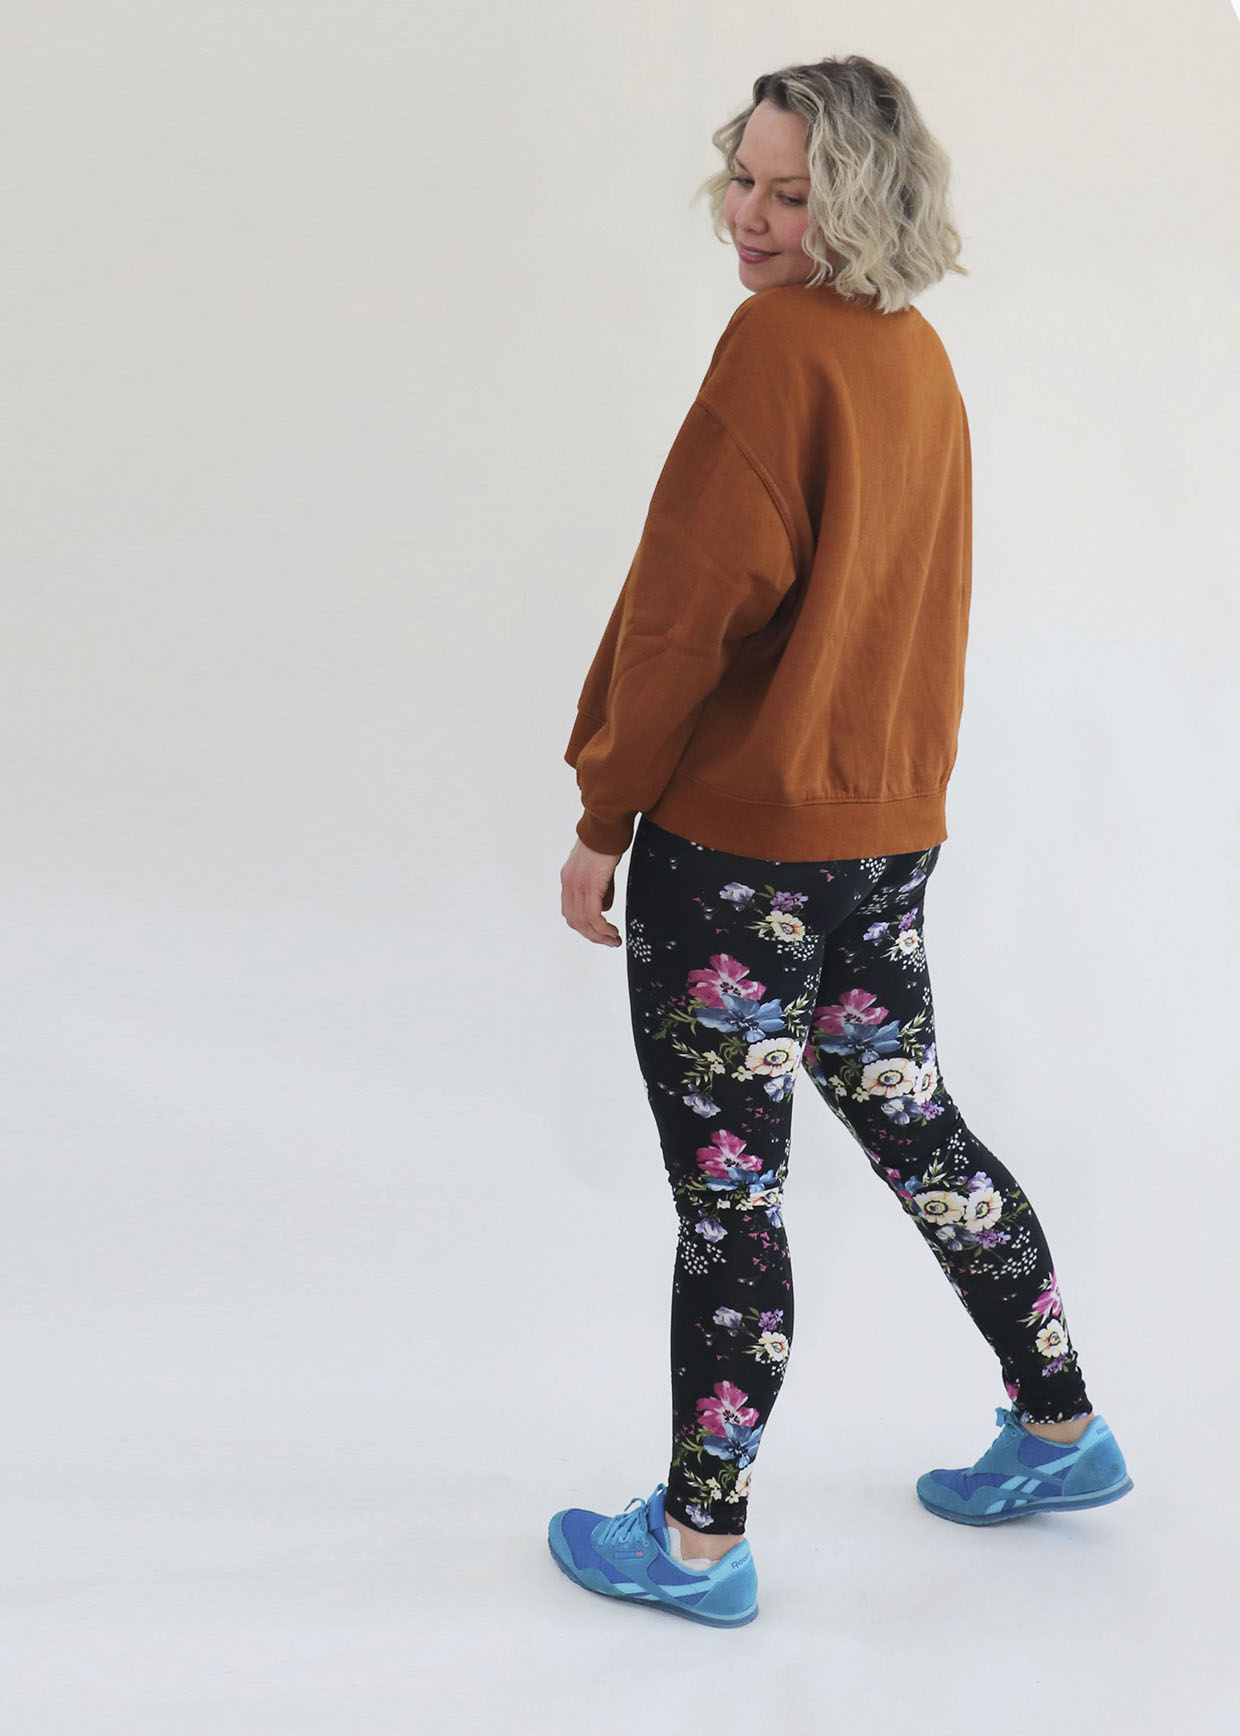
With the main seams now sewn together try the leggings on and see if you need to make any adjustments. If you do need to make any adjustments, do so within the additional seam allowance. Finish the raw edges of the leg and waist openings.
Adding the elastic
Step 1
Measure the elastic tape around your waist, making sure that you can get it comfortably over your hips. Stitch the elastic tape together and then stitch the ends to the main loop to secure.
Step 2
Place the elastic inside the top of the leggings, fold the fabric to the wrong side (WS) by the 5cm (2in) and pin in place.
Step 3
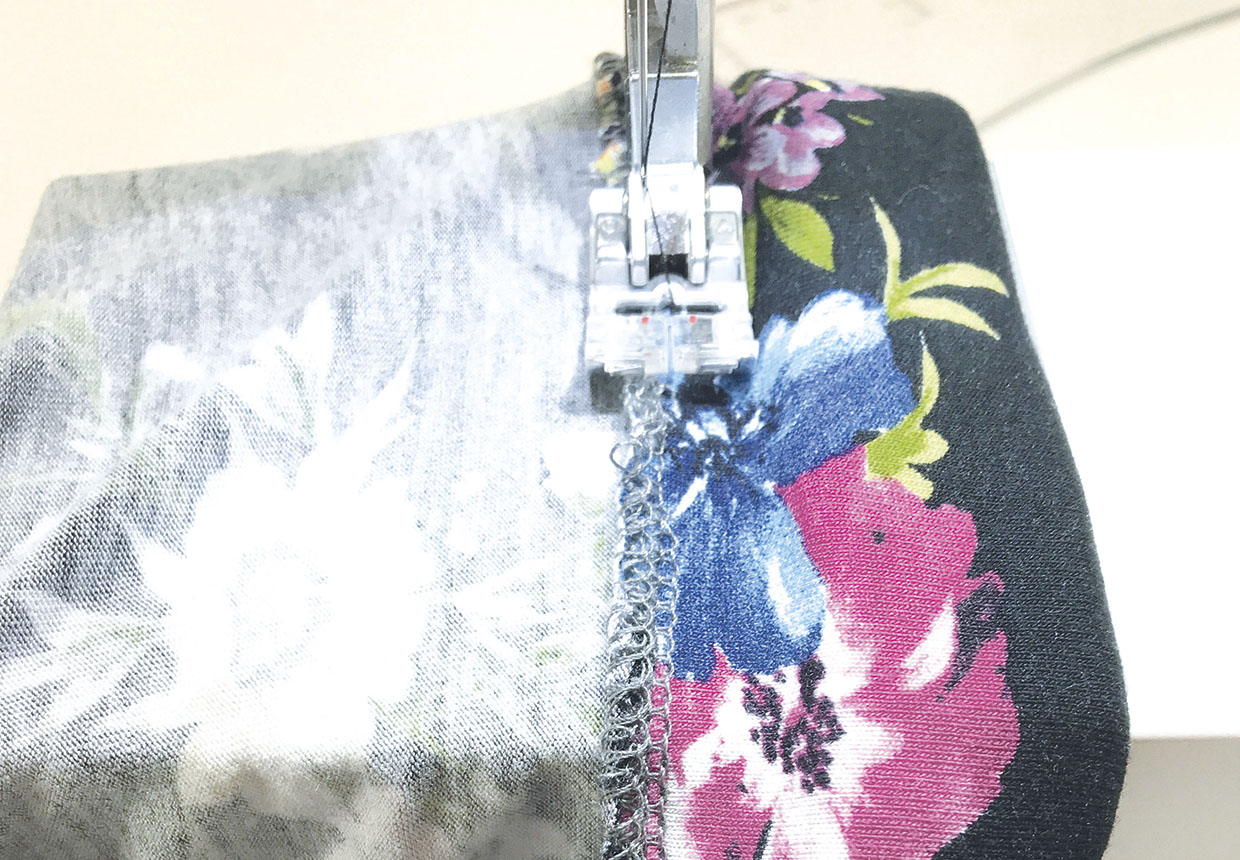
Stitch around the channel with a zigzag stitch along the lower edge. make sure the elastic has 5mm–1cm (¼–3⁄8in) room to move freely inside the channel.
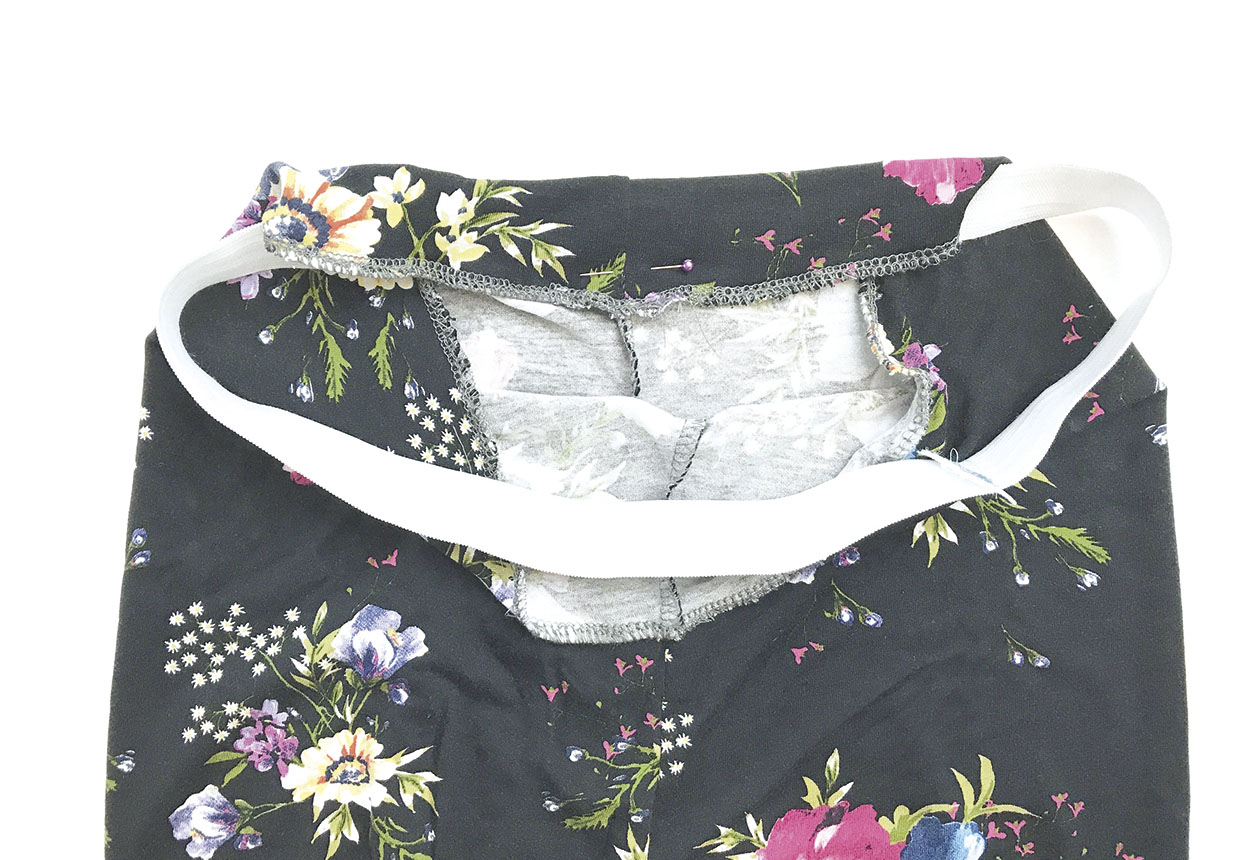
Step 4
Keep the elastic tube inside the channel as you sew, pulling it as you go along.
Finishing
Step 1
Try the leggings on to see if they need to be shortened. Make any necessary adjustments gradually to avoid errors!
Step 2
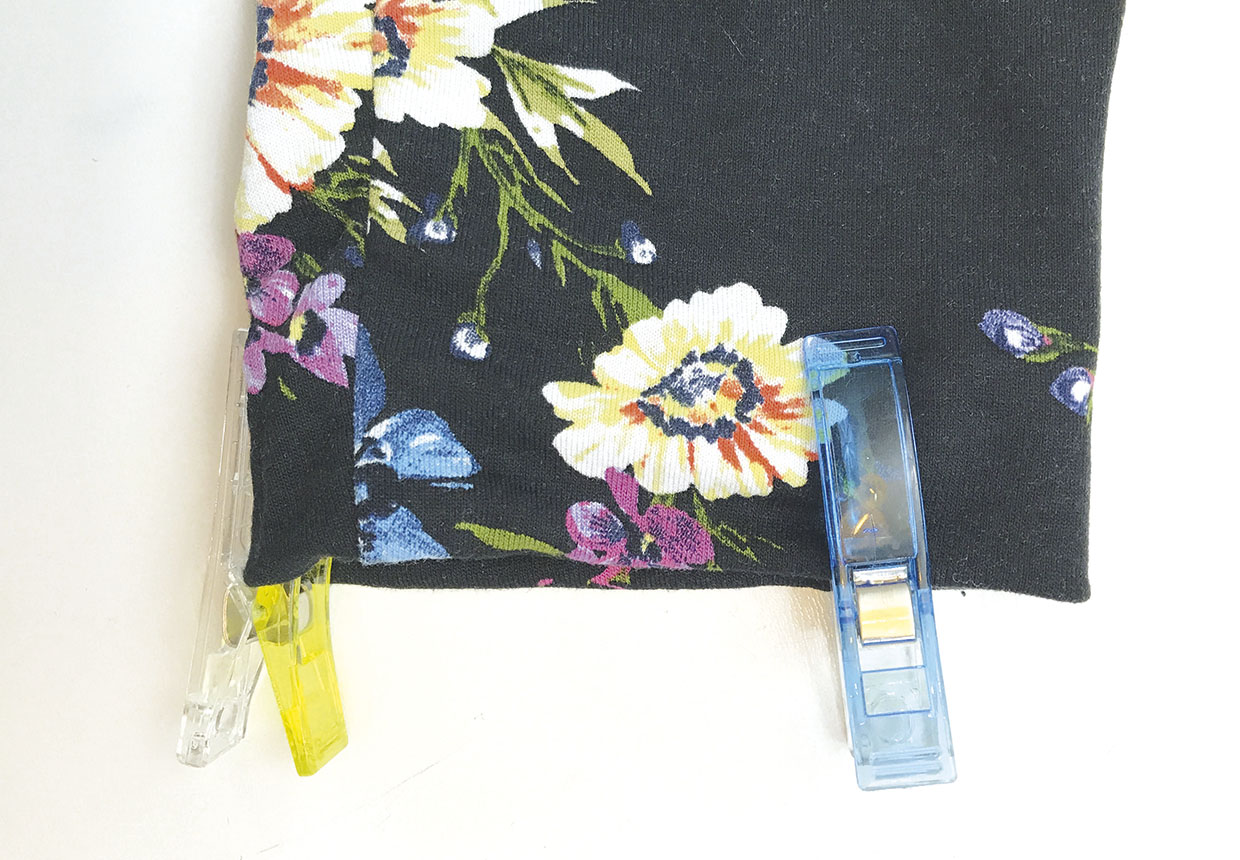
Fold the hem at the leg openings to the WS and pin then stitch in place.
