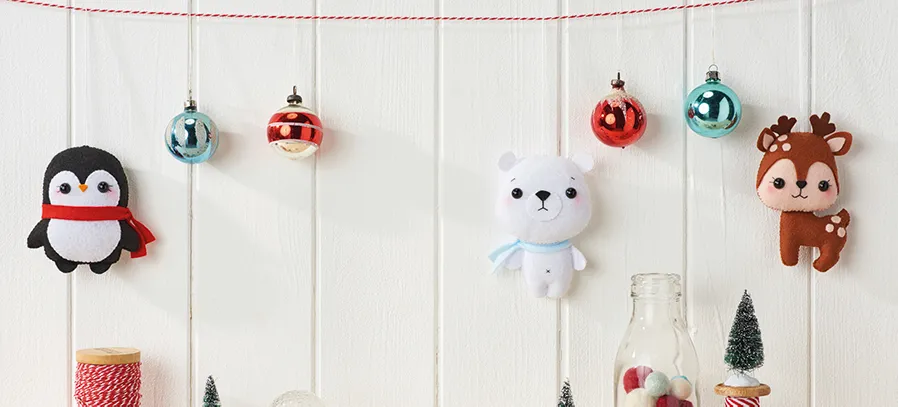
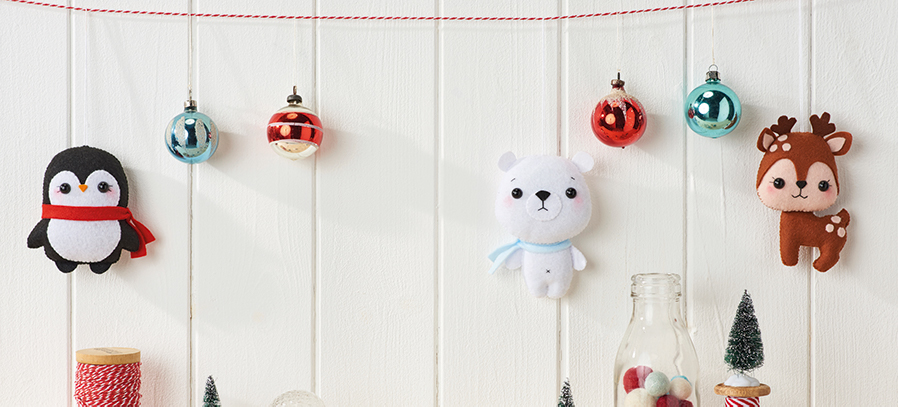
How to make felt penguin Christmas decorations
Step 1
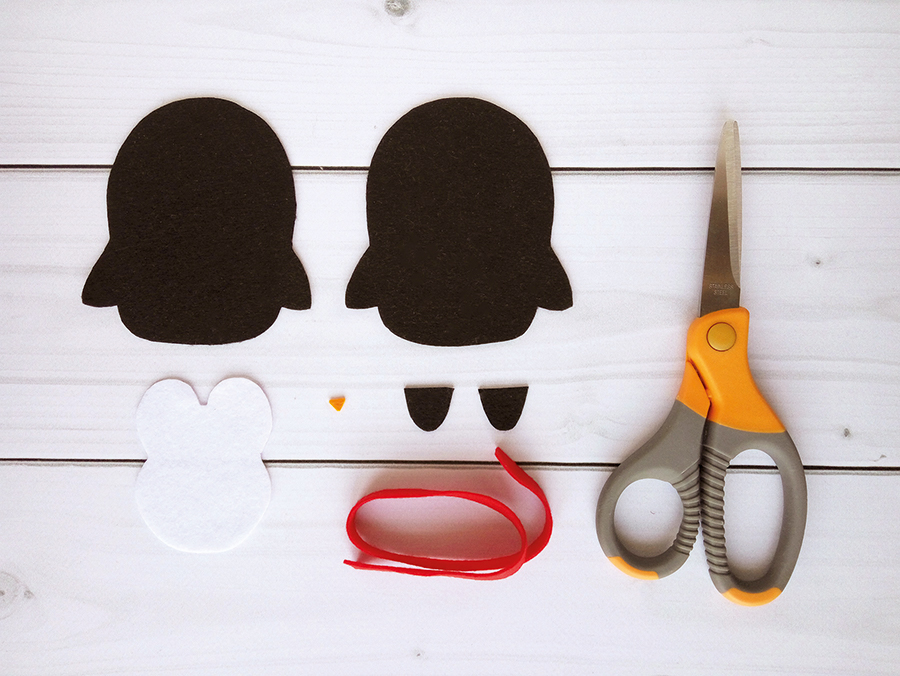
Using the templates cut out all penguin pattern pieces.
Step 2
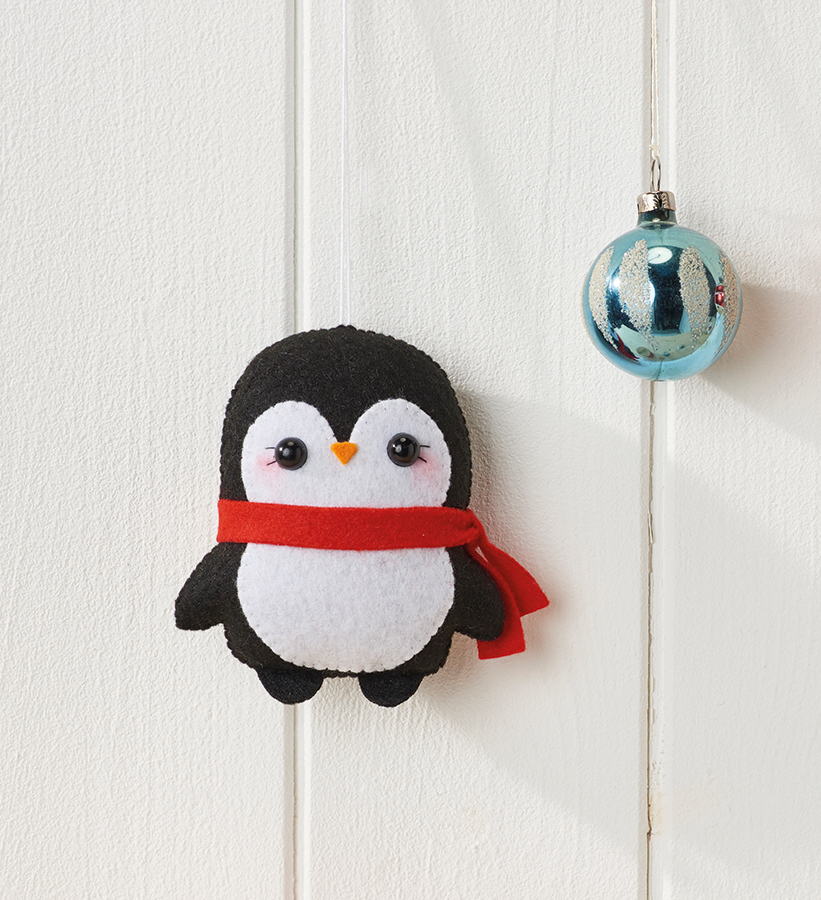
Add a few drops of fabric glue to the reverse of the white face and tummy piece, then stick to the body piece, using the picture as a guide.
Step 3
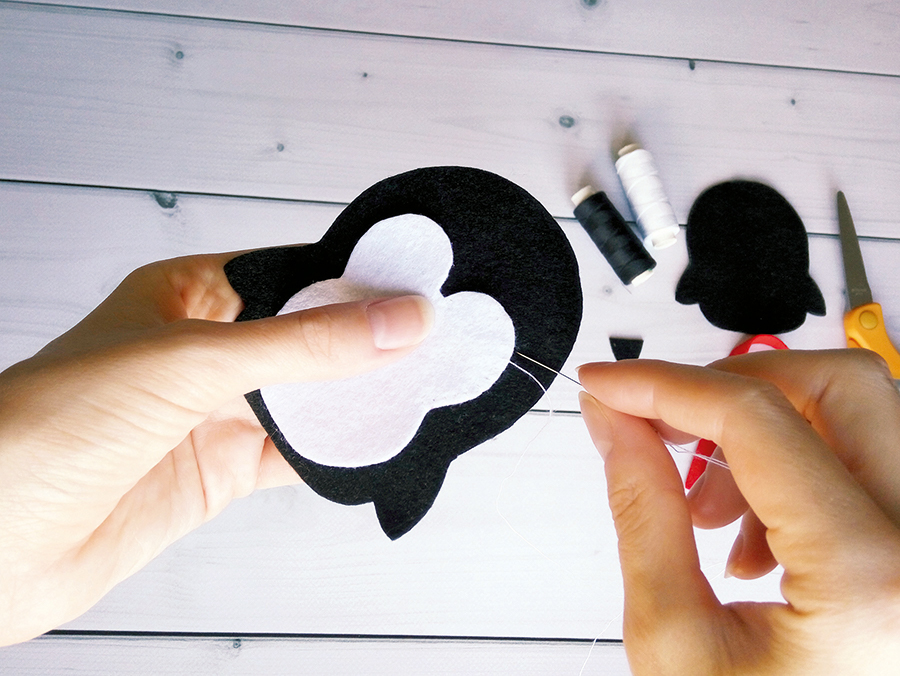
Blanket stitch around the edge of the face and tummy piece with white sewing thread.
Step 4
Use the tip of a pair of embroidery scissors to make two holes for the eyes. Insert the safety eyes, then add on the connectors at the back, sliding each connector onto the post as far as it will go.
Step 5
Embroider the eyelashes using straight stitch and black embroidery thread, then glue on the beak.
Step 6
Pin the two body pieces with wrong sides (WS) together. Add a few drops of glue along the wider top parts of the feet, then position between the two body pieces, pressing down to secure.
Step 7
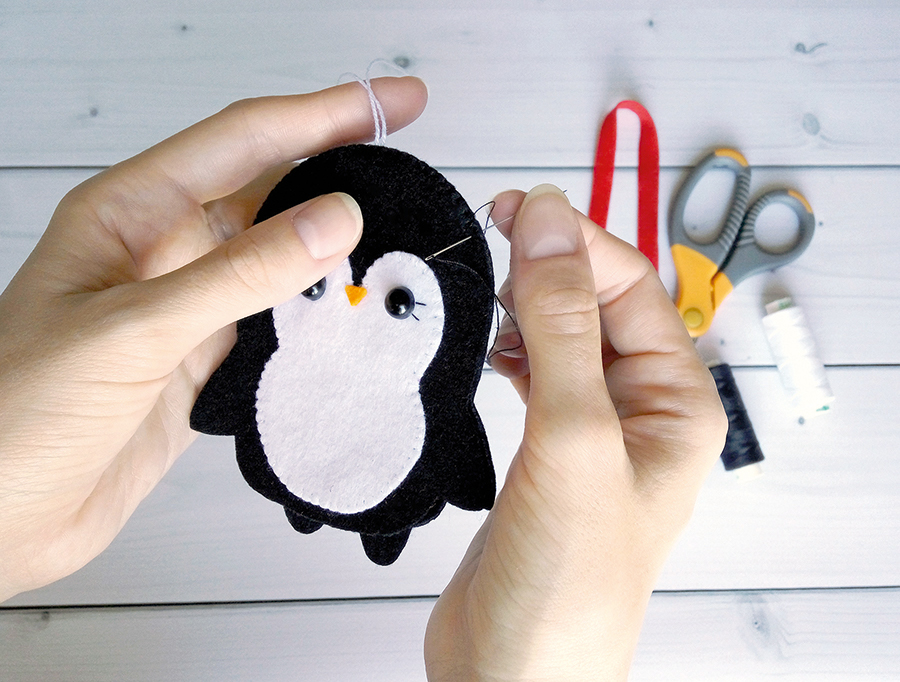
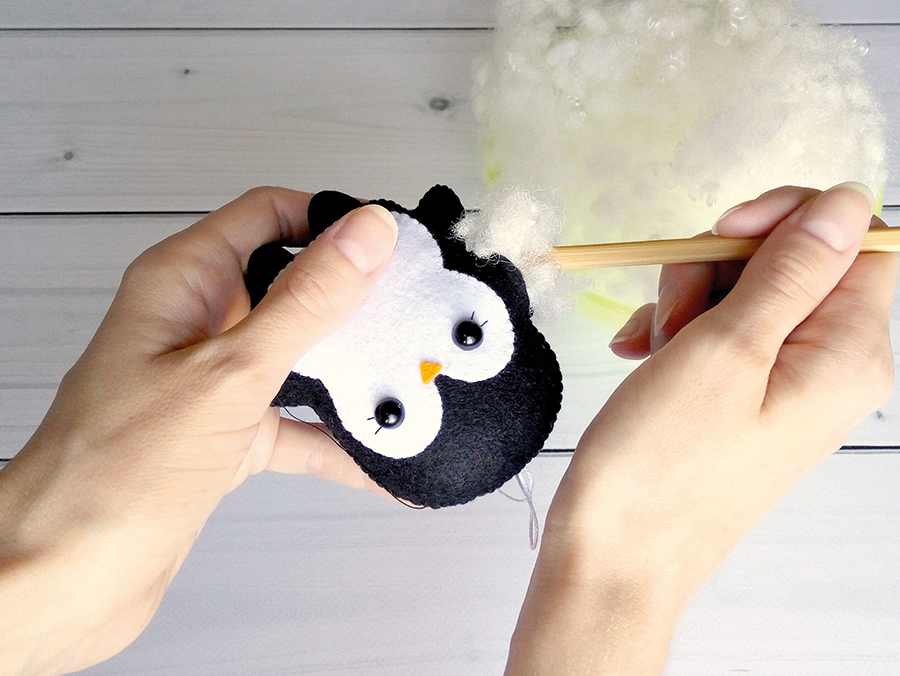
Blanket stitch around the body, adding a loop of thread at the top and leaving an opening on one side. Stuff, then sew the gap closed.
Step 8
Tie on the scarf. Rub the pink pencil onto the penguin’s cheeks and smudge with your finger.
How to make felt polar bear Christmas decorations
Step 1
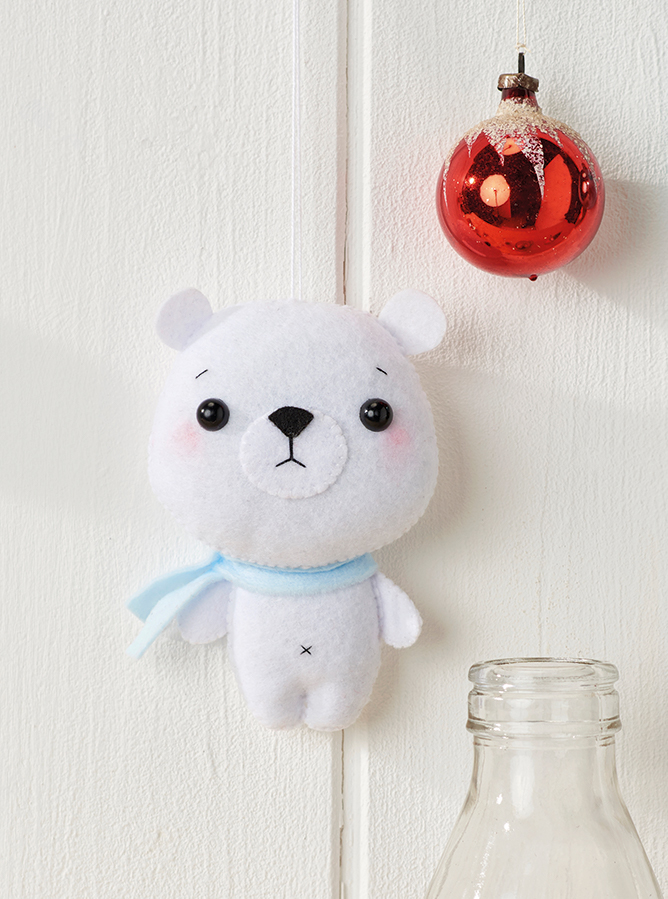
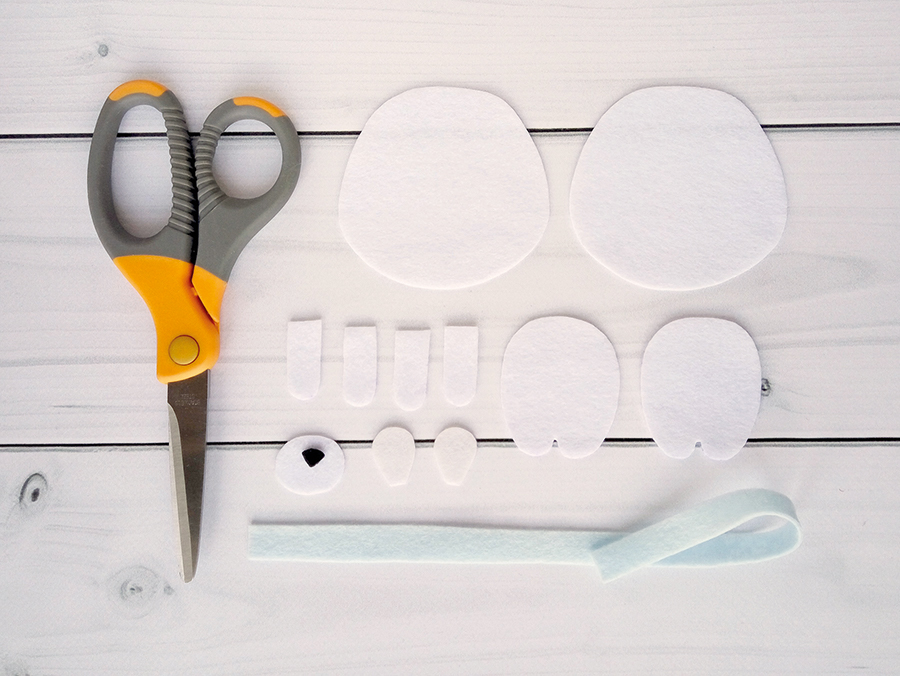
Using the templates cut out all bear pattern pieces.
Step 2
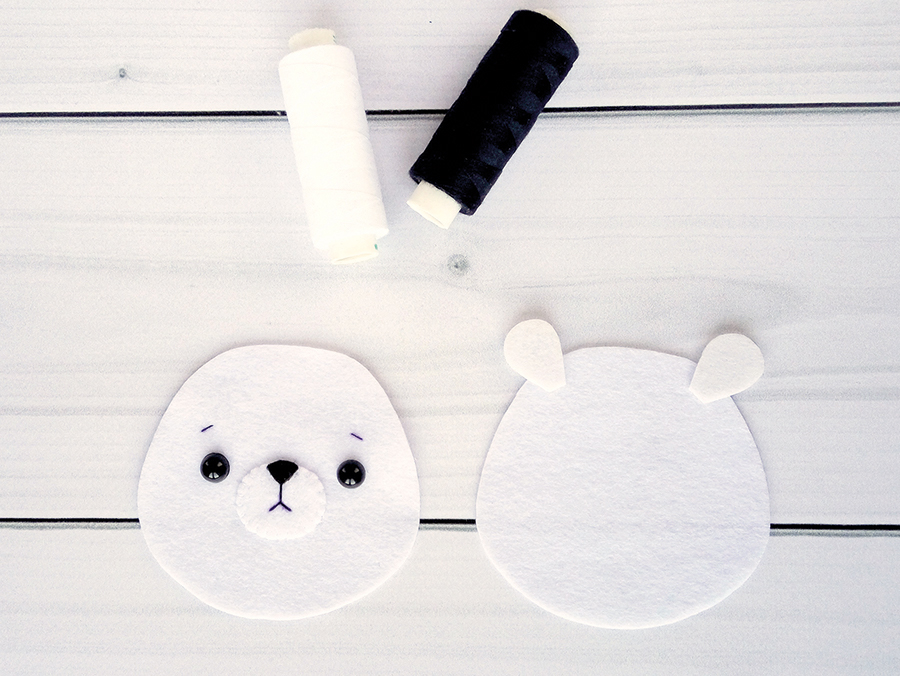
Glue the face piece onto the head using the picture as a guide, then blanket stitch around the edge of the face piece. Glue on the nose.
Step 3
Use the tip of a pair of embroidery scissors to make two holes for the eyes. Insert the safety eyes, then add on the connectors at the back, sliding each connector onto the post as far as it will go.
Step 4
Embroider the eyebrows and mouth using straight stitch and black embroidery thread, using the picture as a guide. With WS facing up, glue the bear’s ears onto the top of the head back as shown.
Step 5
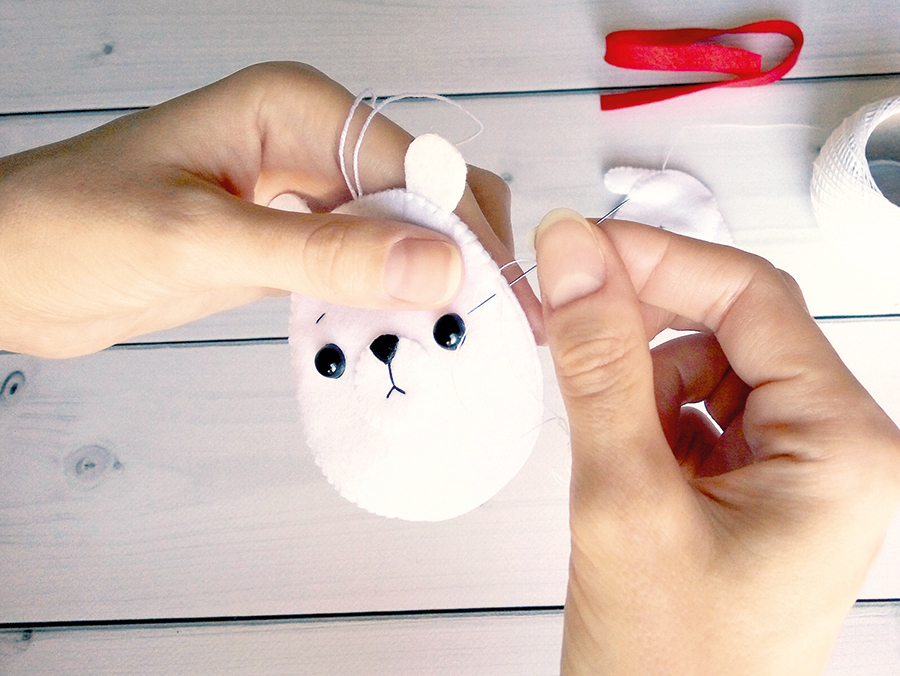
Place the head front and back with WS together and blanket stitch around the edge, adding a loop of thread at the top for hanging and leaving an opening at the bottom.
Step 6
With WS together, blanket stitch two arm pieces to join. Repeat with the other two arm pieces, then glue onto the WS of the body back.
Step 7
Place the body front and back with WS together and blanket stitch around the edge, leaving an opening at the top for stuffing.
Step 8
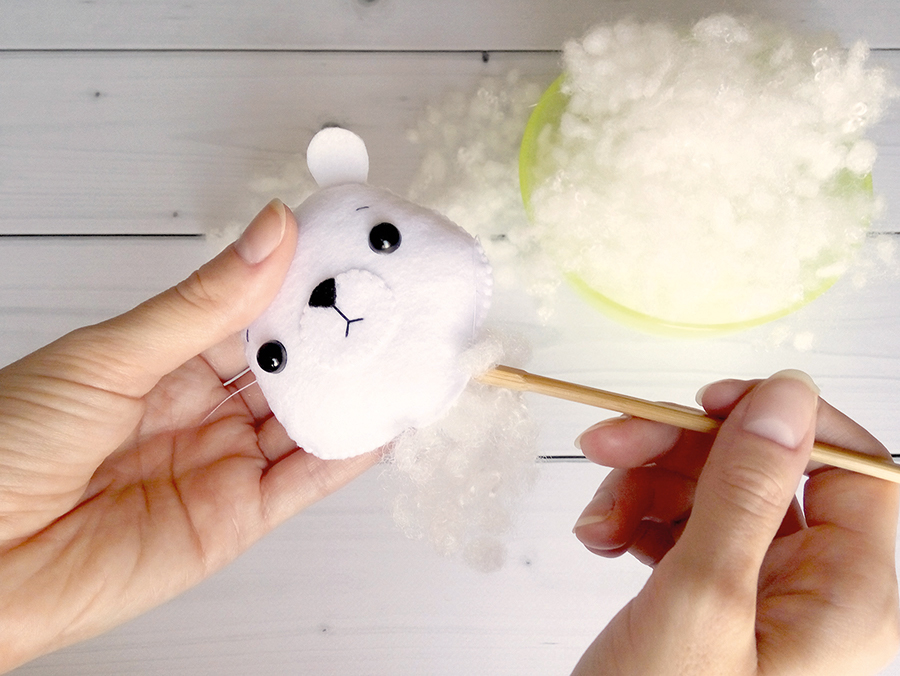
Stuff the head and body, then sew the gaps closed. Pin the head to the body and sew in place with ladder stitch. Go around the join several times to sew firmly in place.
Step 9
Tie on the scarf, then rub the pink pencil onto the bear’s cheeks and gently smudge with your finger.
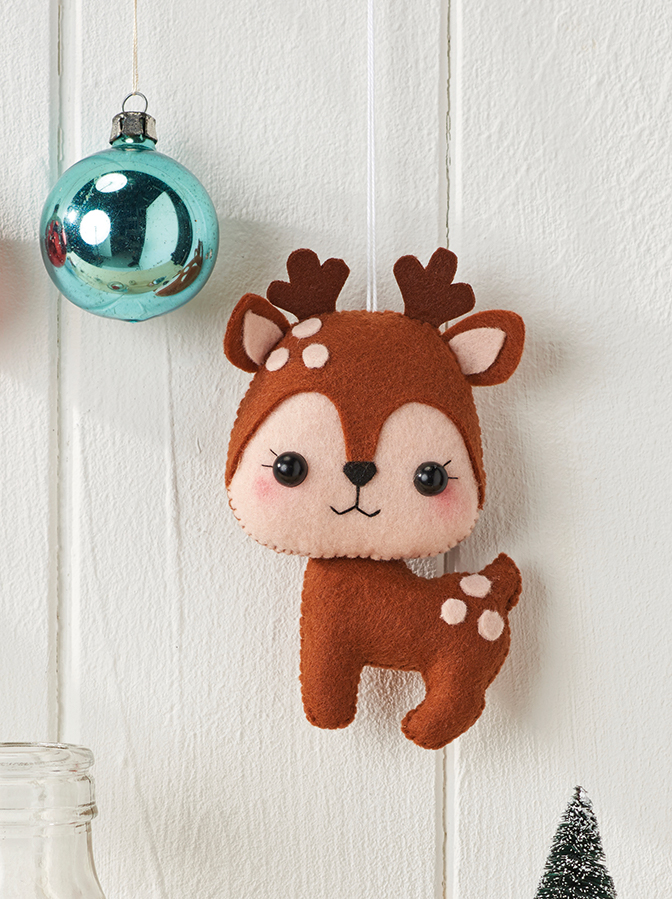
How to make felt deer Christmas decorations
Step 1
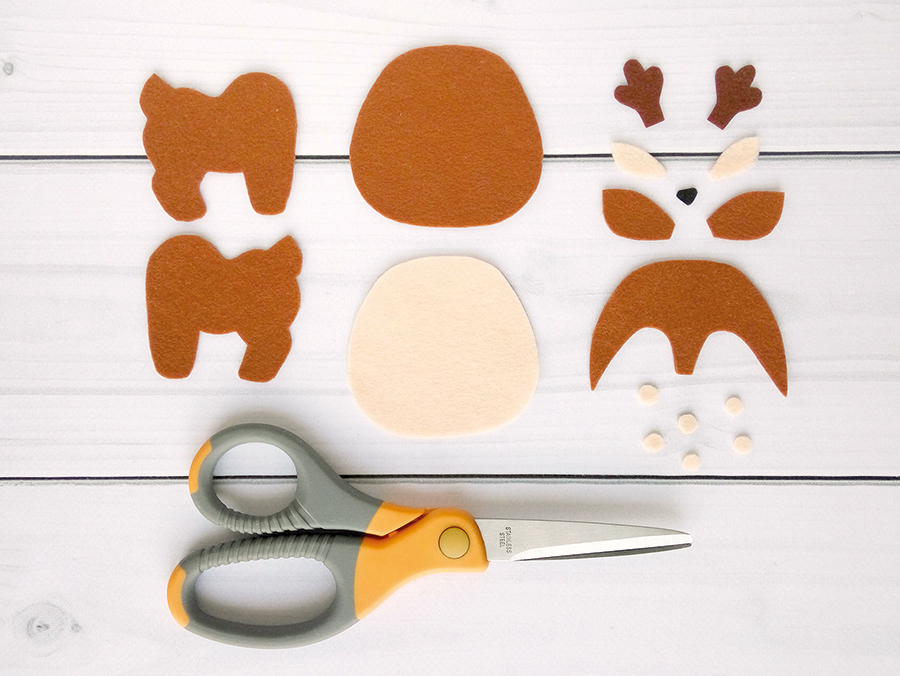
Using the templates cut out all reindeer pattern pieces.
Step 2
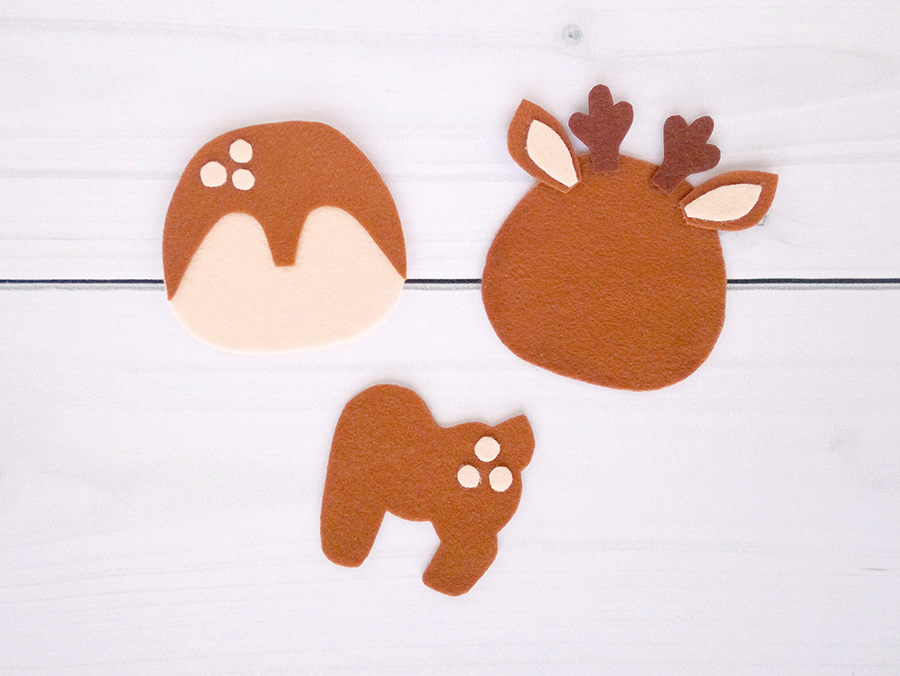
Glue the face piece onto the head front, then glue three dots to the face piece using the picture as a guide. Glue three dots to the body front, then glue the smaller ear pieces onto the larger ear pieces. Glue the ears and antlers onto the WS of the head back.
Step 3
Use the tip of a pair of embroidery scissors to make two tiny holes for the eyes. Insert the safety eyes with the connectors at the back, sliding each connector onto the post as far as it will go.
Step 4
Glue on the nose, then embroider on the eyelashes and mouth as shown, using straight stitch and black embroidery thread.
Step 5
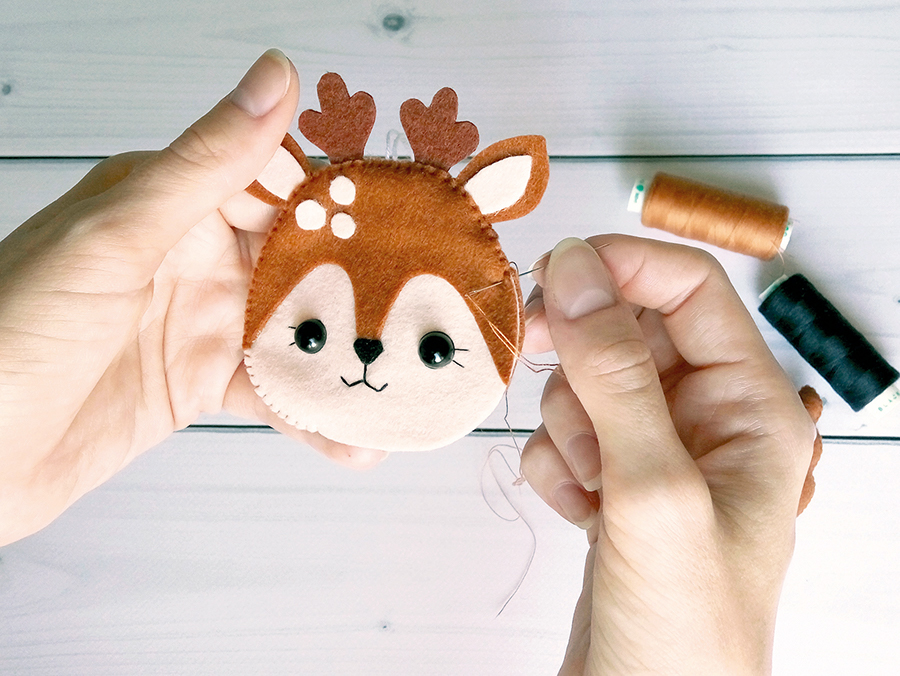
Place the head front and back with WS together then blanket stitch around the edge, adding a loop of thread at the top for hanging and leaving an opening at the bottom of the head for stuffing.
Step 6
Place the body front and back with WS together and blanket stitch around the edge, leaving an opening at the neck area.
Step 7
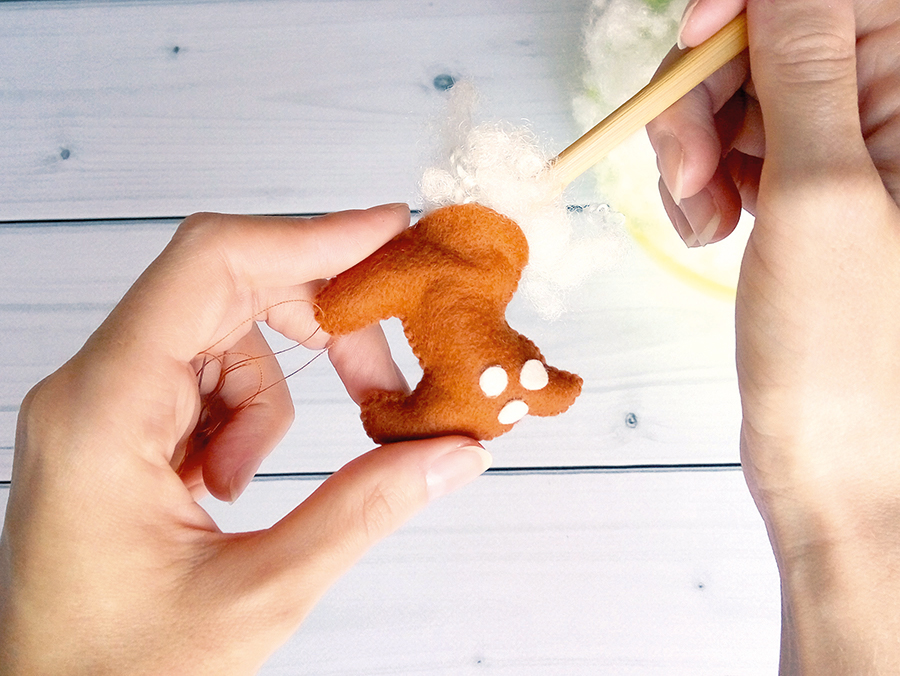
Stuff the head and body, then sew the gaps closed. Pin head to body and sew in place with ladder stitch. Go around the join several times to sew firmly in place.
