Step 1
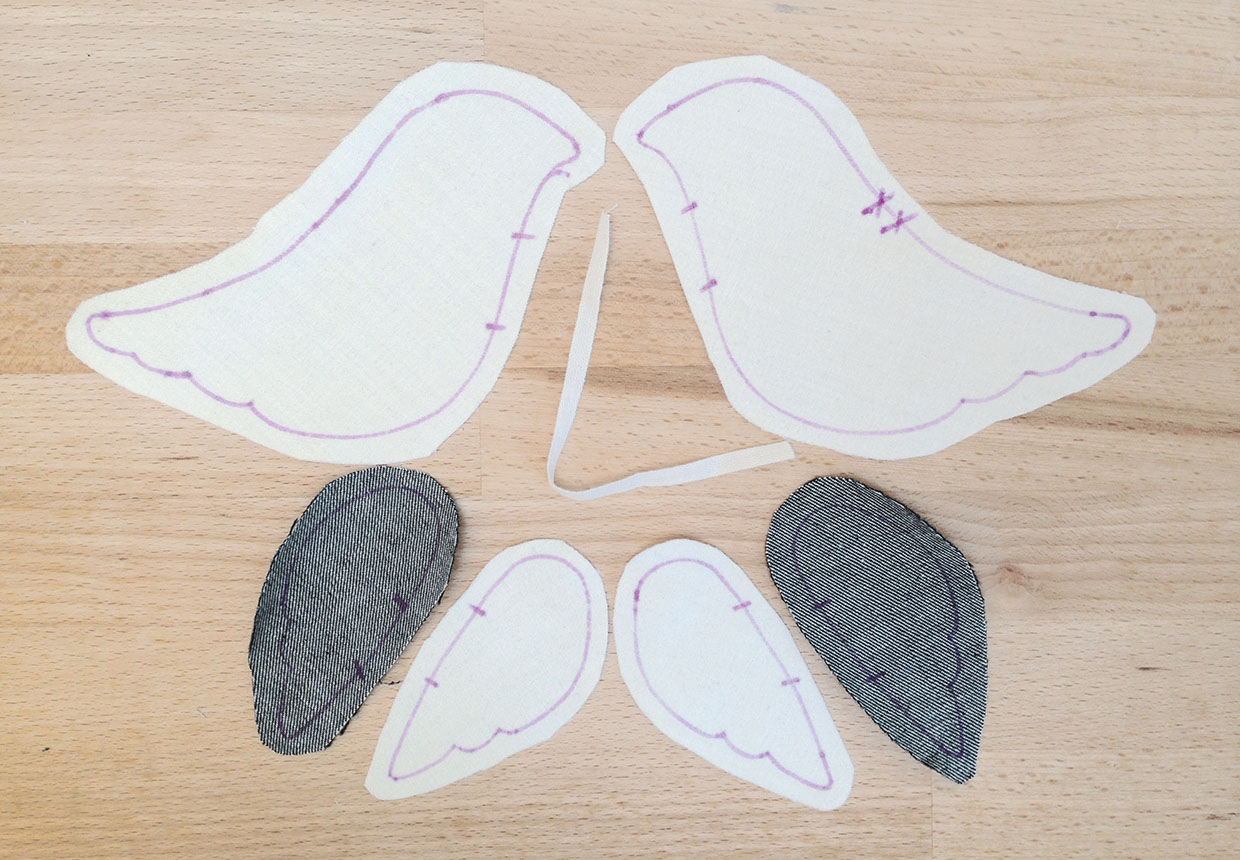
Trace the body and wing templates and cut them out. The materials list includes what you will need to make one dove, so multiply this if you want to make more. Place the body template on the white denim and draw around it, then flip it over and draw around it again, leaving at least 1cm (3⁄8in) around each template for a seam allowance.
Repeat this to draw around the wing template twice on the white denim then twice on the indigo denim. Mark the placement lines and turning gaps on the fabric. Mark the decorative wing stitching lines on the white denim pieces.
Step 2
Pin the wings and body pieces right sides (RS) together, with each wing being made up from one white and one indigo piece. Pin the cotton tape in place inside your bird’s main body – it needs to be inserted at the angle you’ve marked onto your fabric, making sure you place it out of the way so it doesn’t get caught in the seam.
Step 3
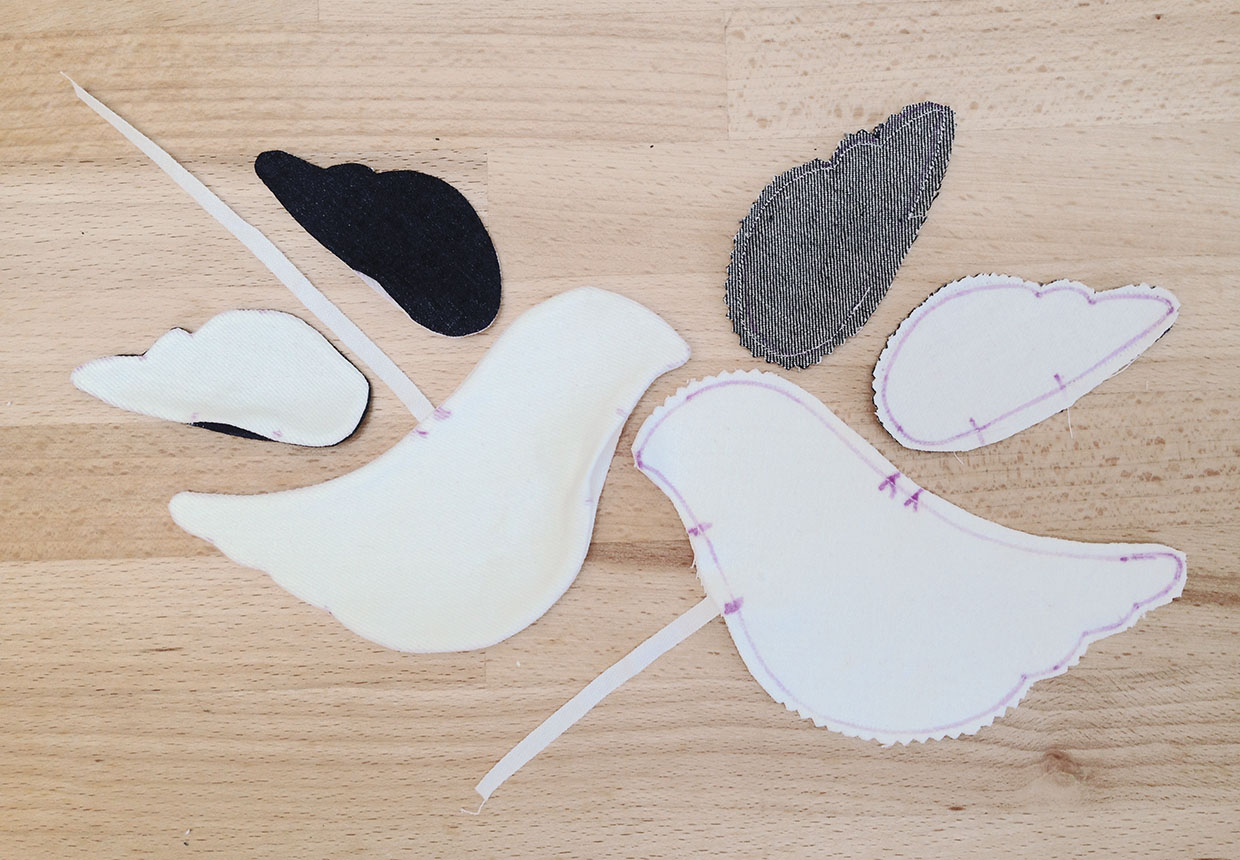
Sew along the drawn line for each piece, starting and finishing at either end of the turning gap. Cut around the edges, clipping curves, then turn the main body and wings RS out. Press the pieces flat, turning the edges of the gaps to the inside.
Step 4
Sew around your wings, following the markings on the white denim. This will close your turning gap, too.
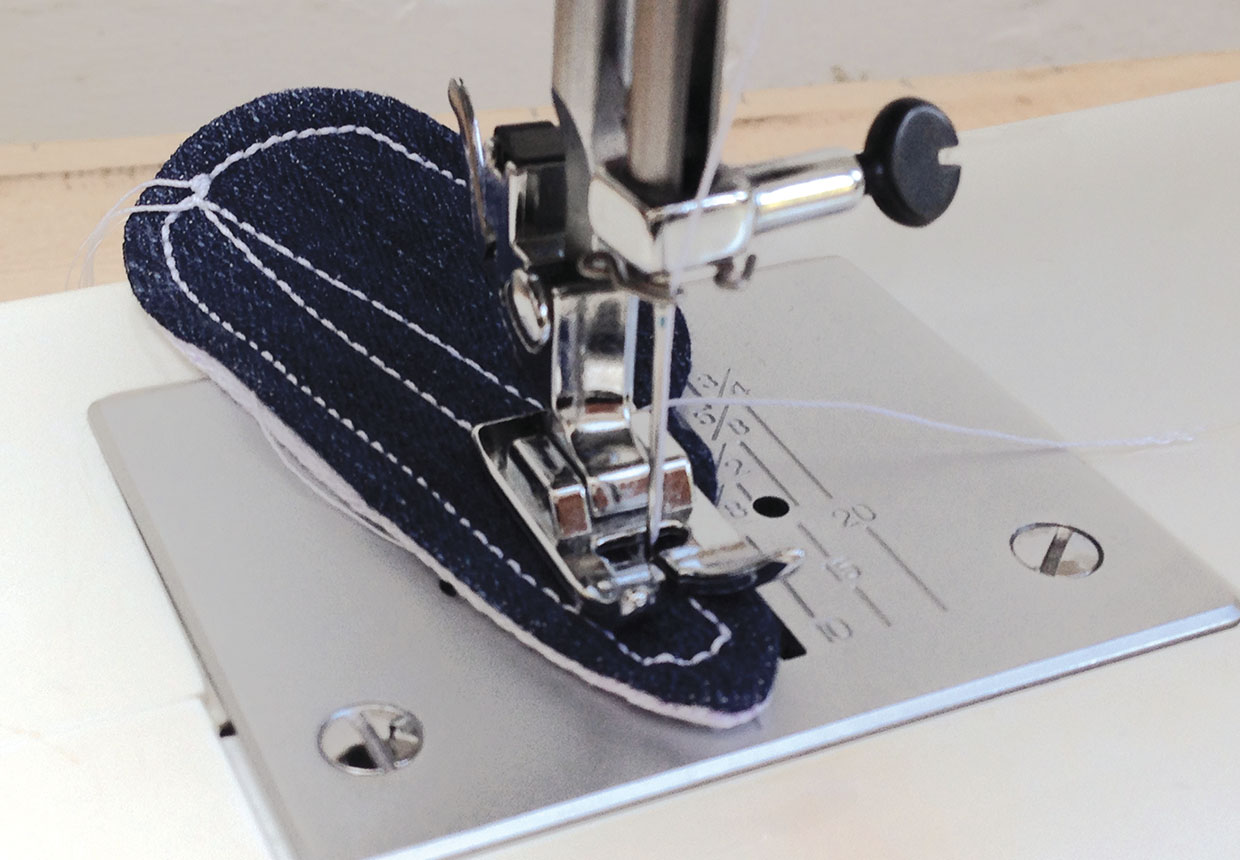
Step 5
Stuff your bird with toy stuffing, making sure you push the stuffing carefully into the beak and tail. Sew up your turning gap with an invisible stitch.
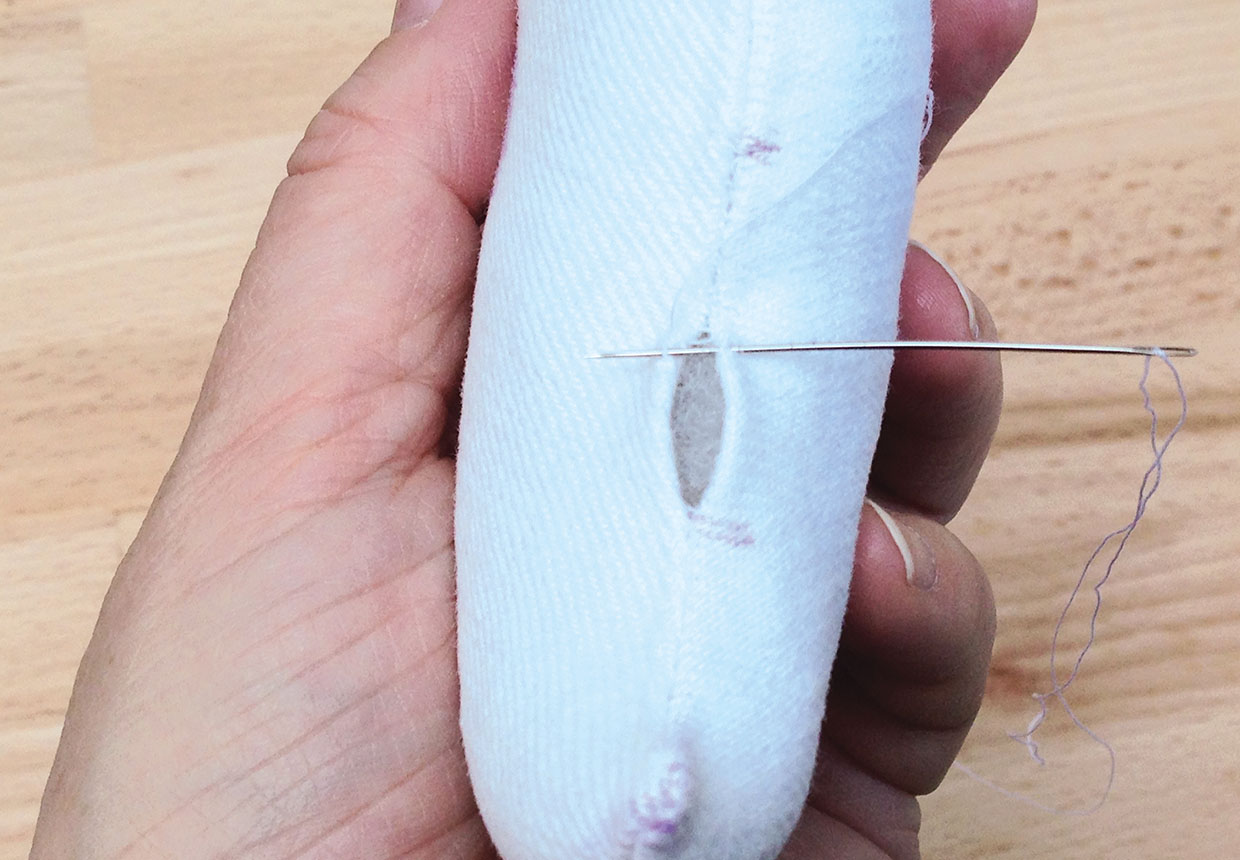
Step 6
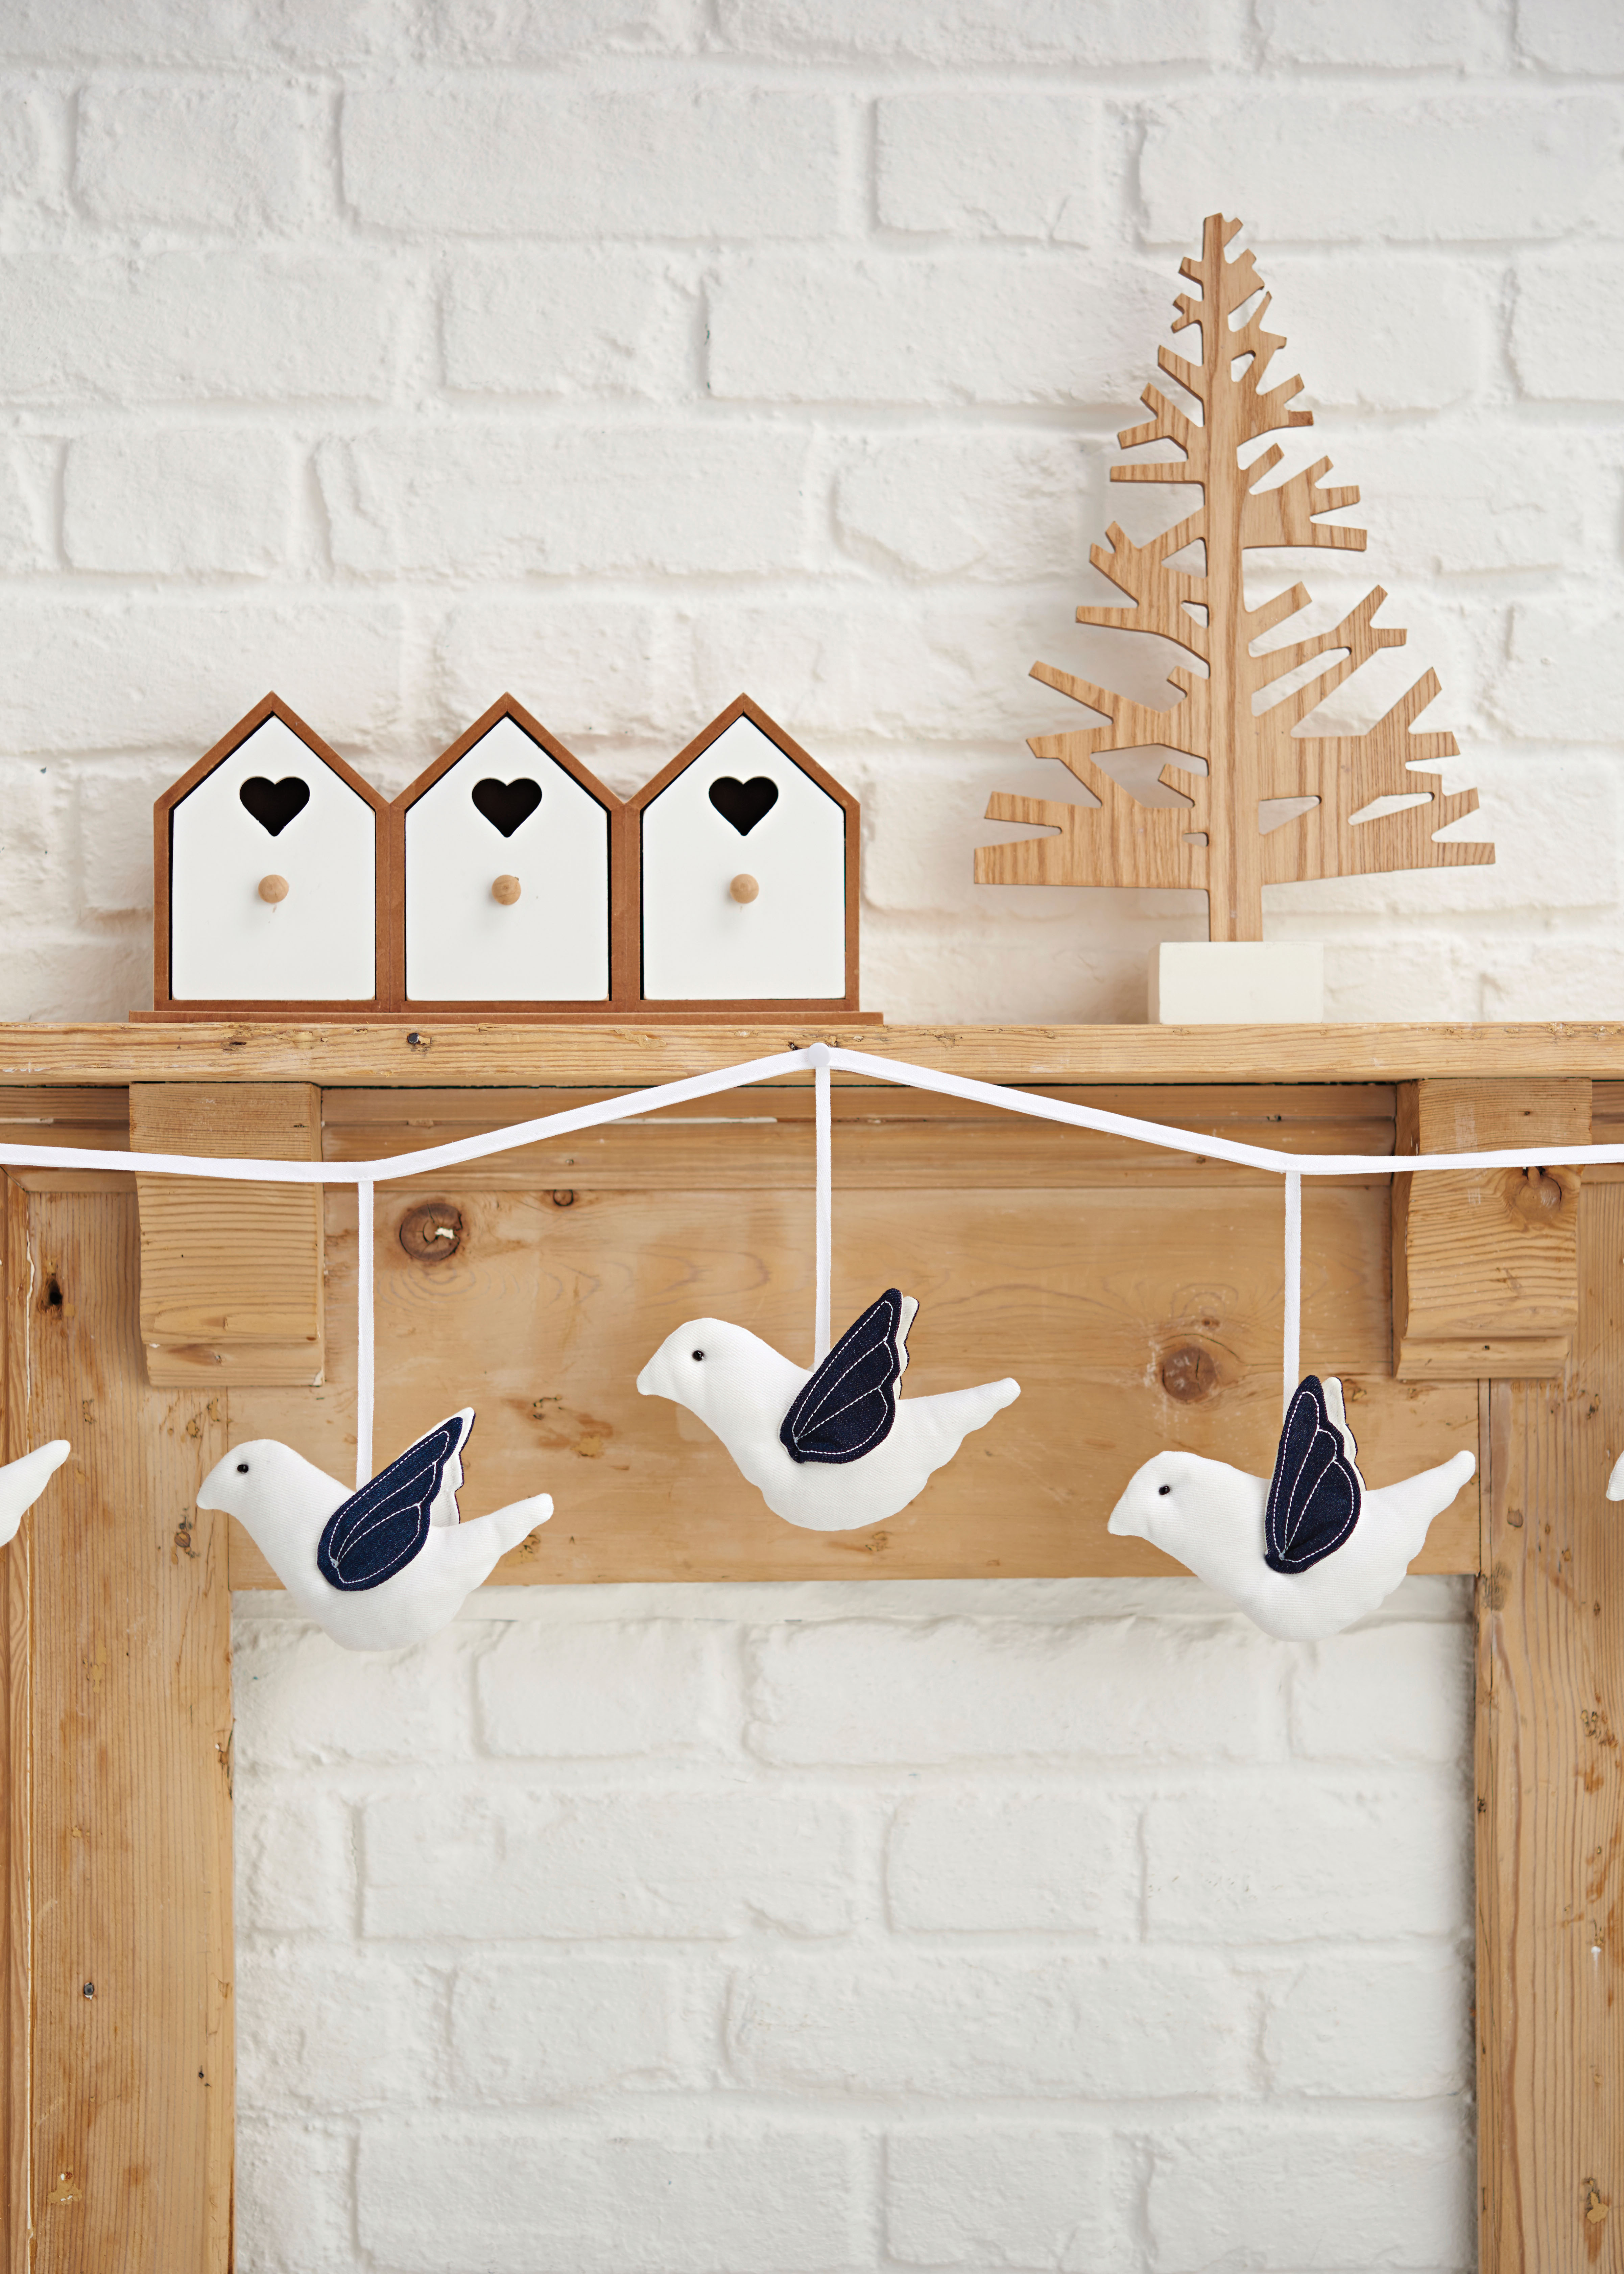
Sew on the black beads, stitching through your bird. Using the marked wing placements as a guide, sew the wings onto your bird, sewing through the bird from one side to the other. Sew them on at the ends of the wings only – that way your wings will move so you can adjust your bird’s ‘flight’.
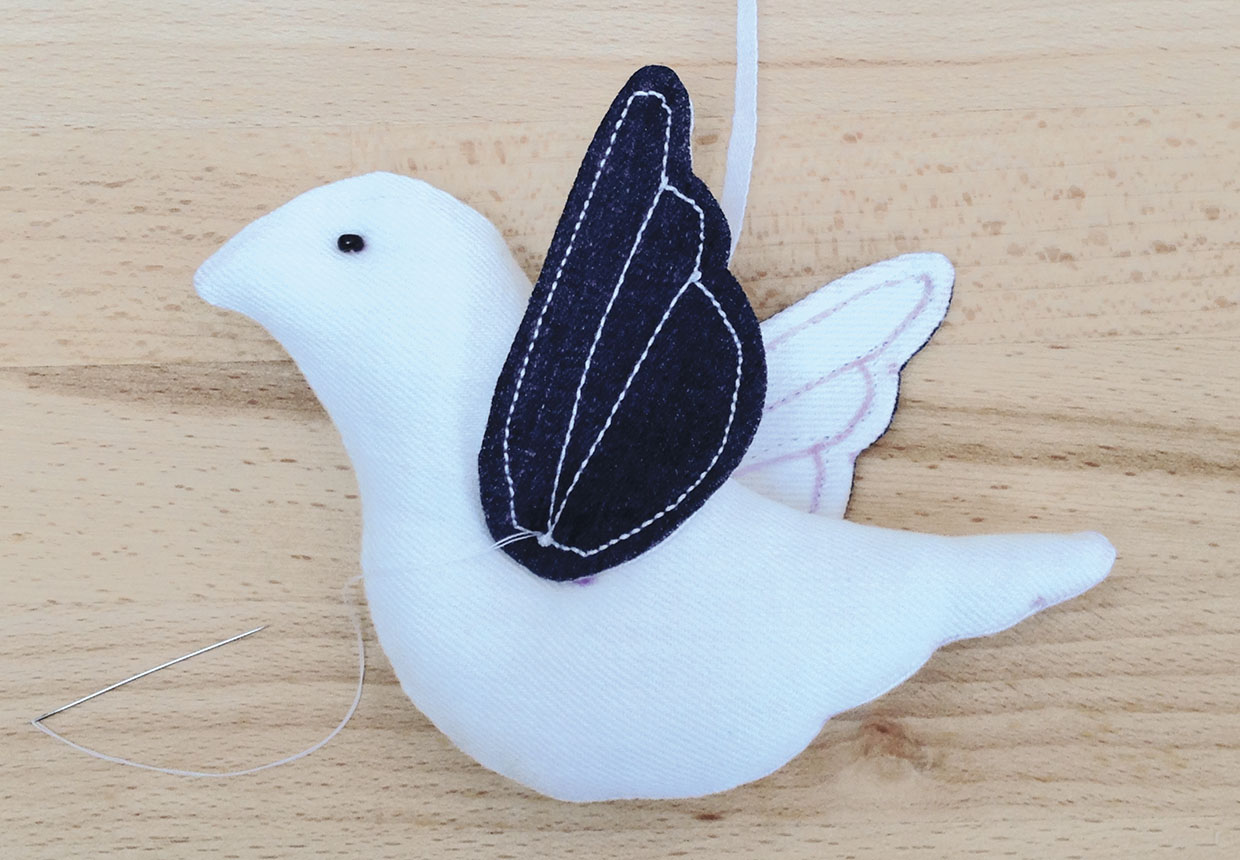
Step 7
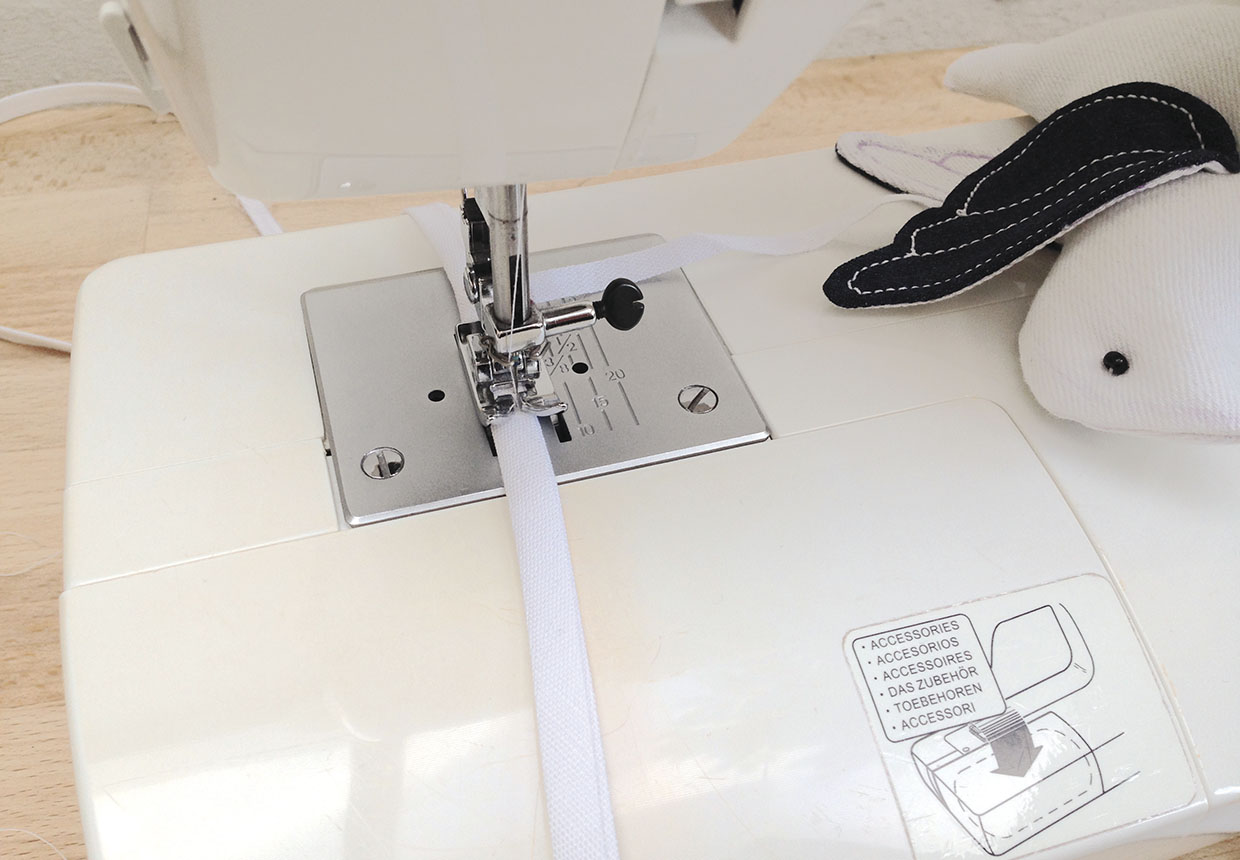
To make bunting, the doves need to be spaced 20cm (8in) apart and you need to leave a 60cm (23in) gap at each end so you have enough to tie up your bunting. Fold your bias binding in half lengthways and press. Mark where your birds will hang, pin the end of their hanging tape inside the fold of the bias tape and sew up your bunting all the way along.
