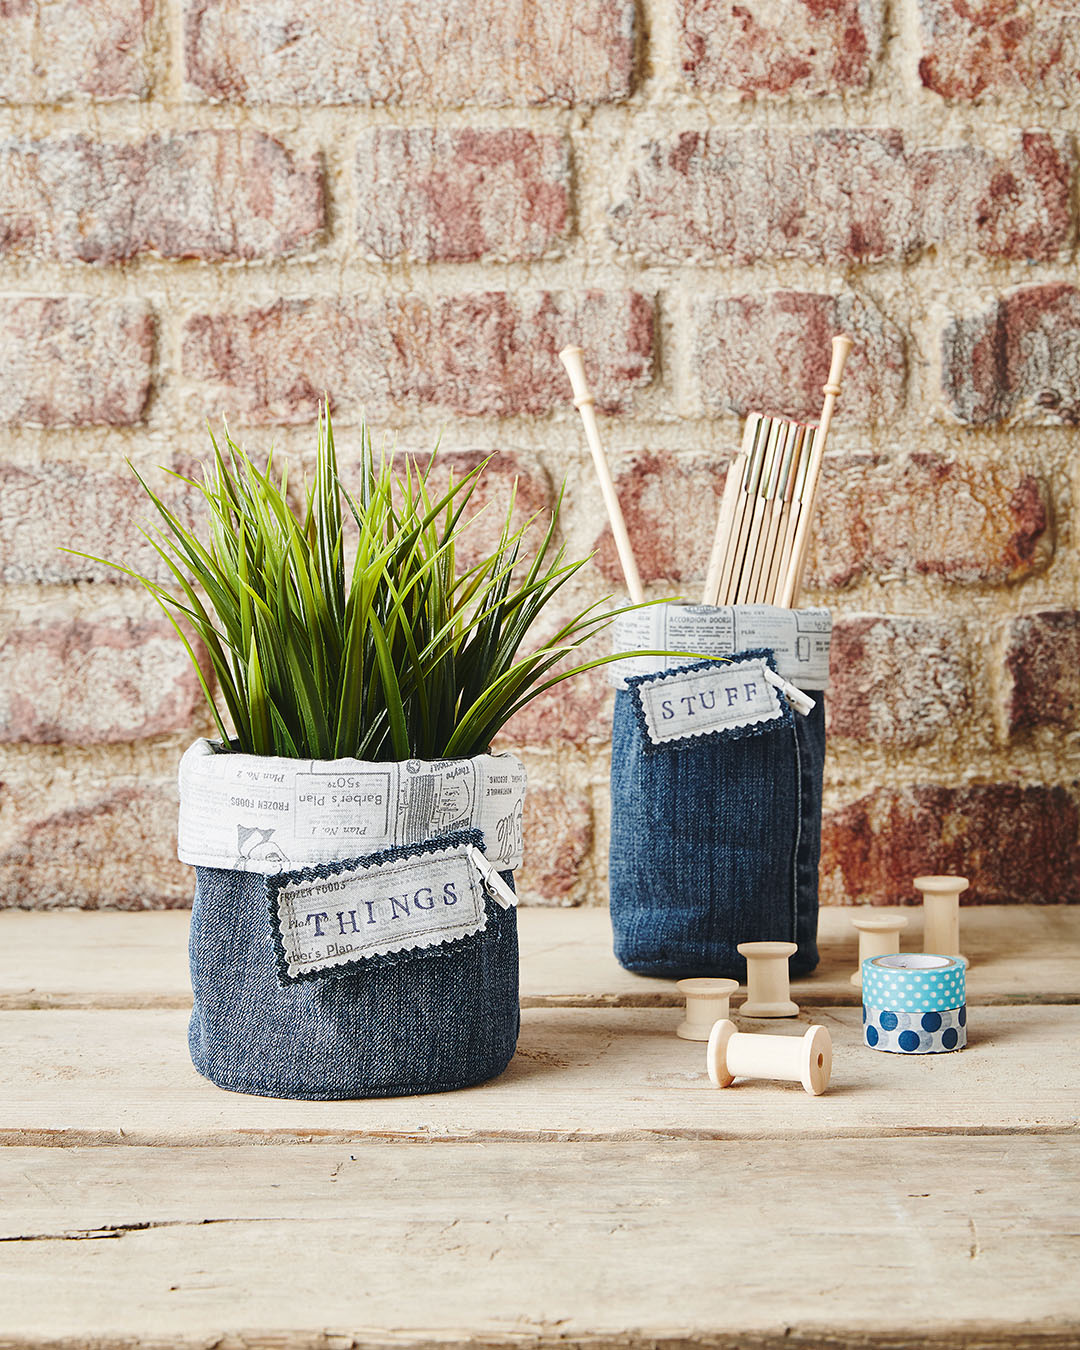
Cutting out
Step 1
Iron your jeans, then cut off one jean leg. Cut along the outer seam (the one without the contrast stitching) to open up the jeans.
Step 2
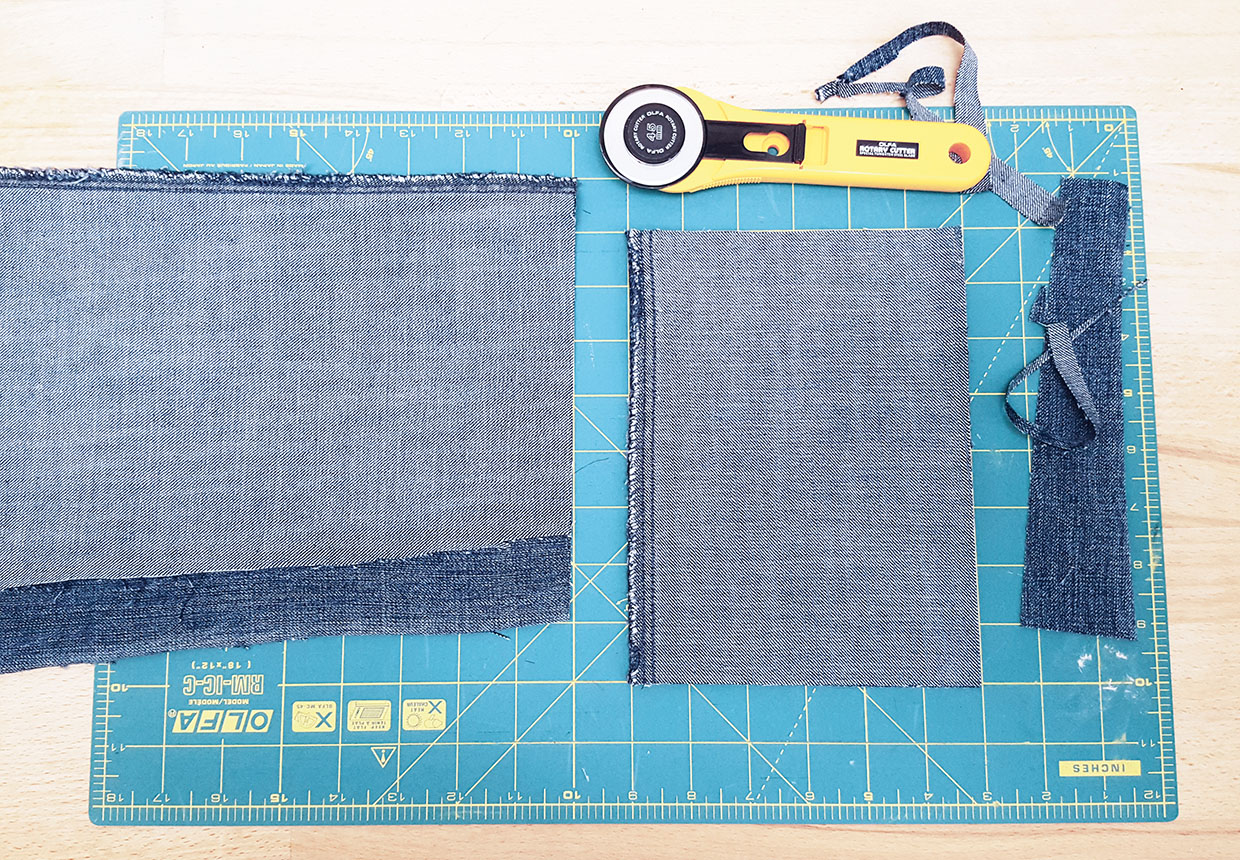
Fold your cut leg right sides (RS) together so that the contrast original inner seam is at the top of the fold then cut your storage bucket. Our tall bucket is 15x20cm (6x8in) and the short one is 20x18cm (8x7in).
Step 3
Open out the jean piece and use it as a template to cut both the lining and wadding.
Making the body
Step 1
Fold the jean piece RS together and stitch together opposite the unsewn edge.
Step 2
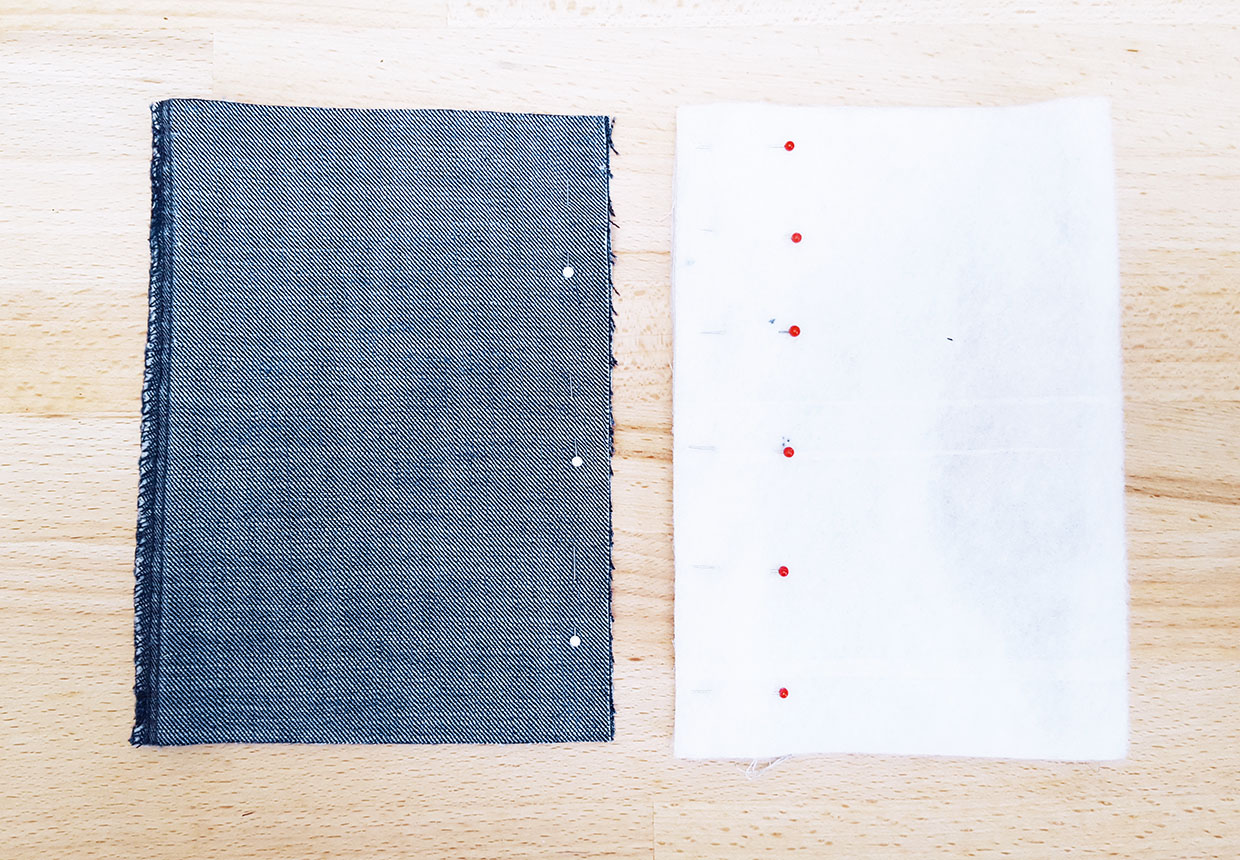
Lay the lining fabric on top of the wadding RS up, and fold in half and pin in the same way as for the jean piece.
Step 3
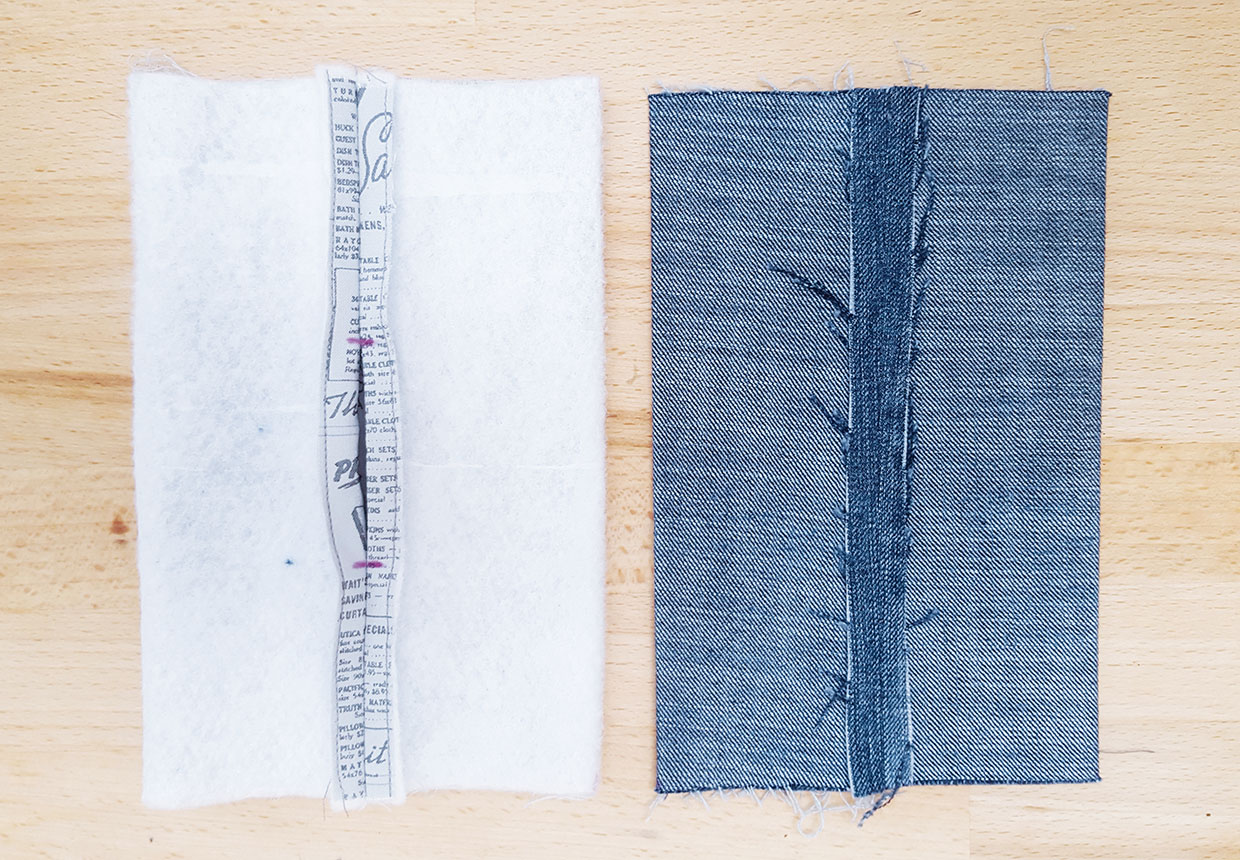
Sew the lining/wadding piece together in the same way with an 8cm (3in) turning gap in the centre. Press the seams open, positioning it in the centre of the sewn piece.
Making the base
Step 1
To work out the base size, lay your joined jean piece flat and measure the width of this folded fabric. Divide this measurement by Pi (3.142) which will give you the radius of the base circle. Using a pair of compasses, draw out a circle to this radius to make a template.
Step 2
Use the template to cut out a circle base from the jeans, lining and wadding.
Step 3
Stay stitch the lining and wadding circles together, with wrong sides (WS) facing 5mm (¼in) from the edge.
Step 4
Fold the circle pieces in half and then in half again and press. Mark these quarter marks with pins or an erasable pen.
Step 5
Mark quarter marks on the bucket main pieces in the same way. Match the markings on the circle base and bucket main pieces and secure with pins.
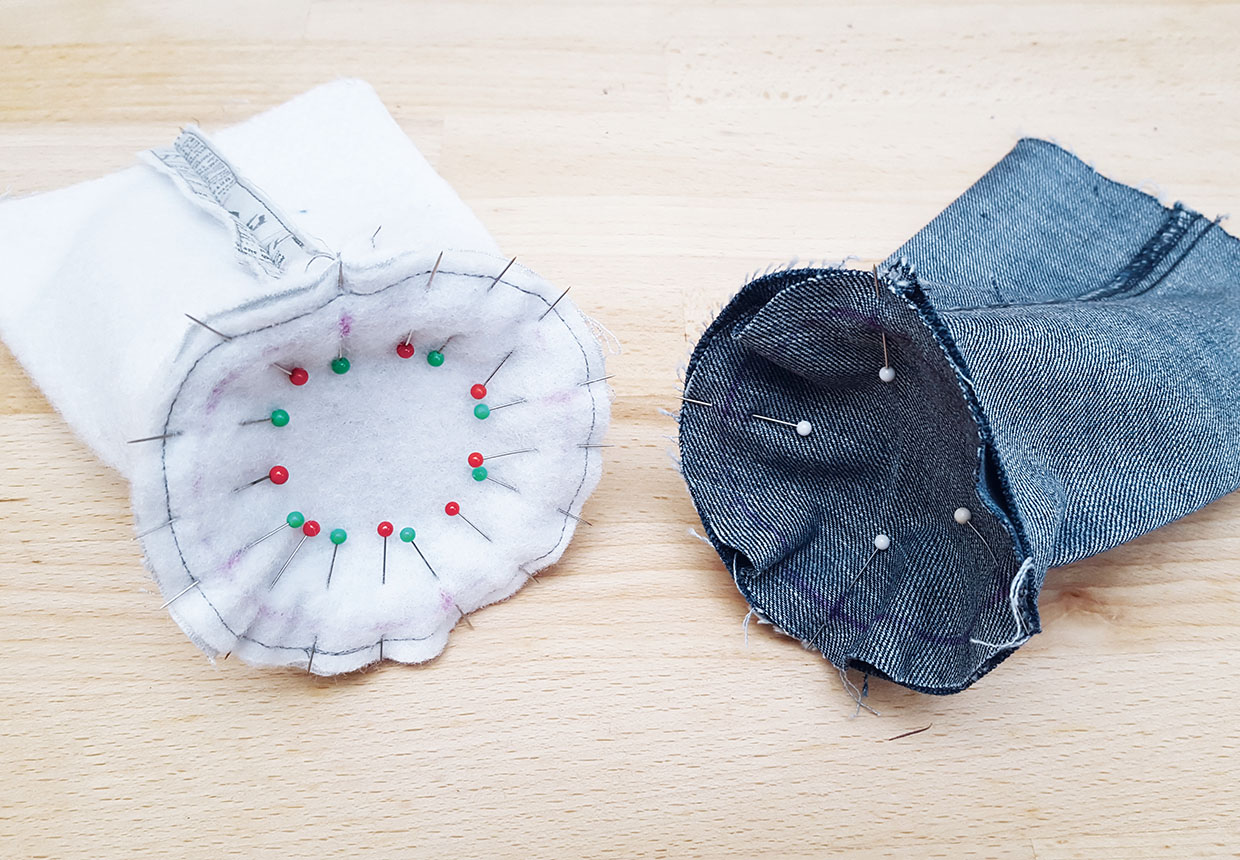
Step 6
Stitch the circles to the bases on both the outer jeans fabric and the inner fabric.
Step 7
Cut around the edges, clipping the curves as you go.
Finishing off
Step 1
Turn the jean bucket RS out and place it inside the lining bucket piece so they are RS facing. Stitch the raw edges together.
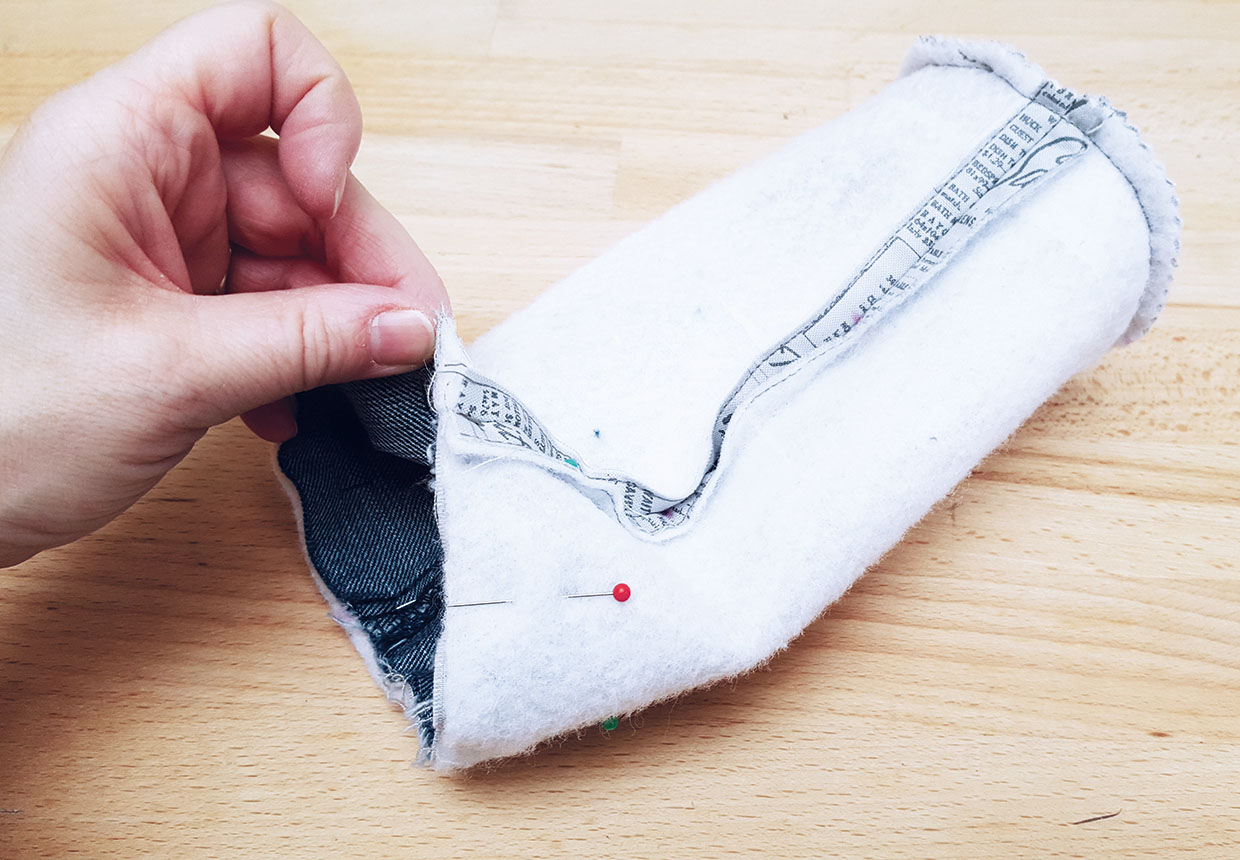
Step 2
Turn the bucket RS out through the turning gap in the lining then sew up the gap using slip stitch.
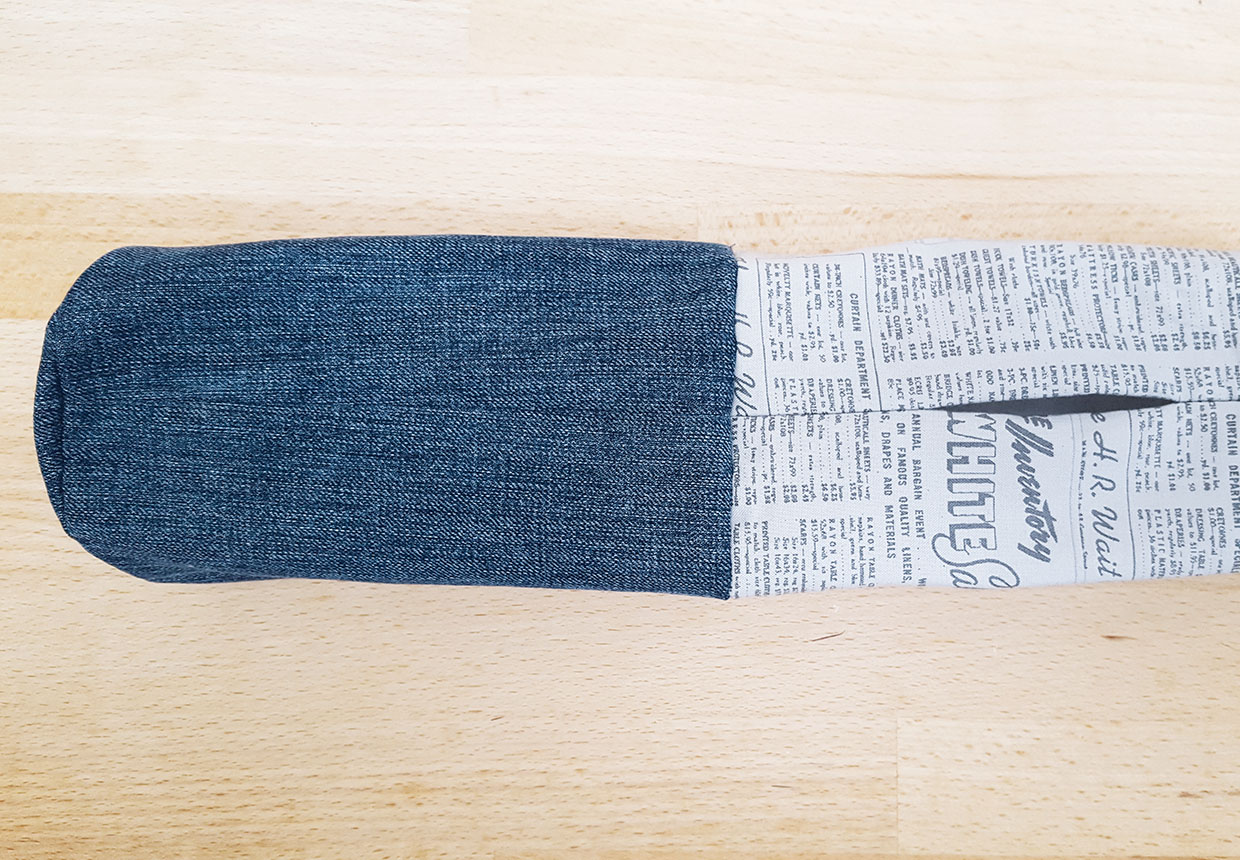
Step 3
Push the lining into the jean bucket and then topstitch together 5mm (¼in) in from the outer edge to finish.


