Cutting out
Step 1
From the peach fabric cut:
- One (1) 15in square.
- Three (3) 13in squares.
Step 2
From the dark grey fabric cut:
- One (1) 13in square.
- One (1) 12½in square
Create the chenille
Step 1
Arrange the 15in square right side up on your work surface. Then arrange the dark grey square on top, also right side up. Then layer all three peach 13in squares on top. Spray baste in place, or use a machine basting stitch around the edge of the smaller squares.
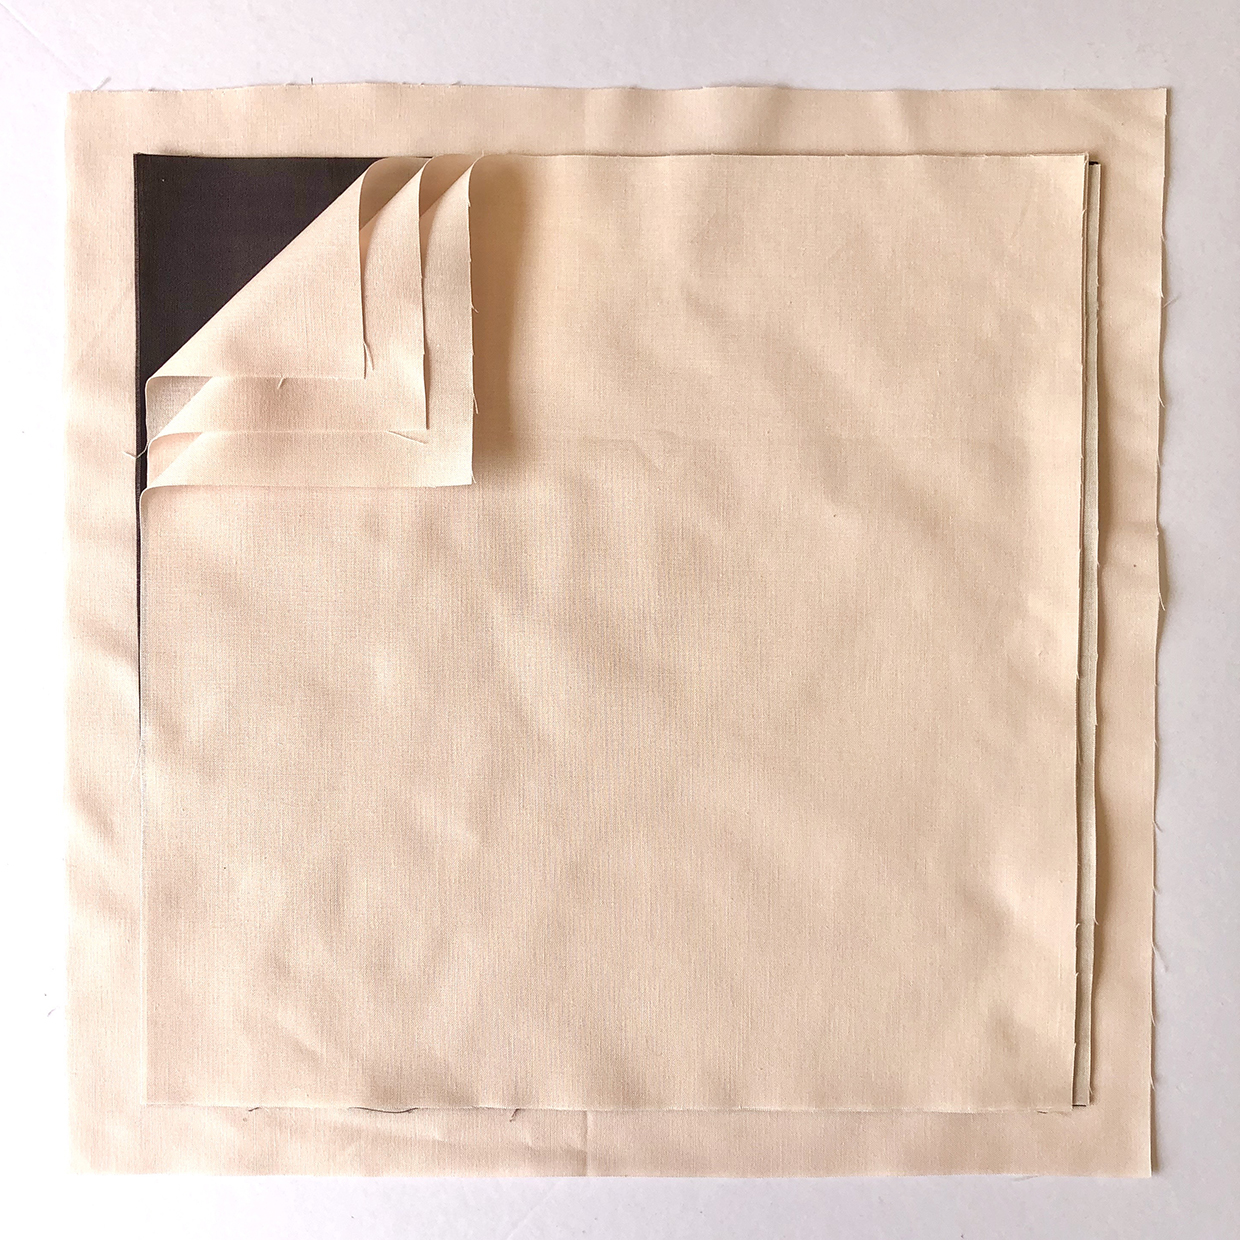
Step 2
Mark the squares as follows, using a hera marker or removable fabric marker. Mark a vertical line 2½in from the right edge of the smaller squares. Mark a horizontal line 4½in from the bottom of the smaller squares.
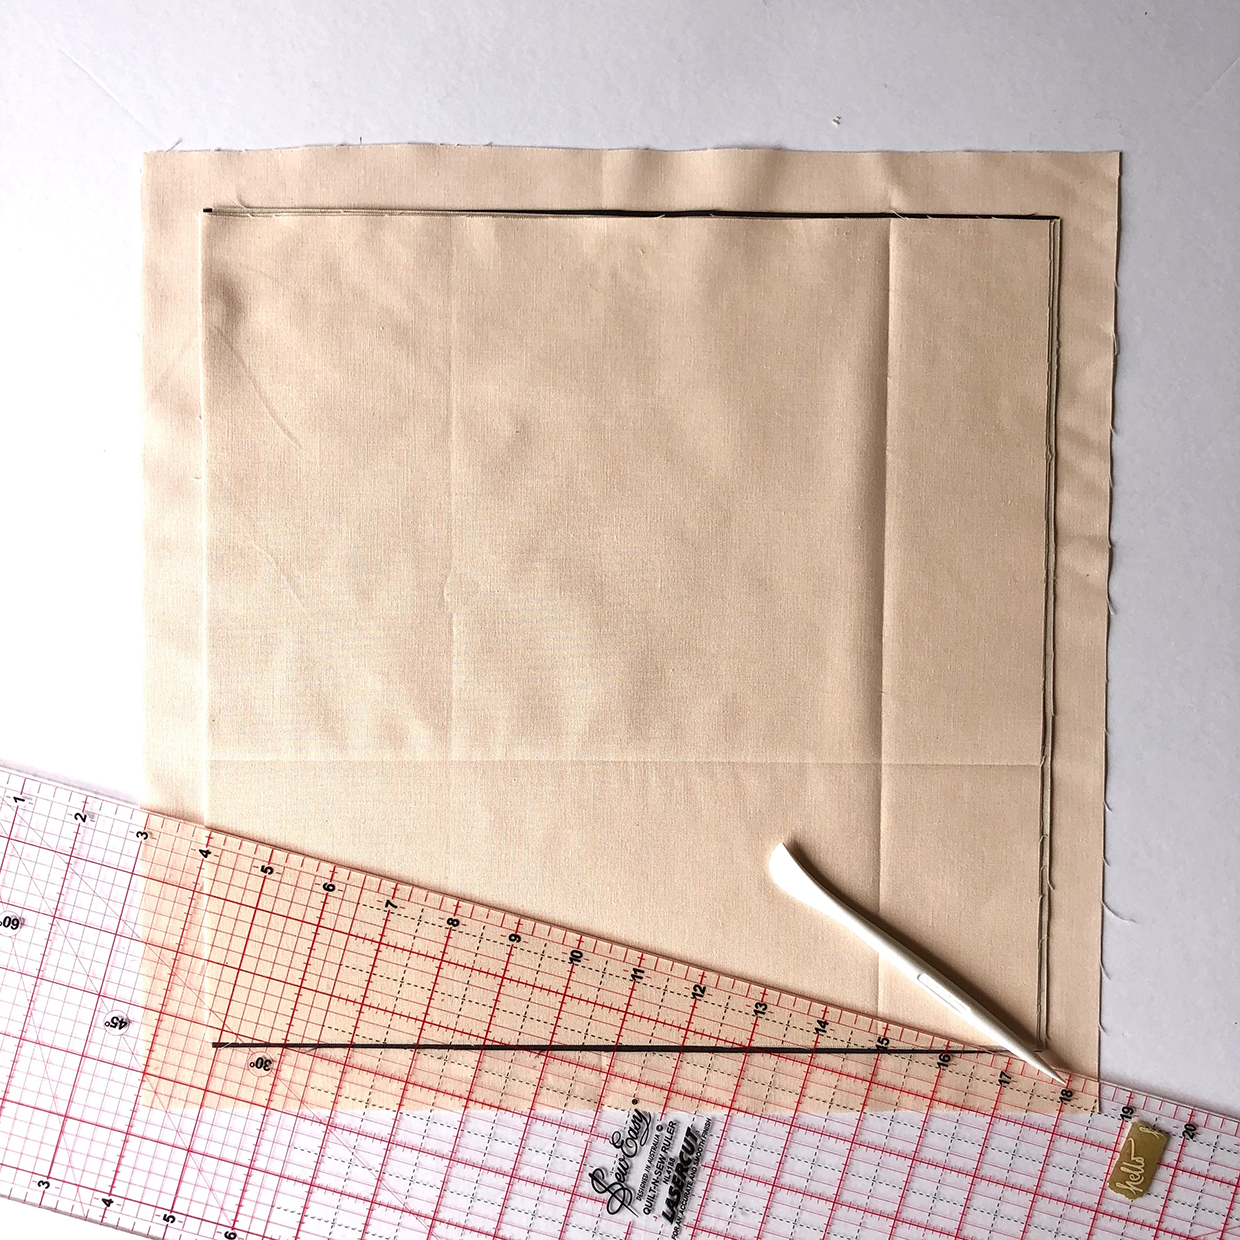
Step 3
Using the marks on your quilting ruler, measure 21/2in above the horizontal line and mark this along the vertical line. Use the 45 degree line of your quilt ruler to mark from this point down to the horizonal line at either side. Then repeat to mark a square.
Step 4
Repeat the last step marking 5in and then 10in above the horizontal line to mark two more partial squares.
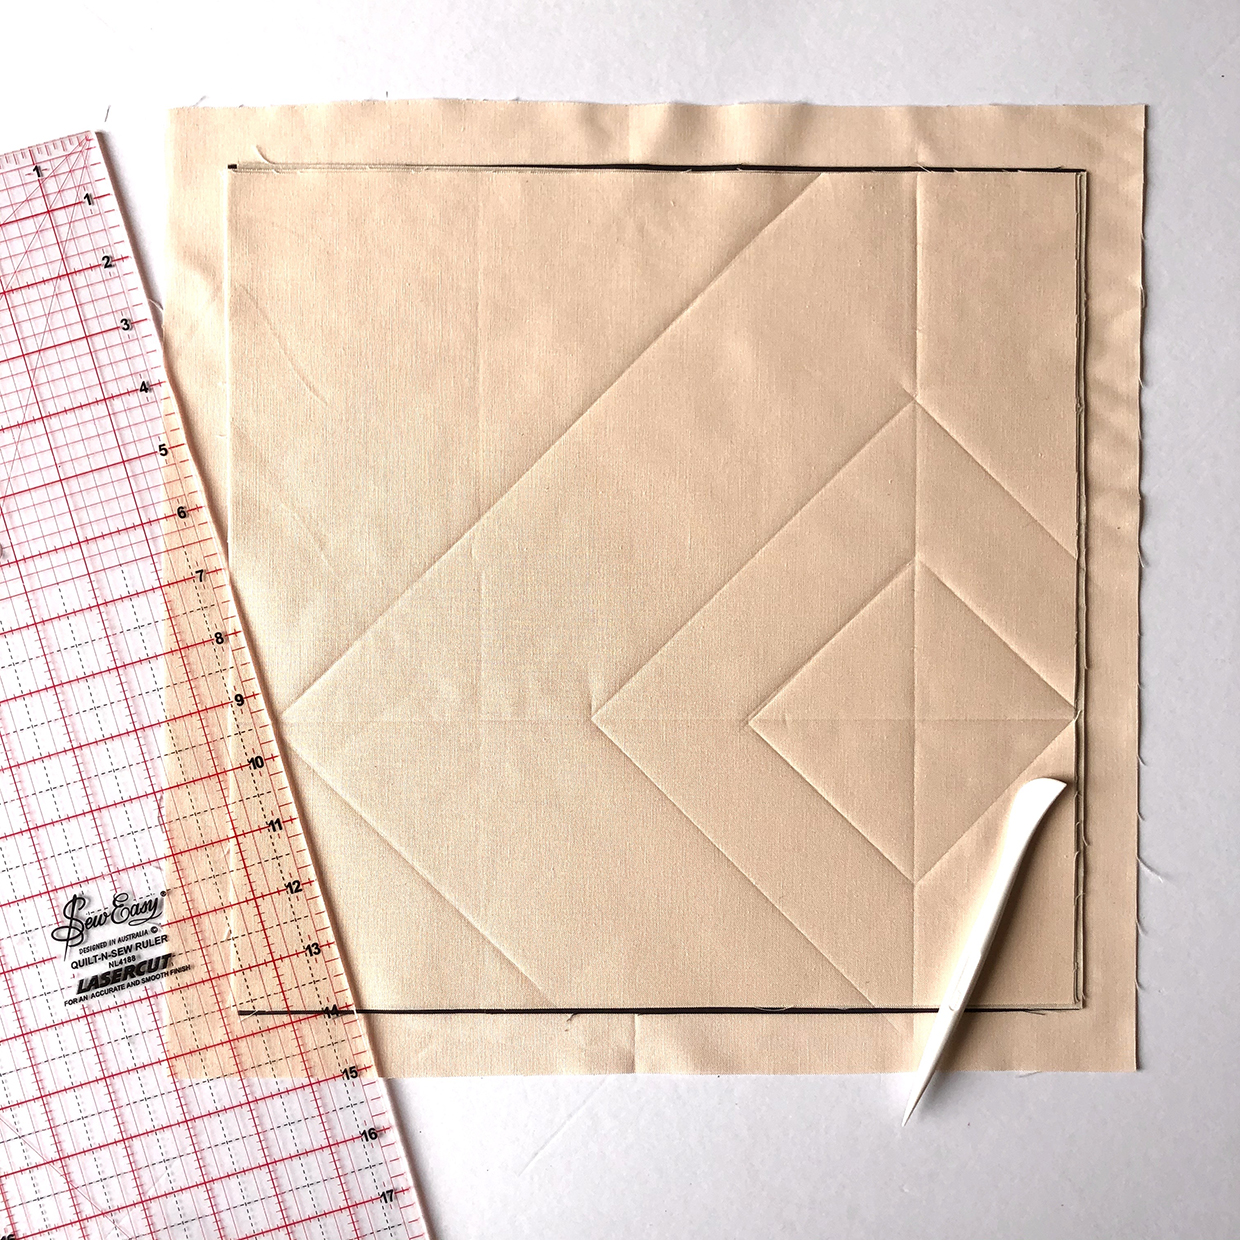
Step 5
Sew along your marked squares, extending your stitching lines onto the larger square of fabric. Add additional lines of sewing at varying widths between 1⁄8in and ½in wide to create channels. Leave some areas unstitched.
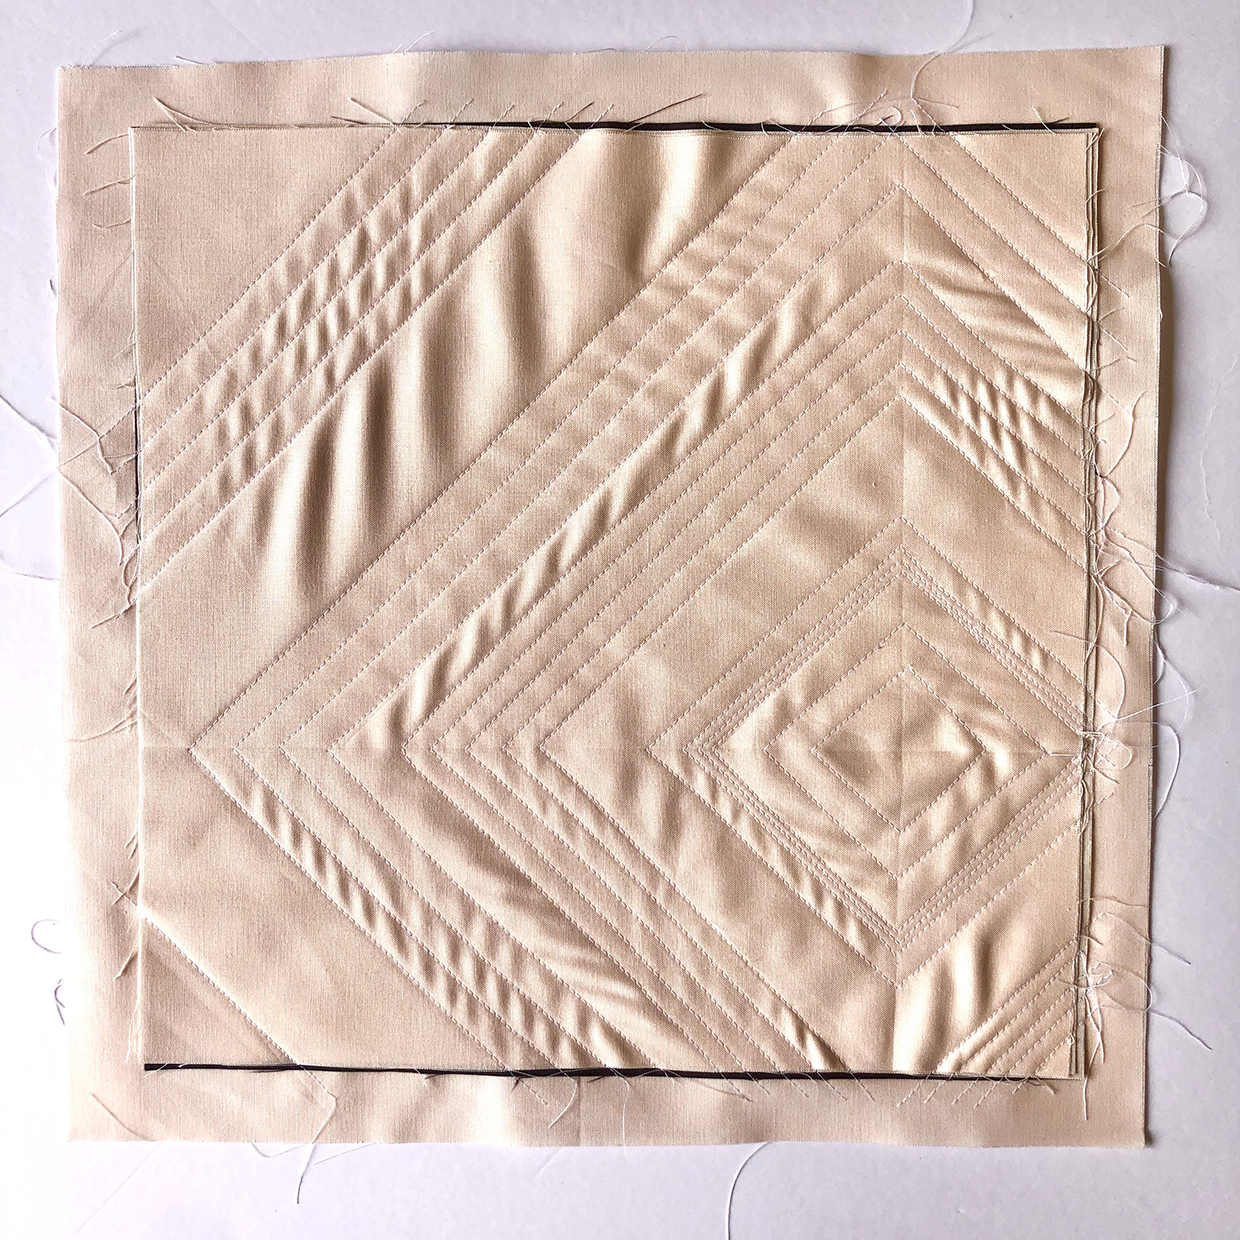
Step 6
Using a small sharp pair of scissors, clip through all four layers of fabric at the beginning and end of each channel, leaving the larger background square uncut.
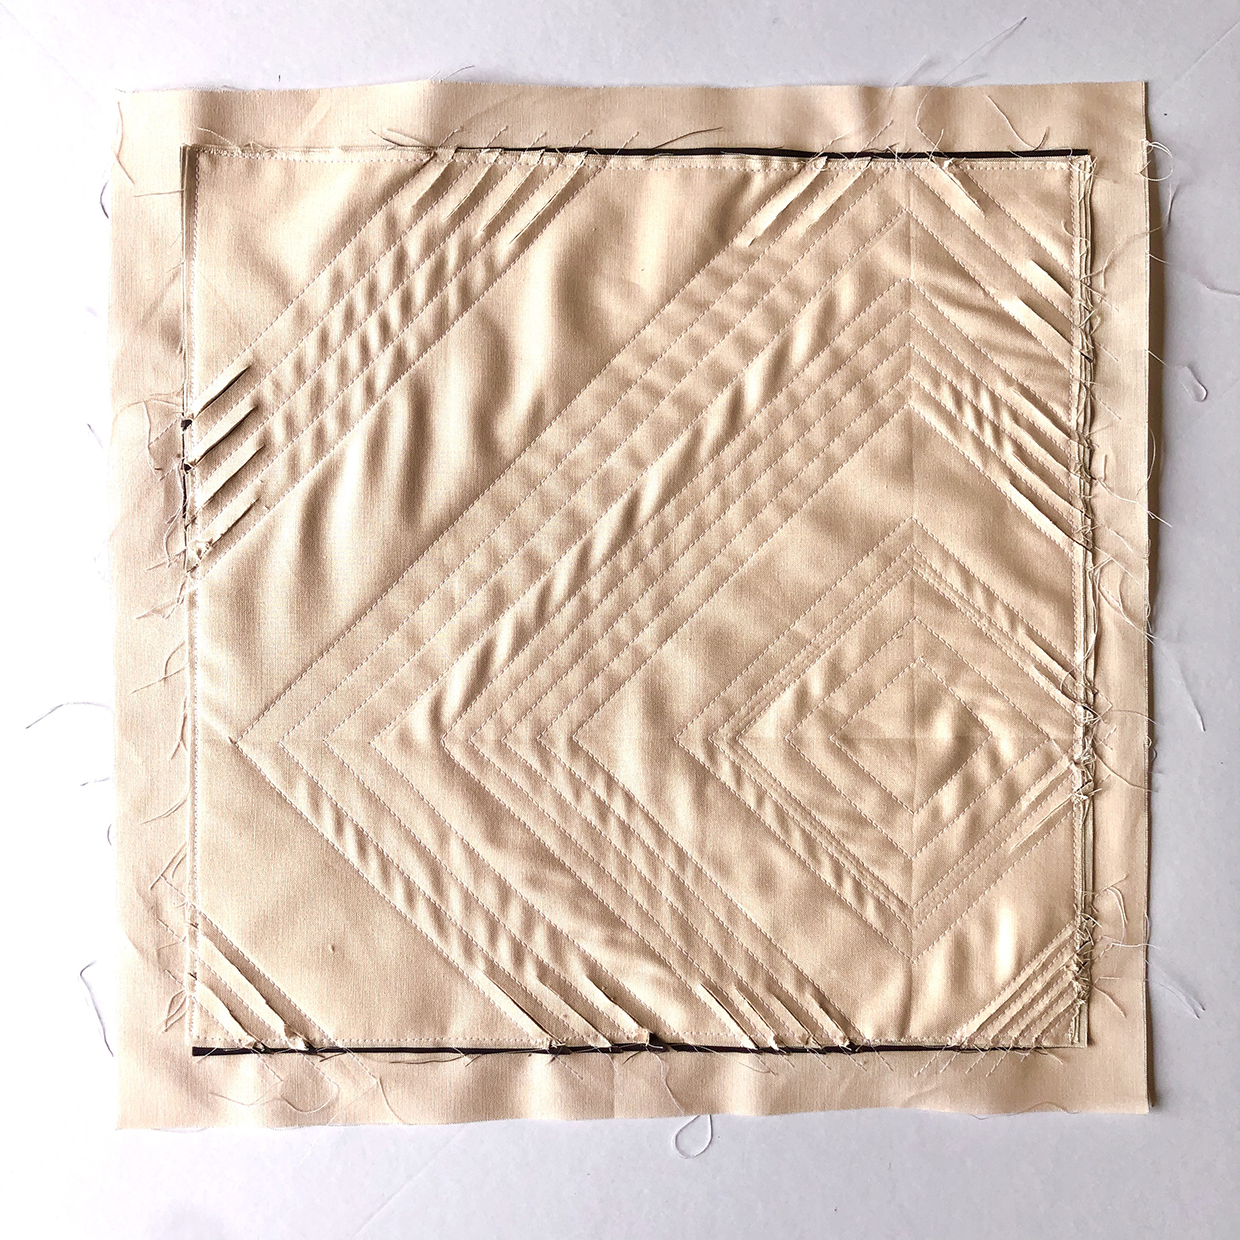
Step 7
Continue cutting between the channels all the way around, making sure you don’t cut the background fabric. If you have a chenille cutter, you can use this as well.
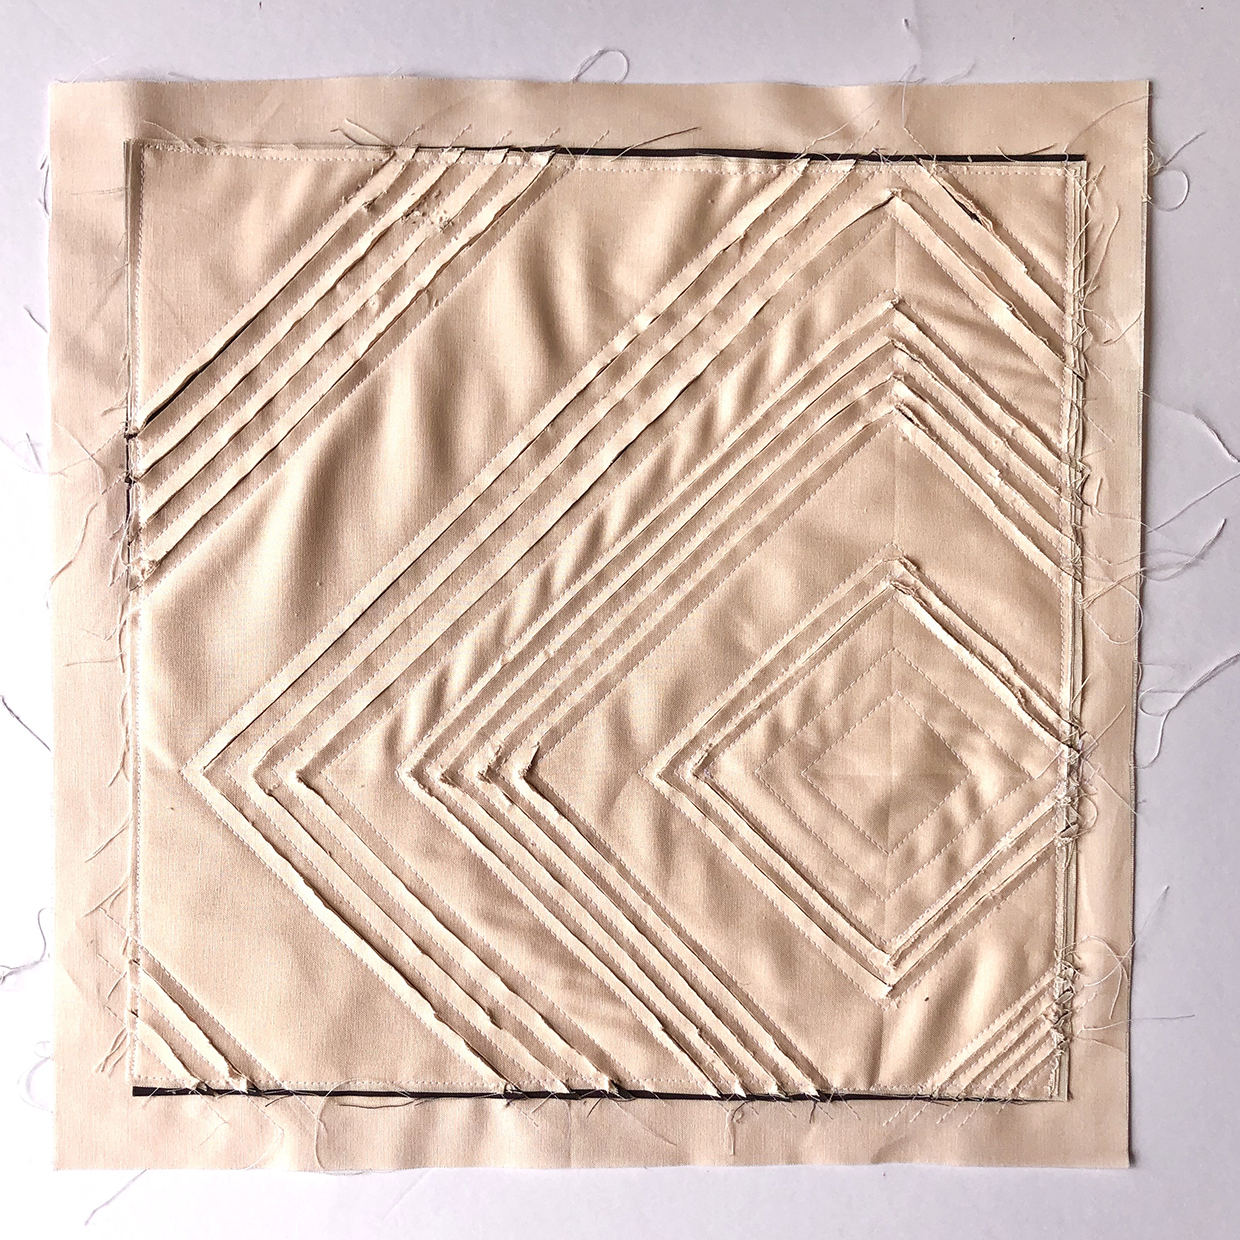
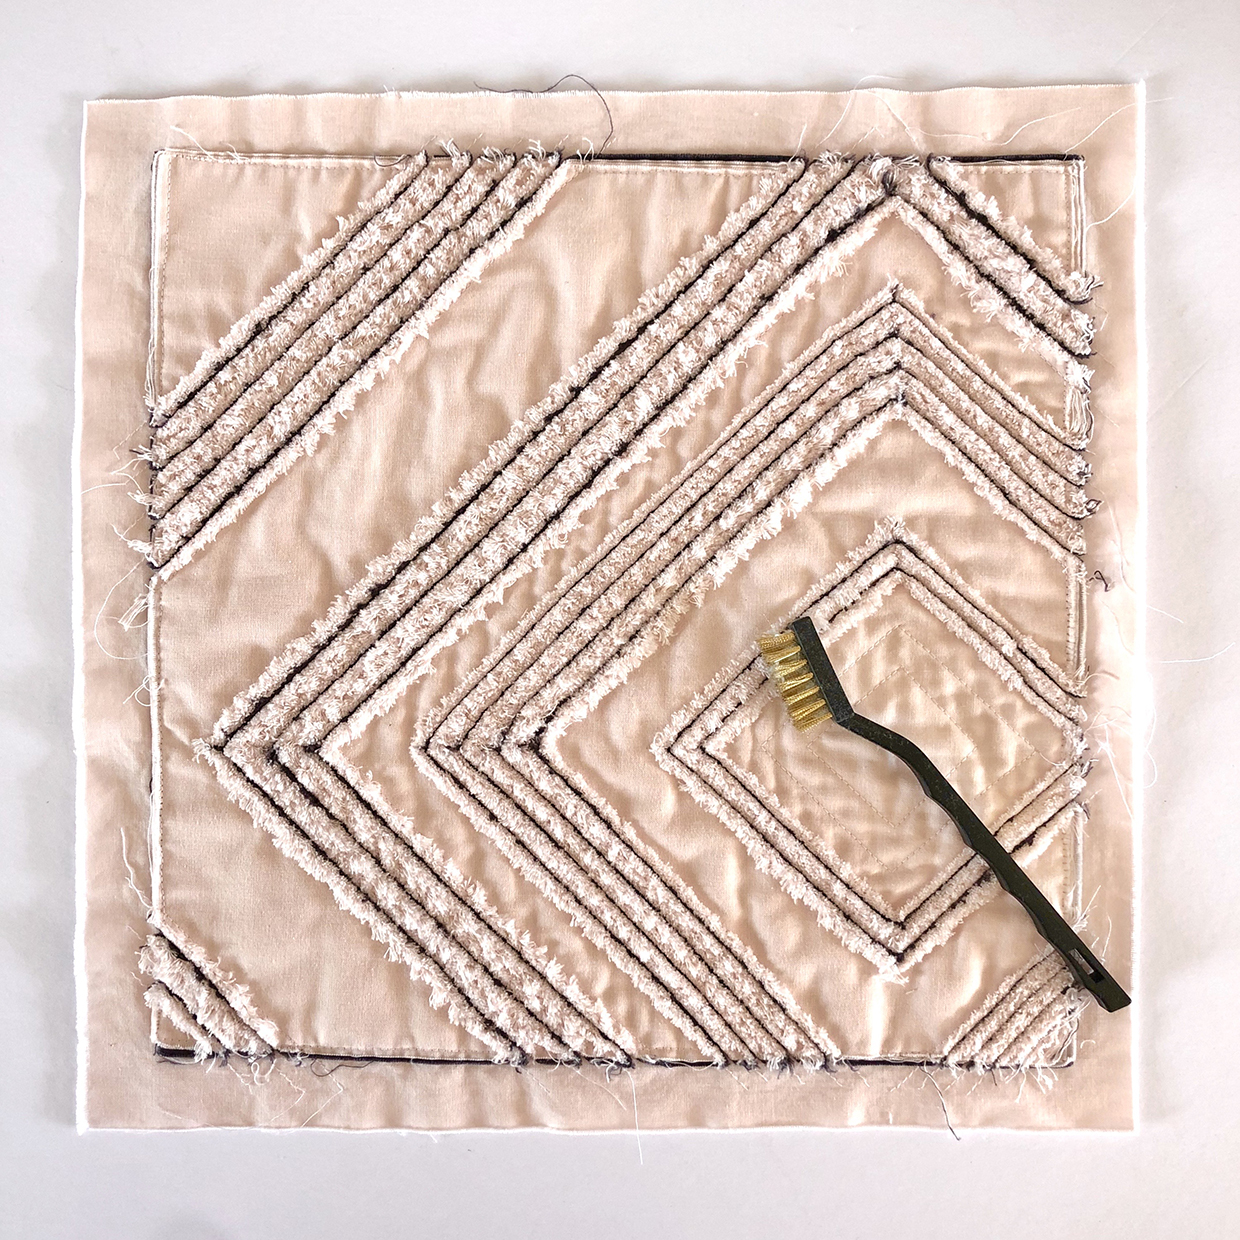
Step 8
Using a wire or nylon brush, gently brush in a circular motion over the fabric to create the chenille effect. You can also wash and dry your fabric several times if you don’t have a brush.
Finish the cushion
Step 1
Trim the chenille panel to 12½in squares, carefully centring the piece, and trimming away the excess background fabric at the same time.
Step 2
Place the 12½in square of dark grey fabric right side together with the panel. Sew around the outer edge leaving a gap for turning, backstitching at each end.
Step 3
Turn right side out through the turning gap. Stuff with toy filling and ladder stitch the turning gap closed.


