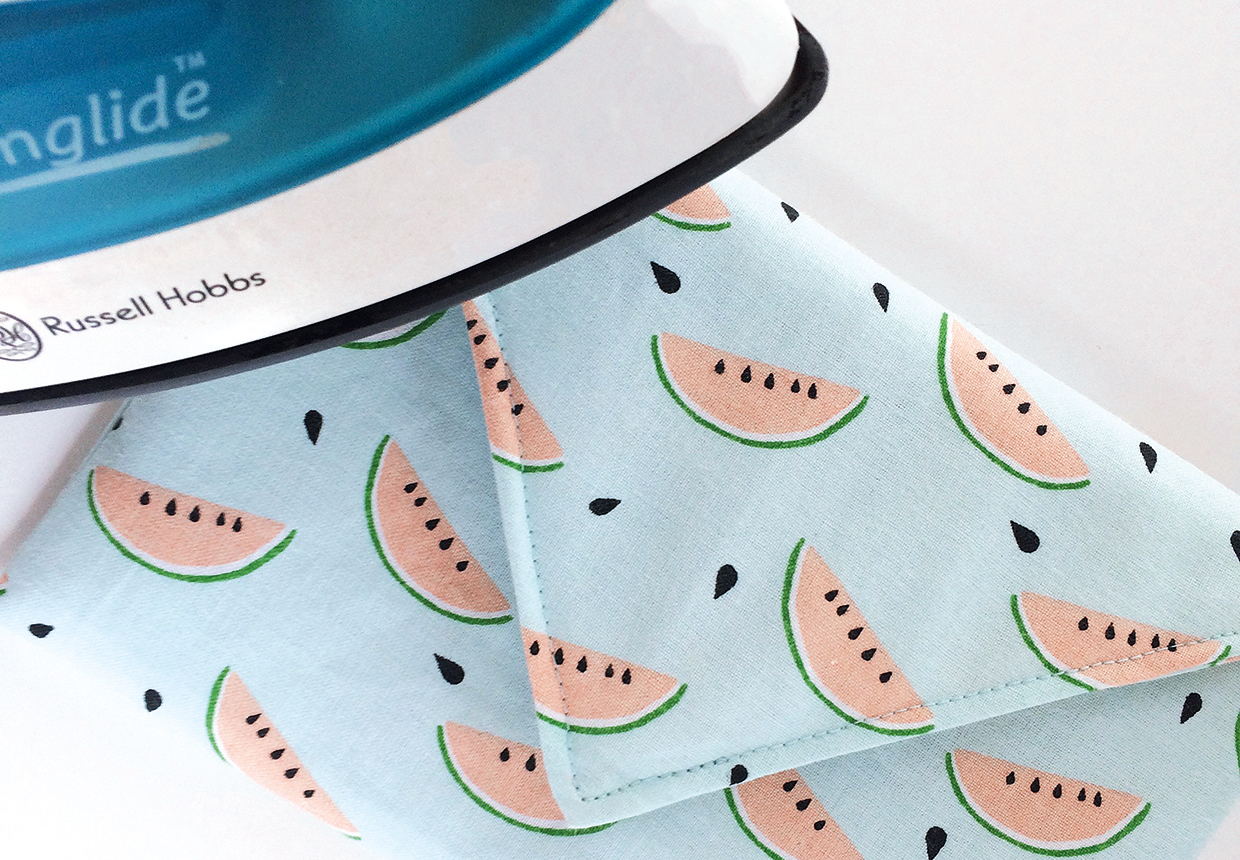
Cutting out
Step 1
From the fat quarter cut two pieces 42x23cm (16½x91/₈in).
Step 2
Find the centre point on one of the short edges of one fabric piece. Measure 12cm (4¾in) down one of the long edges and cut between these points. Repeat on the other side. This creates the point for the flap.
Step 3
Repeat with the other fabric piece.
Step 4
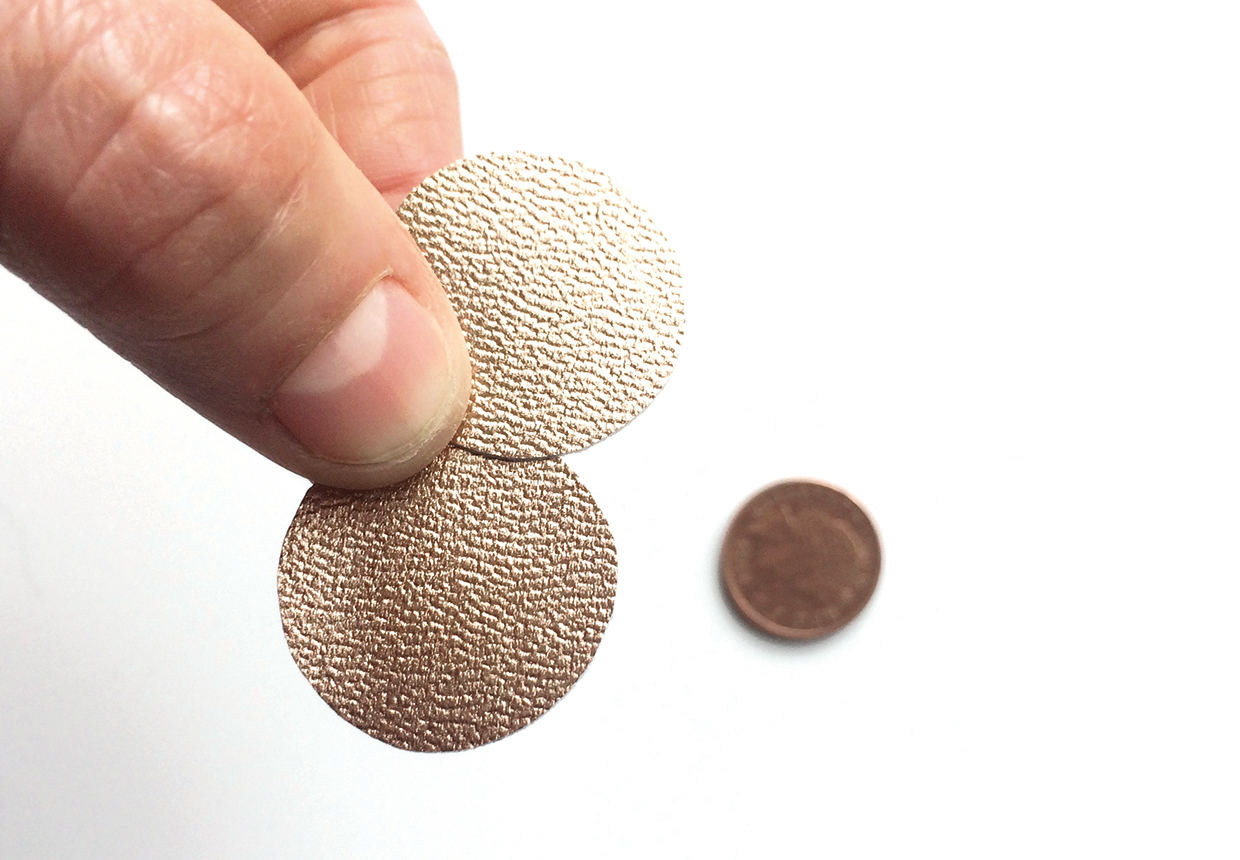
From the faux leather cut two circles using a penny as a template.
Step 5
Pin one piece of fabric to the wadding, cut around it and then trim so the wadding is 1cm (³/₈in) smaller.
Step 6
Cut two circles of wadding slightly larger than the faux leather circles.
Sewing the outer and the linin
Step 1
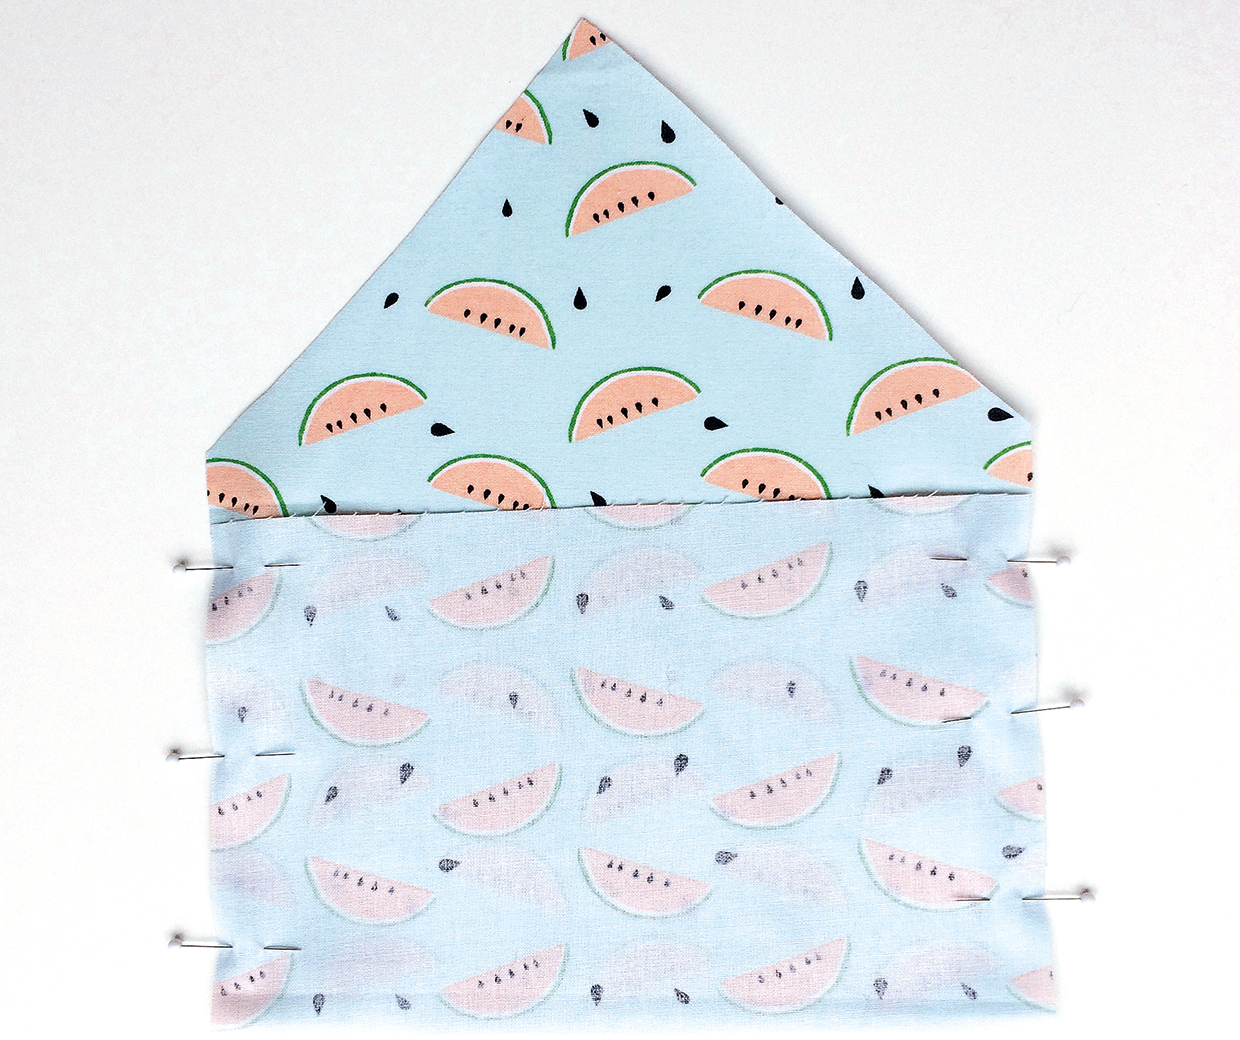
Place one fabric piece right side (RS) up and fold the bottom edge up 14cm (5½in) so it is right sides (RS) together and pin.
Step 2
Sew down the two side seams.
Step 3
Repeat for the other fabric piece.
Attaching the clasp fastener
Step 1
Take one fabric piece for the lining and mark a point 4cm (1⁵/₈in) down from the flap point and make a small incision. Make an incision in the centre of one of the faux leather and wadding circles.
Step 2
Push the prongs of the male half of the clasp through the incision in the faux leather, then the lining fabric on the RS, then the wadding and attach the back of the clasp.
Step 3
Put the other fabric piece, for the outer, into the lining piece, RS together.
Step 4
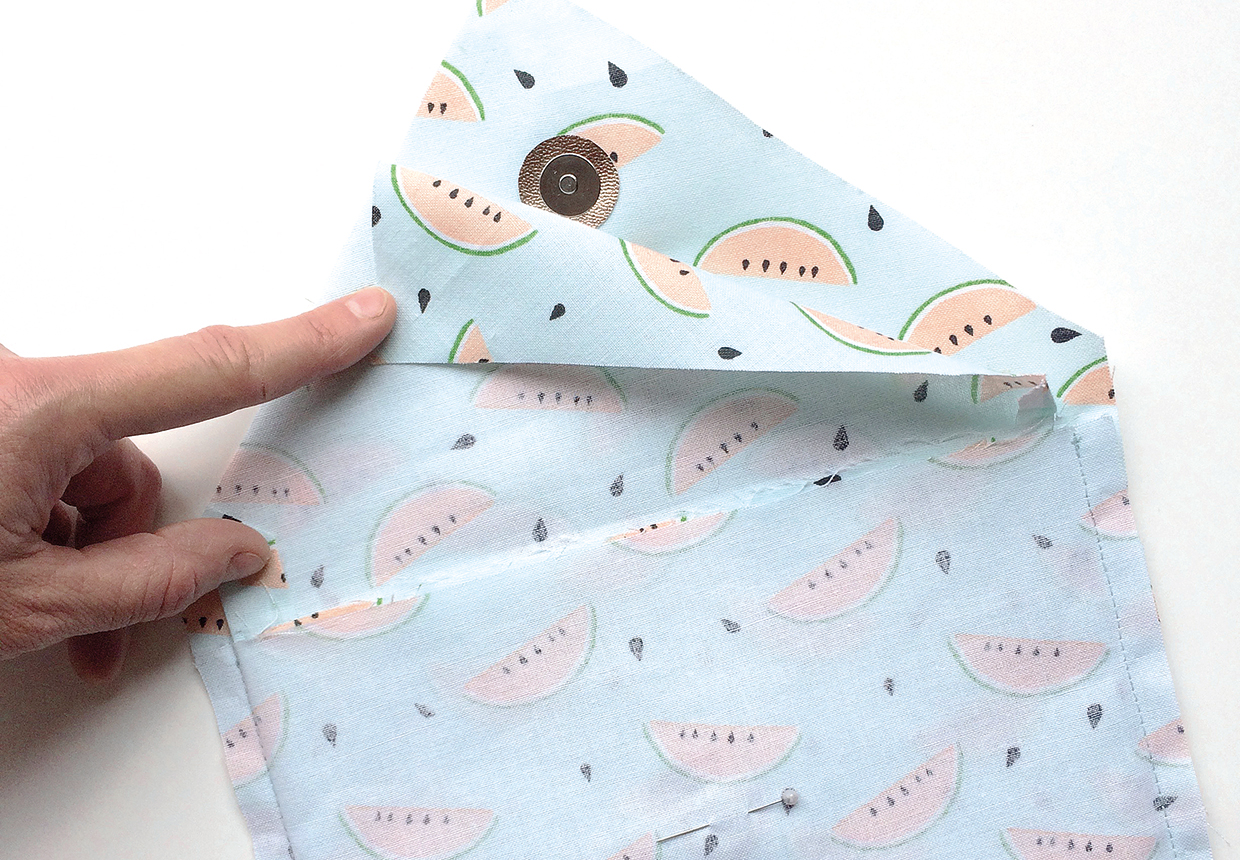
Fold the flap down and mark where the centre of the clasp meets the outer.
Step 5
Transfer that mark to the corresponding position on the outer piece.
Step 6
Remove the outer piece and make small incisions in the marked spot and the second faux leather and wadding circles. Attach the female half of the clasp as before.
Attaching the outer and lining
Step 1
Replace the outer piece into the lining with RS facing and pin together.
Step 2
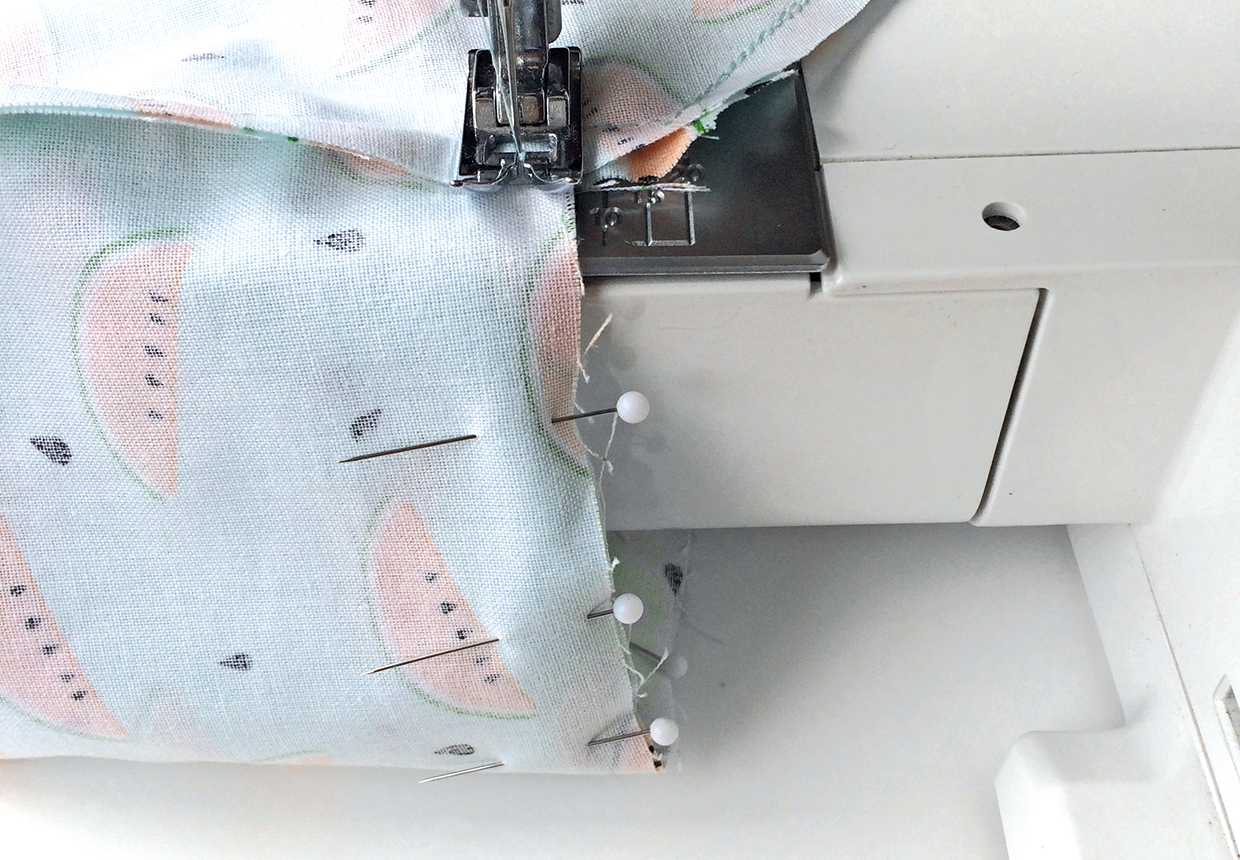
Using one continuous stitch starting from the base of the flap, sew the flap and top of the bag together, leaving a 5cm (2in) opening at the front.
Step 3
Trim the excess fabric, turn RS out through the opening and press.
Step 4
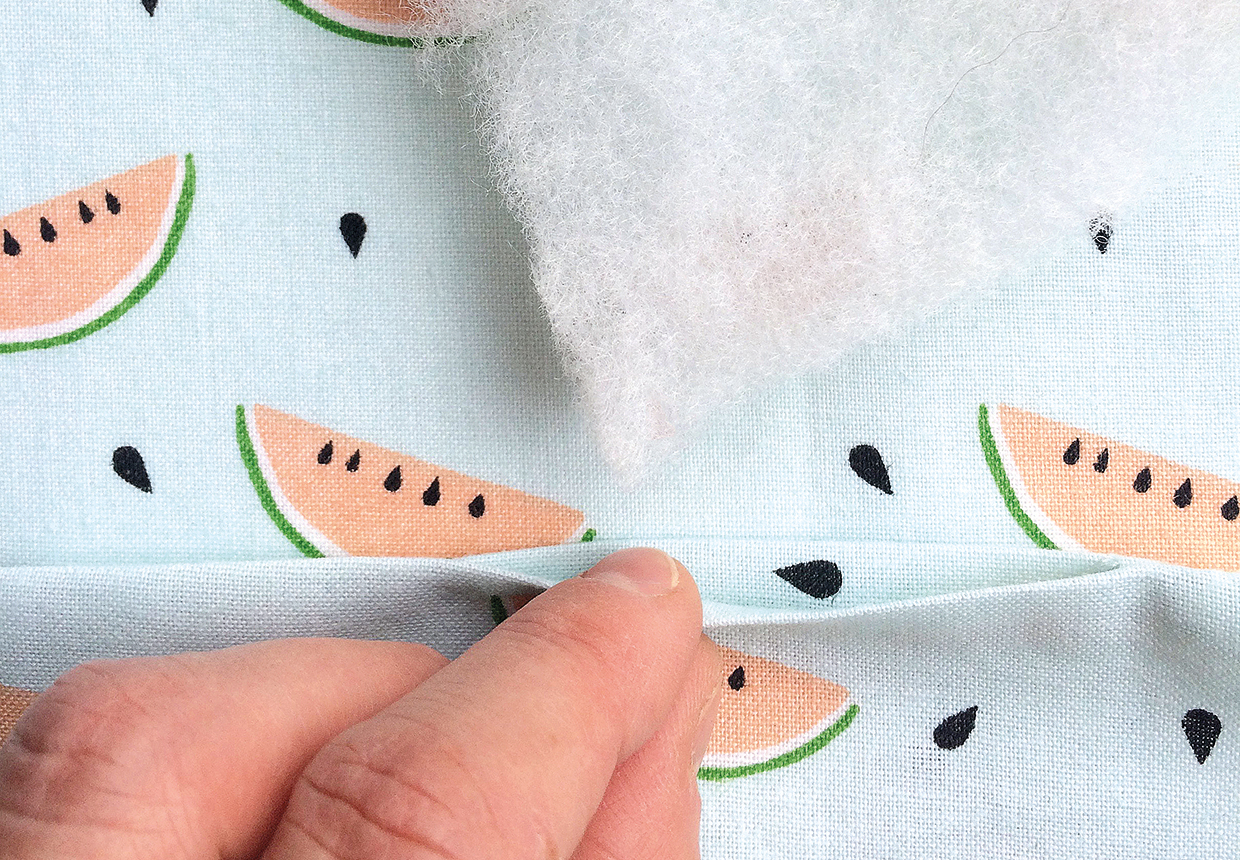
Feed the wadding through the opening, starting with the pointed end.
Step 5
Topstitch along the flap and top of the bag and press to finish.
