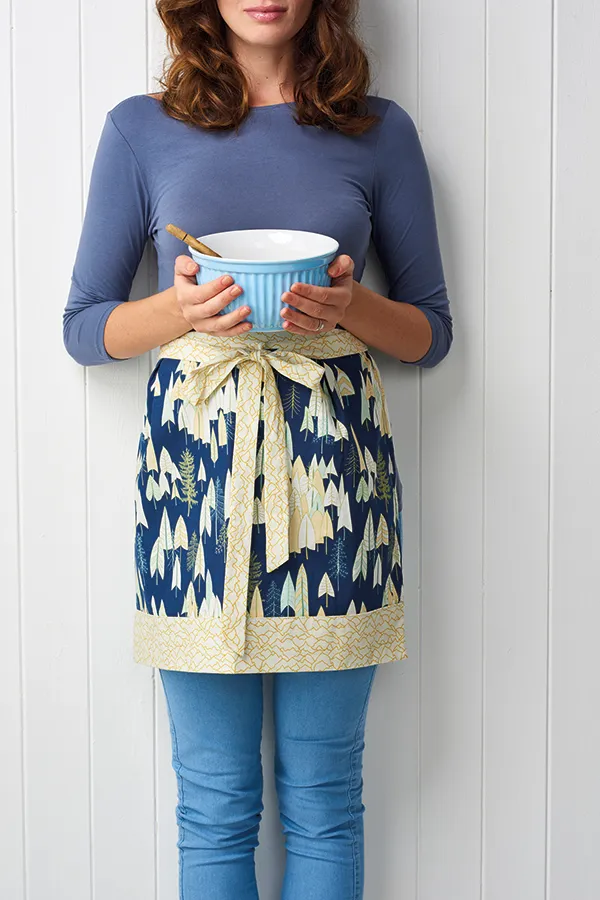
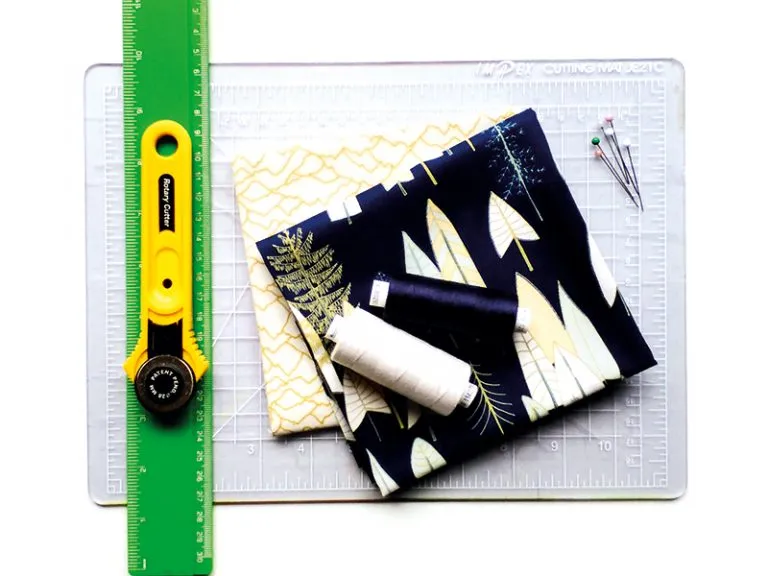
Cutting out
Step 1
Cut the main fabric to 36x55cm (141⁄8x215⁄8in).
Step 2
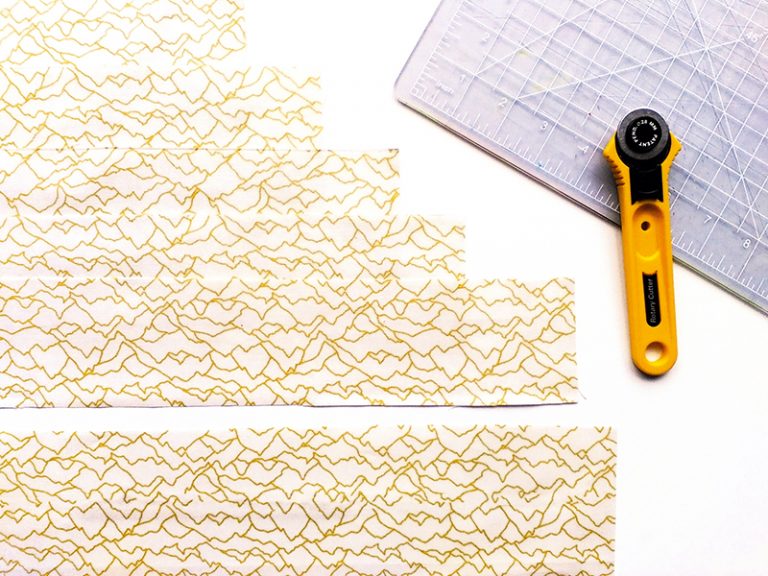
From the contrast fabric cut out the following pieces:
- Waistband and ties: five strips, 6x56cm (23⁄8x22in) each.
- Skirt trim: one strip, 20x56cm (77⁄8x22in).
How to make the apron skirt
Step 1
Turn the short edges of the main fabric under by 5mm (1⁄4in) then 5mm (1⁄4in) again and press. Stitch into place to hem.
Step 2
Fold it in half widthways to find the centre and then fold again to find the quarters and mark these points.
Step 3
Make a box pleat 1cm (3⁄8in) wide at the quarter points. Pin, press and sew.
Step 4
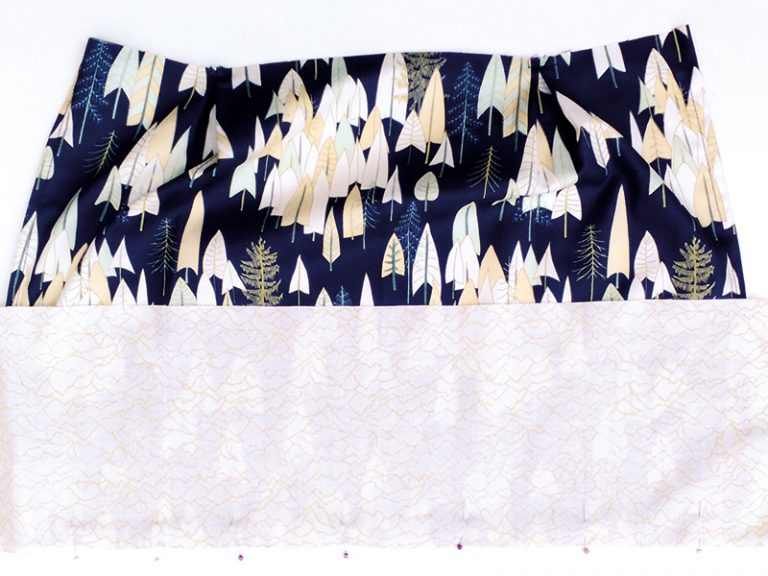
Pin the skirt trim to the bottom of the main piece, right sides (RS) together.
Step 5
Sew into place. Press the seams open then downwards towards the trim.
Assembling the skirt trim
Step 1
Fold the bottom raw edge of the skirt trim under by 1cm (3⁄8in), press then pin.
Step 2
Fold this RS together so that the turned-under edge meets the stitched seam of the main fabric and press.
Step 3
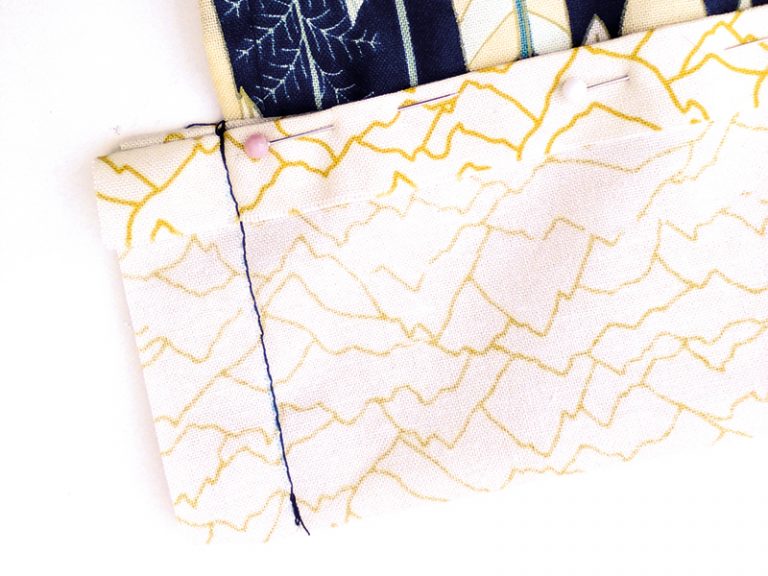
Sew the folded strip together along the side edges of the strip.
Step 4
Trim the seams then turn RS out.
Step 5
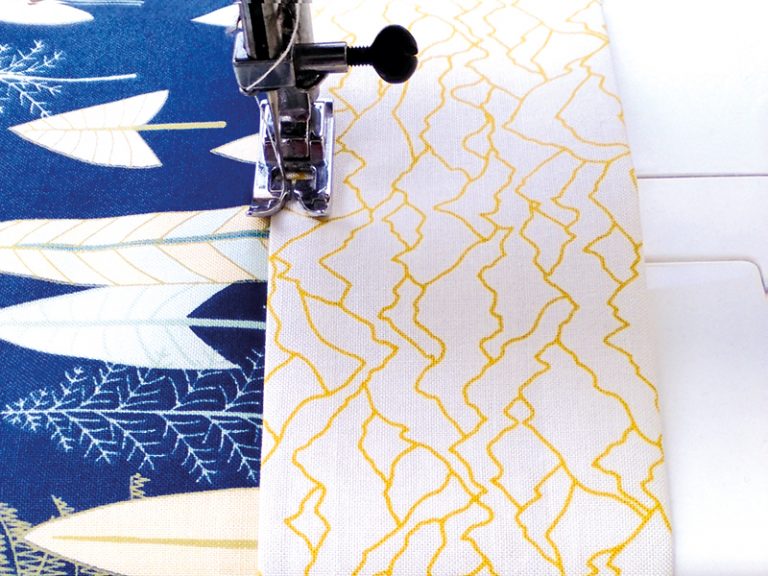
Topstitch the top edge of the strip into place.
Making the waistband and ties
Step 1
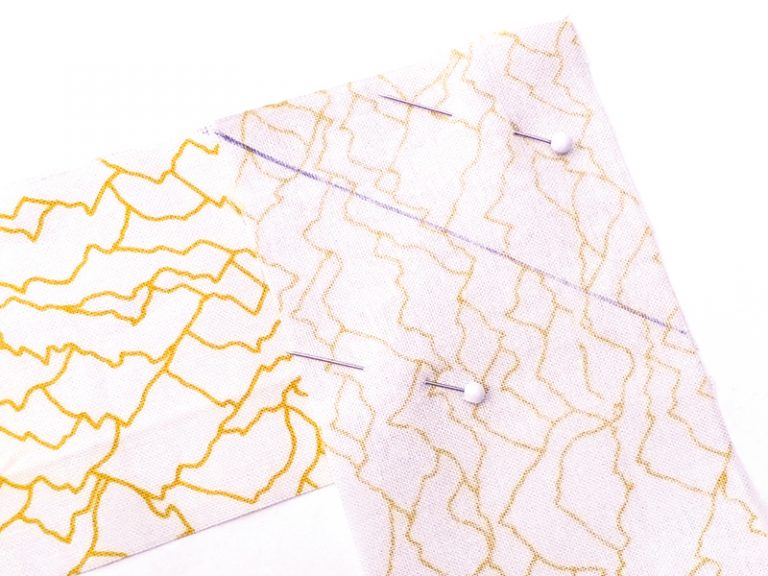
Place two of the strips RS facing at right angles and draw a line diagonally across them, then stitch along this line.
Step 2
Trim the seam and press it open.
Step 3
Repeat this to join all five strips together to make one long strip.
Step 4
Fold the long strip in half lengthways with RS facing and press.
Step 5
Stitch together along the short edges and long raw edge, but leaving the central strip unstitched.
Step 6
Turn RS out then turn the edges of the central strip under 1cm (3⁄8in) to the WS.
Attaching the skirt
Step 1
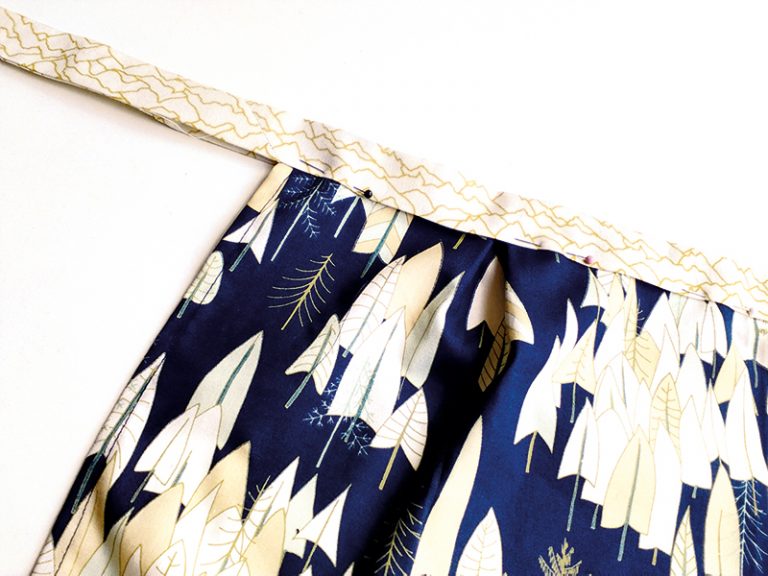
Tuck the top raw edge of the apron skirt inside the central waistband section and pin into place.
Step 2
Topstitch along the bottom edge of the tie and waistband, stitching across the pinned central section to hold the apron skirt into place and to decorate.
