How to make a scrunchie
This easy scrunchie sewing pattern is so simple that you'll want to make one in every colour! Jessica Entwistle's design is very straightforward to make, even if you're new to sewing.
We love the 90s and we're delighted to see scrunchies back in fashion. Scrunchies are pretty and practical hair accessories. They'll keep your hair neat and bring a nostalgic vibe to any outfit.
These scrunchies make great gifts for all ages and are quick to sew. In this tutorial, we'll show you how to make a scrunchie step by step. You can make a scrunchie with a bow or just make a plain scrunchie.
Read on to learn how to make scrunchies with this useful guide.
If you're new to sewing, check out our how to use a sewing machine guide, beginners guide to sewing and sewing patterns for beginners.
How to make scrunchies
Fabrics used
The fabrics used are from the Les Petits collection by Amy Sinibaldi.
- Petits Strokes, Coral.
- Petits Strokes, Sun.
- Petits Checks, Sky.
Notes
- Use a 1cm (3⁄8in) seam allowance.
- Download the templates needed here.
You will need:
- Main fabric (45x25cm (18x10in))
- Elastic (12mm (1/2in) width x 20cm (8in))
- Matching sewing thread
- Basic sewing kit
Cutting out
Step 1
Cut the fabric as follows:
- Band: 7x40cm (23⁄4x153⁄4in).
- Bow: two 7x28cm (23⁄4x11in).
Making the band and bow
Step 1
Fold the band strip in half lengthways with right sides (RS) facing and sew together down the length but leaving 4cm (15⁄8in) unsewn at both ends.
Step 2
Cut out the bow template then draw around it on the centre of the wrong side (WS) of one of the bow pieces.
Step 3
Place this RS facing with the other bow piece and sew together along the drawn line, leaving the turning gap unstitched.
Step 4
Trim off the excess fabric.

Adding the elastic
Step 1
Turn the band strip RS out, pin the two raw edges RS facing and stitch.

Step 2
Thread the elastic through the band, overlap the short ends and oversew.
Step 3
Slipstitch the turning gap closed.
Finishing off
Step 1
Turn the bow RS out and press, then slip stitch the turning gap closed.
Step 2
Tie the bow around the band.

Sew in style with scrunchies
We hope you’ve enjoyed learning how to make scrunchies! Scrunchies are a great project to make if you have some leftover fabric scraps to use up. You could make one to match your outfit.
Looking for more fun sewing ideas?
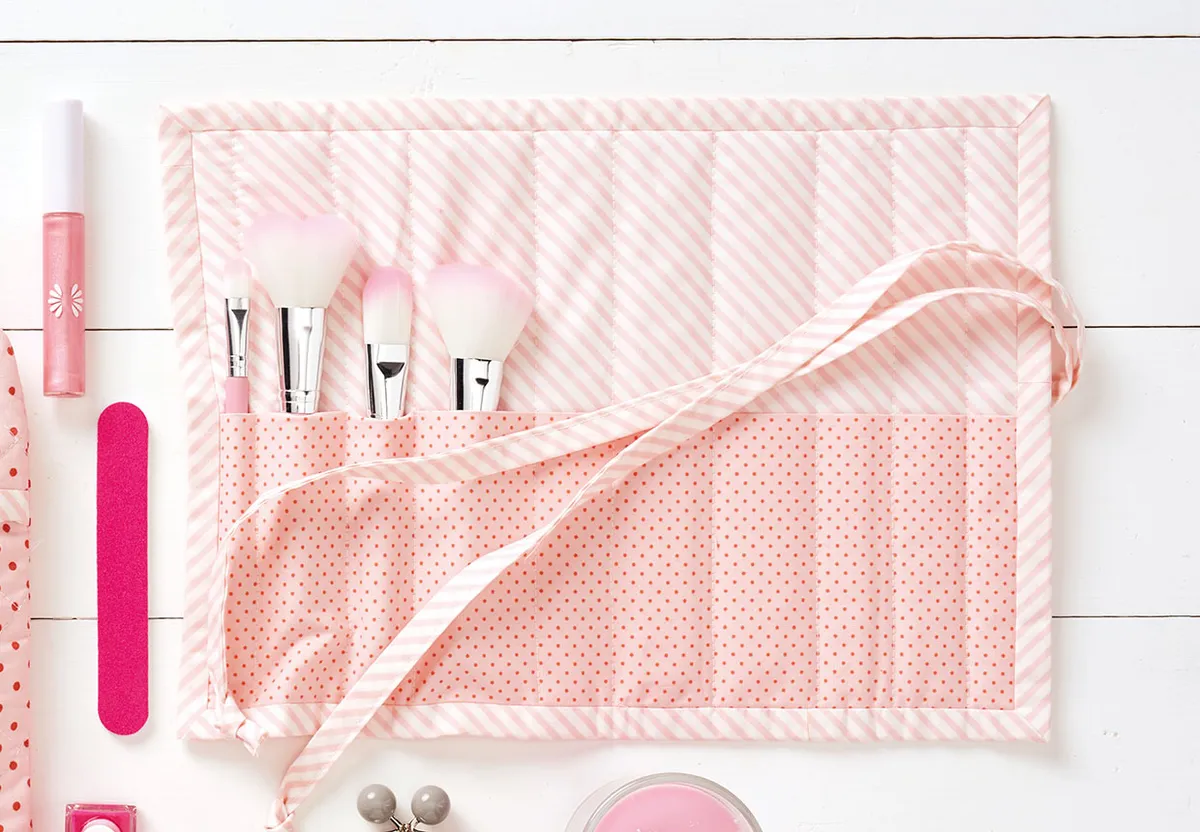
Now learn how to make a make up brush roll!


