How to make a quilted teapot cover

How to make a quilted teapot cover

Let your sewing skills shine with this darling DIY teacozy sewing pattern and step-by-step guide, finished with sweet teatime embroidery and appliqué

Try Today's Quilter magazine today and save over 45%!

Published: December 13, 2020 at 8:51 am

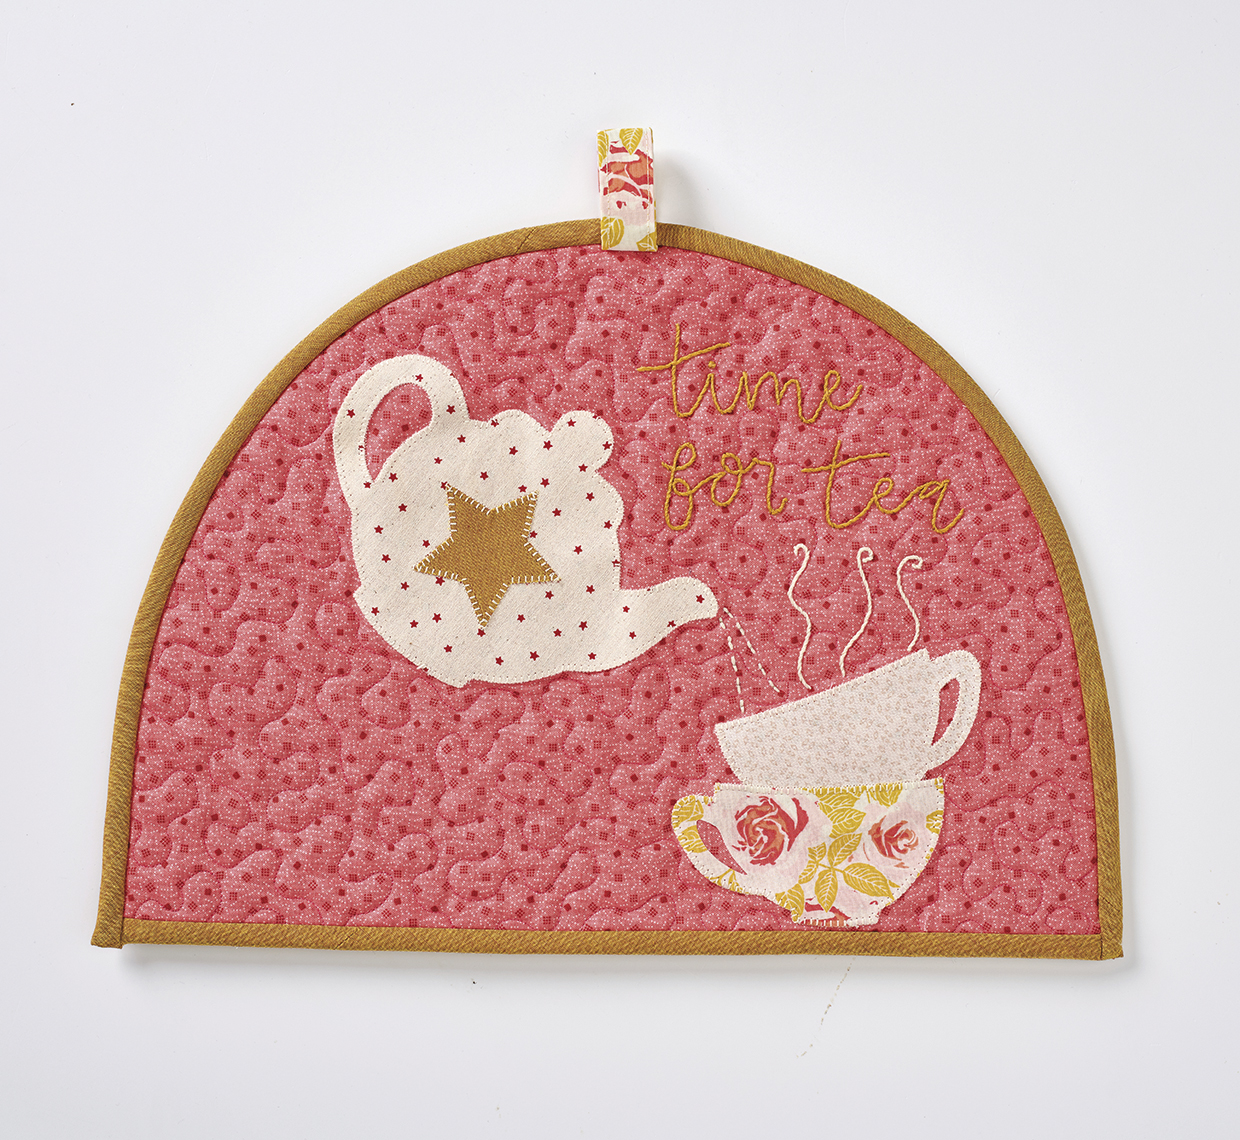
Brrrr it may be cold outside but we've got the perfect winter warmer craft project to curl up and get cosy with! Sew your own teapot cosy – it's the ultimate in comfort crafting and we're here to show you how it's done.

We've put together a step by step tutorial for how to make your own quilted teapot cosy – then decorate it with appliqué and embroidery using our free templates below. This project was created by the dream team of Laura Pritchard and Jessie Doughty and was first featured in Today's Quilter magazine. You probably need a bit of experience of sewing to give it a go or it would also suit a confident beginner who's up for trying new techniques. Make it for yourself to add a home-spun touch to your kitchen decor or give it as a gift. If you are new to sewing and quilting, have a read of our guide to quilting for beginners or our How to Appliqué guide. If it's the embroidered finishing touches that you love the most, head over to our Free embroidery patterns section for more ideas.

"There’s nothing like a proper cuppa brewed in a teapot," muses quilt maker Laura Pritchard. "This element of ceremony to making tea is slipping away in modern life, though it’s something my neighbour always does when I pop over for a chat. Recently I visited Japan and enjoyed how seriously they take their tea making – it has inspired me to use my teapot more. I made it a little tea cosy for mine using our free appliqué templates from issue 50 of Today's Quilter, and Jessie, a talented embroider, added some flair with pretty stitches.”

Finished size

Approximately 14in x 11in*

Notes

You will make the tea cosy to fit your own teapot dimensions, so fabric quantities may need to be adjusted.

Top tip: Laura cut two paper templates and joined them with tape around the curved edge and then placed it over the teapot to check it would fit.

Download the templates

To make this project, download our free Time for tea pattern for appliqué and embroidery.
You will need:

  • Fabric (1/2yd each for the background, lining and binding)
  • Batting (Two (2) 20in square pieces*)
  • Embroidery Thread
  • Sewing machine
  • Basic quilting kit
  • Fabric scraps
  • Embroidery needle
  • Applique templates (We used plastic templates from issue 50 of Today's Quilter magazine but you could use any shapes you like!)
  • Fusible web

Making the template

Step 1

Measure the length and height of your teapot and add 3in to the top and each side, i.e length + 6in. height + 3in. Fold a piece of paper in half and mark with a dot along the fold at the height your cosy needs to be. Divide the calculated length by two and mark a dot this distance from the fold along the bottom edge. Join the two marks with a wide curve, using your teapot to help estimate the shape. Cut out the template while it’s folded and then open it out. Check again that it will be large enough to cover your teapot.

Cutting out

Step 1

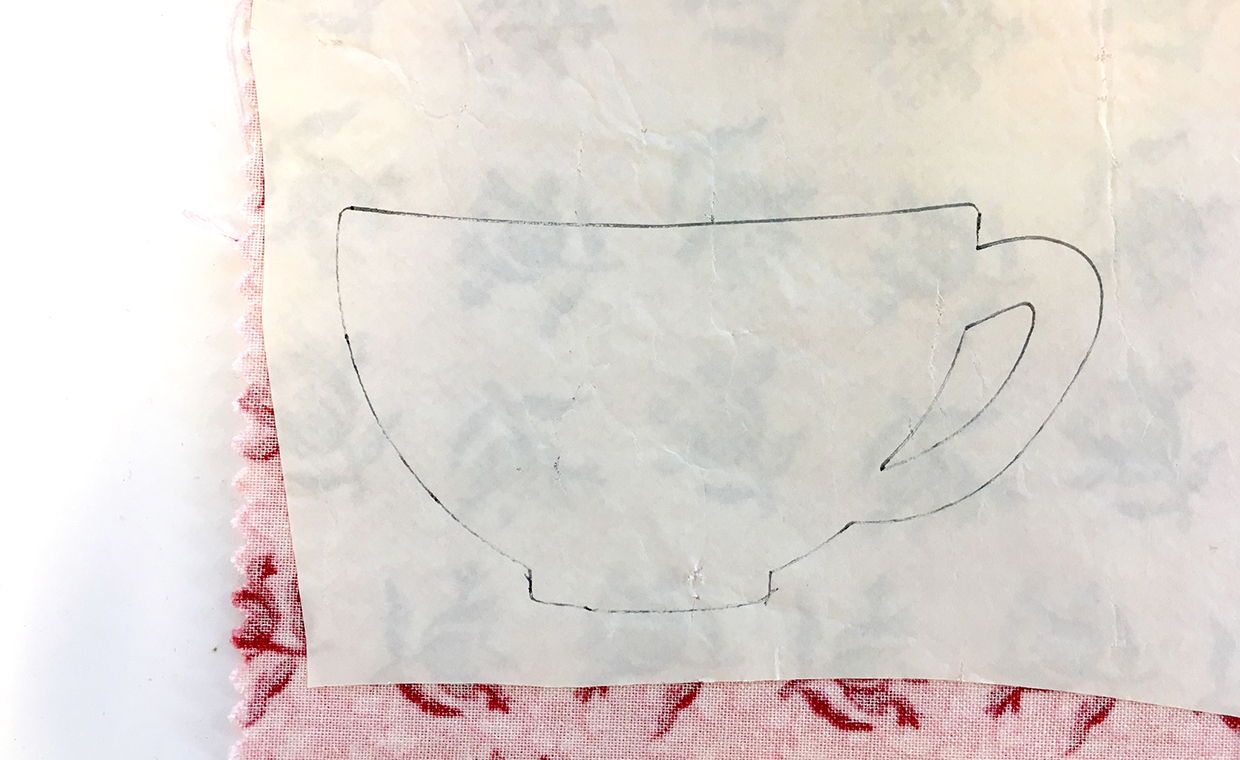
From the background, lining fabric and batting pieces, cut rectangles large enough to fit your paper template. You need two (2) of each. Mark the shape onto one background piece but don’t cut out yet. We used pins to mark the curve (Fig 1).

Free quilted teapot cozy pattern Figure 1

Step 2

Iron fusible web to the back of your fabric scraps. Draw around the appliqué templates you are using on the paper side (Fig 2) and cut out with sharp scissors. You need to cut out the following from scrap fabrics:

  • One (1) teapot
  • Two (2) teacups (facing different directions)
  • One (1) star

Free quilted teapot cozy pattern Figure 2

Step 3

From another fabric scrap cut a rectangle 3in x 4in for a handle.

Step 4

From the binding fabric, cut 2½in wide strips at a 45-degree angle to make bias binding. You will need enough to bind the bottom edges of two sides, and the curved edge (in our case 50in length).

Making the tea cosy

Step 1

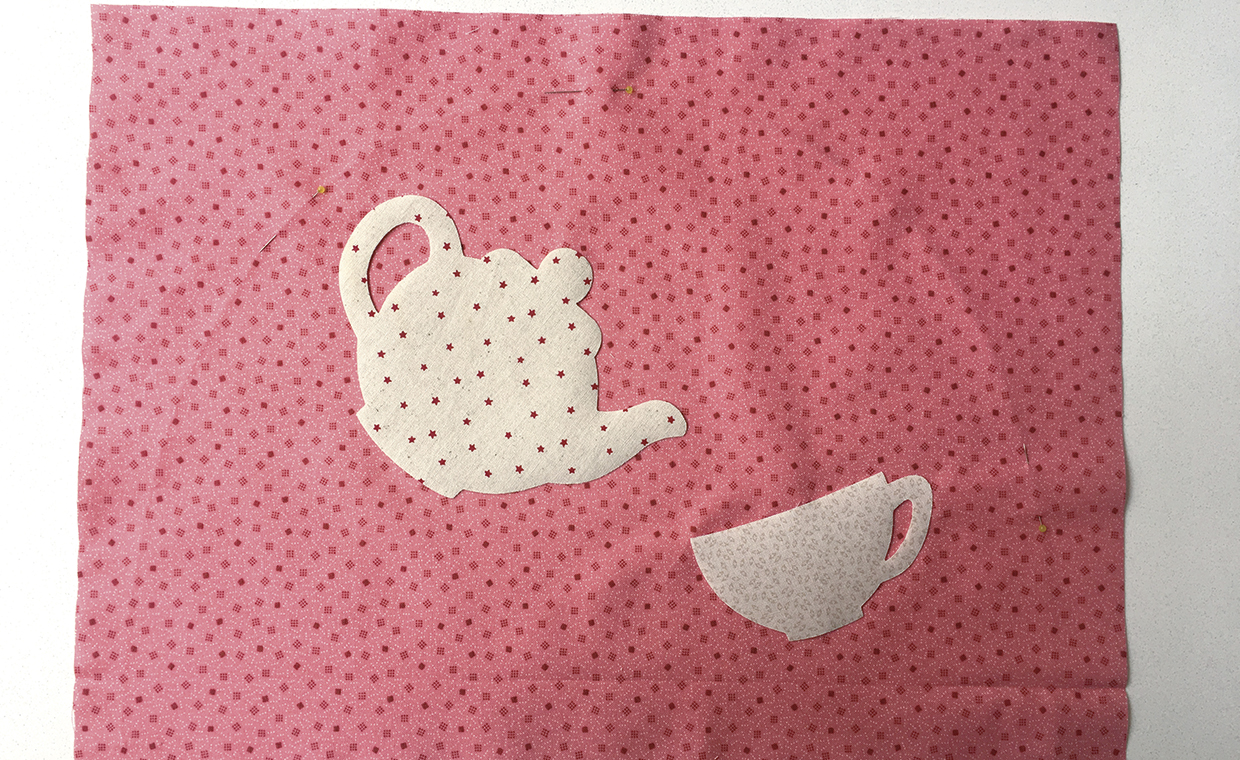
Position the first teacup and teapot on the marked backing fabric as shown in Fig 3, making sure not to get too close to the marked line. When you are happy with their position, remove the paper and fuse in place.

Free quilted teapot cozy pattern Figure 3
Figure 3

Step 2

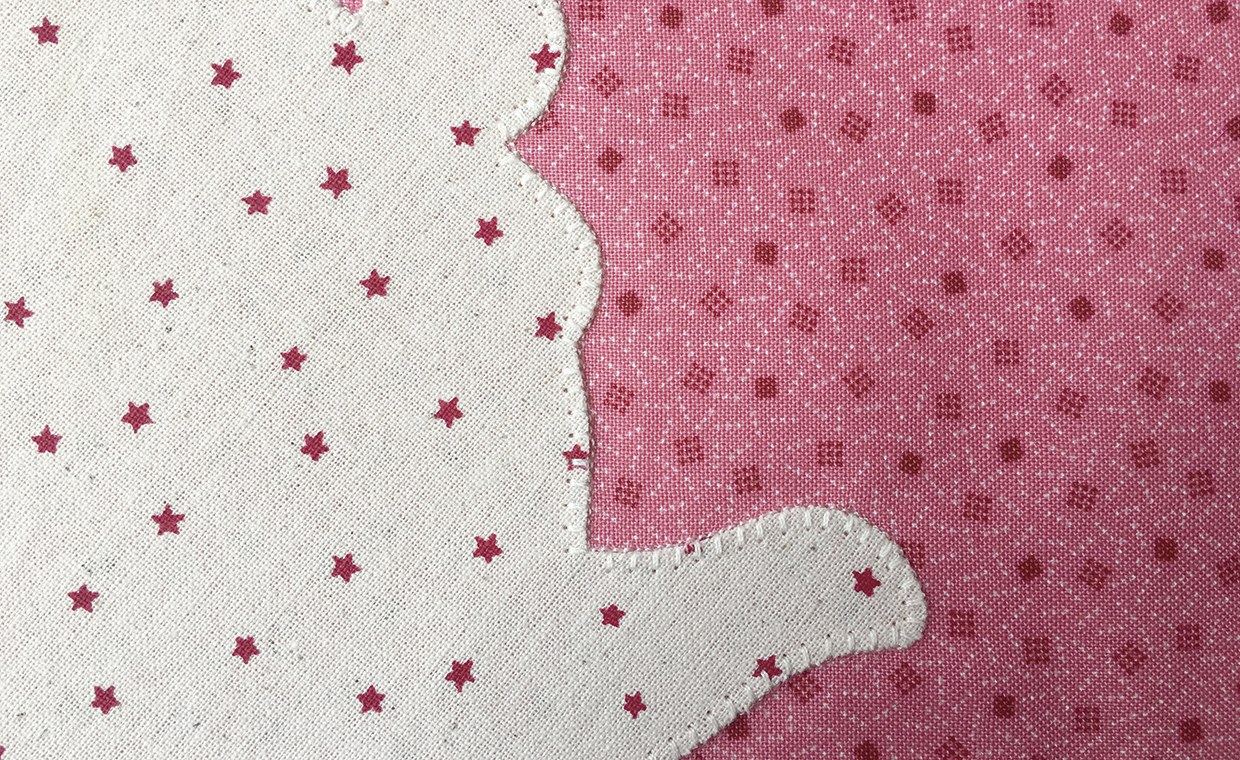
Blanket stitch around the edge of each shape by hand or machine to secure in place (Fig 4). Repeat to add the second teacup and the star to the teapot. Mark any embroidery now with a removable marker.

Free quilted teapot cozy pattern Figure 4
Figure 4

Step 3

Baste together the lining fabric, right side down, batting and appliqué piece right side up, and quilt as desired. Do the same with the remaining lining, batting and background pieces. Use your tea cosy dome template to cut out the shape from each tea cosy side.

Free quilted teapot cozy pattern Figure 8

Step 4

Stitch the embroidery letters with whipped backstitch and add pouring tea with regular backstitch if desired. Jessie also added freehand steam swirls coming out of the teacup (use our photo as a guide).

How to make a teapot cozy

Step 5

Bind the bottom of each side with bias binding, stitching by machine to the front and slipstitching it by hand to the wrong side.

Step 6

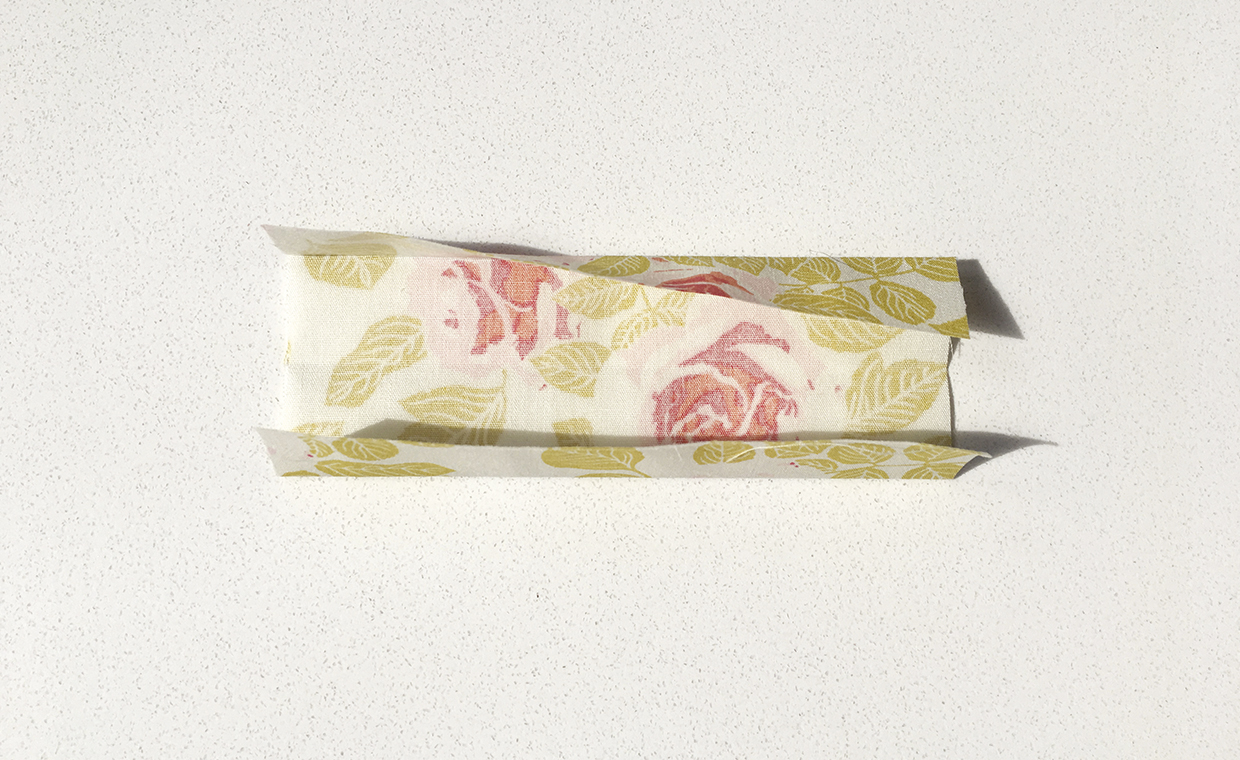
Take the handle piece and press in half lengthwise, wrong sides together. Open out and press the edges in to meet the crease (Fig 5). Press back in half again and top stitch along each long edge.

Free quilted teapot cozy pattern Figure 5

Step 7

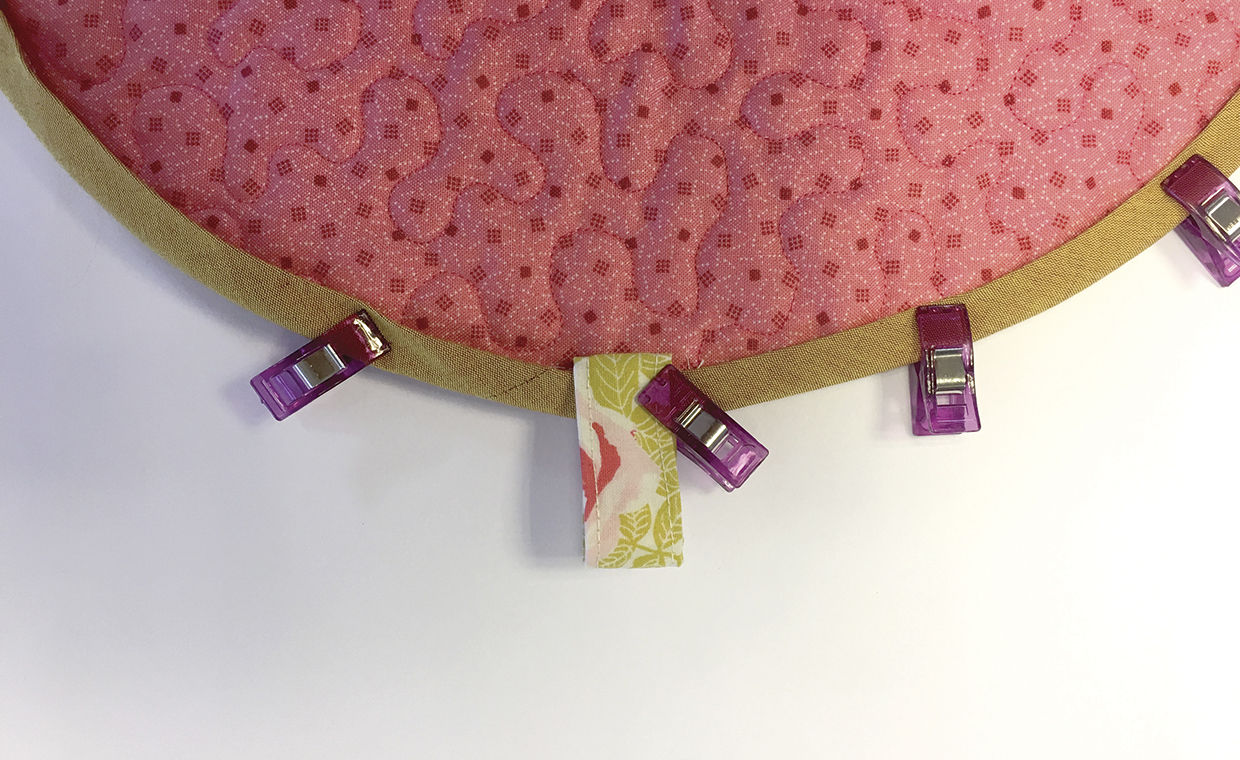
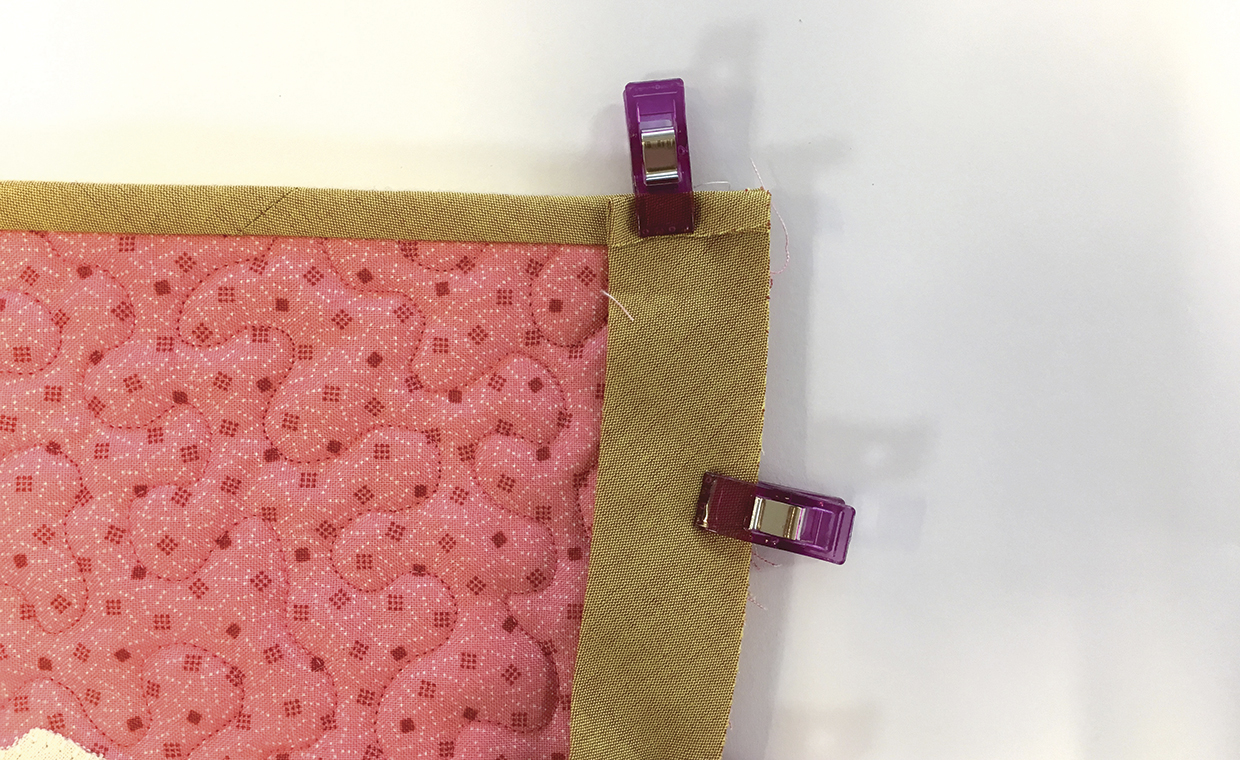
Place the tea cosy sides wrong sides together and pin the handle, one raw edge aligned to the top centre. Stitch around the curve with a seam slightly narrower than ¼in. Add bias binding to the raw edge of the curve, turning a fold under at the end (Fig 6 and Fig 7).

Free quilted teapot cozy pattern Figure 6
Free quilted teapot cozy pattern Figure 7

Step 8

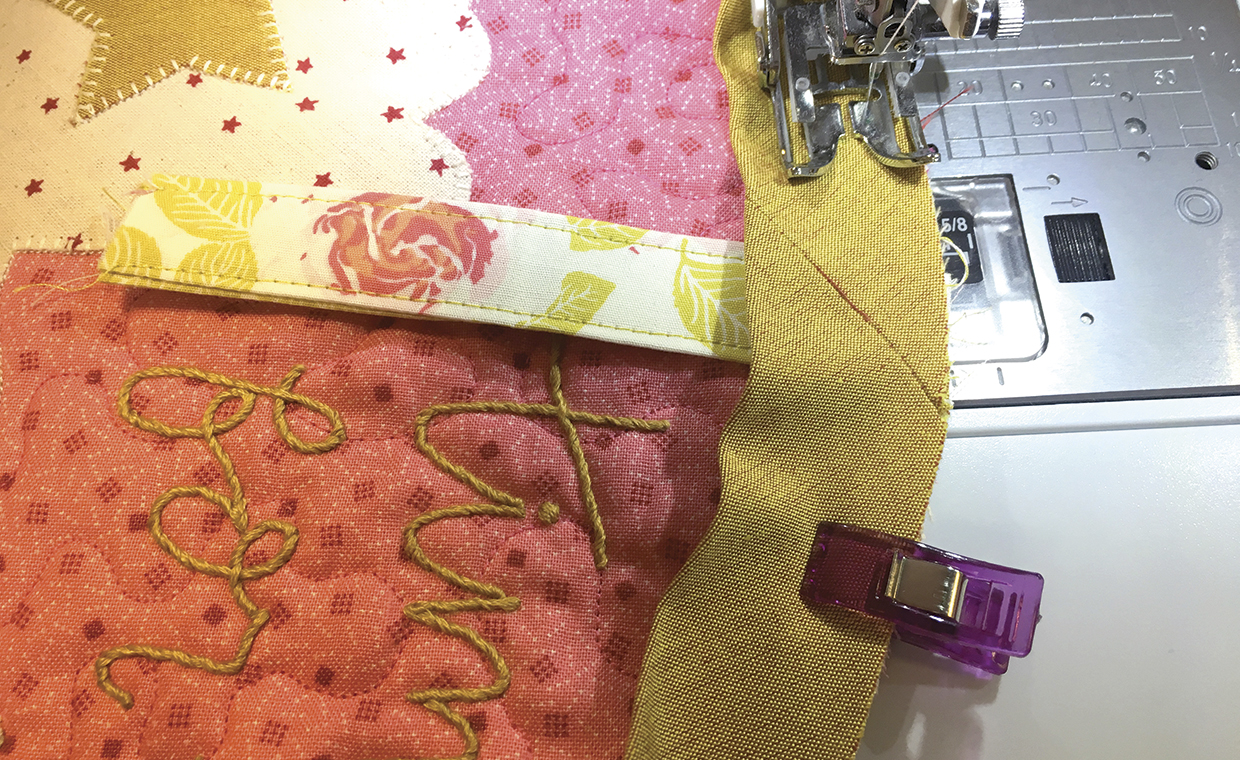
Turn bias binding over to the back and tuck the raw edge of the handle underneath (Fig 8). Slip stitch by hand to complete the binding and secure the handle.

Free quilted teapot cozy pattern Figure 8