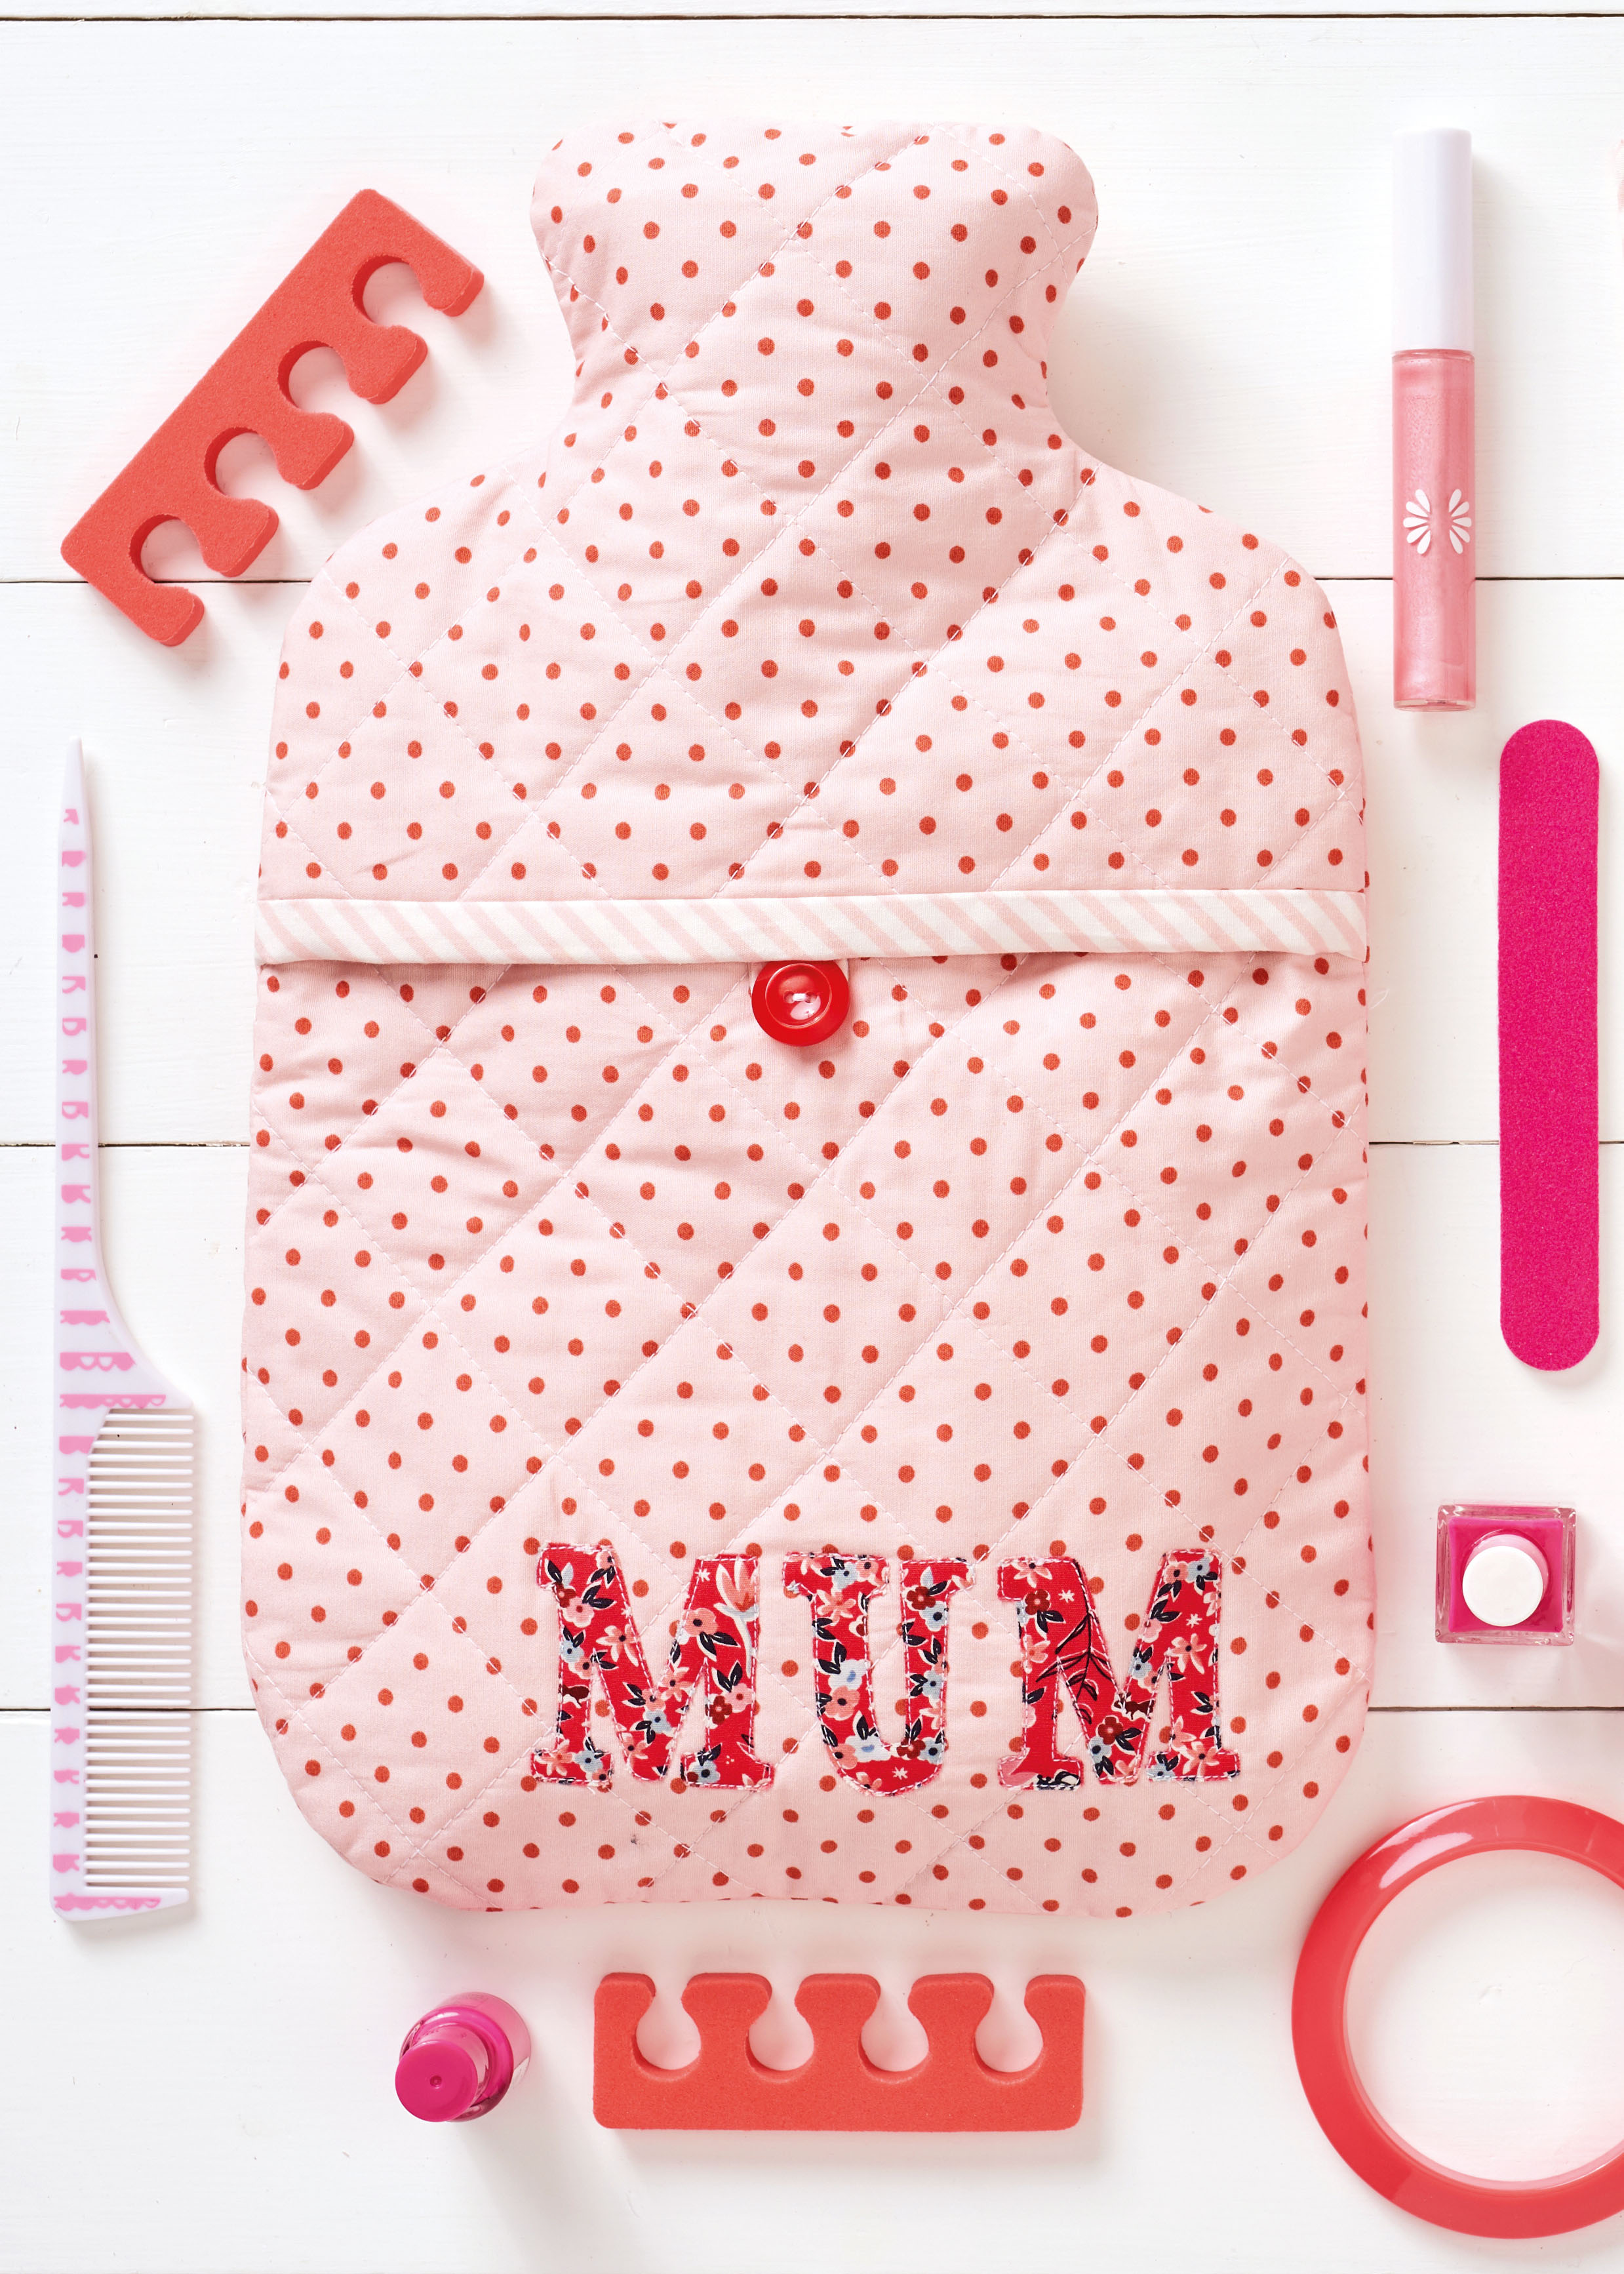
Cutting out
Step 1
Download and cut out the templates for the back, front upper and front lower.
Step 2
Cut out the following pieces:
- Main fabric: four pieces 30x45cm (12x18in).
- Contrast fabric: two binding strips 5x25cm (2x10in), one loop 3x8cm (11⁄4x31⁄8in).
- Wadding: two pieces 30x45cm (12x18in).
Making the quilted outers
Step 1
Place one main fabric piece right sides (RS) down with the wadding on top and then a second fabric piece RS up on top and pin.
Step 2
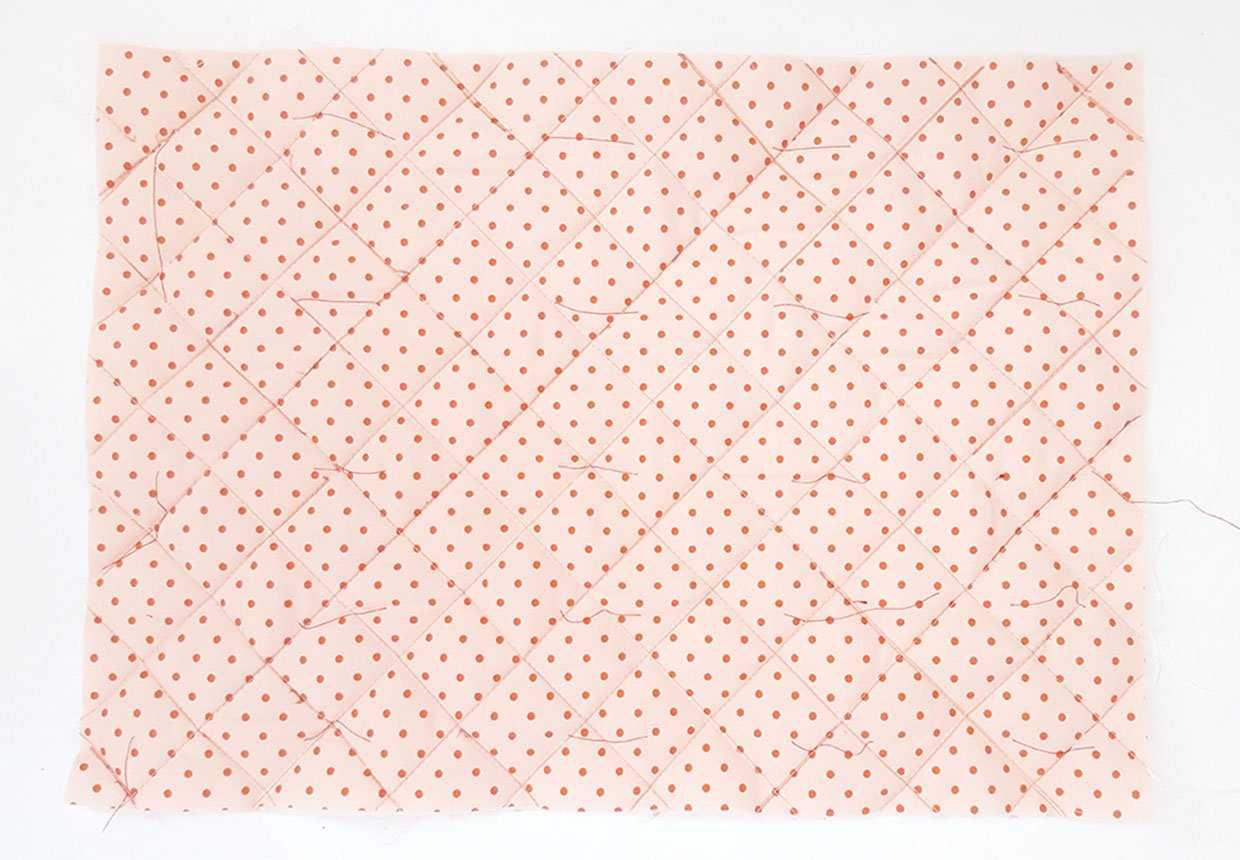
Draw diagonal lines across the RS of the top fabric to create 4cm (15⁄8in) squares.
Step 3
Quilt along the drawn lines.
Step 4
Repeat this with the other two fabric pieces and wadding piece.
Step 5
Using the templates, cut one back piece from one quilted piece then the front upper and front lower from the other piece.
Binding the edges
Step 1
Take one binding strip and fold the long edges wrong sides (WS) together and press. Unfold then fold the raw edges so they meet at the centre crease. Fold in half again.
Step 2
Repeat for the other binding piece and loop piece.
Step 3
Fold one binding strip around the top edge of the front lower piece and stitch.
Step 4
Repeat on the front upper piece.
Making the loop
Step 1
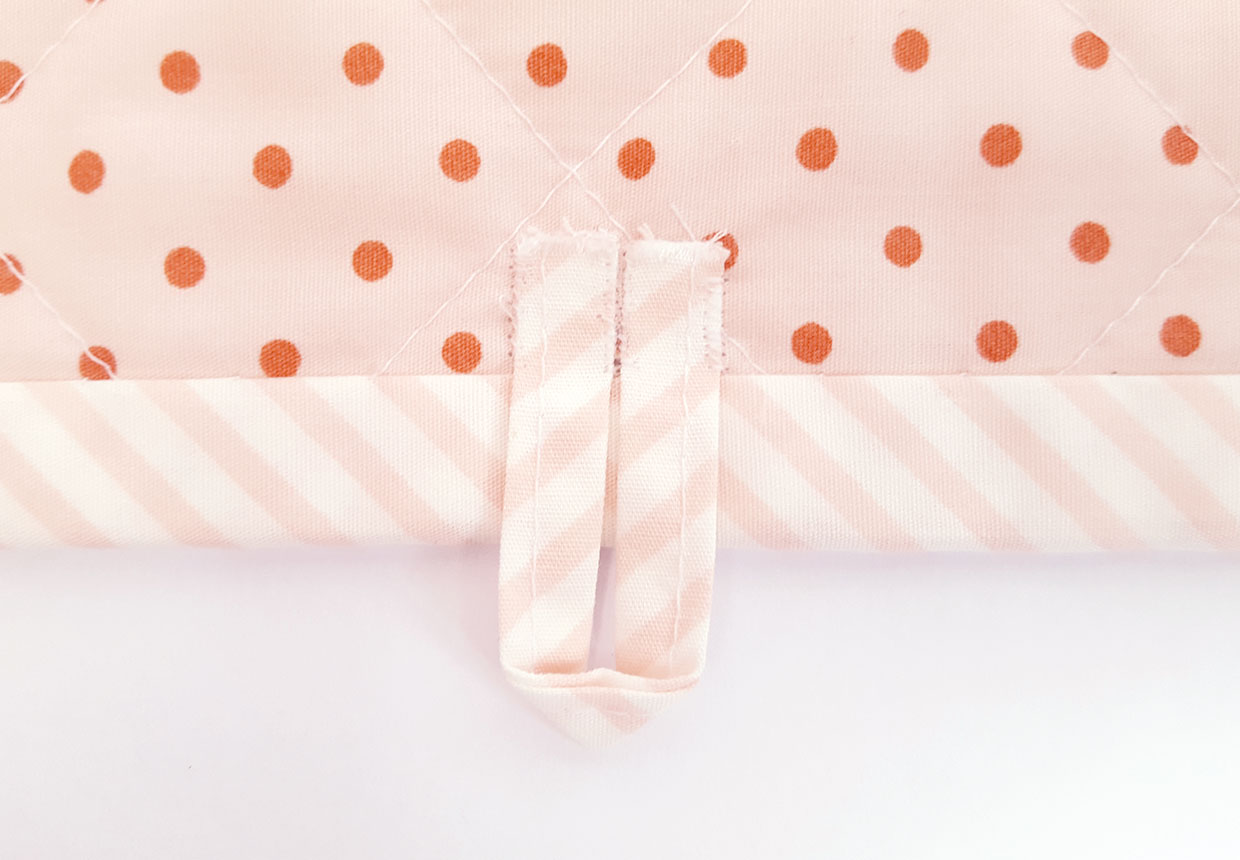
Topstitch the folded loop piece closed. Fold to make a loop and pin to the middle of the binding on the back of the front upper piece. Stitch into place.
Adding the applique
Step 1
Trace over the letters you want to appliqué then trace over these reversed letters onto the paper side of Bondaweb.
Step 2
Press the traced Bondaweb paper side up onto the WS of the appliqué fabric.
Step 3
Cut out the letters and press them onto the RS of the front lower quilted piece and topstitch around the edges.
Assembling the cover
Step 1
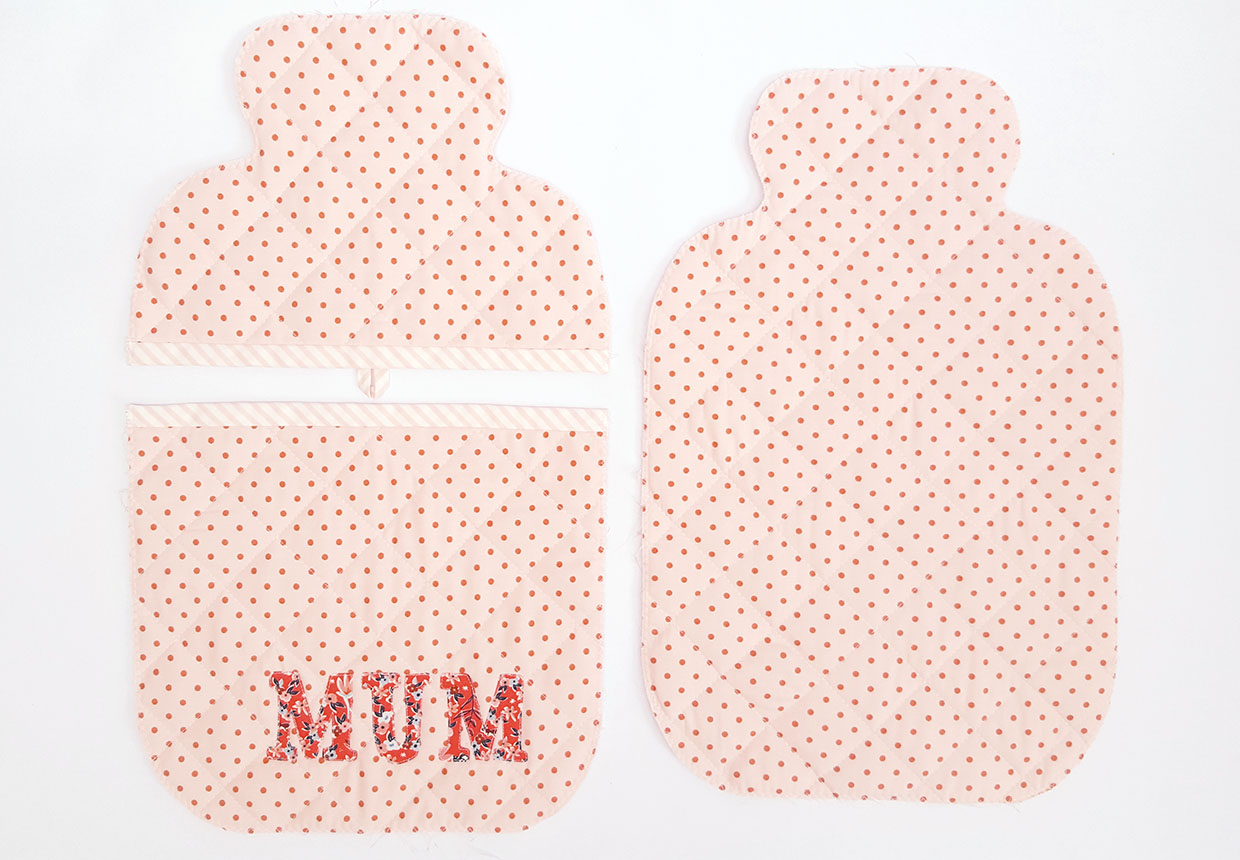
Place the bottle back piece RS up and pin the front upper on top of it, matching the raw edges. Stitch them together within the seam allowance.
Step 2
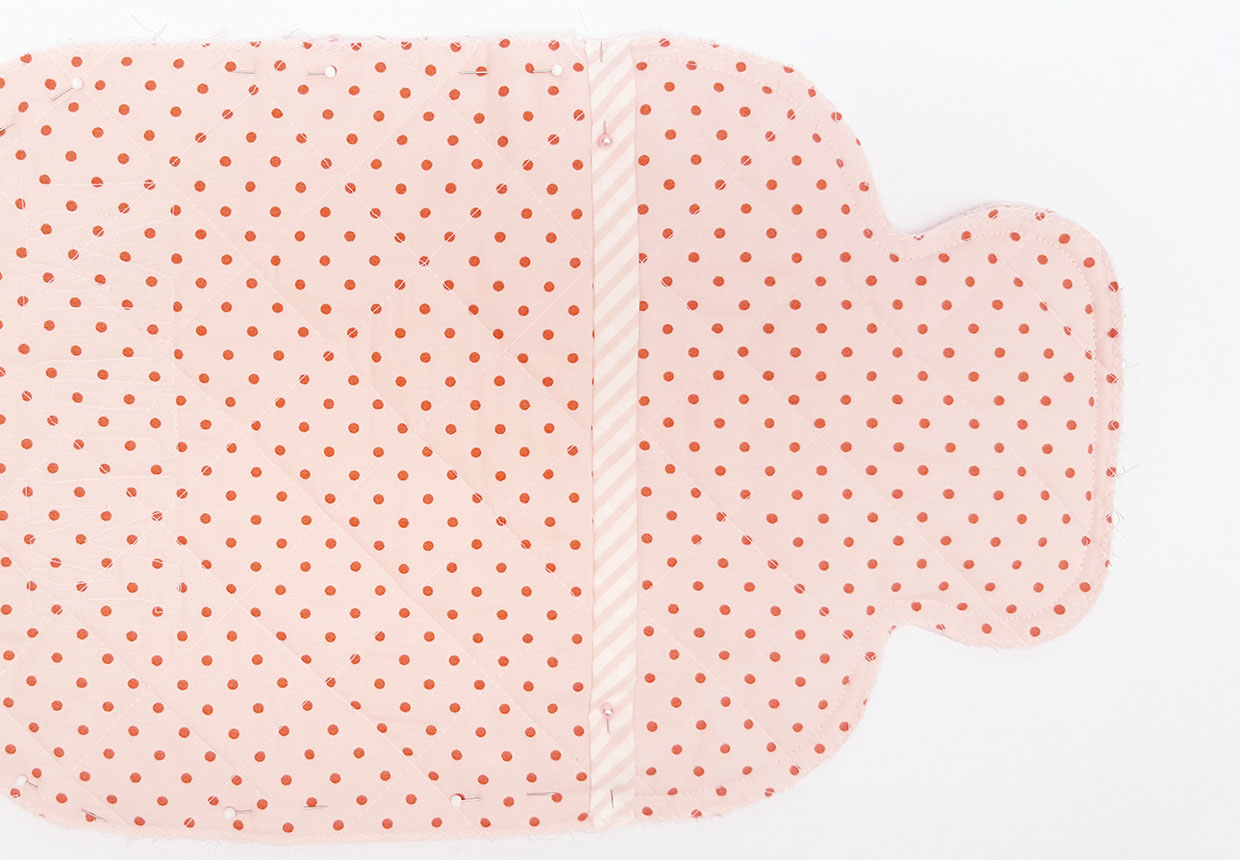
Place the front lower on top, matching raw edges, and pin into place.
Step 3
Sew the bottle pieces together.
Step 4
Turn RS out and sew on the button.


