It's a taster of our fat quarter projects in Simply Sewing magazine, which are great for beginners.
You will need
- Cotton fabric: four fat eighths or scrap
- Bondaweb: 50cm (20in)
- Heavy weight iron-on interfacing: 25cm (10in)
- Monofilament
- Bakers twine: 3m (120in)
- Ribbon: 1.5cm (5/8in) width, short lengths
- Embroidery hoop: 25cm (10in) diameter
- Air erasable marker pen
- Basic sewing kit
All materials available at Sew Crafty.
Notes
Before you begin, download our Free kite template (PDF). Scroll down to get sewing your mobile!
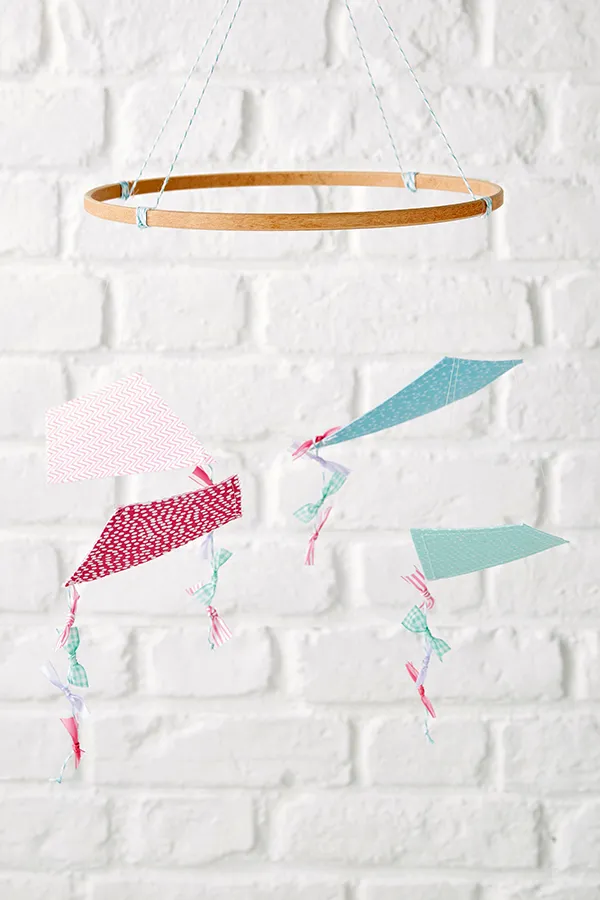
Step-by-step: how to make a mobile
Step one: Iron the interfacing onto the back of all of the fabric scraps. Iron a layer of bondaweb over the top of the interfacing with the paper side up.
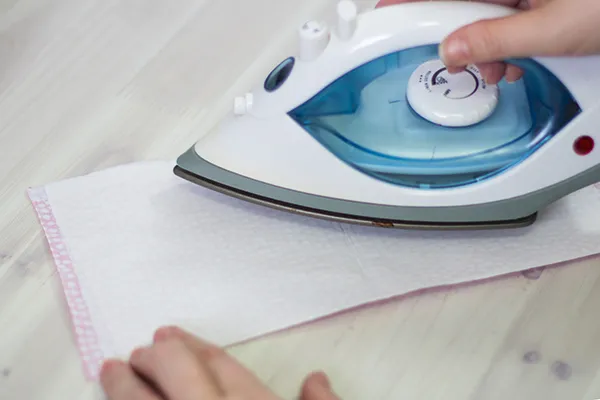
Step two: Remove the paper backing then fold one piece of fabric in half and iron again to stick all the layers together and create a fabric sandwich. Draw round the template with erasable marker and cut out.
Step three: Repeat steps 1 and 2 to create each kite.
Step four: Cut a 15cm (6in) length of bakers twine and four ribbon scraps. Tie a knot in the ribbons around the bakers twine to make little bows, spacing them evenly along the length of twine. Snip off any excess ribbon to neaten. Tie a knot in each end of the bakers twine.
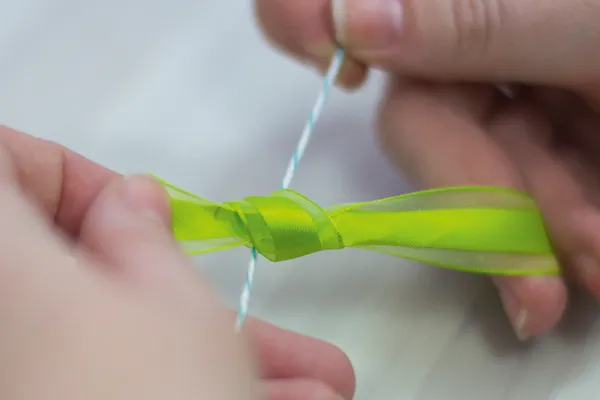
Step five: Repeat step 4 to create a tail for each kite.

Step six: Sew one end of the tail to the longer point on the kite.
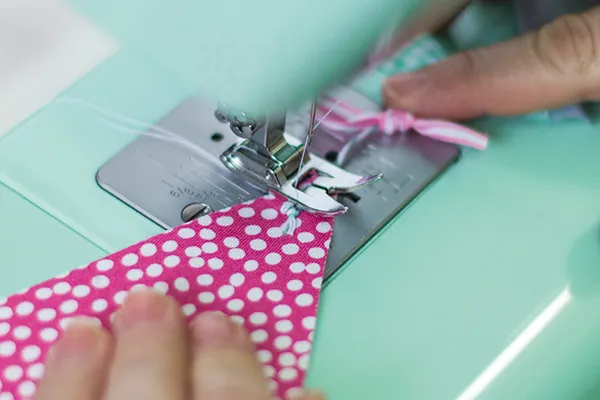
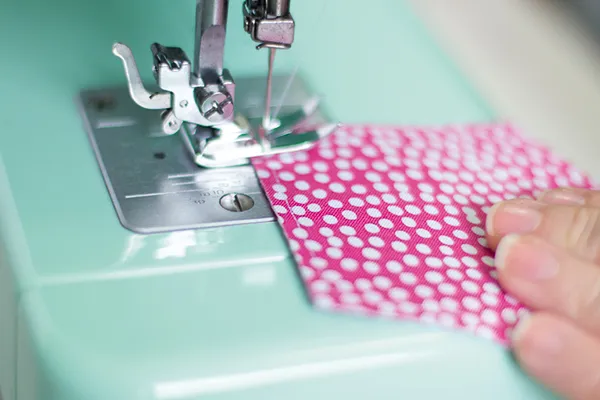
Step seven: Sew all the way around the edge of the kite, 5mm (1⁄4in) in, to keep all the layers together permanently.
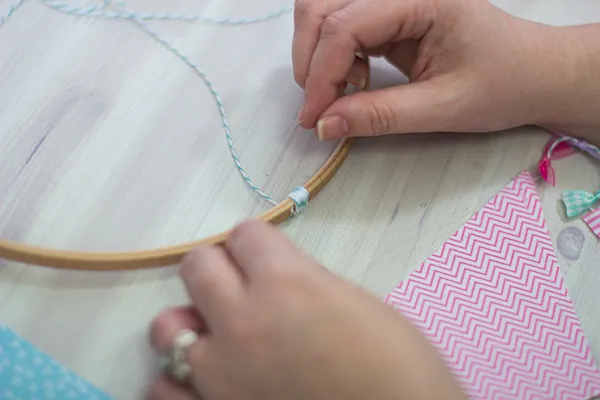
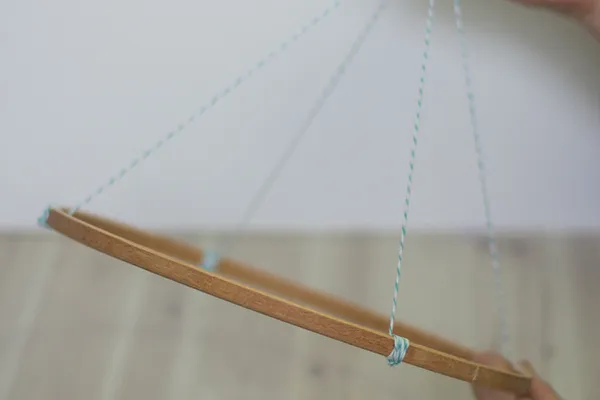
Step eight: Tie two 75cm (30in) lengths of bakers twine to your hoop, crossing over in the middle to create a loop for hanging.
Step nine: Sew 20-25cm (8-10in) lengths of monofilament to the three top corners of each kite.
Step ten: Tie each kite in place on hoop where the bakers twine is knotted to it.
