Creating the body pattern
Step 1
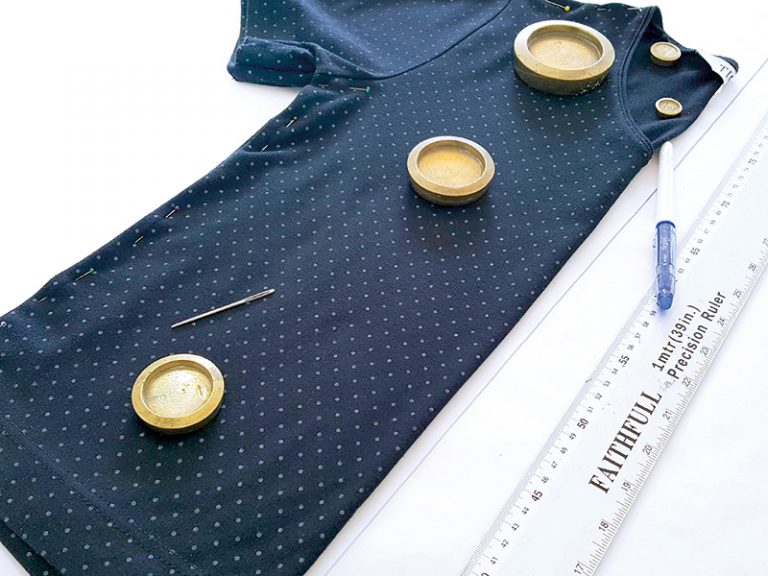
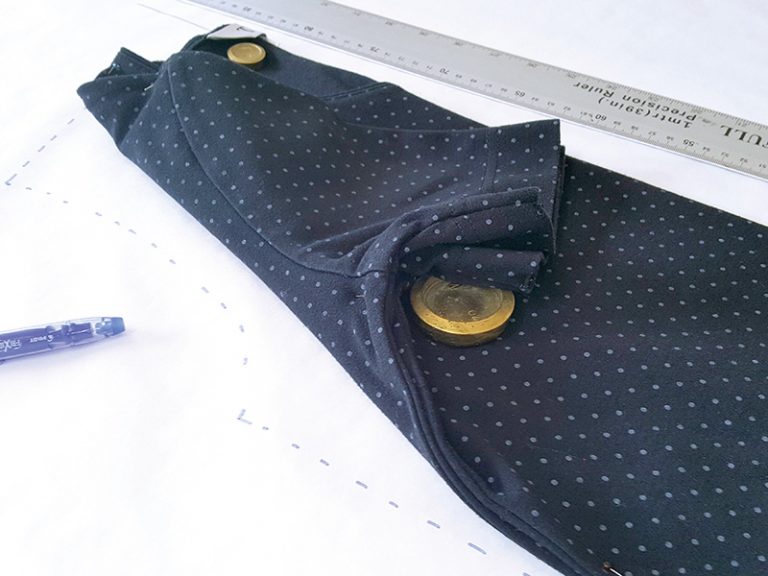
Fold your T-shirt in half lengthways, aligning shoulder, sleeve and side seams, with the T-shirt front uppermost. Pin the two layers together to stop them from shifting.
Step 2
Draw a long straight line on your paper – this will be your centre front (CF) and centre back (CB) line.
Step 3
Place the long edge of your folded T-shirt against the line and weigh it down to prevent it from moving.
Step 4
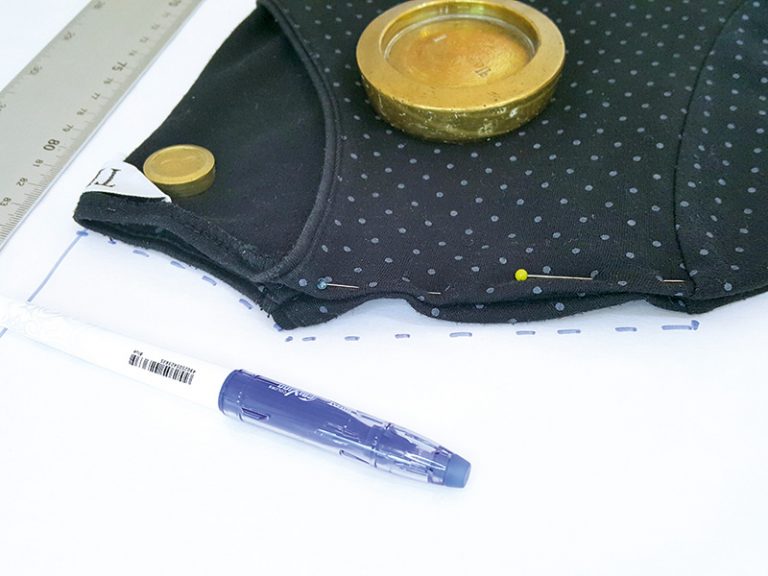
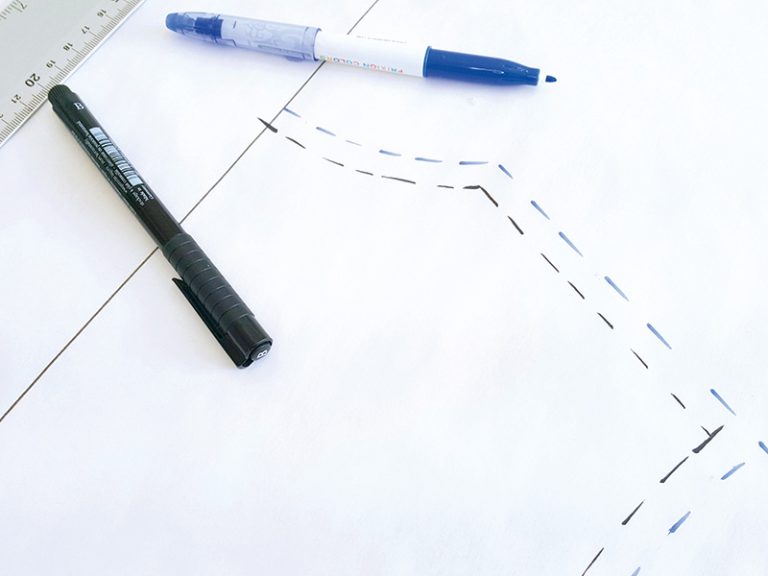
To make the body pattern piece, start by tracing the neckline curve and shoulder line. Make sure the neckline you draw starts at right angles to your drawn CF/CB line.
Step 5
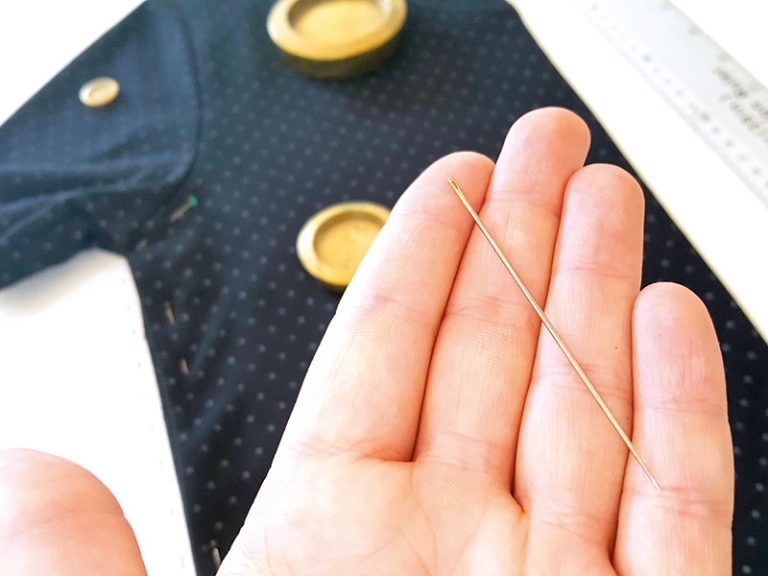
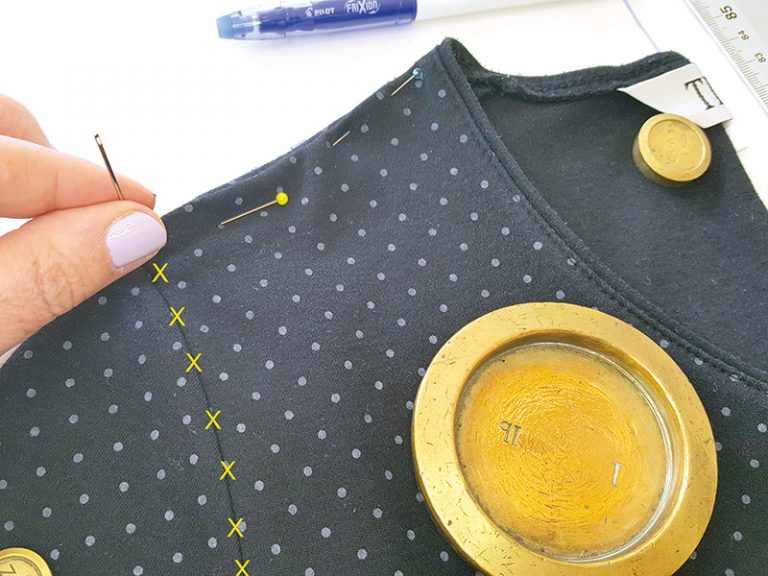
To copy the armhole curve of the T-shirt you will need a long, sharp needle. It needs to be long enough to pass through all layers of the folded T-shirt and sharp enough to make an indent on the paper underneath. You will need to apply some pressure so it needs to be sturdy.
Step 6
Pass the needle through the armhole seam of your T-shirt until it pierces the paper underneath, working carefully so as not to move the garment.
Step 7
Repeat this at various intervals along the seamline until you reach the side/underarm, as shown by the crosses in the photo.
Step 8
Trace along the line of the side seam.
Step 9
Take the T-shirt off and draw over the line of pin marks to mark the armhole curve.
Step 10
Smooth the pattern lines out and add a 1cm (3⁄8in) seam allowance to the neck, shoulder, armhole, and side seams.
Creating the sleeve pattern
Step 1
Unpin and unfold the T-shirt. Lay it right sides (RS) up so the sleeve is flat on the paper.
Step 2
Trace around the sleeve and use the same pin method to trace the armhole curve. This will give you half a sleeve pattern.
Step 3
To create a full sleeve pattern piece, trace the half sleeve pattern onto a folded piece of paper with the longest edge aligned with the fold.
Step 4
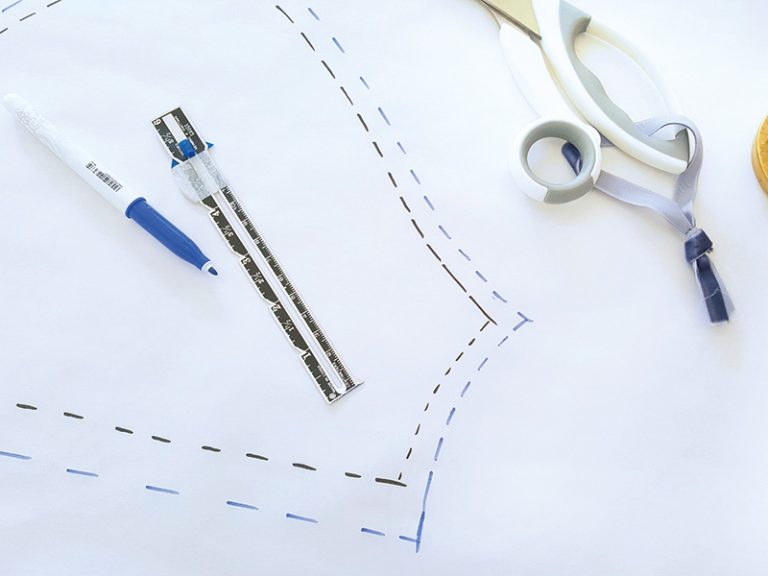
Add a 1cm (3⁄8in) seam allowance to all sides except for the folded edge.
Step 5
Cut the pattern piece out and open it up to give you the full sleeve pattern piece.
Cutting out
Step 1
Fold your fabric in half lengthways with wrong sides (WS) together, matching selvedges.
Step 2
Decide how long you want your dress to be from the nape of your neck to the hem and write this measurement down.
Step 3
Lay your body pattern piece on the fold and pin into place. Extend the side seam out to a slight A-line shape as shown. Draw this line directly onto the fabric.
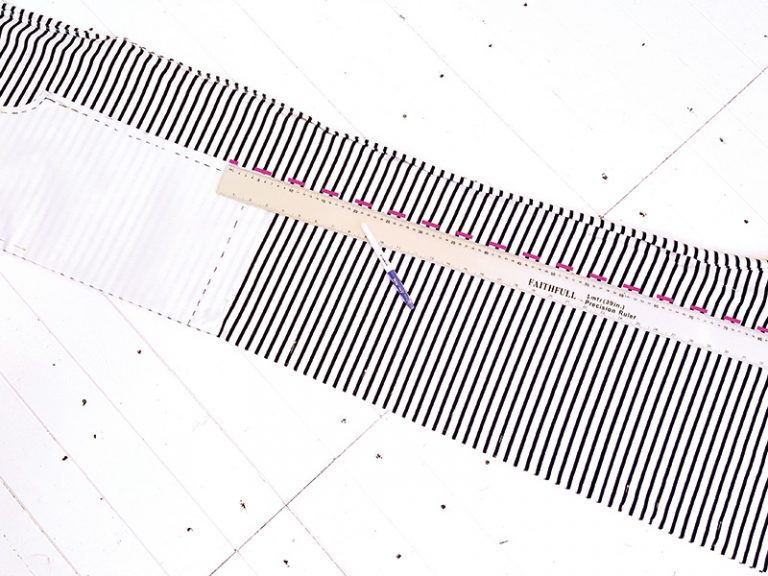
Step 4
Cut across from the fold at the length you previously noted, adding a 1cm (3⁄8in) hem allowance to this before you cut.
Step 5
Cut an identical second main body piece for the back. Step six Cut two sleeve pieces using your pattern.
Stitching the dress
Step 1
Place the cut-out dress front and back RS facing and stitch the shoulders together. Press well when you're finished.
Step 2
Stitch the sleeves to the armholes with RS together and press the seams towards the shoulder seams.
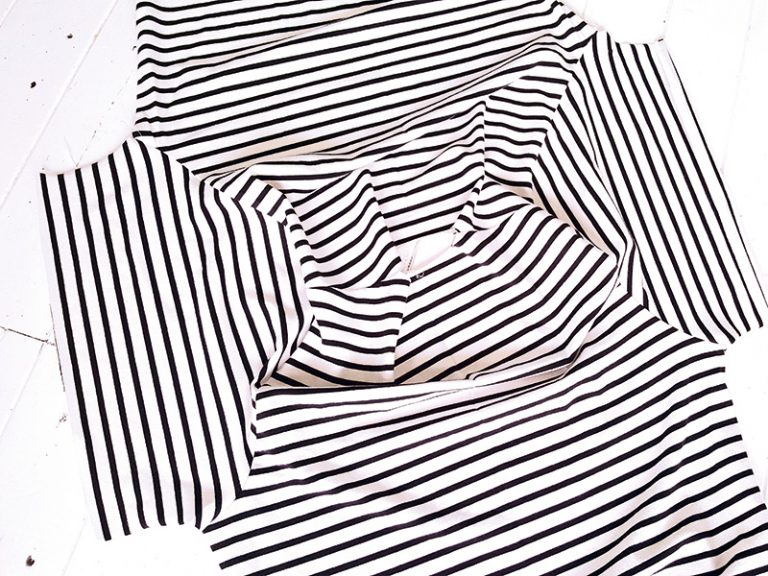
Step 3
Sew the underarm and side seams RS together in one movement. We have left a split at the bottom of one seam so stitch the side without the split first, working from the sleeve hem all the way down to the dress hem.
Step 4
On the other side, stitch in the same way but stopping 30-40cm (12-16in) up from the dress hem, depending on the length of split you want. At this point, backstitch to secure the end of the seam and then adjust your machine to a longer stitch length and sew down to the dress hem. These stitches are just temporary and will be removed later on.
Step 5
Press the seam open and flat to finish this side of the dress.
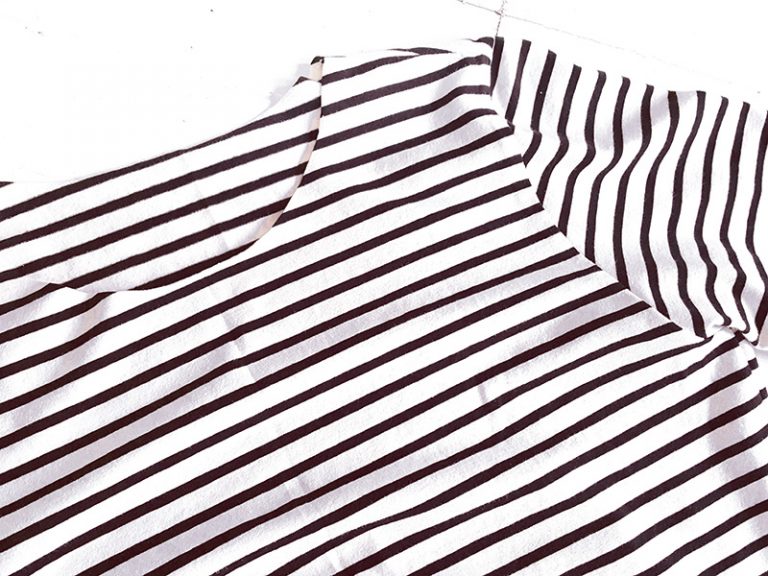
Step 6
On the side of the dress with the split, topstitch the seam allowance in place from the outside. Stitch up one side of the split, across the point where you backstitched, then back down the other side of the split.
Step 7
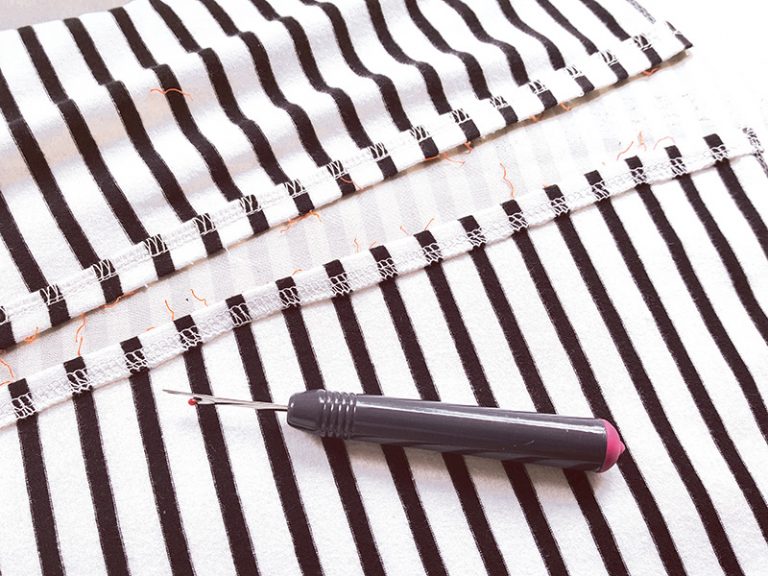
Remove the long stitches up to the point of the backstitching.
Finishing the neckline
Step 1
Cut a 4.5cm (13⁄4in) wide strip of fabric with a length approx 25% shorter than the neckline edge.
Step 2
Press your cut strip in half lengthways with WS together to create the fold that will sit on the neckline.
Step 3
Unfold the strip and with RS facing sew the short ends together to make a band. Fold this in half again and press.
Step 4
Pin the band RS together to the neckline – the fold should face down towards the hem. Stretch the band slightly to fit as you go, making sure it is stretched evenly around the neckline.
Step 5
Stitch the band into place.
Step 6
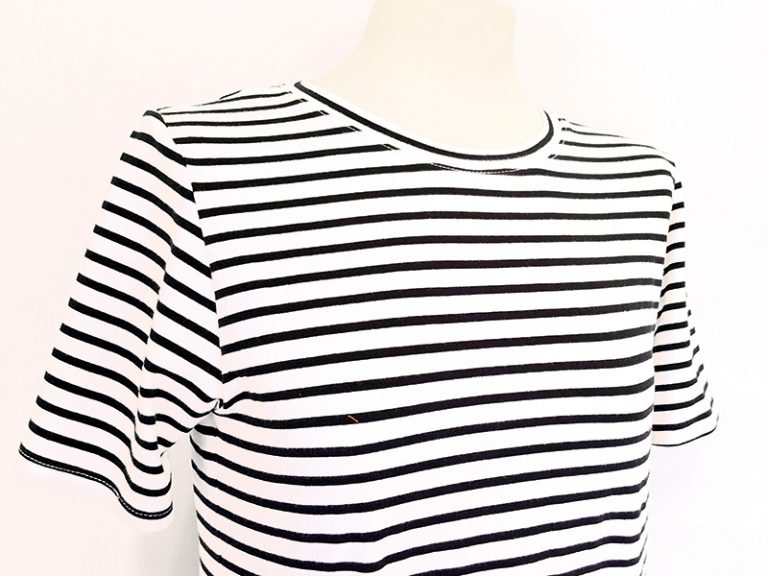
Flip the band to the inside, press to flatten and then topstitch this into place along the neckline of the dress, securing the seam allowances underneath.
Hemming the dress and sleeves
Step 1
Finish the raw edges of the dress hem.
Step 2
Turn the hem under by 1cm (3⁄8in) to the WS and press, then topstitch in place.
Step 3
Repeat this to hem both sleeves in the same way to finish.


