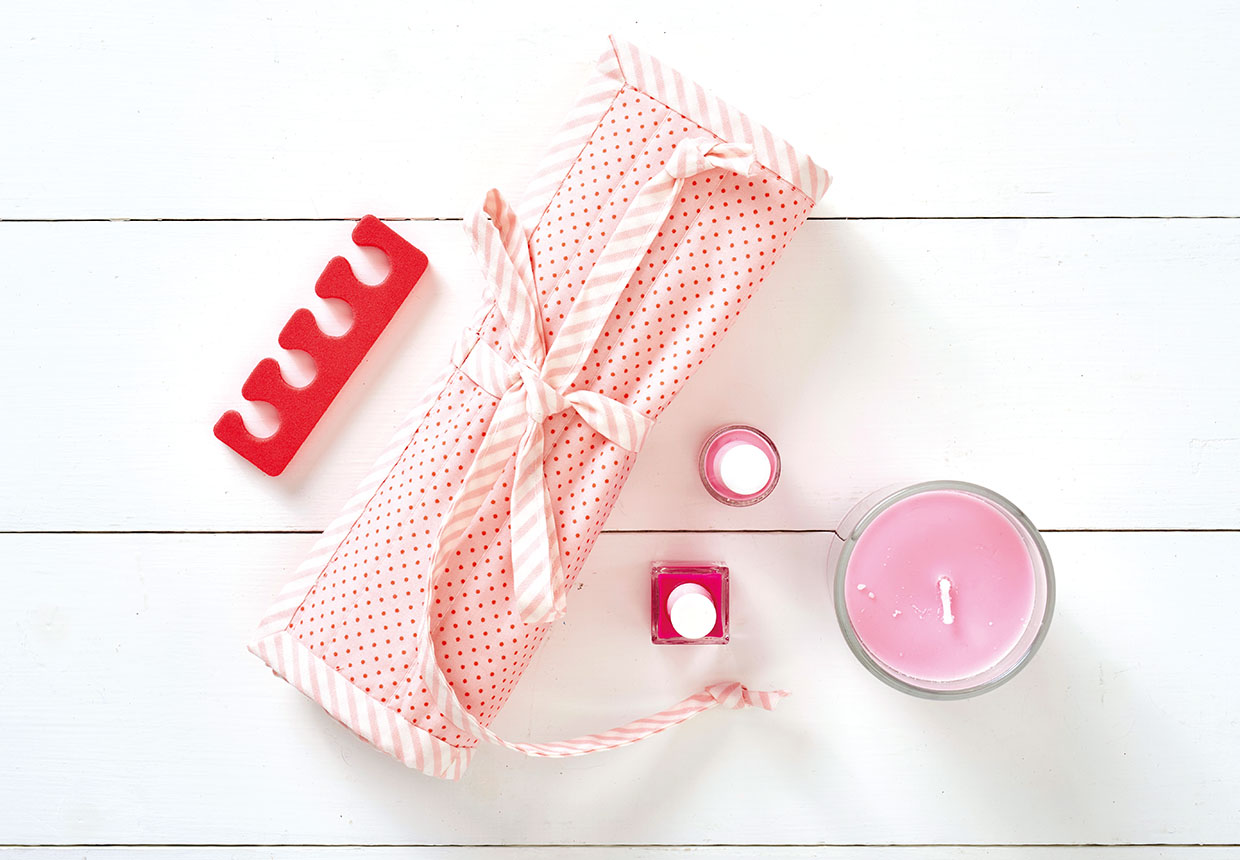
Cutting out
Step 1
From the main fabric cut:
- Outer: 25x35cm (97⁄8 x 133⁄4in).
- Pocket: 25x35cm (97⁄8 x 133⁄4in).
Step 2
From the contrast fabric cut:
- Lining: 25x35cm (97⁄8 x 133⁄4in).
- Ties: two 4x55cm (15⁄8 x 215⁄8in).
- Binding: three 4x50cm (15⁄8 x 193⁄4in).
Assembling the layers
Step 1
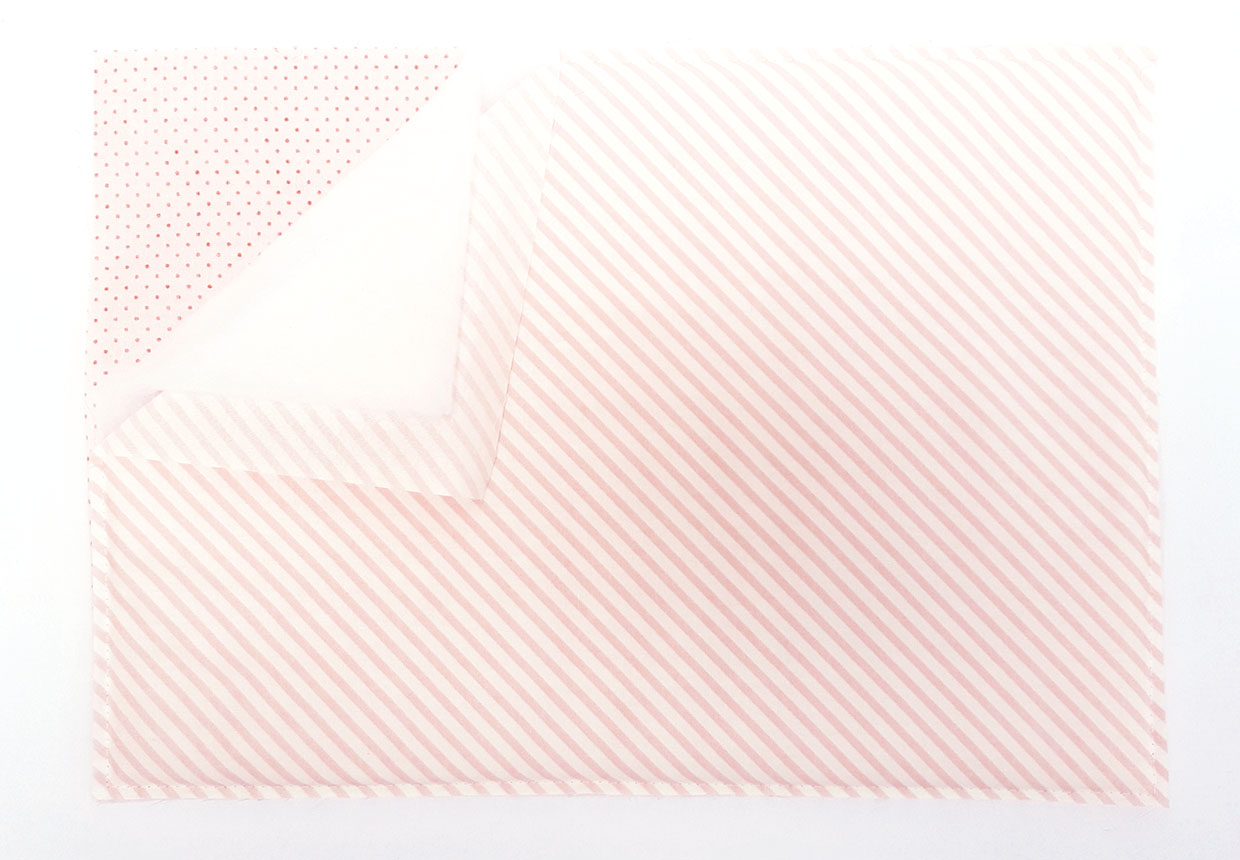
Place the outer right sides (RS) down, with the wadding on top then the lining RS up on top to create a sandwich.
Step 2
Sew the three layers together all the way around using a 5mm (1⁄4in) seam allowance to hold them together.
Adding the pocket
Step 1
Fold the pocket piece in half lengthways with wrong sides (WS) facing. Press.
Step 2
Pin the pocket to the bottom of the lining side of the fabric sandwich with the folded edge at the top and raw edges aligned.
Step 3
Stitch into place down the sides and along the lower edge using a 5mm (1⁄4in) seam allowance just to hold it in place.
Step 4
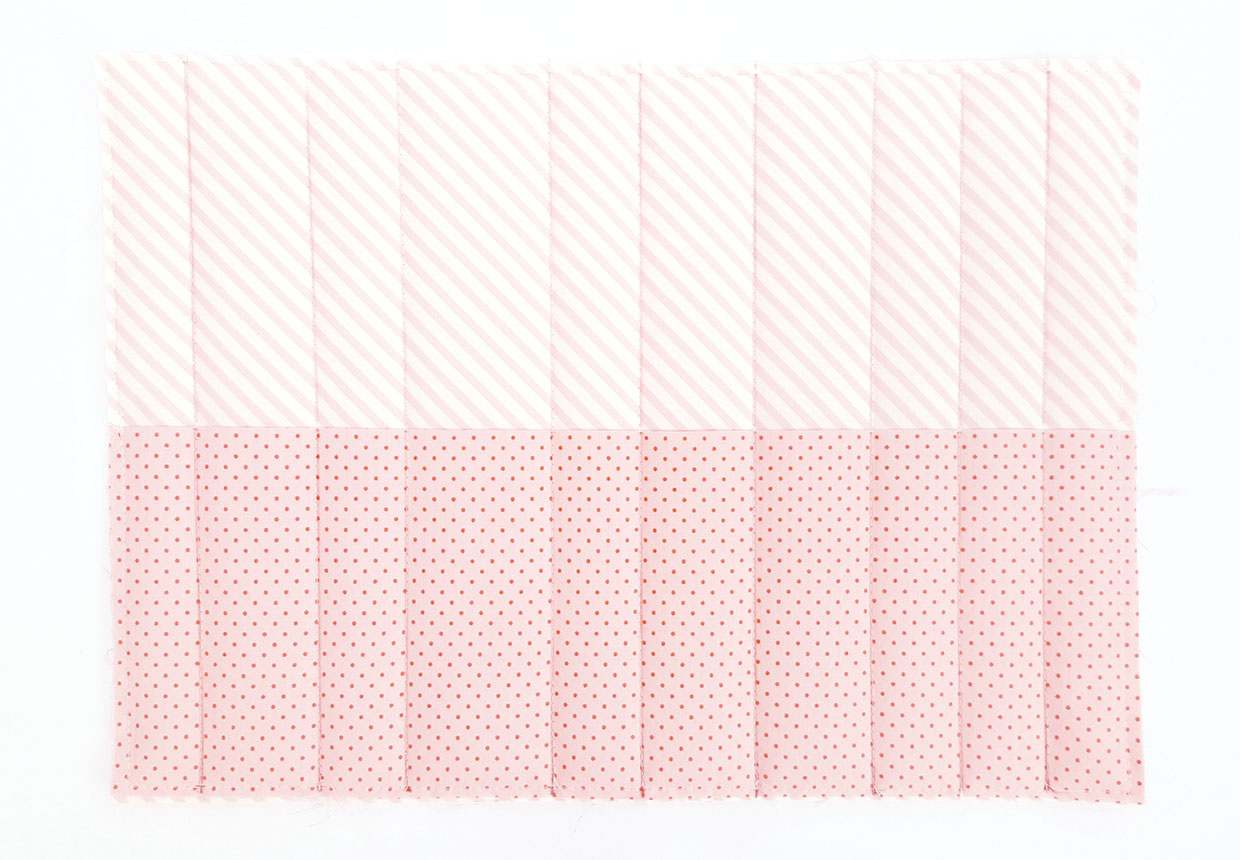
Using an erasable pen, draw a vertical line 3cm (11⁄4in) in from each short edge from the top of the lining and down to the bottom of the pocket.
Step 5
Draw more vertical lines at the points you want your make up brushes to be stored, alternating the width of the pockets depending on the diameter of your brushes.
Step 6
Sew along the lines to create the individual pockets.
Adding the ties
Step 1
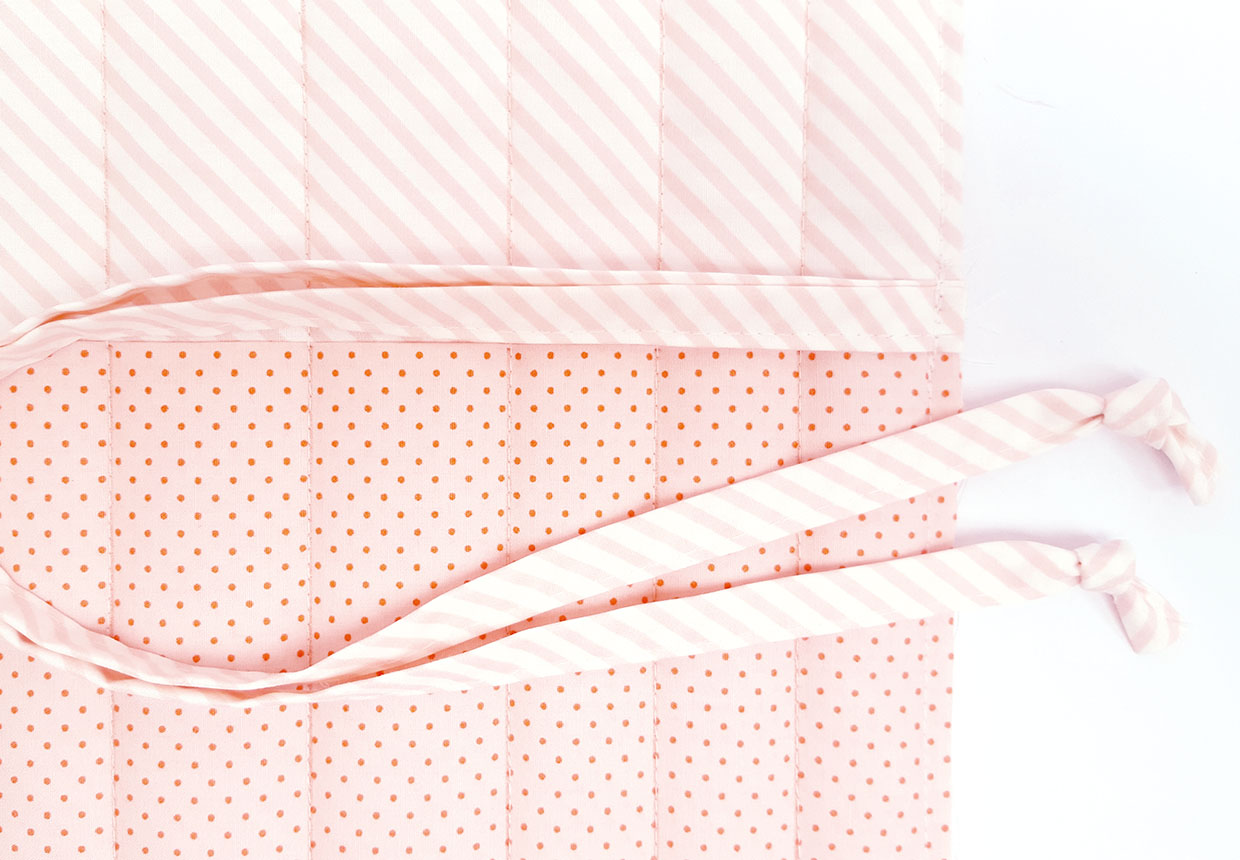
Take one tie and fold the long edges WS together into the centre and press. Unfold then fold the raw edges so they meet at the centre crease. Fold in half again to encase the raw edges and press.
Step 2
Topstitch down the length to hold the tie together.
Step 3
Tie a knot at one end.
Step 4
Repeat to make the other tie.
Step 5
Pin then sew the two ties on top of each other centrally along the right short edge of the roll within the seam allowance with the ties facing inwards along the roll outer.
Binding the edge
Step 1
Sew the short edge of the binding strips RS together to create one long strip.
Step 2
Place the strip RS together along the bottom edge of the pocket, matching raw edges, with the short end at the centre of the bottom edge.
Step 3
Starting 5cm (2in) in from the raw short edge, sew the strip in place, stopping 1cm (3⁄8in) from the pocket’s short edge. Backstitch then take out from the machine.
Step 4
Fold the strip up at an angle where the stitching ends. Keeping the top edge straight, fold the strip back down along the next side of the fabric layers. Pin into place.
Step 5
Start sewing the second side from the top edge, sewing over the folded corner. Continue sewing the strip to the fabric layers all the way around in this way until you reach the start of your sewn-on binding, but leave a 5cm (2in) unsewn edge.
Step 6
Join the two raw strip ends together and trim so they fit then sew into place.
Step 7
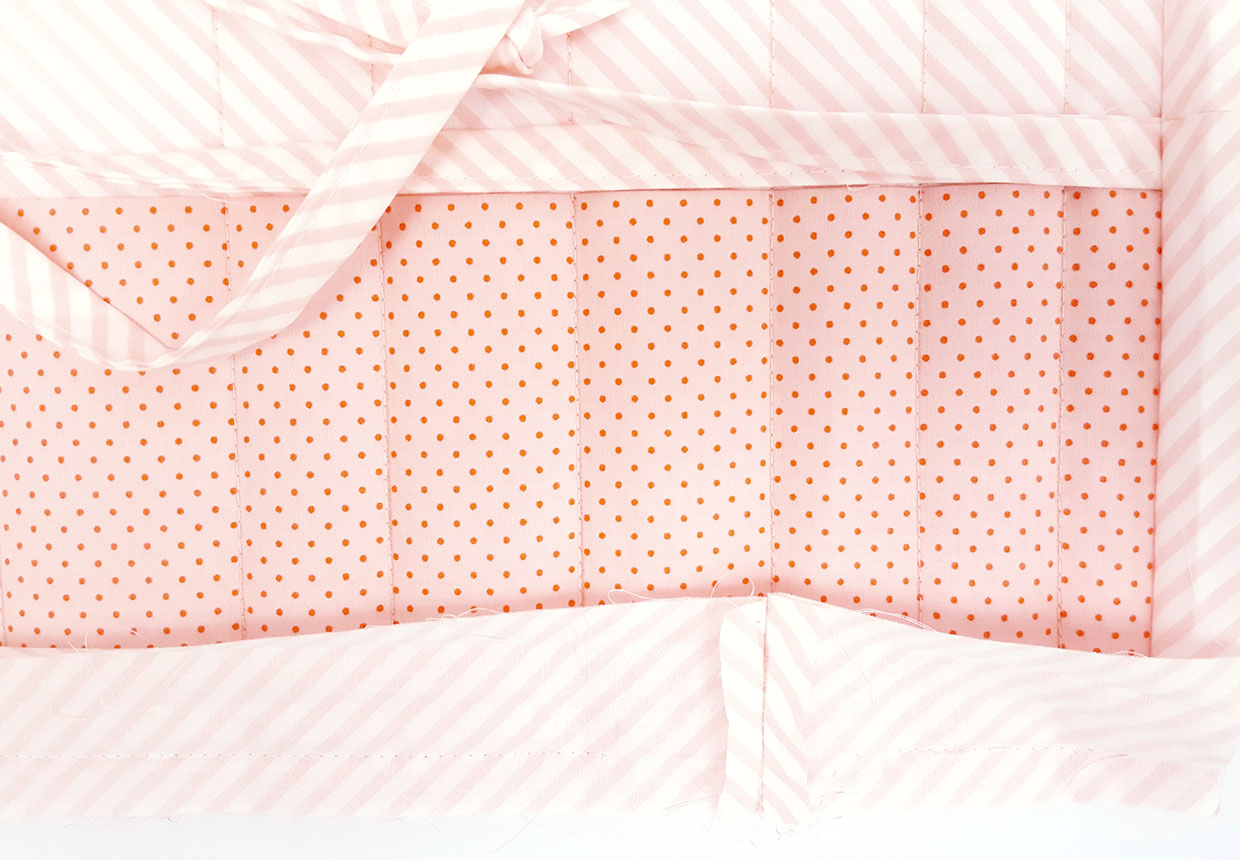
Turn the strip over to the outer side then fold and press the other long edge under and slip stitch in place to bind and enclose the raw edges to finish.


