DIY lampshade: how to make a lampshade
All products were chosen independently by our editorial team. This review contains affiliate links and we may receive a commission for purchases made. Please read our affiliates FAQ page to find out more.

DIY lampshade: how to make a lampshade

Learn how to make a beautiful DIY lampshade with this step-by-step tutorial created by Anna Alicia.

Try 3 issues of Simply Sewing magazine for £10!

Published: July 28, 2022 at 7:00 am

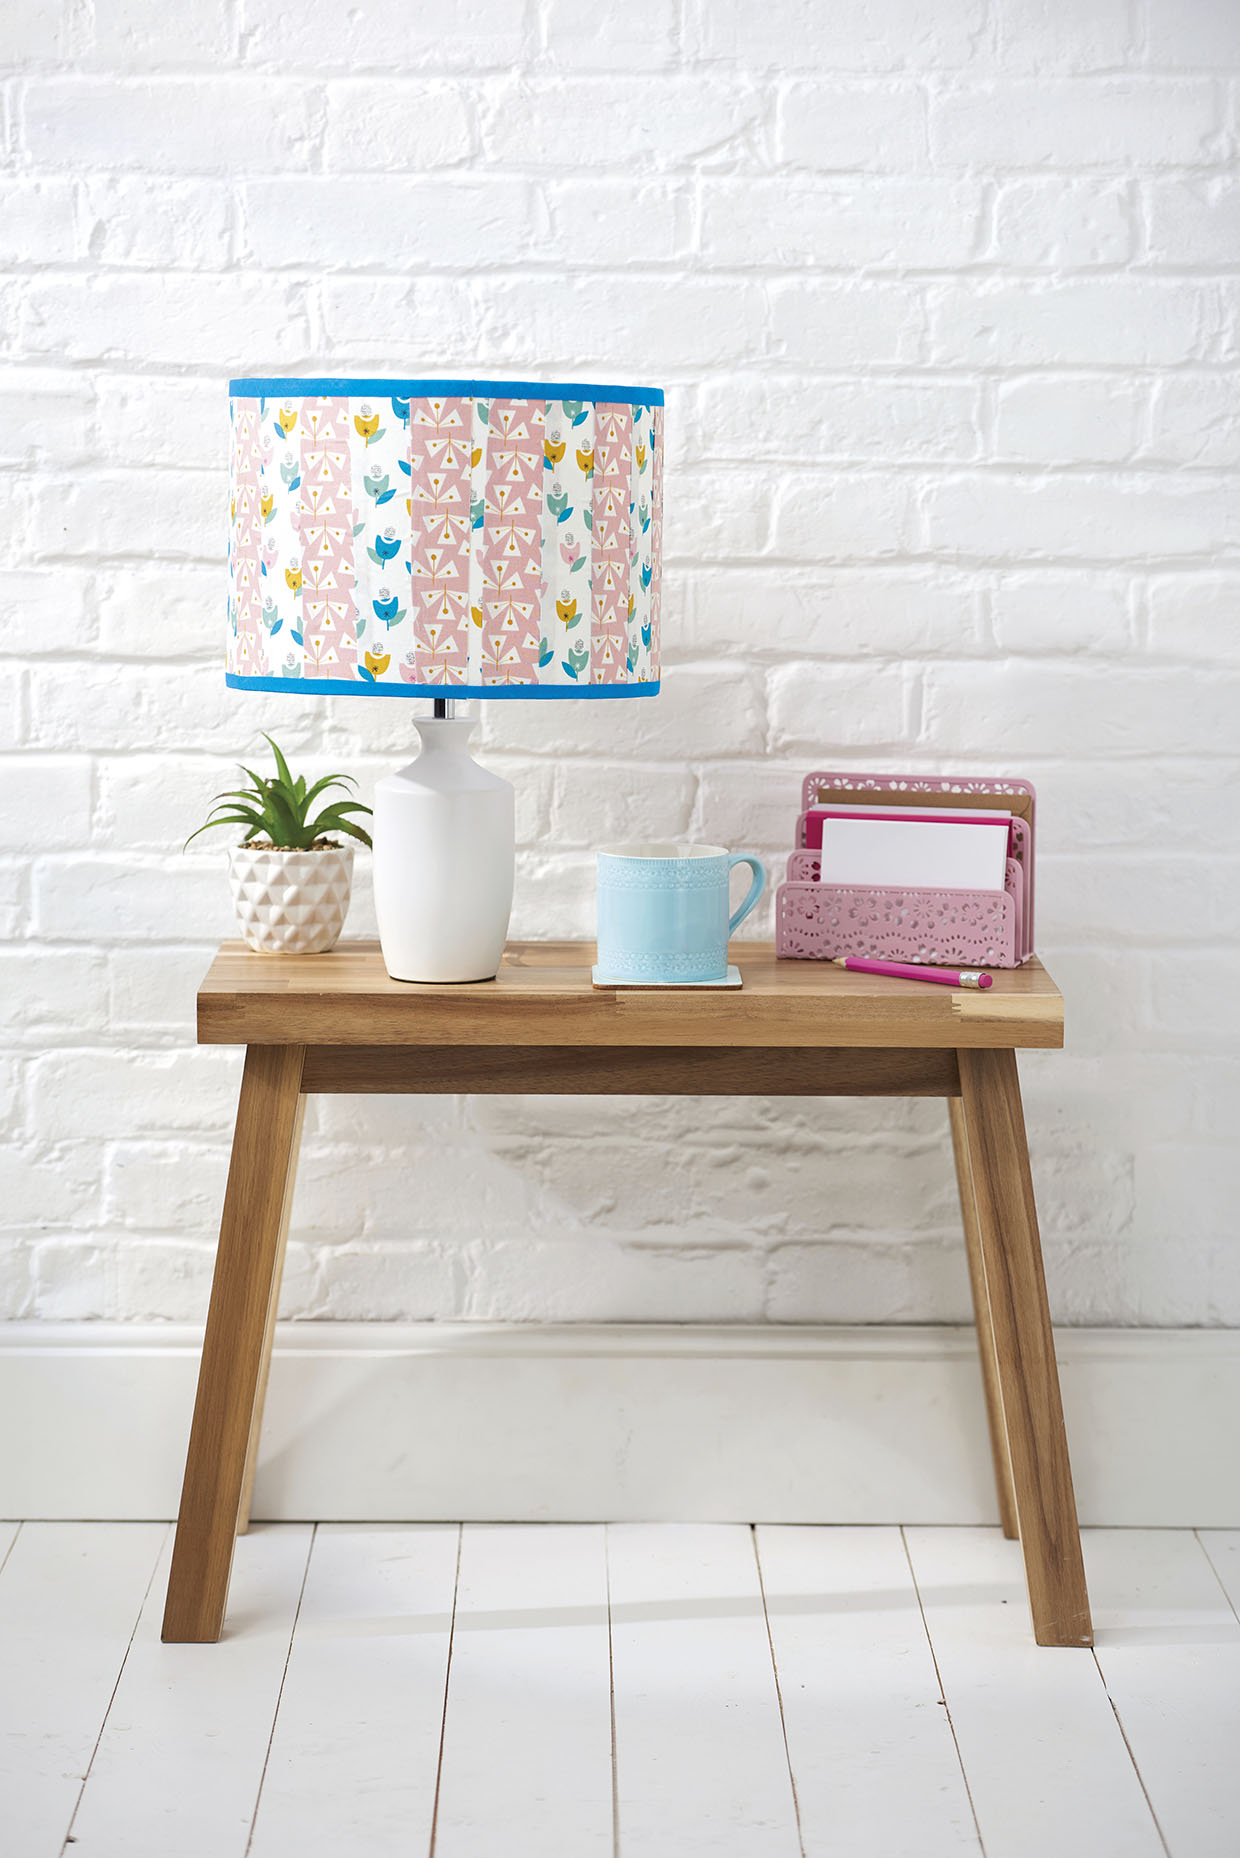
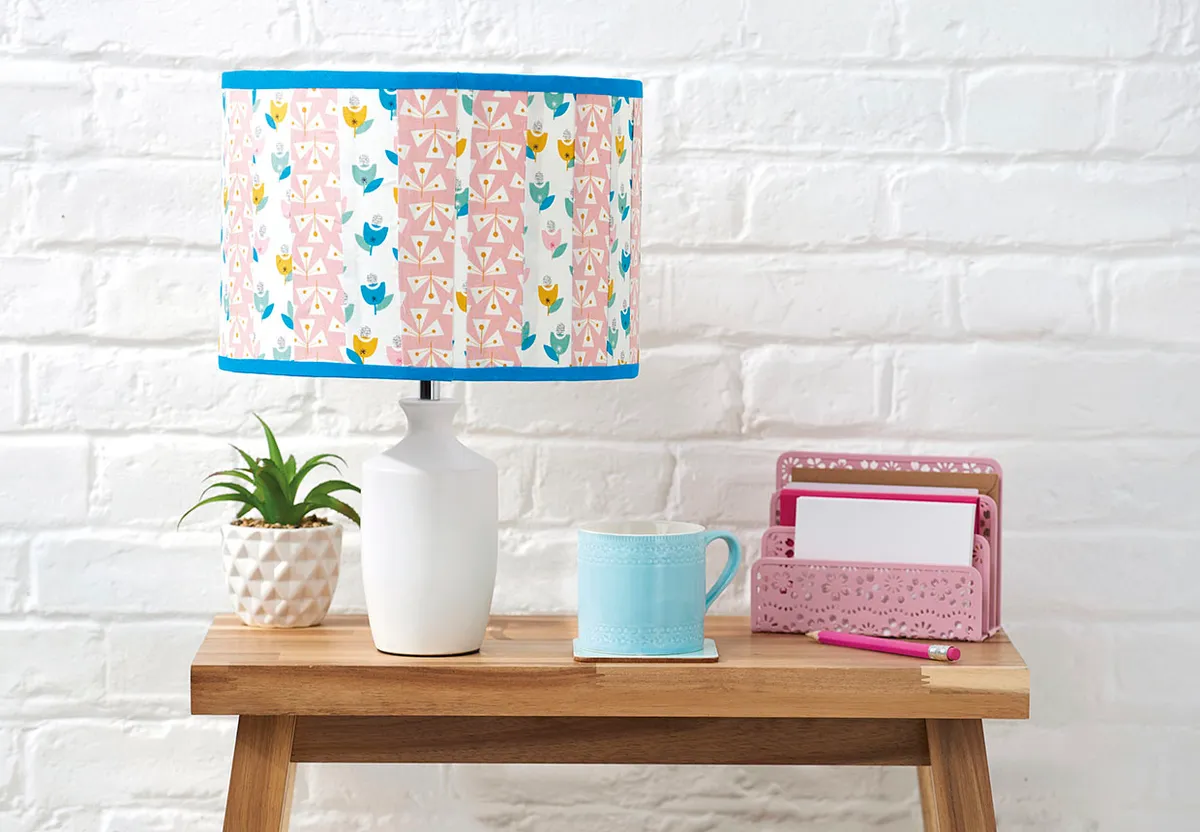
Get scrap-happy and mix and match pastel prints for this patchwork shade! Learning how to make a lampshade is a really useful skill to have – a DIY lampshade is a quick way to add some handmade style to any room. It also comes in handy if you're struggling to find a lampshade that coordinates with your home decor.

If you're making your own curtains, cushions or bed sheets and you have a bit of fabric left over, you can use it to create this patchwork DIY lampshade design created by Anna Alicia. This is a great project to make if you don't have quite enough fabric left to cover the whole lampshade.

Looking for more home décor projects? Learn how to make a duvet cover, how to make roman blinds for your home, how to make curtains or how to make a doorstop.

If you're new to sewing and want to develop your skills, check out our beginner's guide to sewing, sewing patterns for beginners and our best sewing machines for beginners guide.

This project was first featured in Simply Sewing Magazine. Discover what's inside the latest issue or see the latest subscription offers. This guide to making a lampshade was created by Anna Alicia, a designer, maker and craft writer based in London. She is passionate about eco-ethical, handmade projects and creating unique makes that you will love forever. Find her latest designs over on Instagram @aalicialondon.

How to make a lampshade: step-by-step tutorial

Notes

To make this project you will need to buy a lampshade kit, here's one that's the correct size:
Cutting out

Step 1

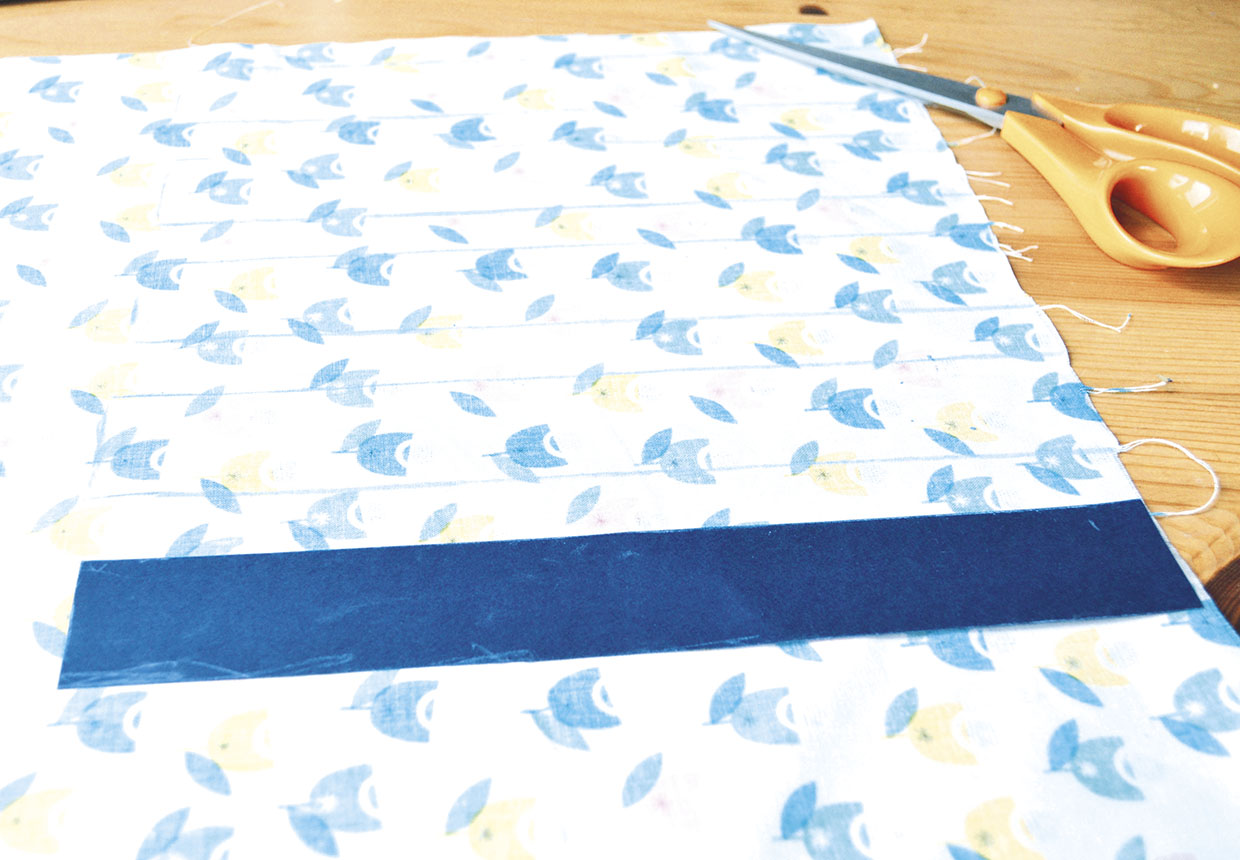
Draw and cut out a paper template measuring 6x24cm (238x9½in).

Step 2

Use the template to draw out 12 strips on each of the fabrics and cut them out.

how-to-make-a-lampshade-step-1

Joining the strips

Step 1

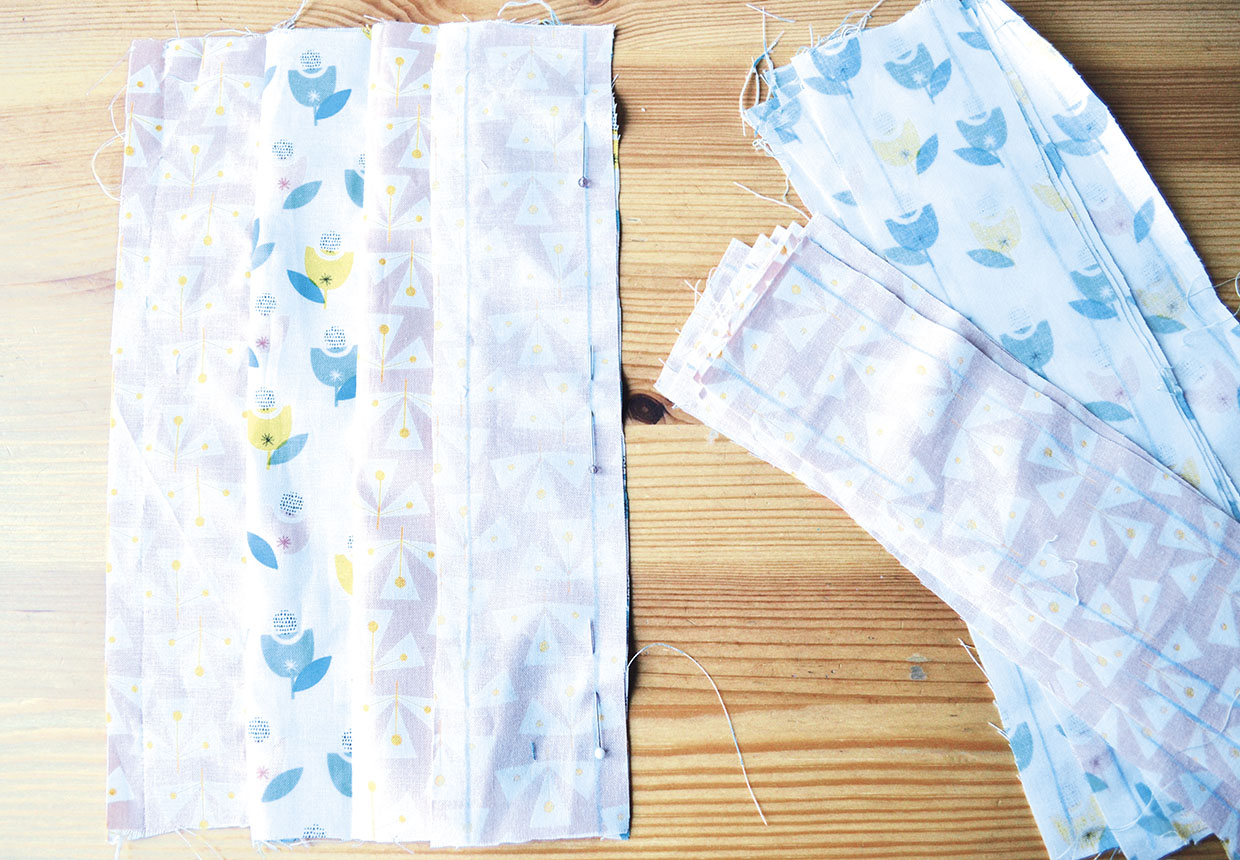
Lay two different print strips with right sides (RS) facing and then sew them together along the right-hand long edge. Press the seam open and then to one side.

Step 2

Lay another strip in a different print RS together on top of the right joined strip. Sew together then press the seam as before.

How to make a lampshade step two

Step 3

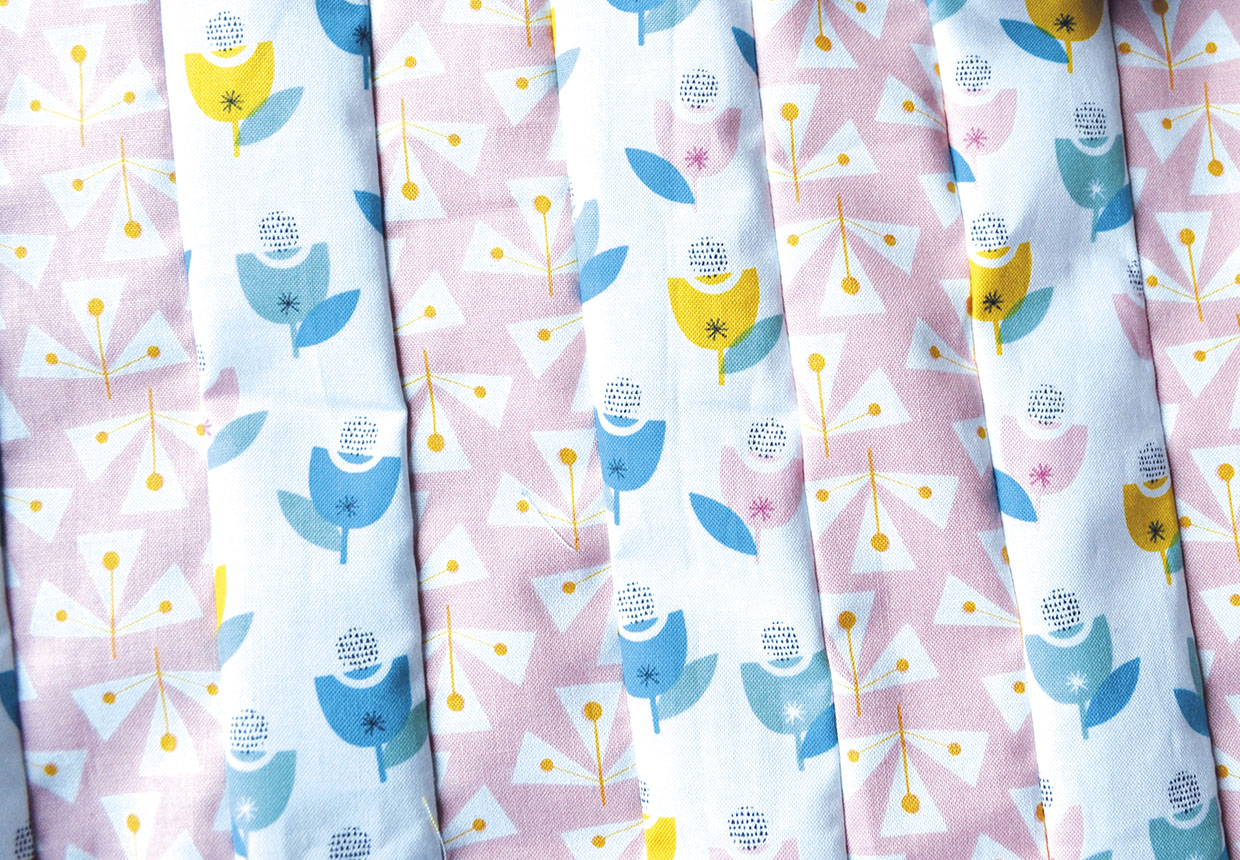
Repeat with alternating fabrics until all the strips are sewn together to form one panel. If your fabric has a directional pattern, make sure your strips are all facing the same way up.

How to make a lampshade step three

Step 4

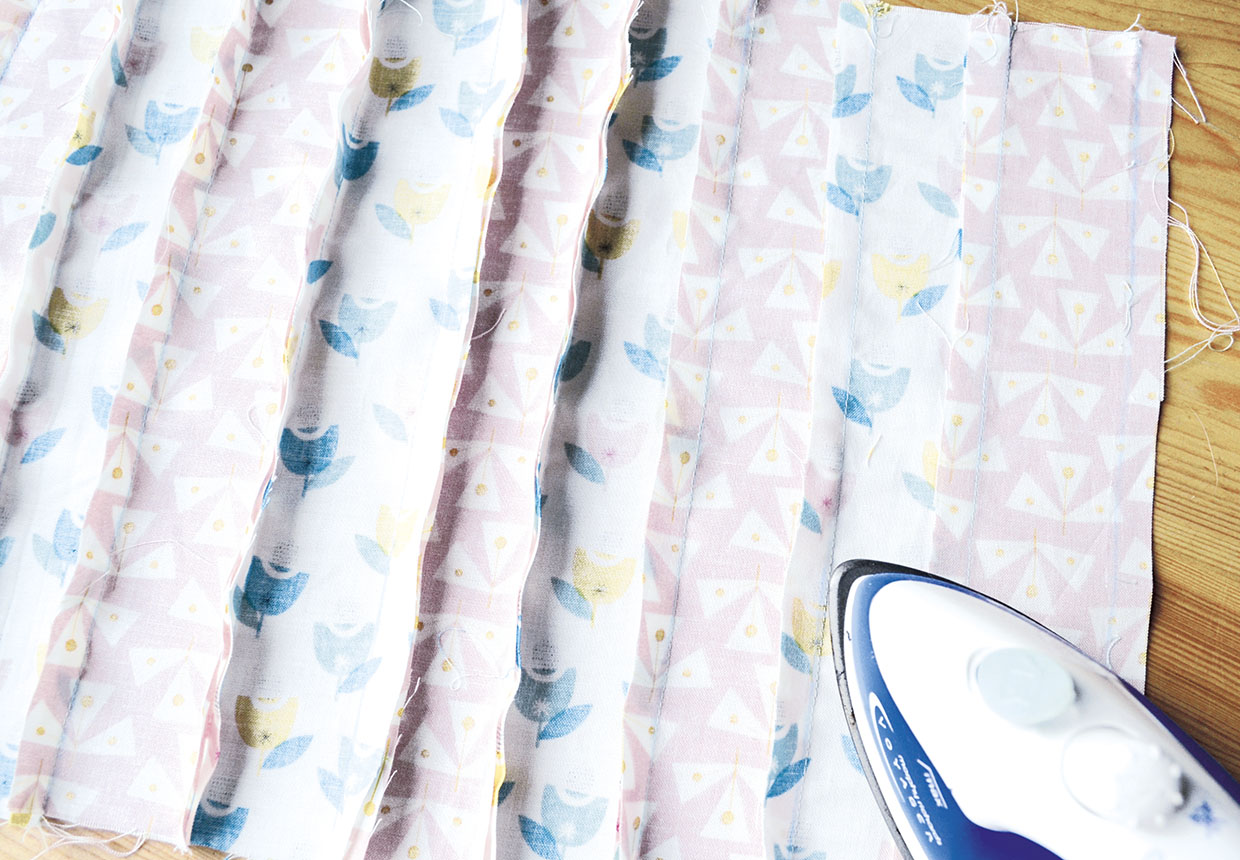
Give the panel a thorough press, with all the seams laying in the same direction.

How to make a lampshade step four

Assembling the lampshade

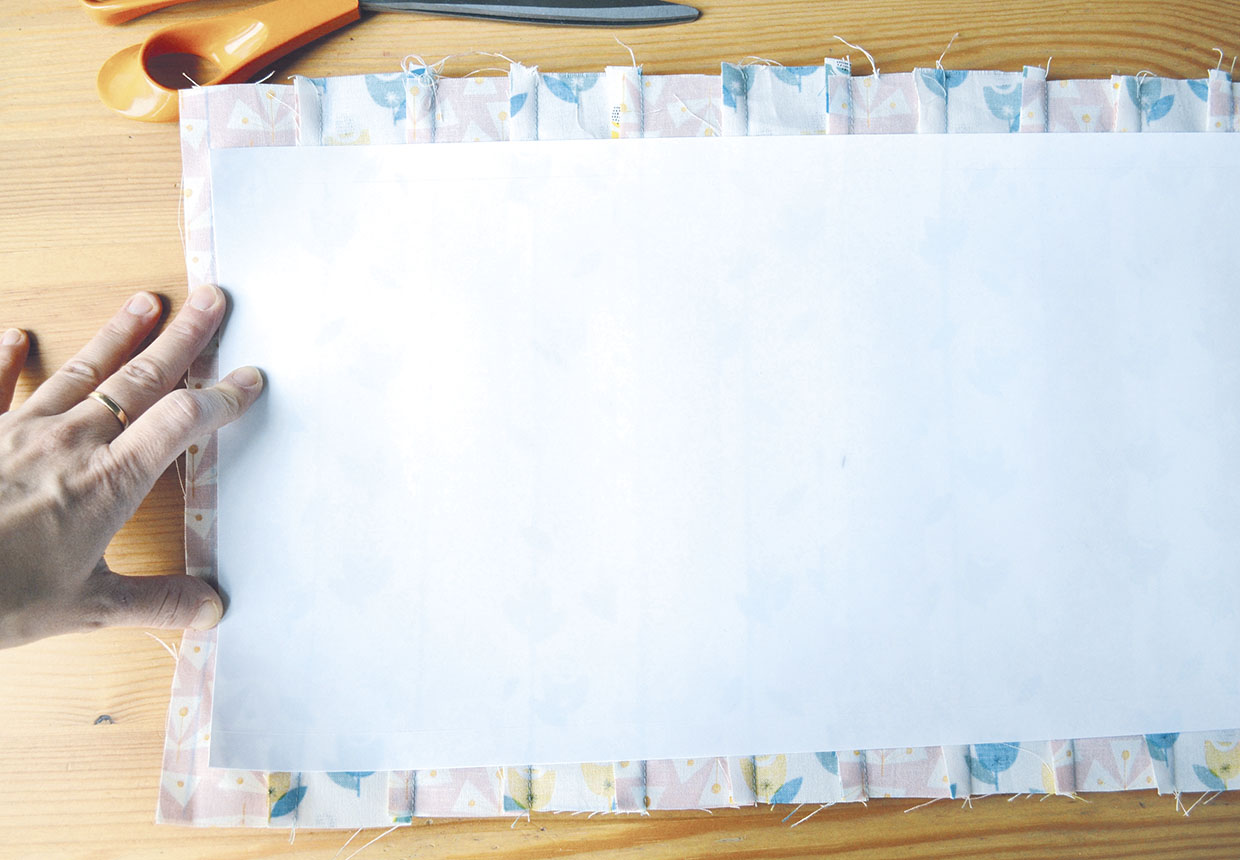
Step 1

Follow the lampshade kit instructions to fix your pieced fabric rectangle to the plastic lampshade panel.

How to make a lampshade step five

Step 2

Trim and attach this to the metal hoops and tuck in the fabric edges.

Binding the edges

Step 1

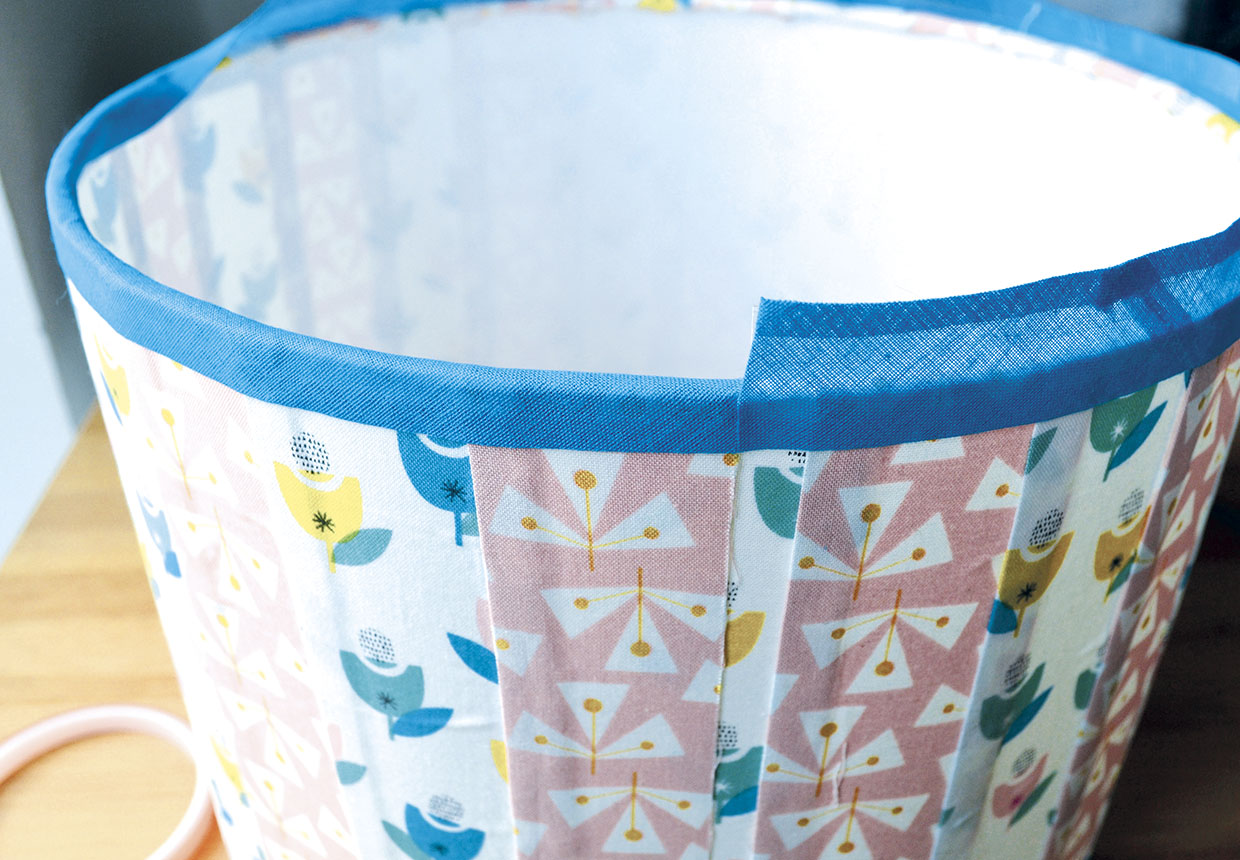
Stick a strip of double-sided tape around the top outer edge of the shade.

Step 2

Starting and finishing at the seam in your lampshade panel, stick bias binding to the tape all the way around one edge.

Step 3

Stick a strip of double-sided tape all the way around the inside edge of the bias binding, making sure it’s firmly attached.

Step 4

Fold the binding tightly over, sticking it to the inside edge of your shade.

How to make a lampshade step six

Step 5

Repeat this to attach binding on the bottom edge of the lampshade.

More crafts like the DIY lampshade

You’ve finished and now know how to make your own lampshade! Looking for more inspiration? Check out our guide to the best lampshade kits. If there are more arts and crafts projects you are looking for, find out how to make a yarn lampshade, try DIY t-shirt printing or make a punch needle cushion.

How to make a lampshade