Cutting out
Step 1
From the main fabric cut out:
- Bag outer: two pieces 38x30cm (15x12in).
- Bag lining: two pieces 38x30cm (15x12in).
Making the pocket
Step 1
Fold the pocket fabric in half widthways with right sides (RS) facing. Press.
Step 2
Sew together down the long sides then turn RS out and press.
Step 3
Trace over the letters or words you want to appliqué then draw over the back of them. Trace over these reversed letters onto the paper side of the Bondaweb.
Step 4
Press this Bondaweb paper side up onto the wrong side (WS) of the appliqué fabric.
Step 5
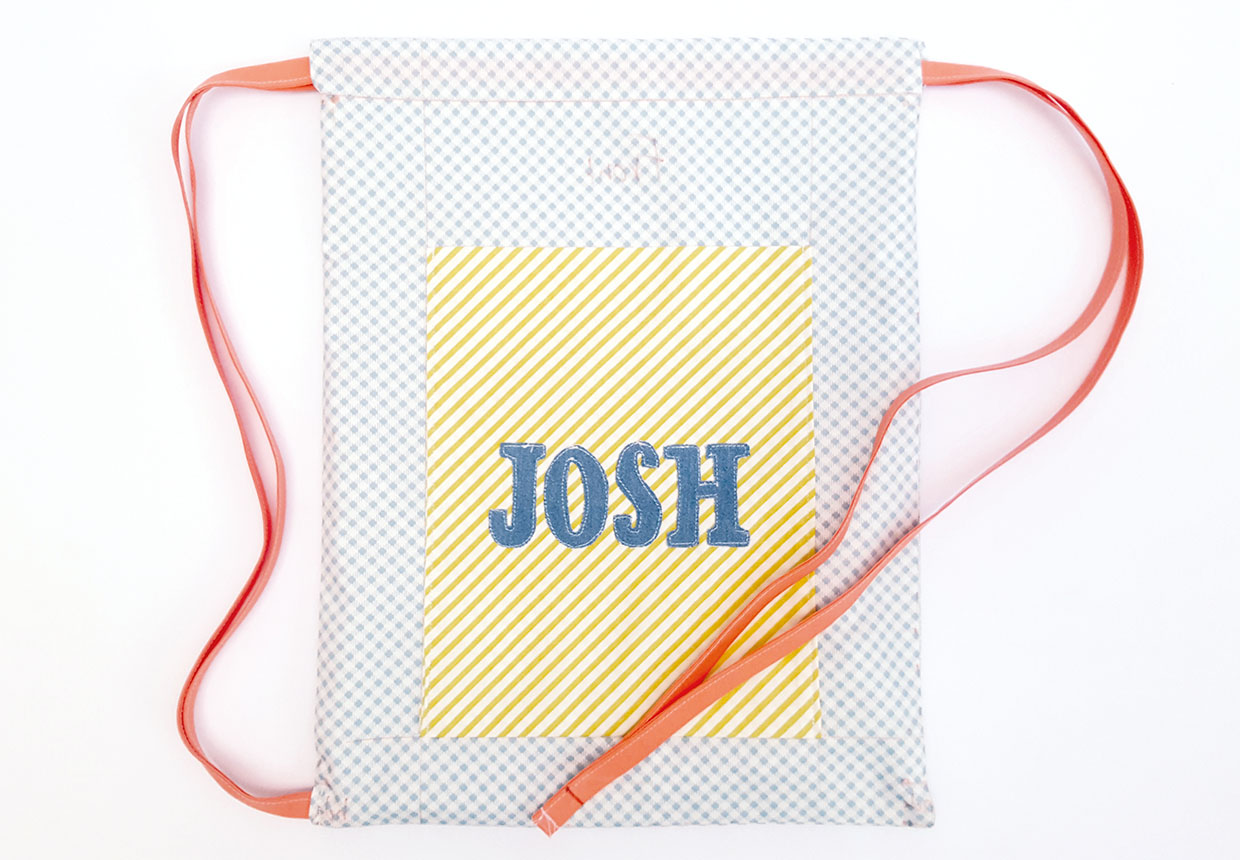
Cut out the letters and press them onto the centre of the pocket front and topstitch around the edges to hold them securely into place.
Attaching the pocket
Step 1
Take one of the bag outers and mark 6cm (23⁄8in) in from each side and 5cm (2in) up from the bottom edge, for positioning the pocket centrally.
Step 2
Place your pocket appliqué side down so that its raw edge is 6cm (23⁄8in) up from the bottom of the main bag piece.
Step 3
Sew into place along the 5cm (2in) marked line. Fold the pocket up and press.
Step 4
Topstitch down the two vertical pocket sides to create your pocket.

Marking the bag
Step 1
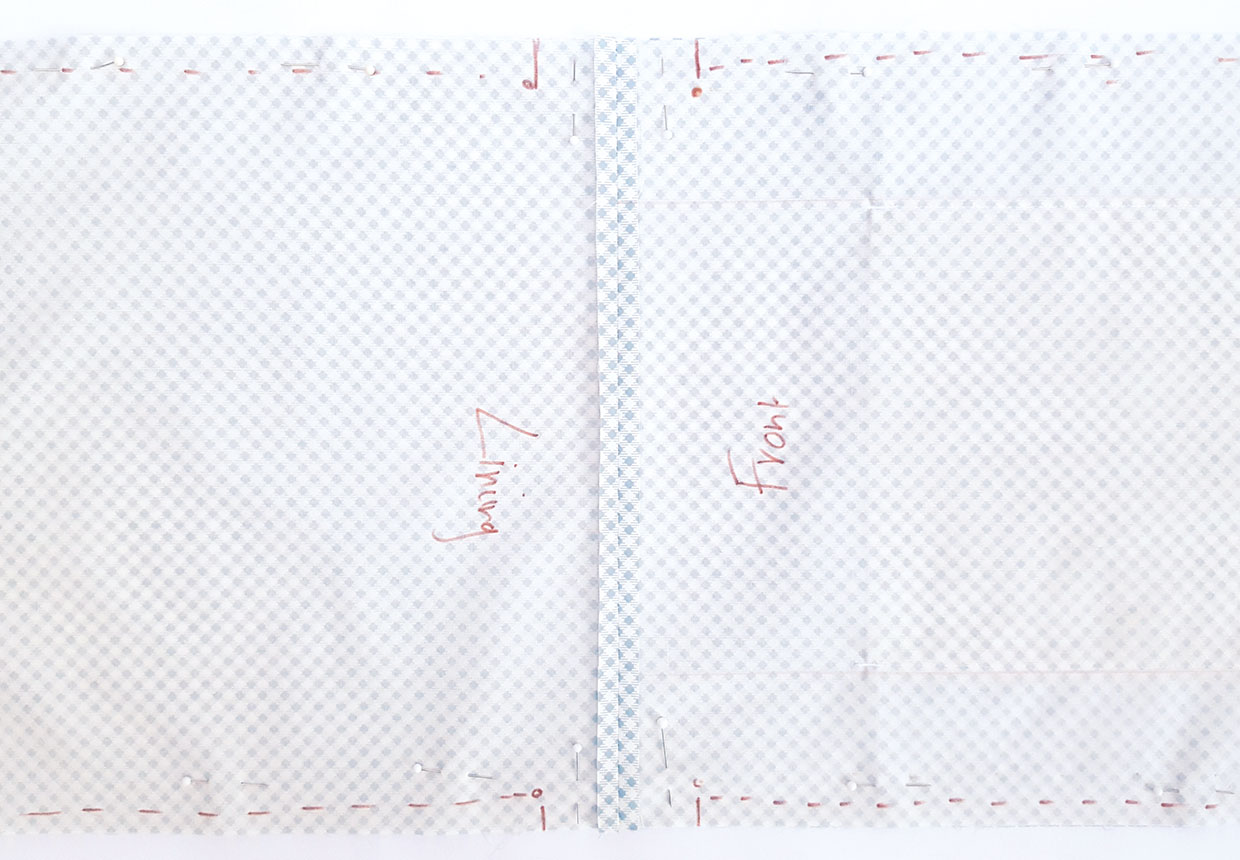
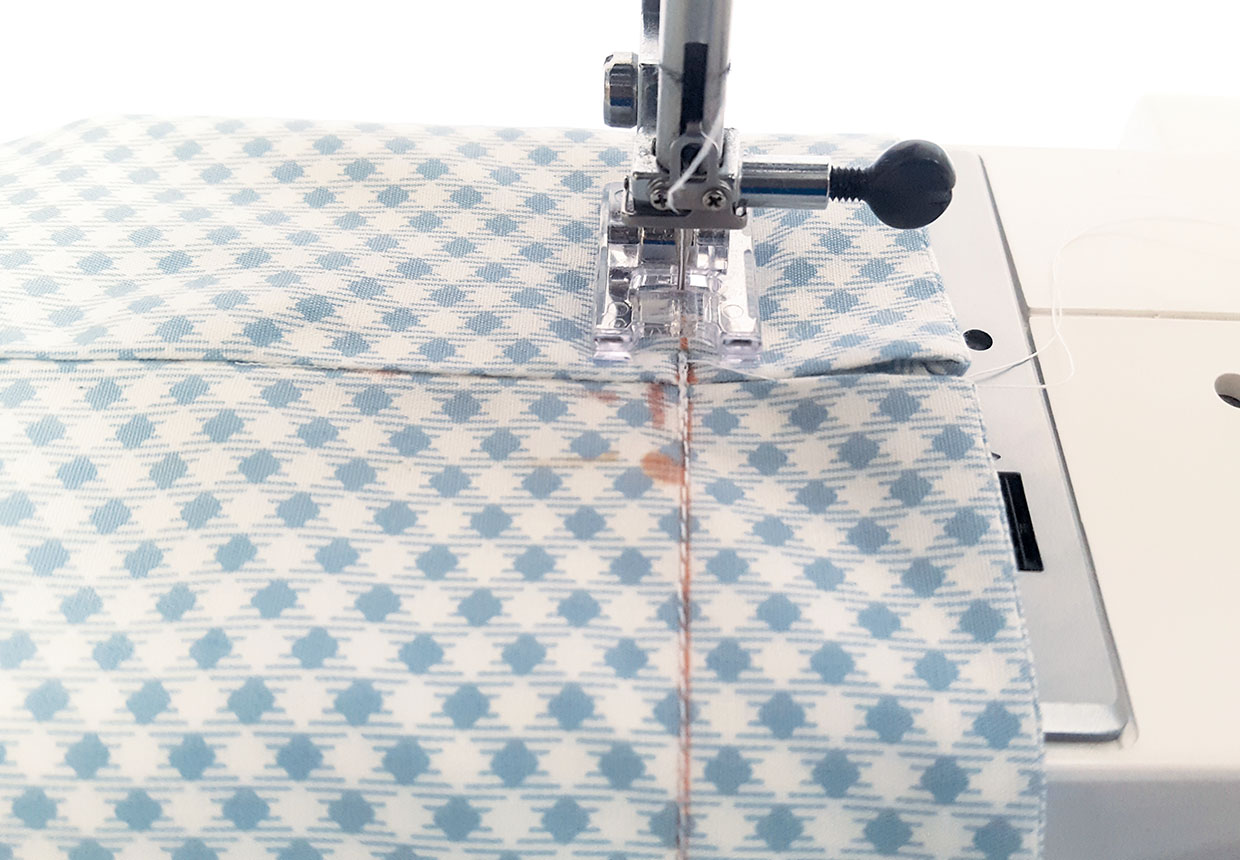
Pin one outer piece RS together along the top edges of one lining piece. Sew together and then press the seam open.
Step 2
Repeat this with the other outer and lining pieces.
Step 3
Pin the two sections RS together so that the outers are facing each other and the linings are facing.
Step 4
Mark 3cm (11⁄4in) down from the seam on both the outer and lining for the casing.
Step 5
Mark an 8cm (31⁄8in) turning gap in the centre of the bottom of the lining.
Step 6
Mark a 2cm (3⁄4in) gap 1cm (3⁄8in) up from the bottom edge of each long side of the bag outer for the bag straps.

Stitching the bag
Step 1
Stitch one long side of the lining pieces together from the bottom of one casing mark down to one side of the turning gap.
Step 2
Repeat for the other long side of the lining pieces.
Step 3
Stitch one long side of the outer pieces together from the bottom of one casing down to the top of one bag strap mark.
Step 4
Repeat this on the other side of the outer pieces.
Step 5
Sew together along the bottom edge.
Stitching the bag
Step 1
Turn the bag RS out through the turning gap, press and then slip stitch the gap closed.
Step 2
Push the lining back inside the bag, making sure it goes into the corners and lies flat.
Step 3
Lay the bag flat and draw a line horizontally across the bag 2cm (3⁄4in) down from the top edge on both the front and back.
Step 4
Sew along the marked line around both sides through the outer and lining.

Adding the straps
Step 1
Fold the bias tape in half WS facing and topstitch down the length.
Step 2
Cut it in half so you have one length for each strap.
Step 3
Thread one strap through the gap in one side of the casing along the front and back of the bag and out again in the same place.
Step 4
Hold the two raw ends of the strap together then pin them 1cm (3⁄8in) inside the bag strap gap that’s on the same side of the bag that the strip emerges. Topstitch over the gap a couple of times to hold the strap firmly in place.
Step 5
Repeat this with the other strap but starting and finishing at the opposite side of the casing, with the ends of the strap going into the opposite bag strap gap.

Step 6
Pull the straps to close the bag.


