Cutting out
Step 1
- From the fat quarter cut two pieces 49x28cm (193⁄8x11in) for the bag.
- From the bias binding cut one piece 12cm (4¾in) long – for the pocket edging and two pieces 6cm (23⁄8in) long for loops.
- Cut the cord in two equal lengths.
Preparing the binding
Step 1
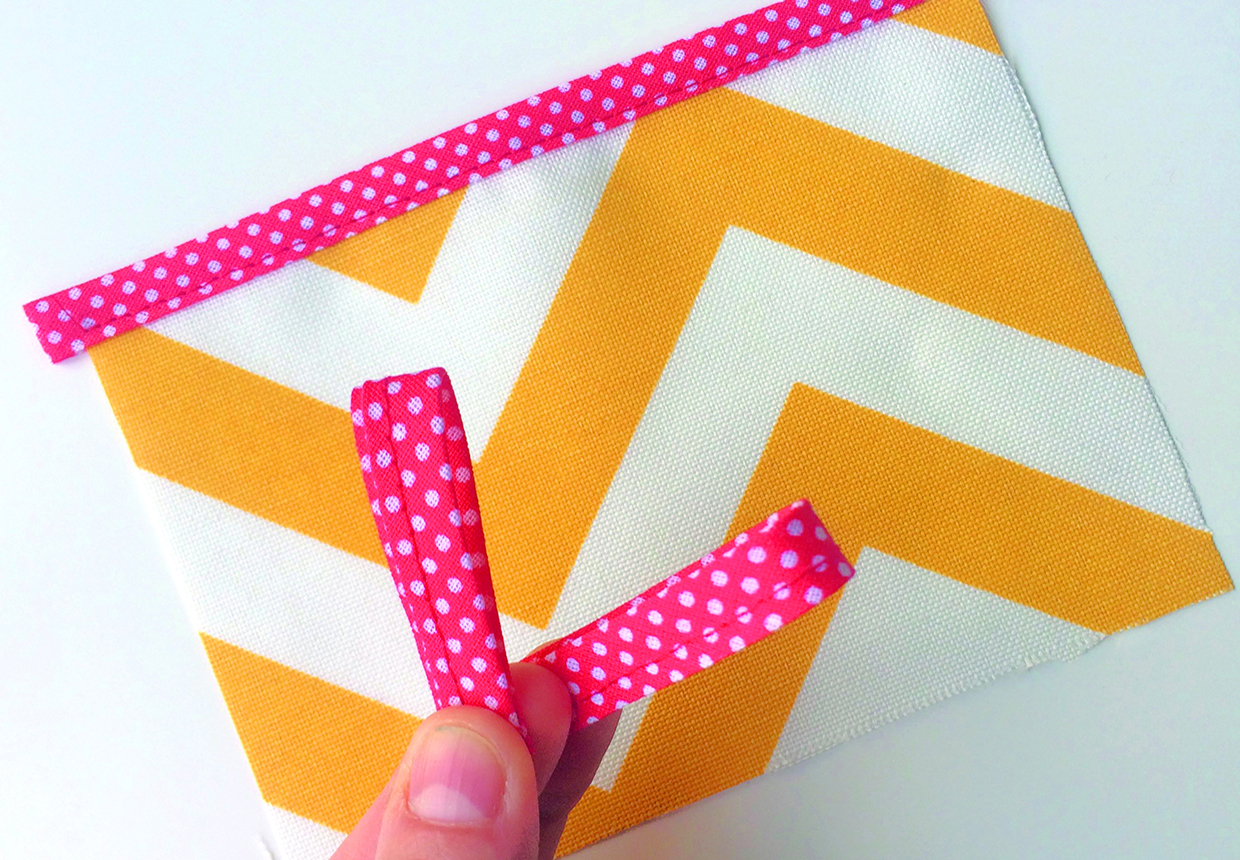
Fold the pocket bias binding around the top long edges of the pocket and topstitch.
Step 2
Fold the lengths of the loop bias binding in half lengthways and topstitch.
Attaching the pocket
Step 1
Fold the raw edges of the pocket piece and bias binding under by 1cm (3⁄8in) to the wrong side (WS) and press.
Step 2
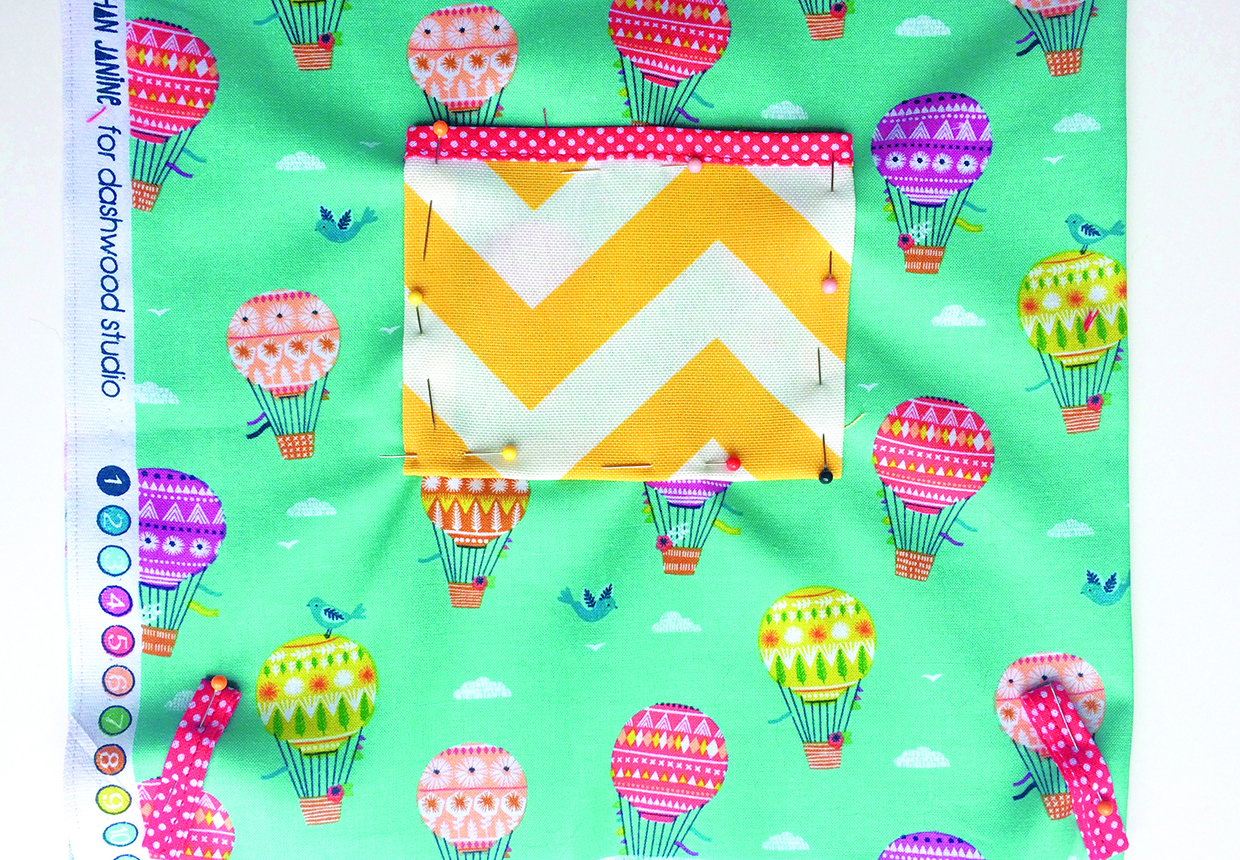
With right sides (RS) up, place the pocket 8cm (31⁄8in) up from the bottom edge of a bag piece, centred across, and pin.
Step 3
Topstitch the sides and bottom.
Adding the loops
Step 1
Fold one of the loops in half widthways and tack the short ends together.
Step 2
Place the pocketed bag piece RS up then place a loop on top of the bottom edge, matching raw edges, 1cm (3⁄8in) in from one side. Tack into place.
Step 3
Repeat to place then tack the other loop in the same position in the opposite bottom corner of the same bag piece.
Assembling the bag
Step 1
Place the bag pieces RS facing and pin together along the bottom and sides.

Step 2
Stitch the pieces together down the sides and across the bottom, but leaving the top 10cm (4in) of each side unstitched.
Step 3
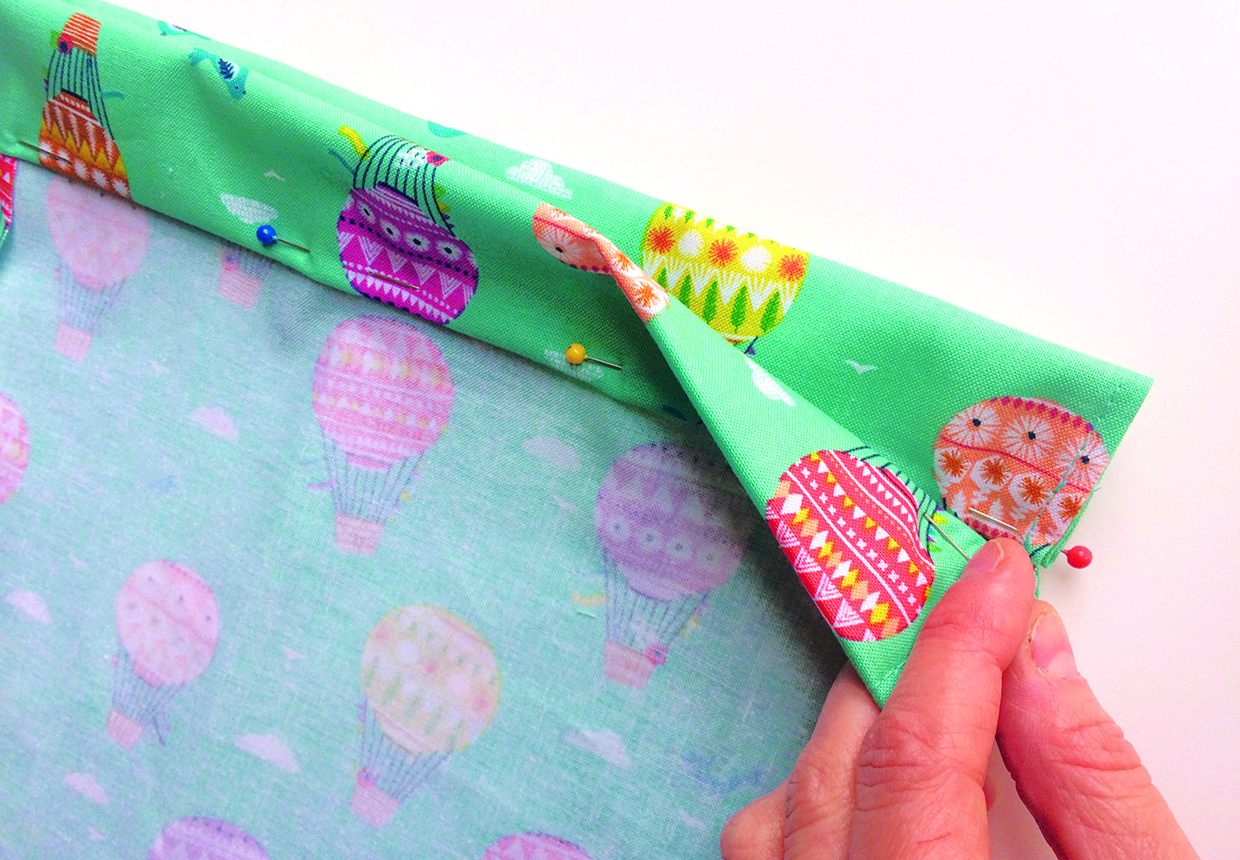
Turn the unstitched sections at the top of the bag to the WS and press.

Making the casings
Step 1
Turn the raw side edges of the unstitched sections at the top under by 1.5cm (5⁄8in) to the WS and topstitch to hem.
Step 2
Press the top edges of the bag front and back under by 1.5cm (5⁄8in) to the WS.
Step 3
Fold over again so the first pressed fold meets the top of the side seams.
Step 4
Pin and then topstitch along the bottom edge to hold the casings in place.
Adding the cord
Step 1
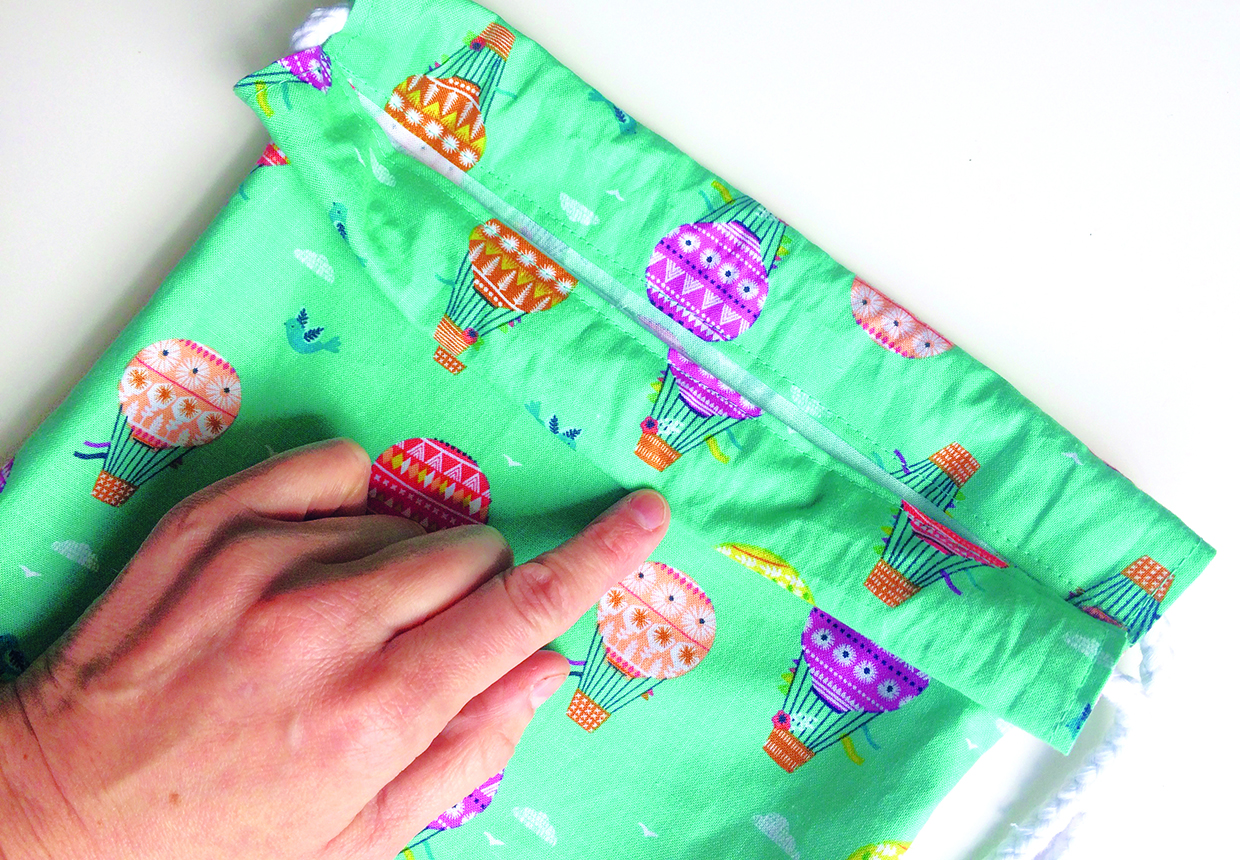
Cut the cord in half then thread one piece through the casing all the way around, starting and finishing in the same place.
Step 2
Thread both ends of the cord through the loop on the bottom of the bag that’s on the same side then knot the two ends of the cord.
Step 3
Repeat this with the other piece of cord but starting and finishing at the opening of the casing on the opposite side seam and knotting it though the other bottom loop.


